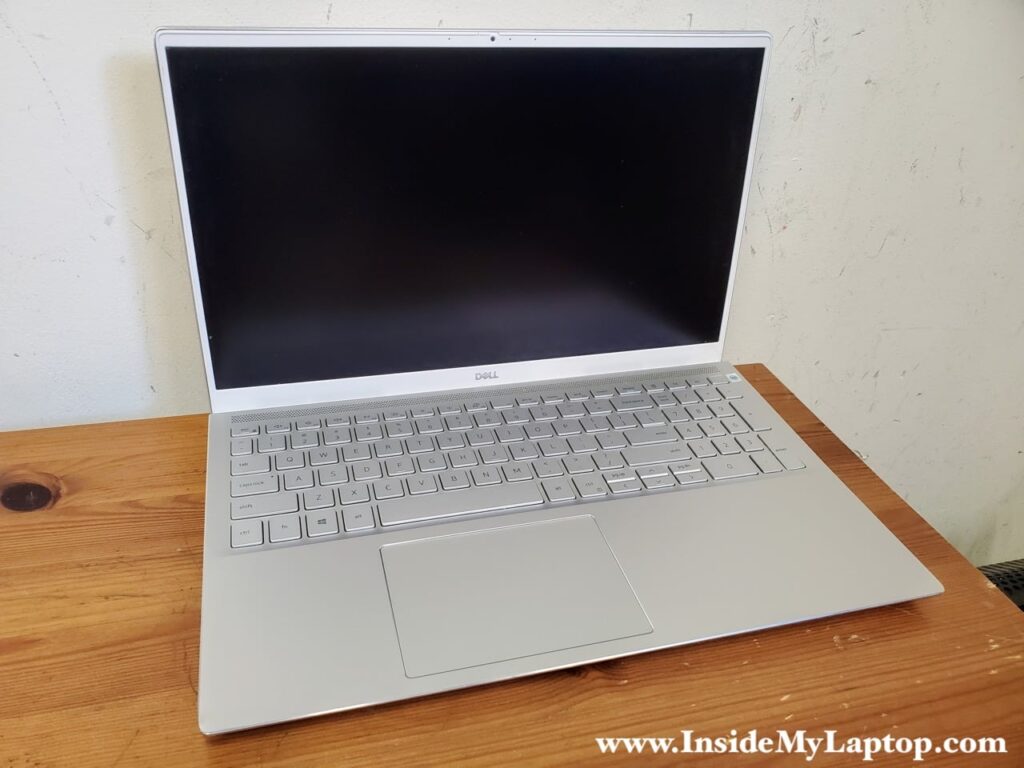
Dell Inspiron 7501 (model P102F) disassembly

posted in: 4. Dell | 6
Dell Inspiron 7501 (model P102F) disassembly.

In this guide I disassemble a Dell Inspiron 7501 (model P102F) laptop.

Dell Inspiron 7501 design highlights:
– This laptop has two M.2 PCIe solid state drive slots.
– 8GB memory soldered to the motherboard.
– There is only one memory slot available for upgrades.
– Two types of batteries supported: 56WHr and 97WHr.
– Both cooling fans are easily removable.

Continued

Dell G3 15 3590 (model P89F) disassembly

posted in: 4. Dell | 0
Dell G3 15 3590 (model P89F) disassembly.

In this guide I show step-by-step Dell G3 15 3590 (model P89F) laptop disassembly.

Dell G3 15 3590 design highlights:
– This model supports two storage drives: PCIe NVMe solid state drive and 2.5″ SATA hard drive.
– There are two memory (RAM) slots on the motherboard.
– The DC power jack attached to a harness and can be replace without soldering.
– Both cooling fans can be replaced without heatsink removal.

Continued

Dell XPS 15 9500 (model P91F) disassembly

posted in: 4. Dell | 0
Dell XPS 15 9500 (model P91F) disassembly.

In this guide I show how to disassemble a Dell XPS 15 9500 (model P91F) laptop. Also, all disassembly steps should be identical for Dell Precision 5550 Workstation.

Dell XPS 15 9500 model highlights:
– the motherboard has two memory slots and RAM can be upgraded.
– the motherboard has two PCIe slots and second PCIe NVMe SSD can be installed.

Continued

Taking apart Dell Inspiron 17 5770 5775 (model P35E)

posted in: 4. Dell | 1
Dell Inspiron 17 5770 5775 (model P35E) laptop.

In this guide I’ll be taking apart Dell Inspiron 17 5770 5775 (model P35E) laptop. It’s possible this guide will work for some other models in the Dell Inspiron 17 5000 series computer line.

For this disassembly you will need only two basic tools: Phillips #1 and #0 screwdrivers. Needle tweezers are optional but very helpful for disconnecting internal cables.

Continued

Dell Inspiron 13 7386 (model P91G) disassembly

posted in: 4. Dell | 0
Dell Inspiron 7386 model P91G 2-in-1 laptop.

In this guide I show how to disassemble a Dell Inspiron 13 7386 (model P91G) 2-in-1 laptop.

During the disassembly process I found the following design features worth mentioning:
– There are two PCIe M.2 SSD slots on the motherboard.
– All memory soldered to the motherboard and there are no RAM expansion slots.
– The cooling fan can be easily removed and replaced.
– The DC power jack is not soldered to the motherboard.
– The keyboard is removable.

Continued

Replace screen on Dell Inspiron 5568 5578 5579 7569 7579

posted in: 4. Dell | 2
Dell Inspiron 5568 5578 5579 7569 7579 model P58F laptop.

In this tutorial I explain how to remove and replace the touchscreen on a Dell Inspiron 15 5000 series or 15 7000 series 2-in-1 laptops (model P58F).

These disassembly guide can be used for the following models with the P58F body style:
– Dell Inspiron 15 5568
– Dell Inspiron 15 5578
– Dell Inspiron 15 5579
– Dell Inspiron 15 7569
– Dell Inspiron 15 7579

Continued

Replace screen on Dell Inspiron 7347 7348 7352 7353 7359

posted in: 4. Dell | 0
Dell Inspiron 13 7000 7359, 7347, 7348, 7352, 7352 2-in-1 (model P57G) laptops.

In this guide I will be replacing the touchscreen on a Dell Inspiron 13 7000 2-in 1 (model P57G) series laptop.

You can use this disassembly instructions for other models with the P57G body type, such as:
– Dell Inspiron 7347
– Dell Inspiron 7348
– Dell Inspiron 7352
– Dell Inspioron 7353
– Dell Inspiron 7359
and probably some some other models in the Inspiron 13 7000 series 2-in-1 computer line.

Continued

Replacing LCD screen on Dell Inspiron 15 5565 5567

posted in: 4. Dell | 0
Replacing LCD screen on Dell Inspiron 15 5565 5567 laptop.

In this tutorial I show how to replace the LCD screen on a Dell Inspiron 15 5565 5567 (model P66F) laptop. It’s likely you can use this tutorial for some other models in the Dell Inspiron 15 5000 series computer line.

It’s much easier to remove the screen when the display panel separated from the top case as shown on the following picture. It’s hard to remove the screen bezel (though it’s possible) with the display panel still installed. In my previous tutorial I explained how to remove the display (follow steps 14-19).

Continued