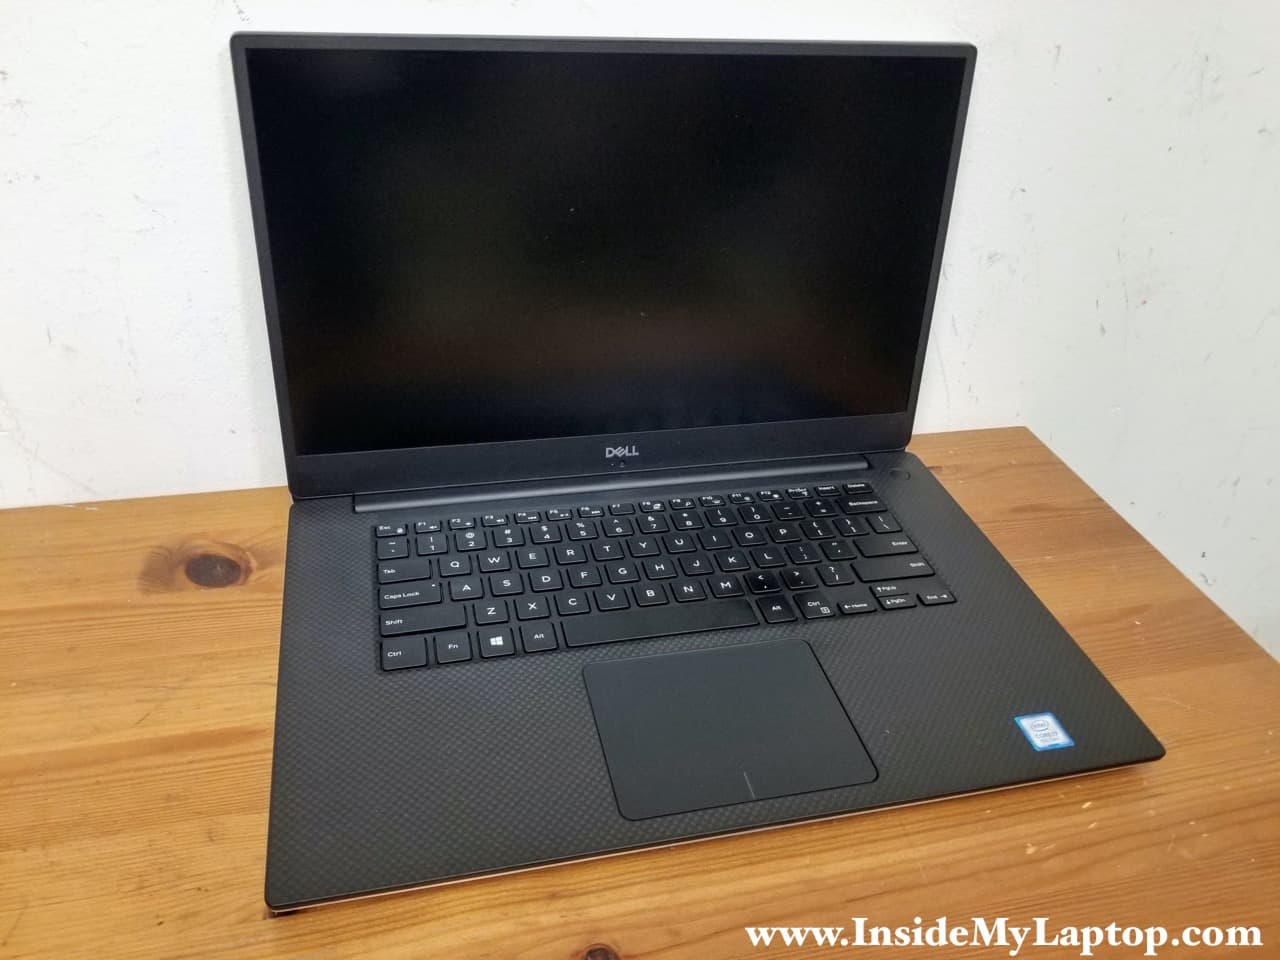
In this guide I show how to disassemble a Dell XPS 15 9570 (model P56F) laptop.
This guide will help you to remove the battery, SSD, both RAM modules, both cooling fans and DC power jack.
During the disassembly process I will be using the following repair tools: Torx T5 screwdriver and Phillips #1 screwdriver.
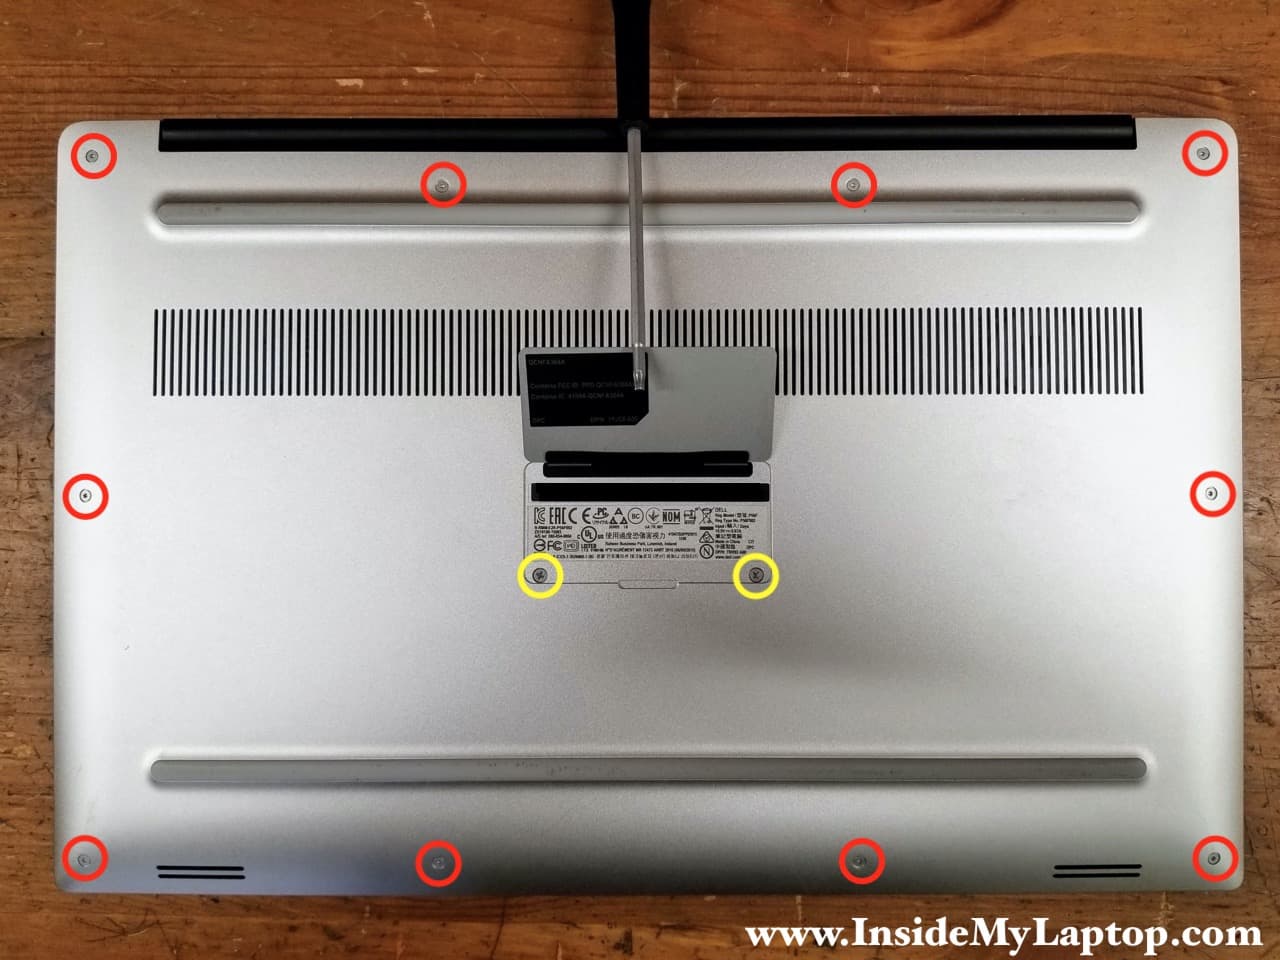
Base cover and battery removal
STEP 1.
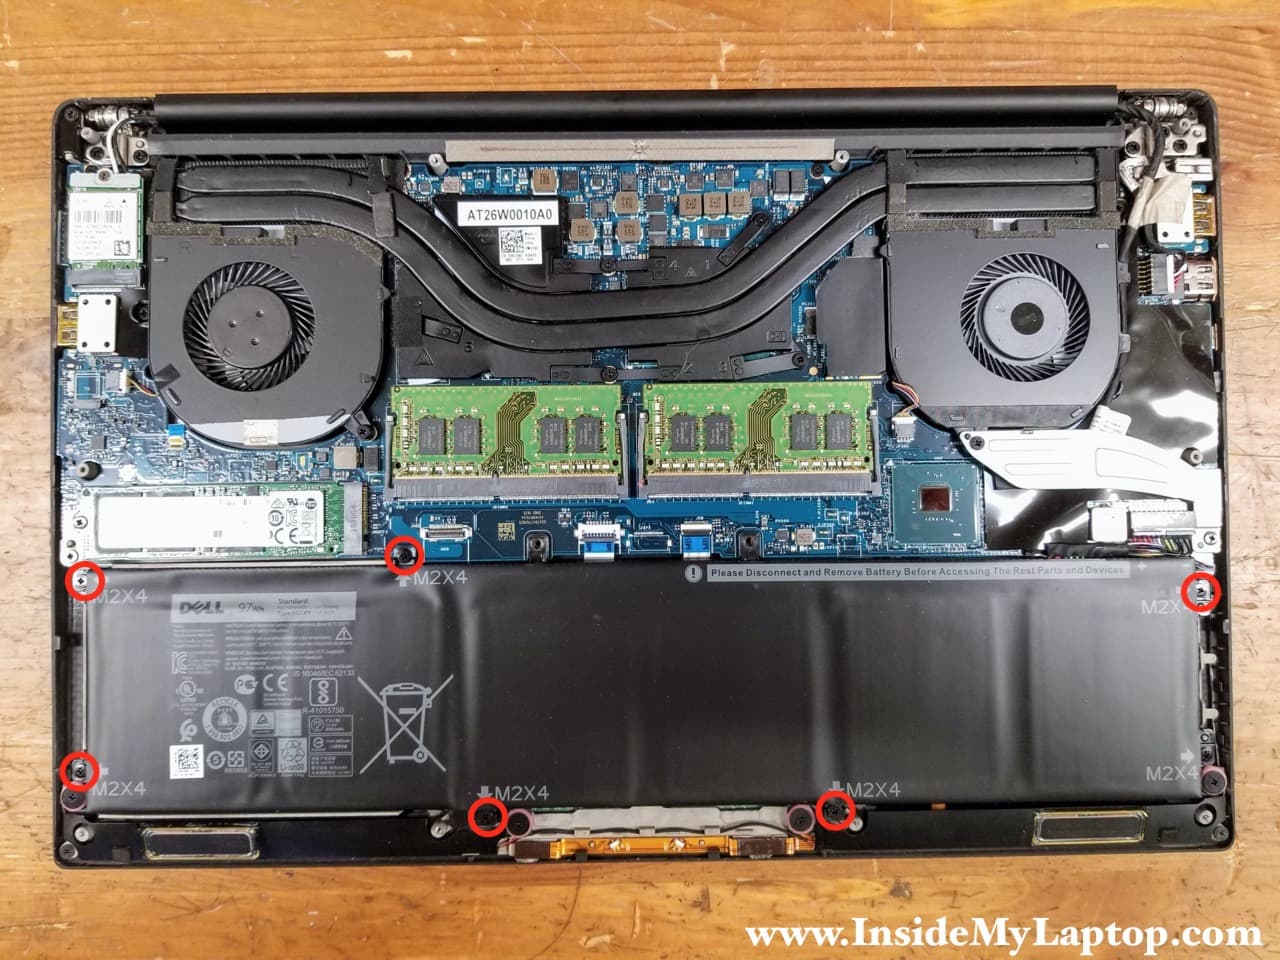
Remove ten Torx T5 screws and two Phillips screws securing the base cover.
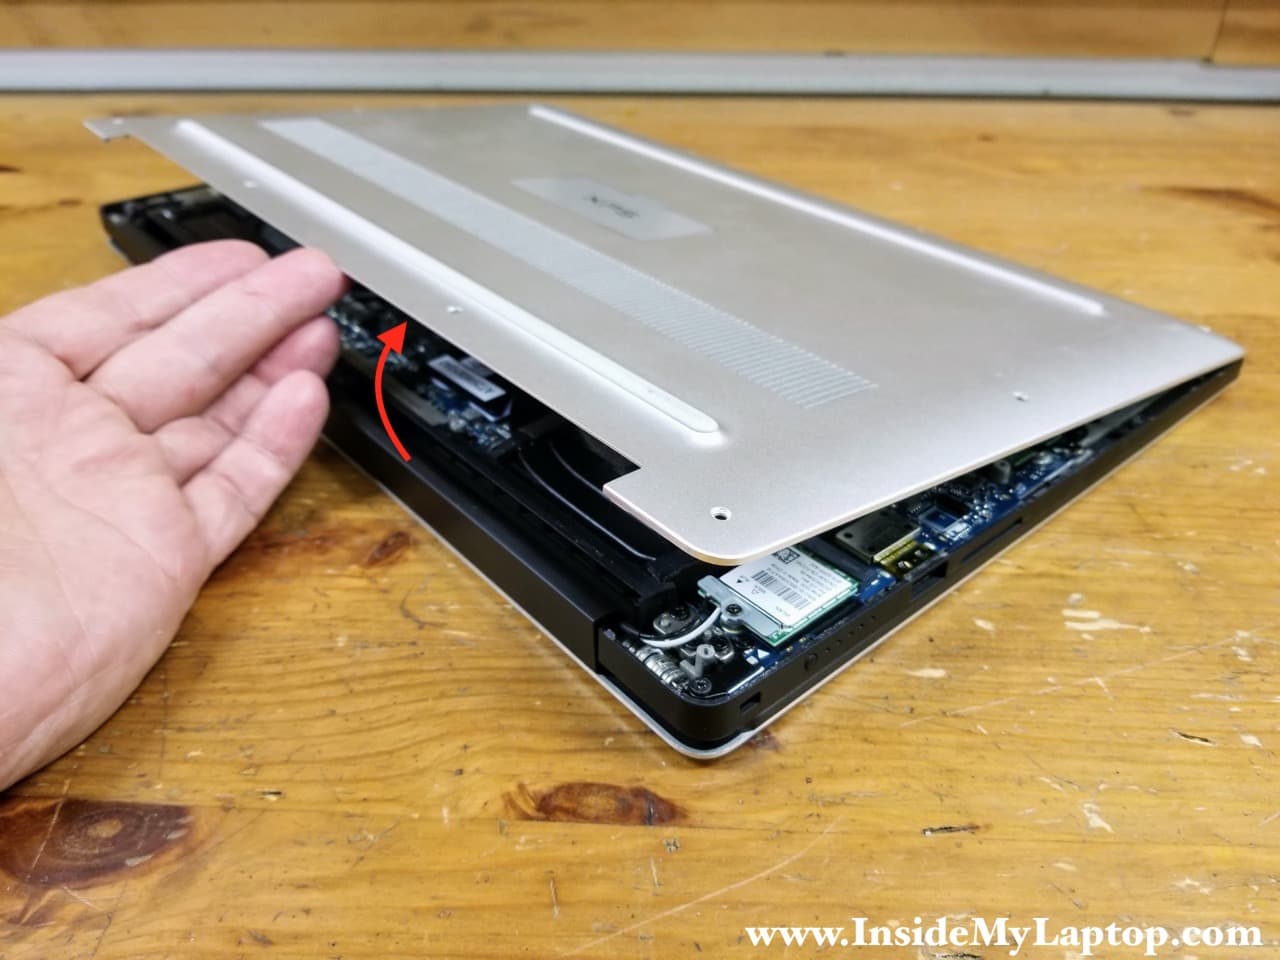
STEP 2.
Separate the base cover from the top case and remove it. It’s easier to remove if you start from the back side of the laptop.
STEP 3.
Remove six screws attaching the battery to the top case.
STEP 4.
Lift up the battery and disconnect the battery cable from the motherboard. Remove the battery.

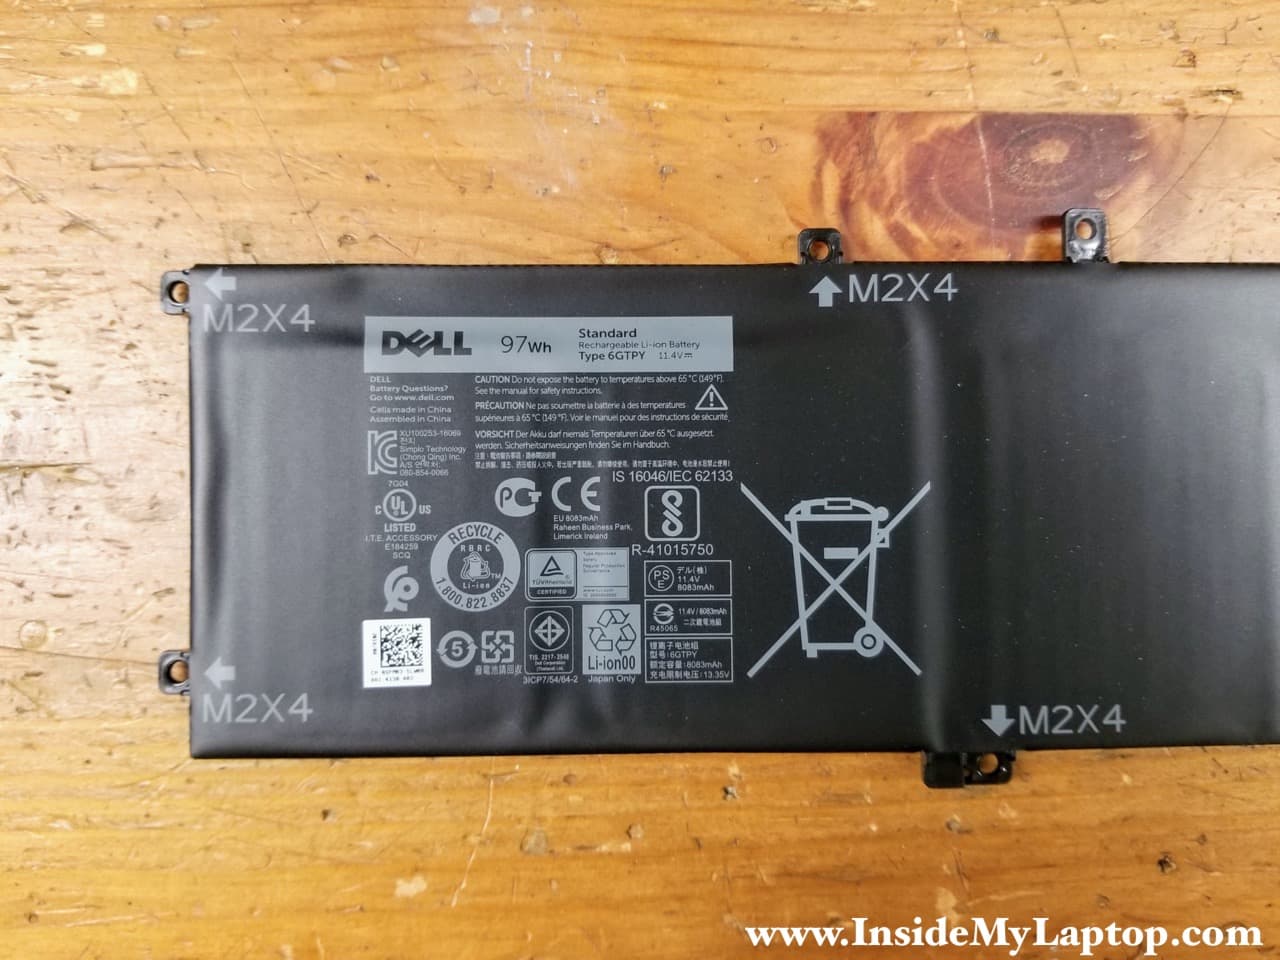
Dell XPS 15 9570 (model P56F) battery type: 6GTPY.
Dell part number: 0GPM03.
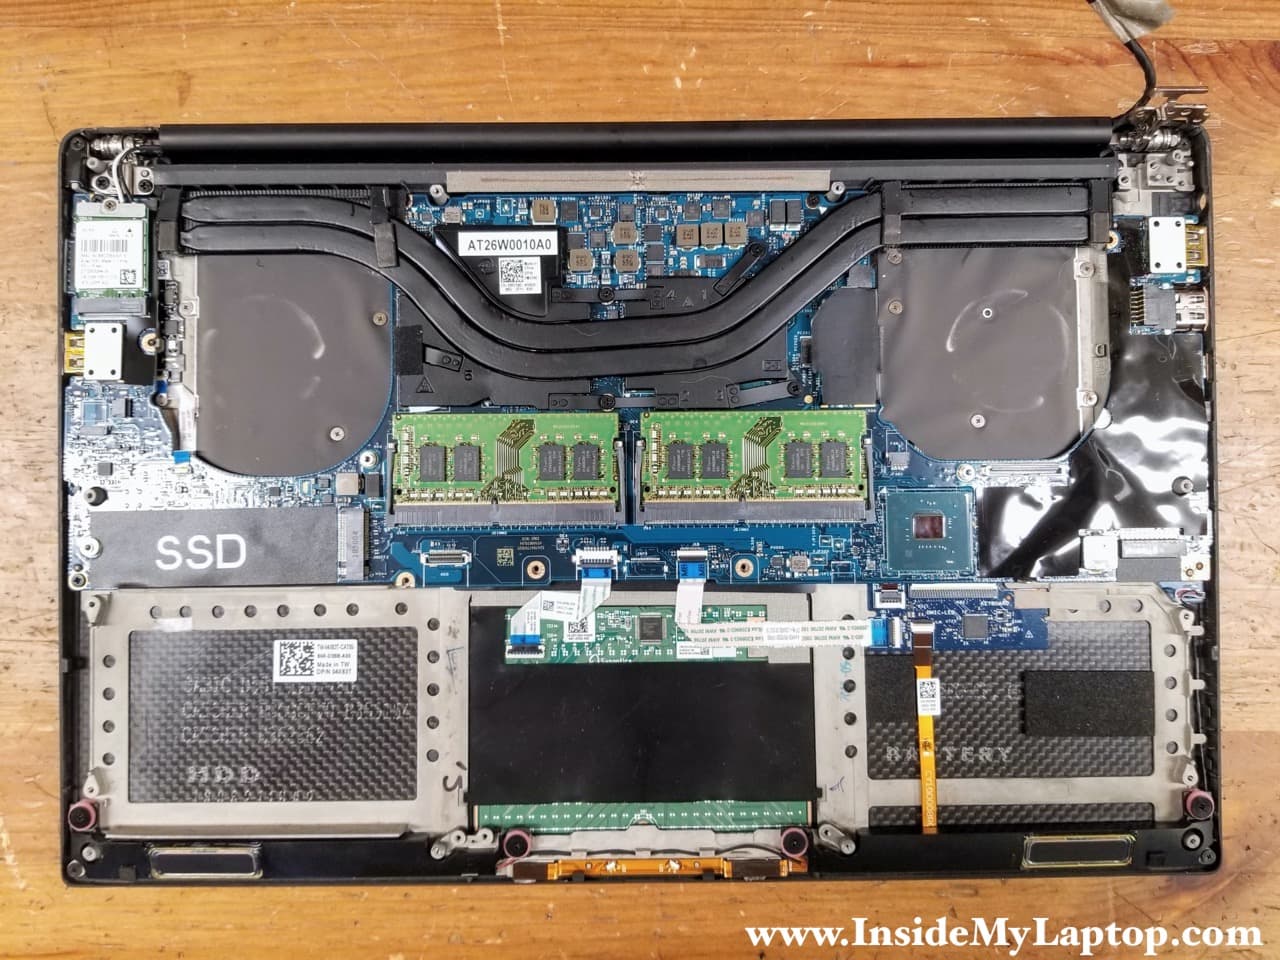
RAM modules and SSD removal
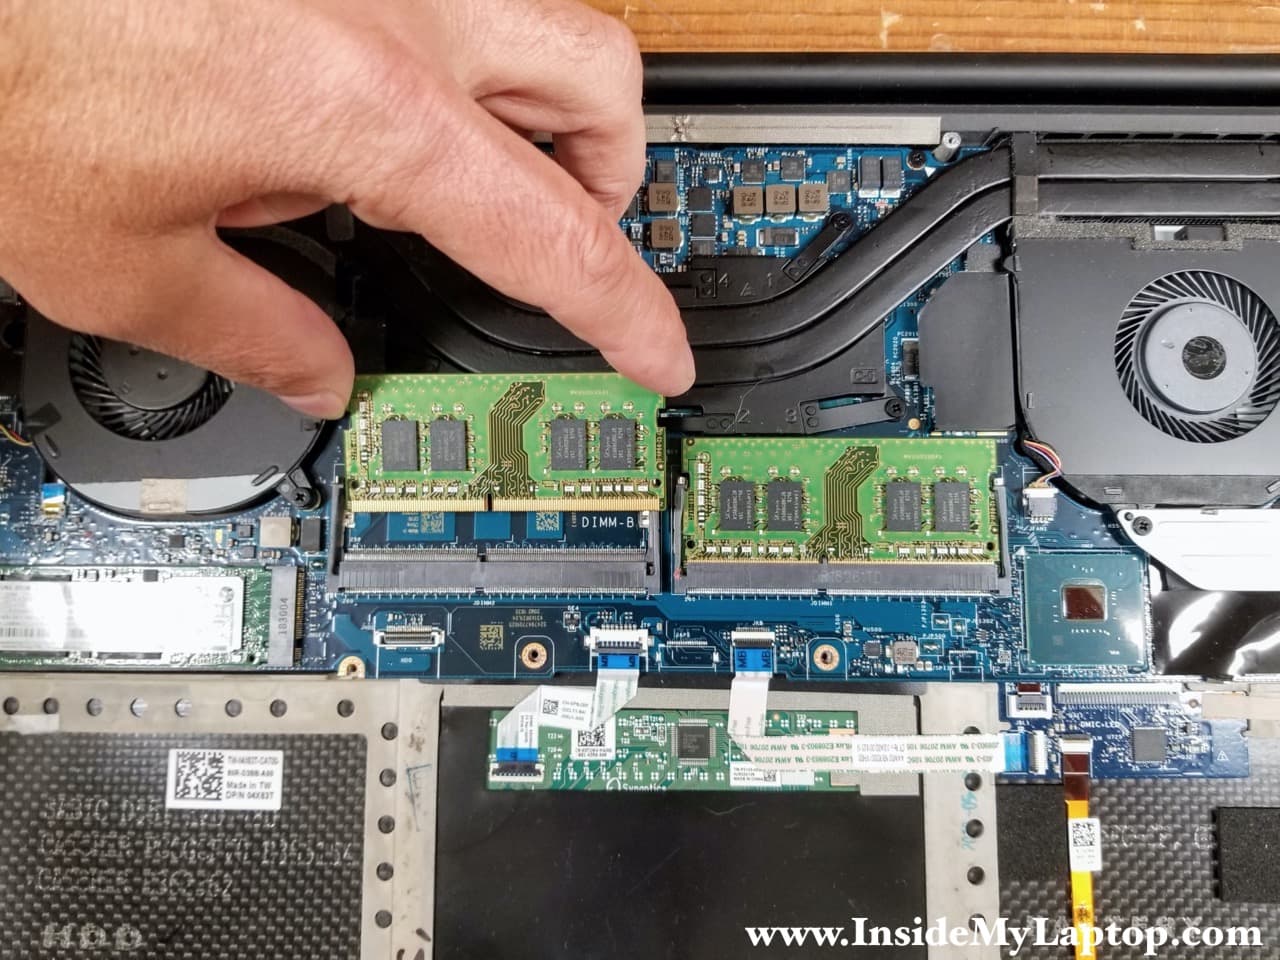
Dell XPS 15 9570 (model P56F) has two memory slots. Both RAM slots are easily accessible under the base cover.
This model supports up to 32GB (2 x 16GB) DDR4-2666 SODIMM modules.
STEP 5.
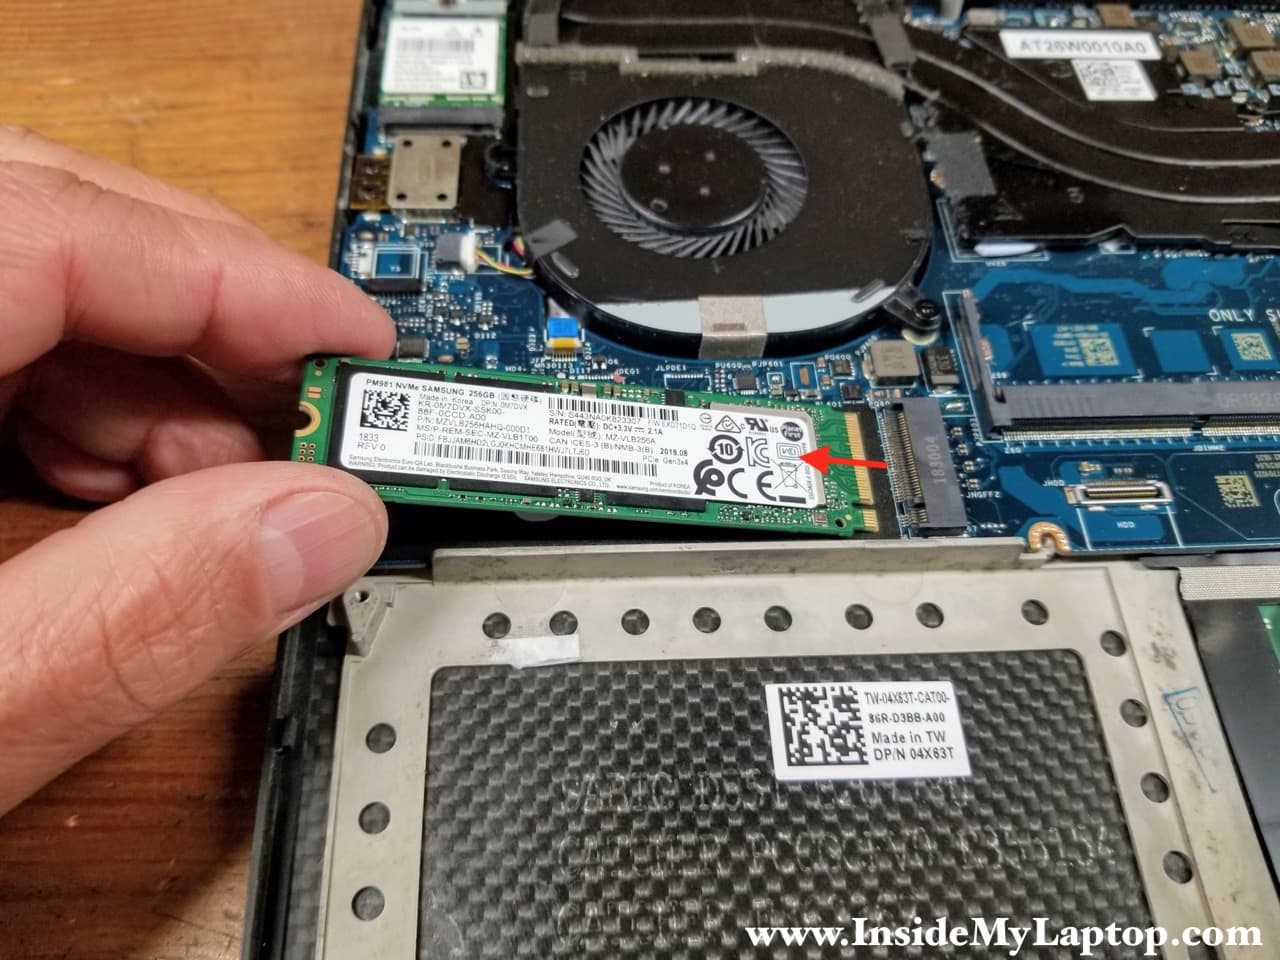
Remove one screw securing the SSD and remove it from the slot.
This is a PCIe NVMe M.2 solid state drive type 2280.
Cooling fans removal
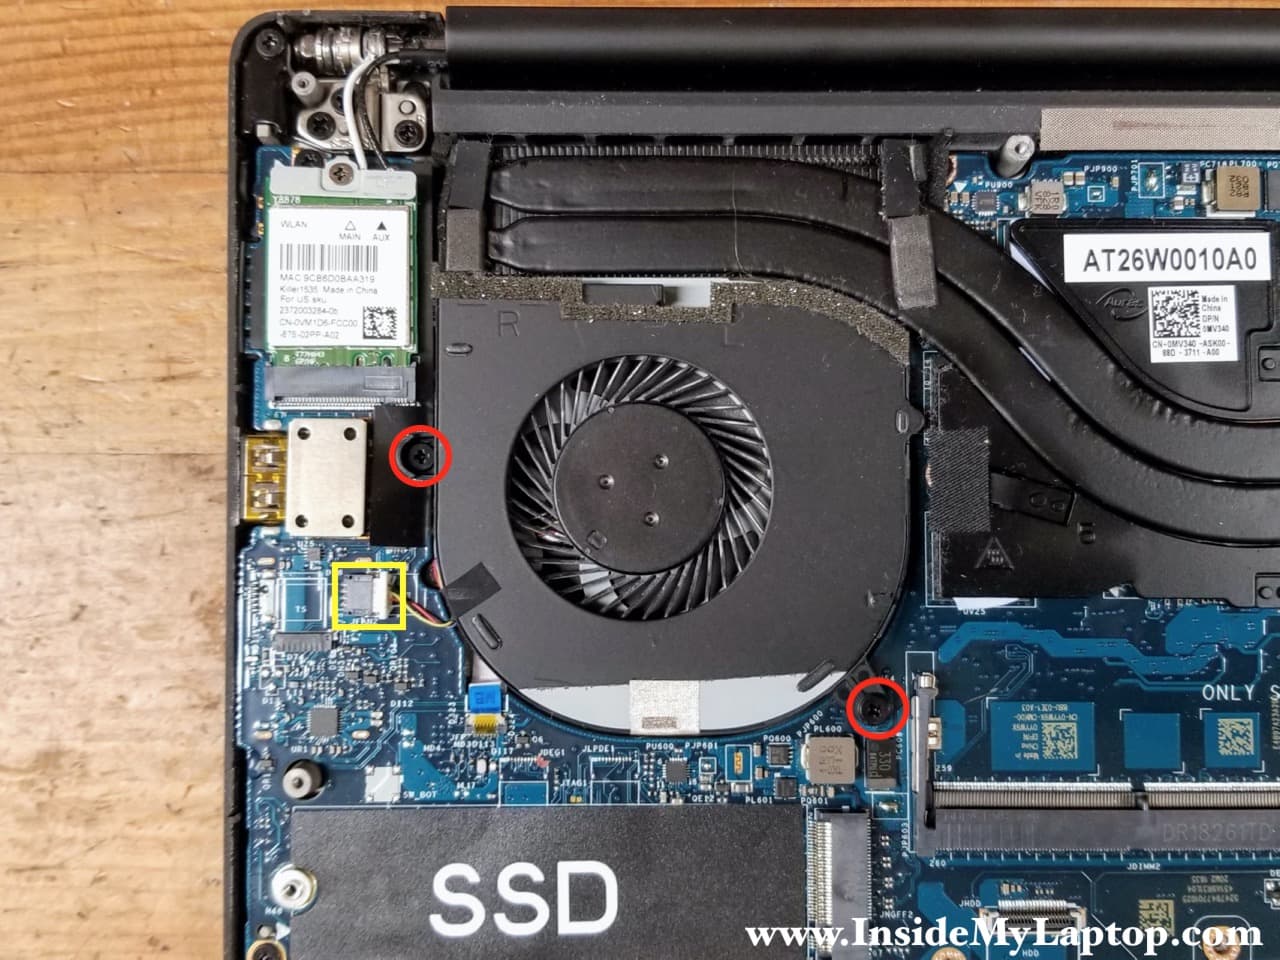
STEP 6.
Remove two screws securing the right cooling fan. Disconnect the fan cable from the motherboard.
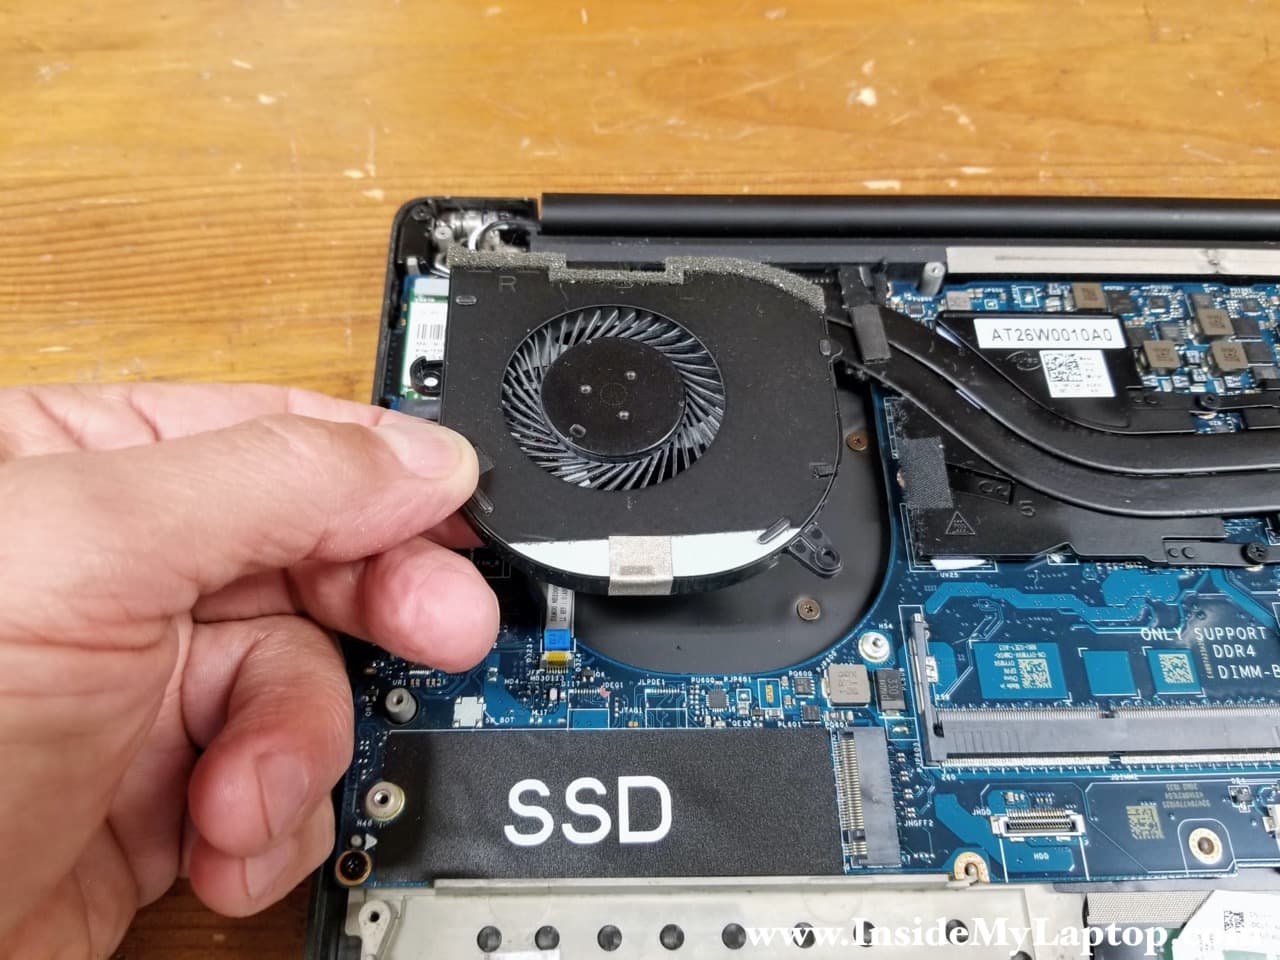
STEP 7.
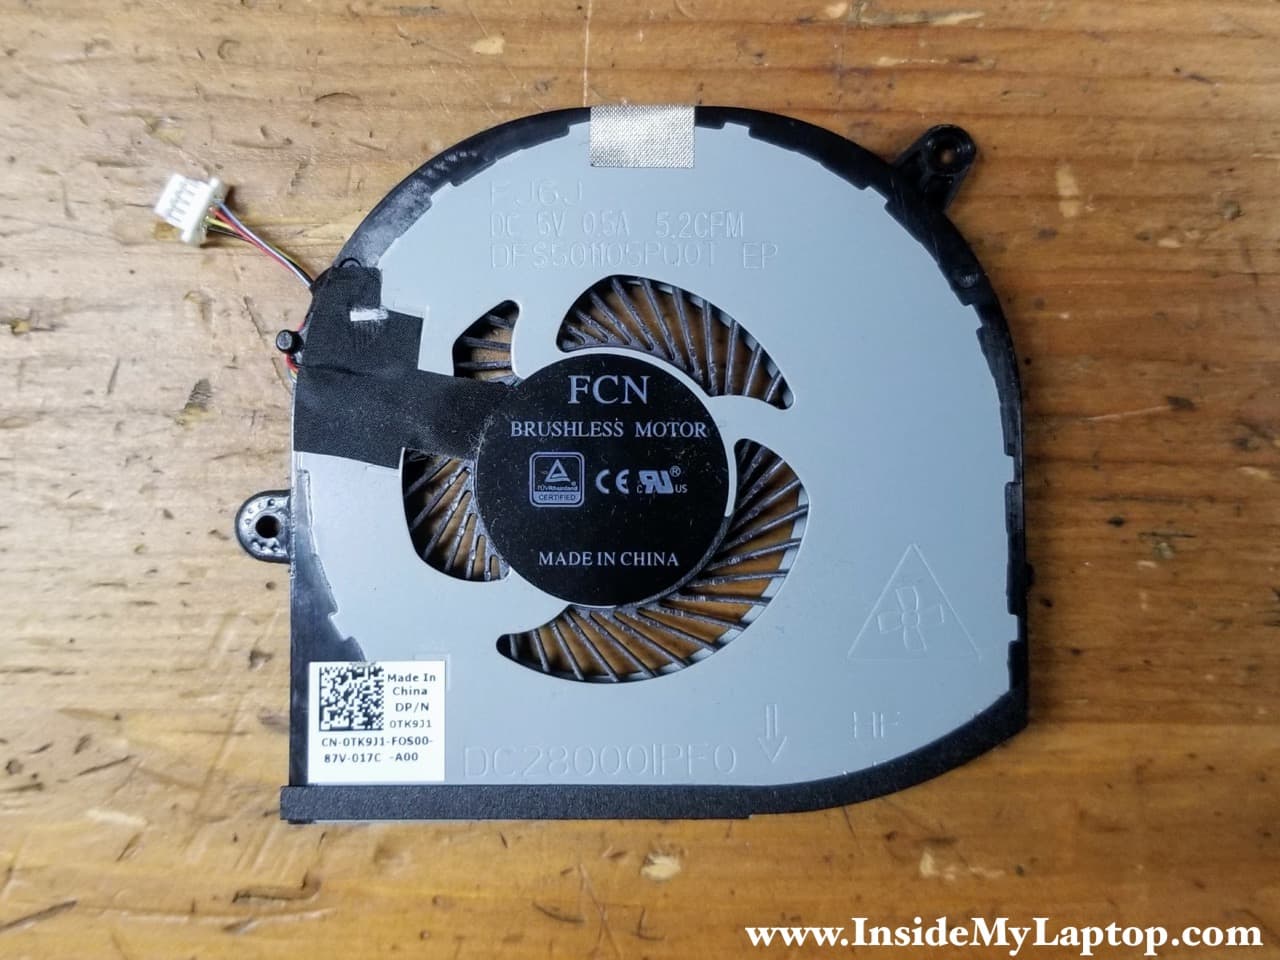
Lift up and remove the right cooling fan.
The right fan part number: 0TK9J1.
STEP 8.
Remove two screws securing the display cable bracket. Remove the bracket.
STEP 9.
Unplug the display cable from the motherboard.
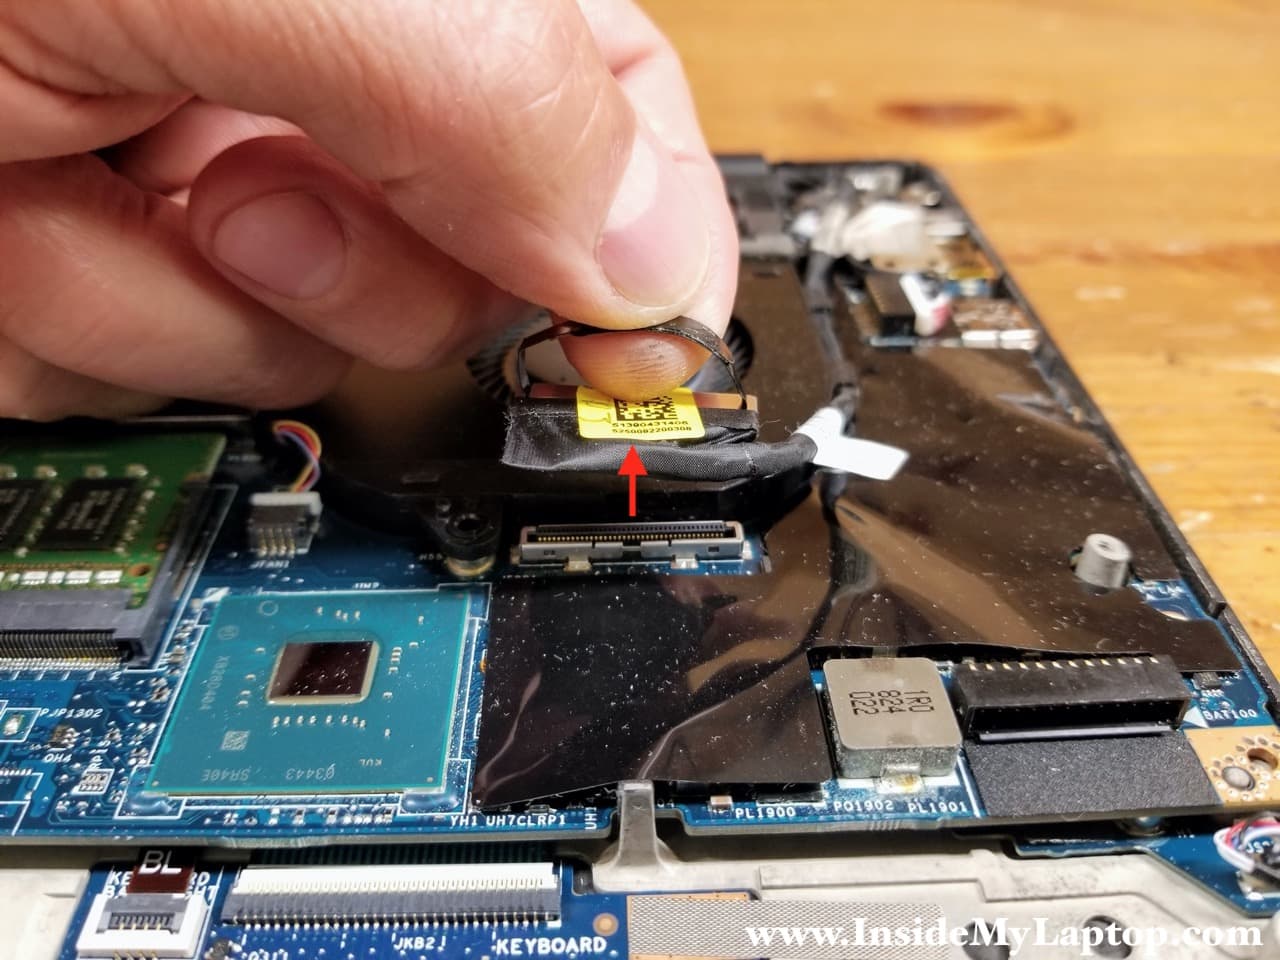
STEP 10.
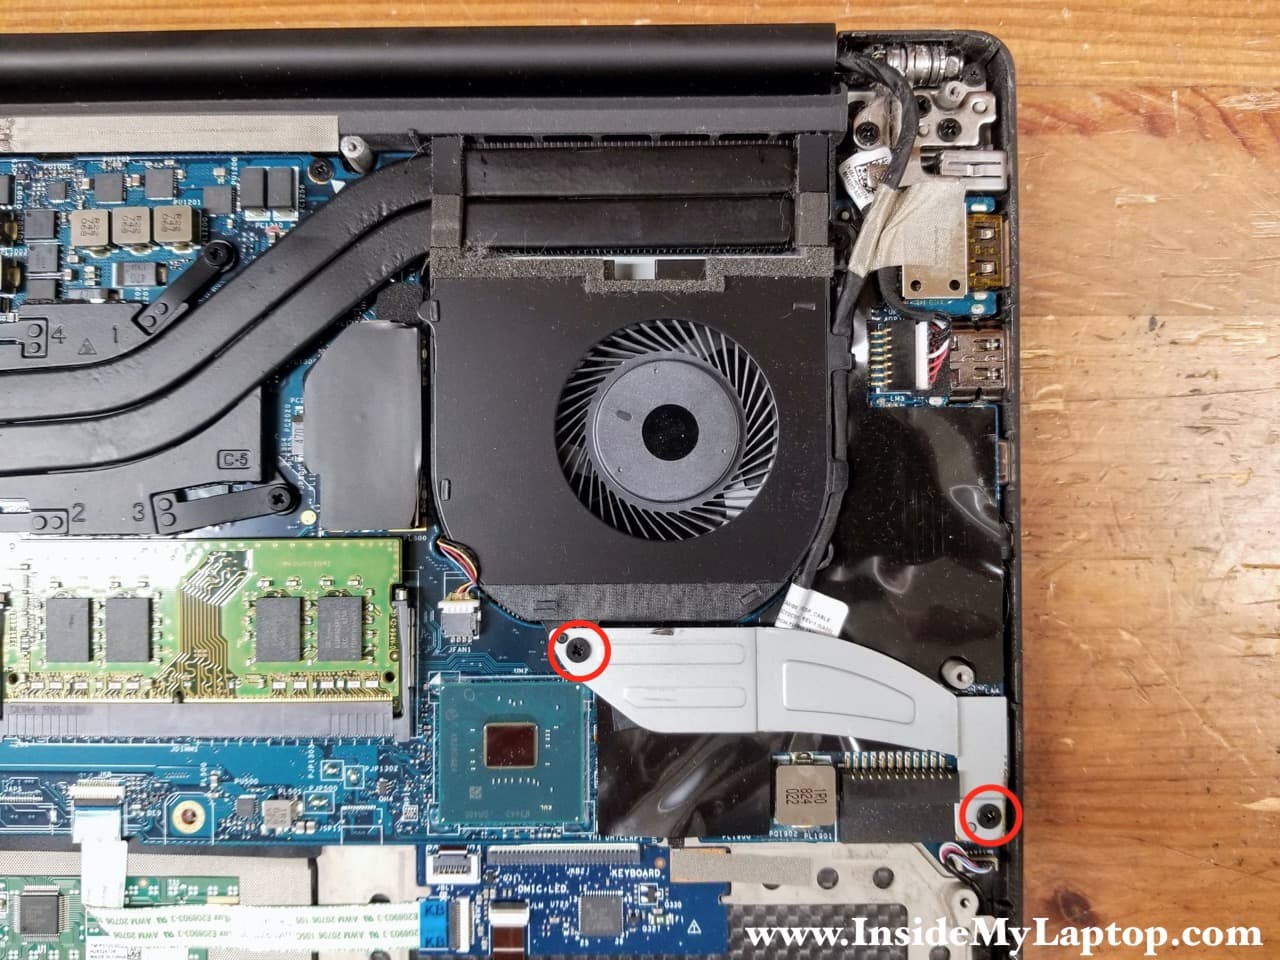
Un-route the display cable from the guided path on the side of the left fan.
Remove one screw securing the fan and disconnect the cable from the motherboard.
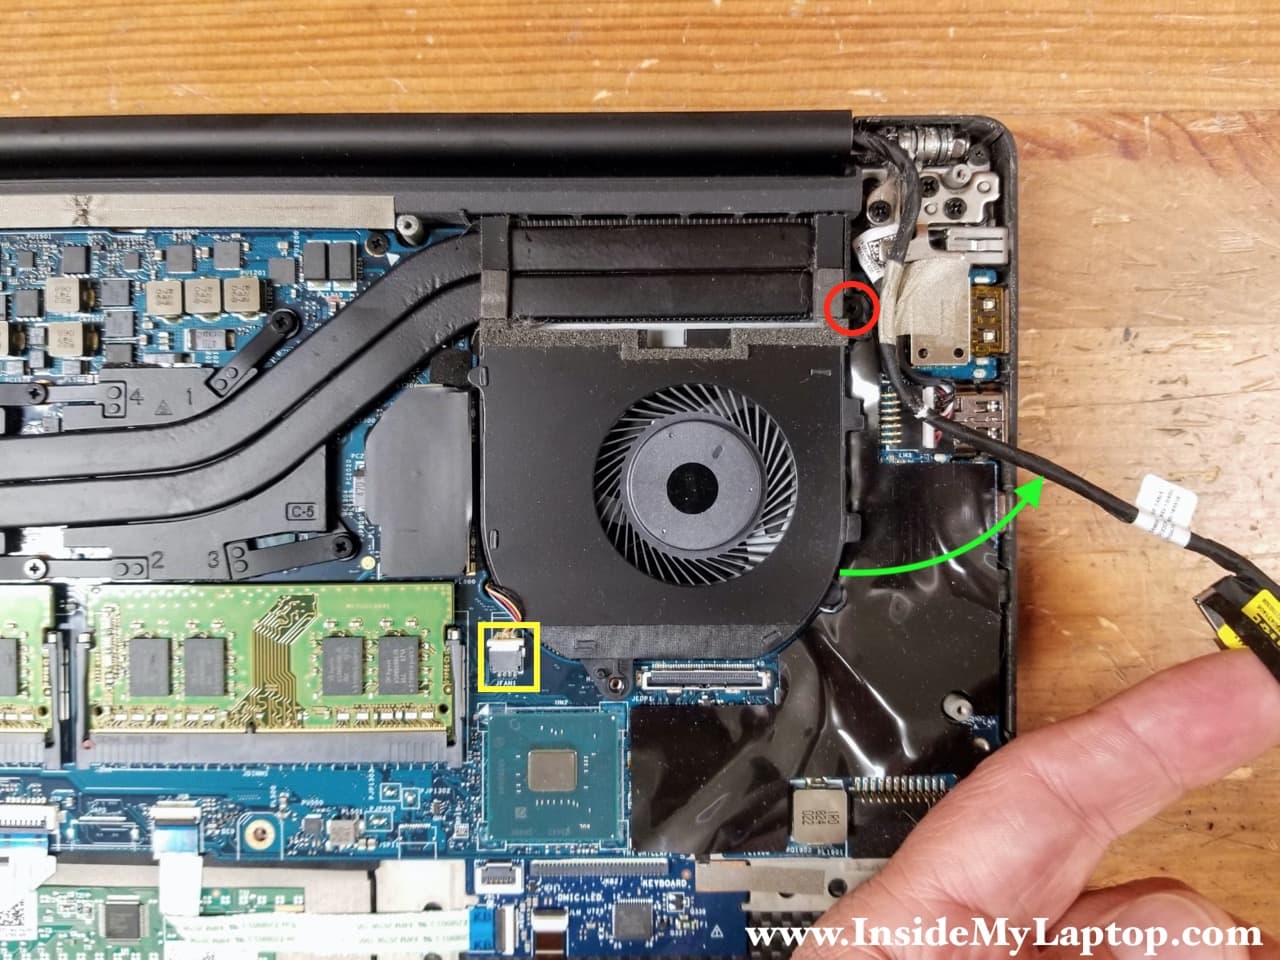
STEP 11.
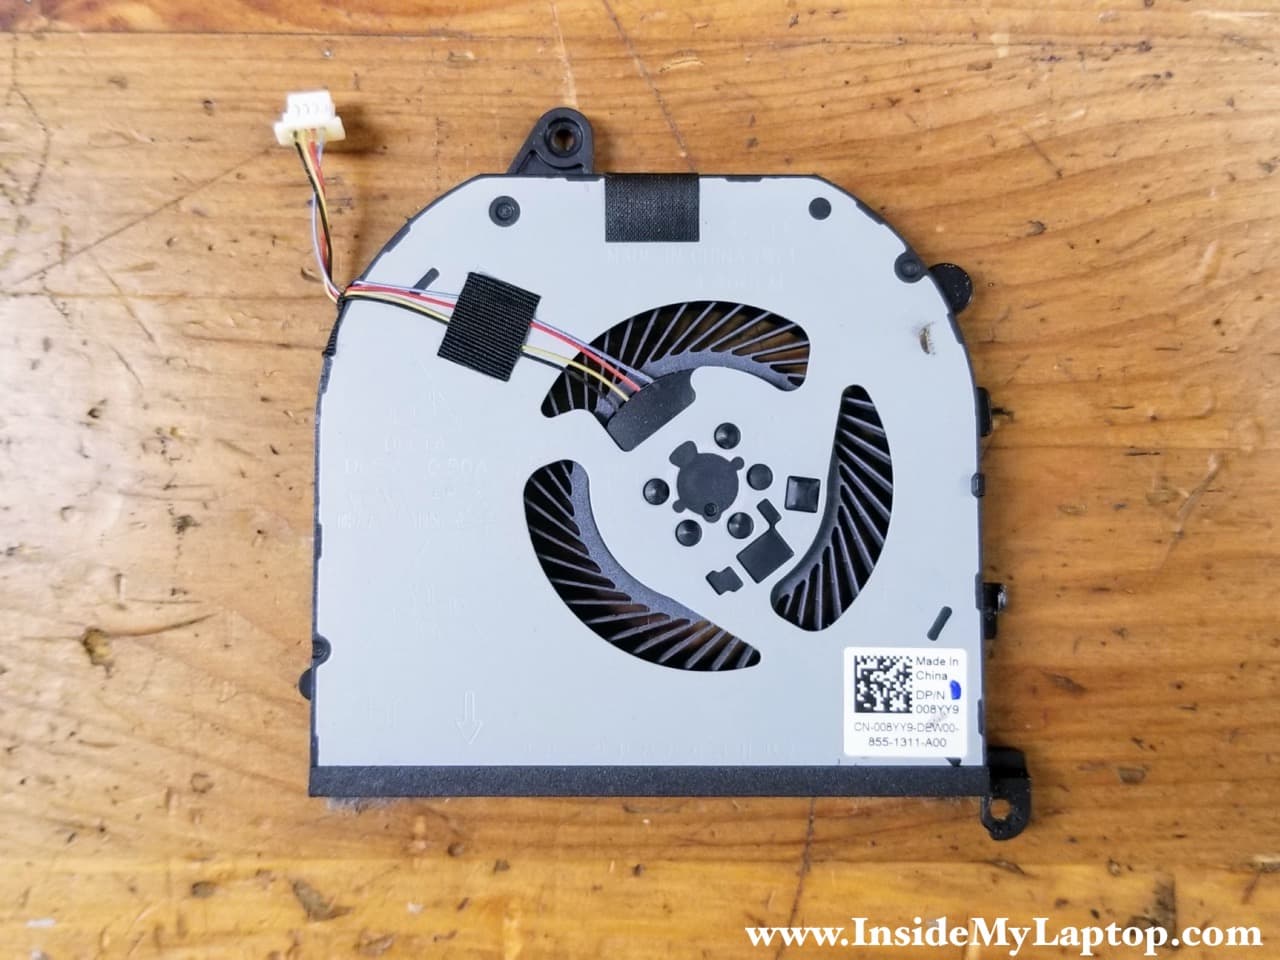
Remove the left cooling fan.
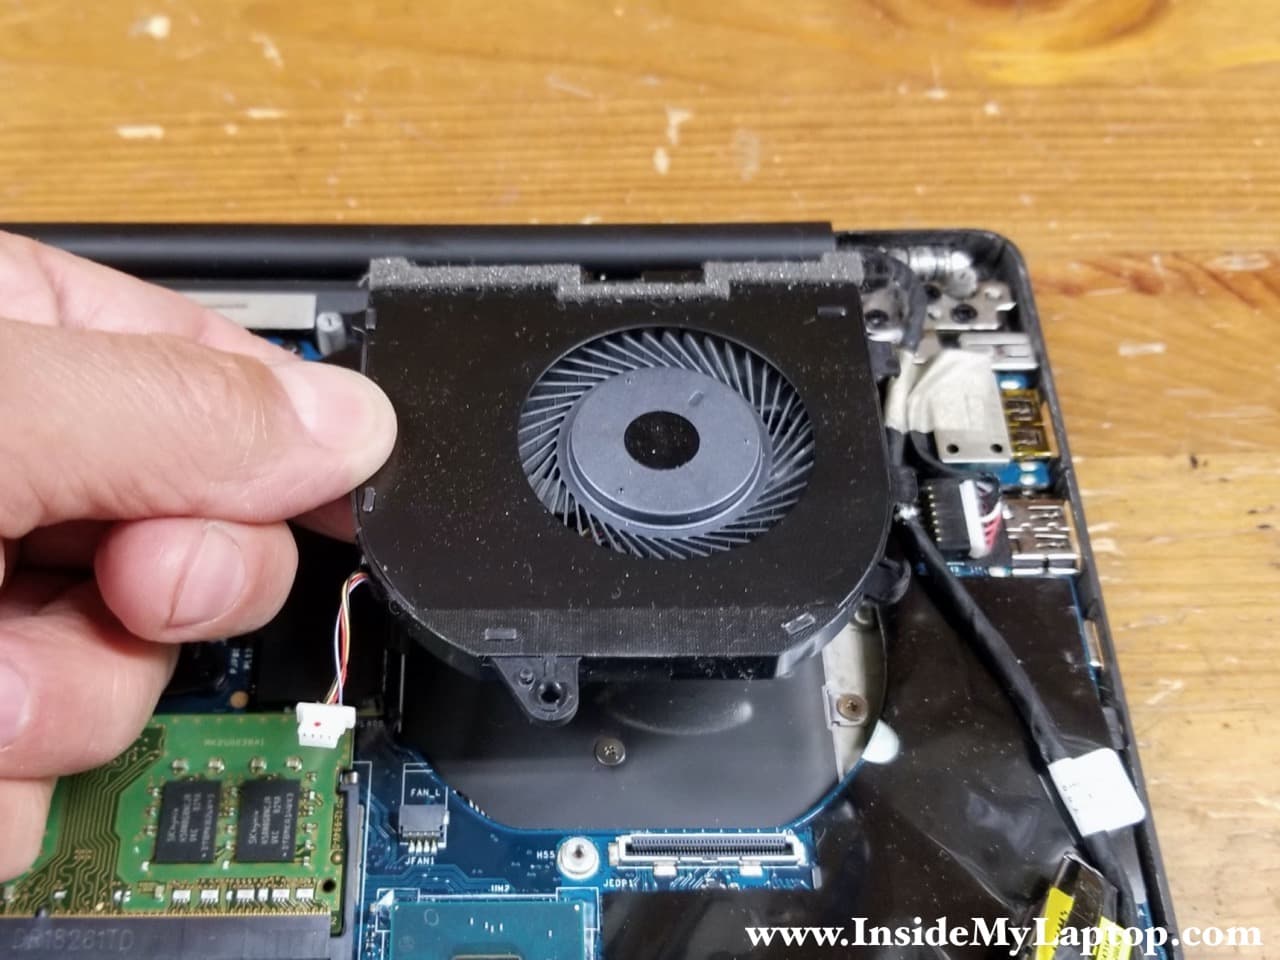
The left cooling fan part number: 008YY9.
DC power jack removal
STEP 12.
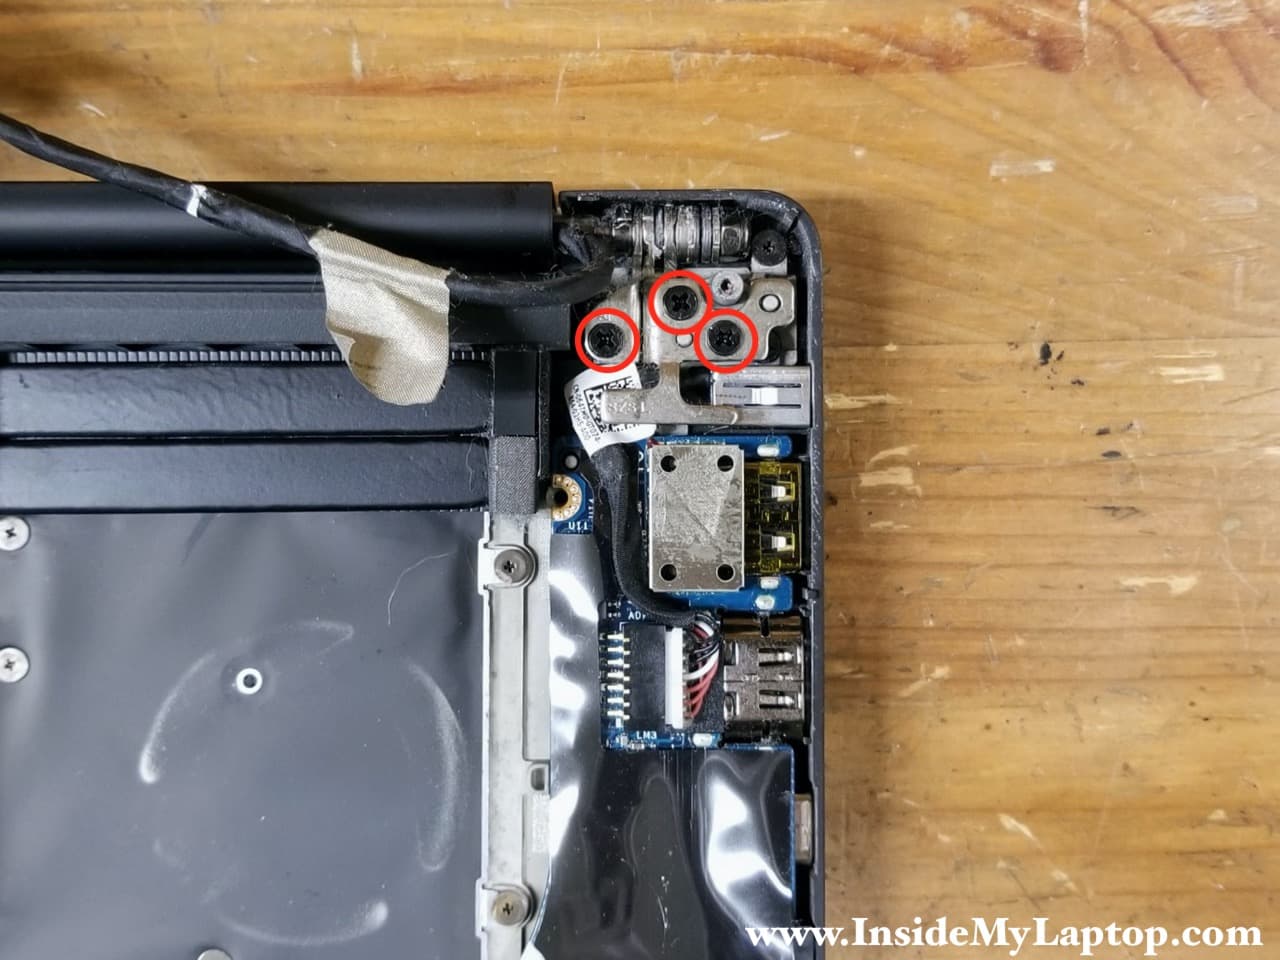
Remove three screws securing the left display hinge.
STEP 13.
Lift up the display hinge as it shown on the picture.

STEP 14.
Remove one screw securing the DC power jack and disconnect the DC jack cable from the motherboard.

STEP 15.
Lift up and remove the DC power jack.

For any further disassembly instructions please refer to Dell XPS 9550/9560 guide. It’s almost identical to XPS 15 9570 laptop.