
In this guide I’ll be taking apart Lenovo ThinkPad X1 Extreme (type 20MF) laptop.
Lenovo ThinkPad X1 Extreme design highlights:
– This model supports two PCIe NVMe solid state drives.
– There are two memory slots on the motherboard.
– Both cooling fans are attached to the heatsink.
– DC jack is attached to a cable.
For this disassembly you will need just one basic tool – Phillips screwdriver.
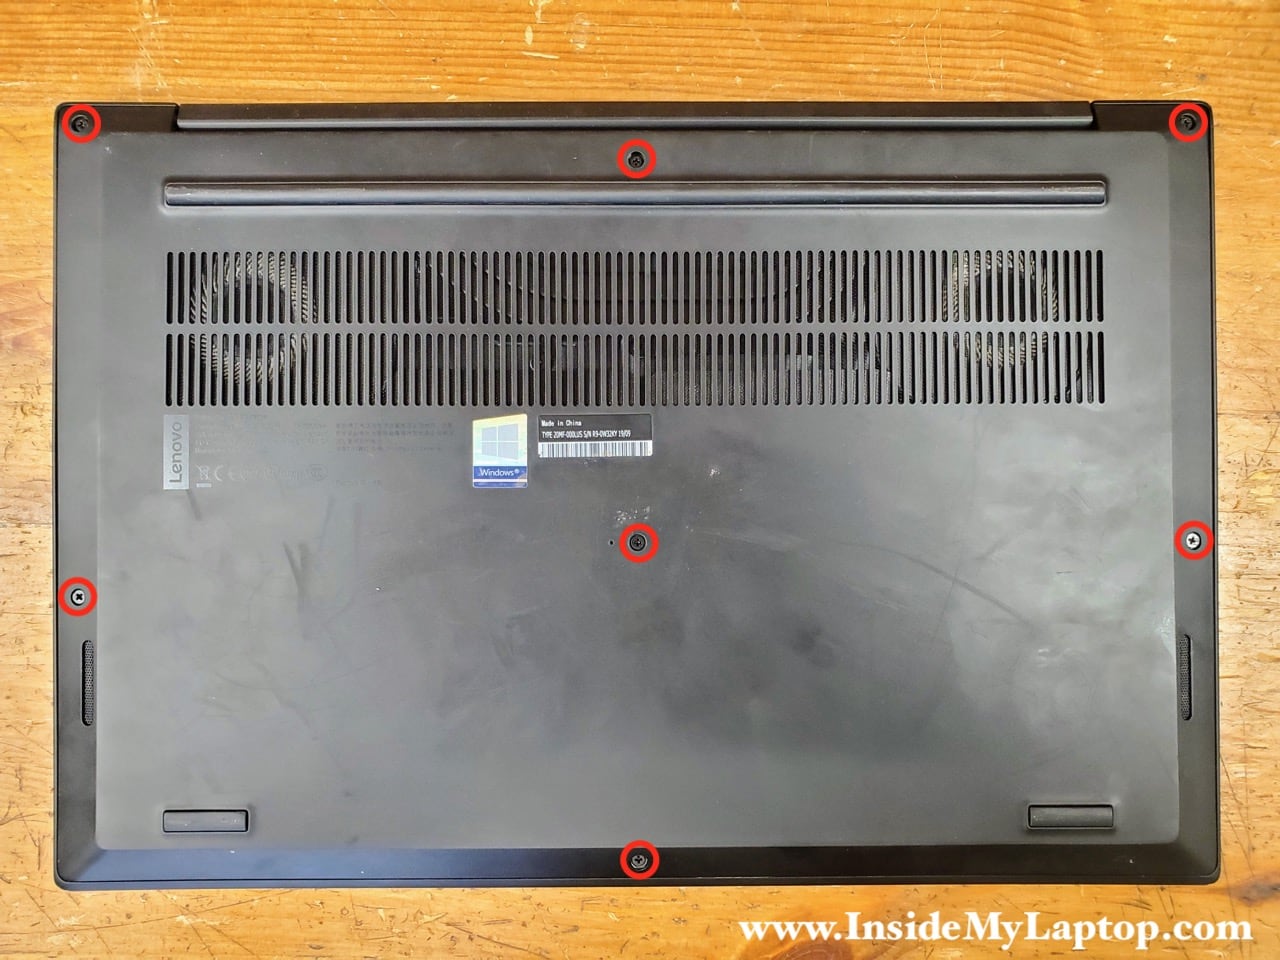
Bottom cover removal
Unscrew seven captive screws holding the bottom cover. These screws will remain attached to the cover when unscrewed.
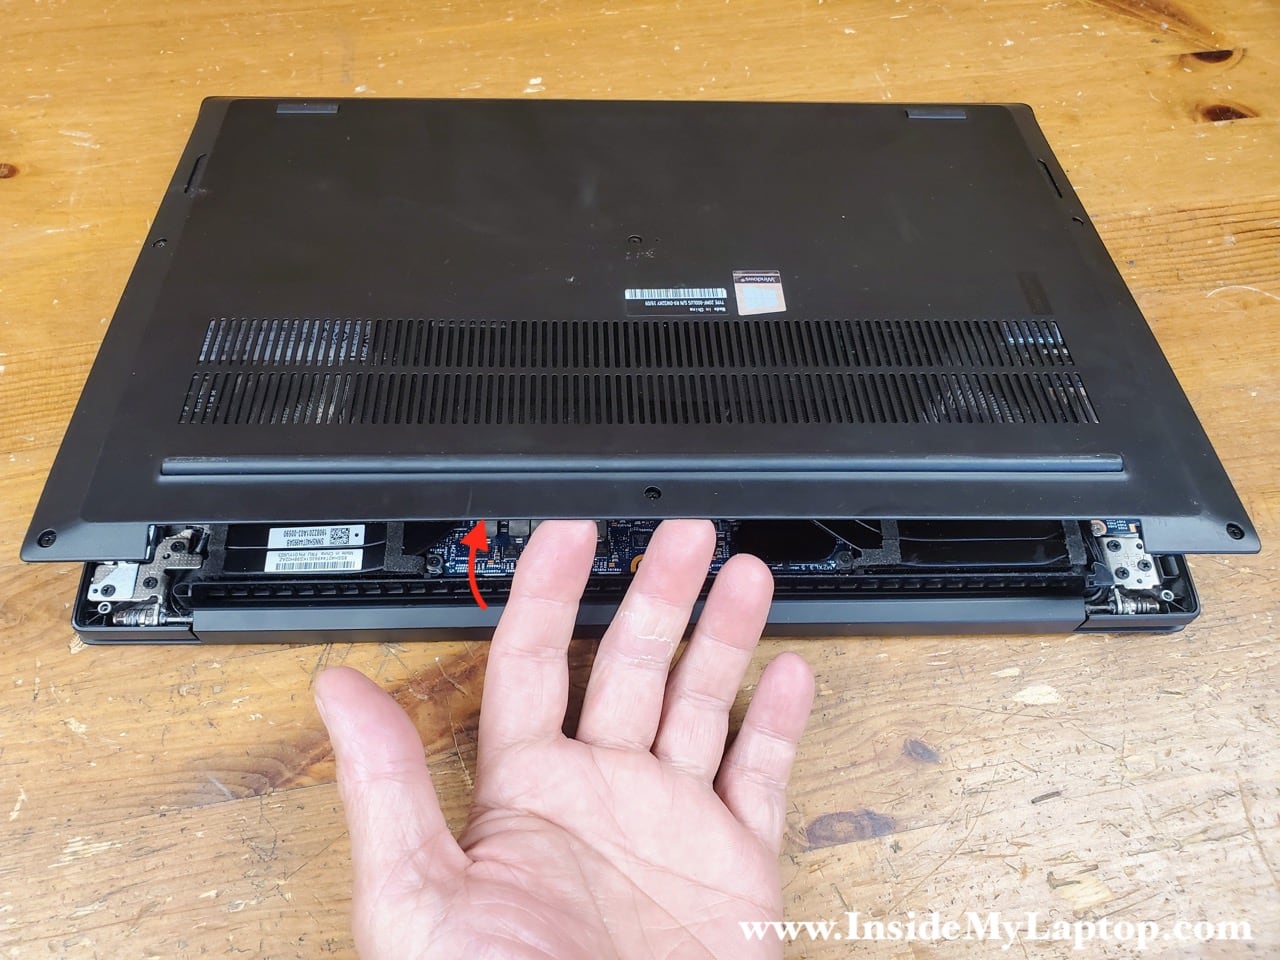
Remove the bottom cover starting from the back side of the laptop.
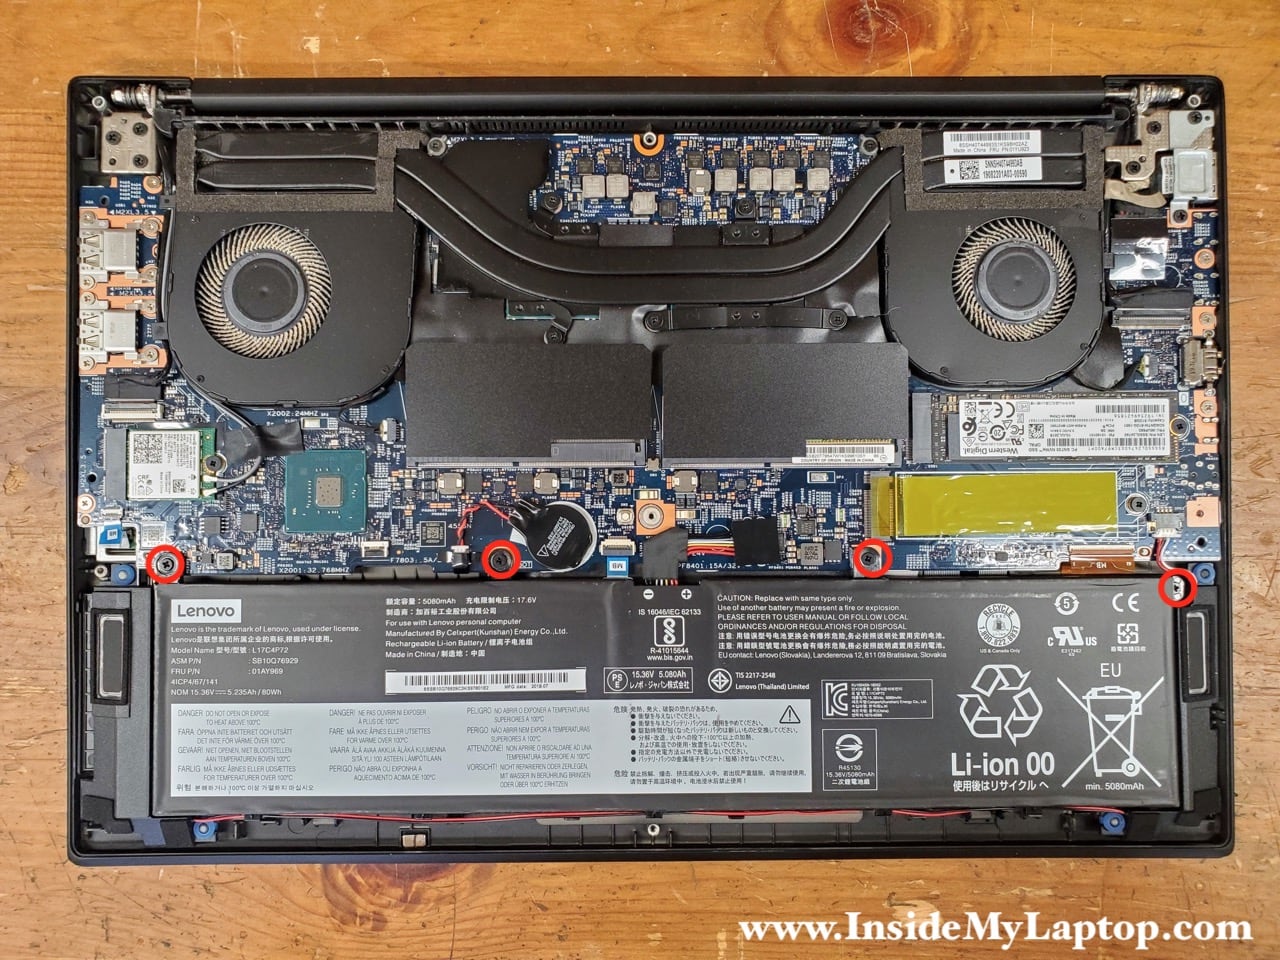
Battery removal and replacement
Remove four screws securing the battery.
The battery cable connector is a little bit tricky. Don’t just pull it up, you can damage the connector.

Carefully lift up the right side of the connector to release it from the connector housing on the motherboard.

Now lift up the connector while moving to the shown direction to separate from the housing.

When you remove the battery it will be necessary to un-route speaker cables from the guided path on the bottom of the battery.
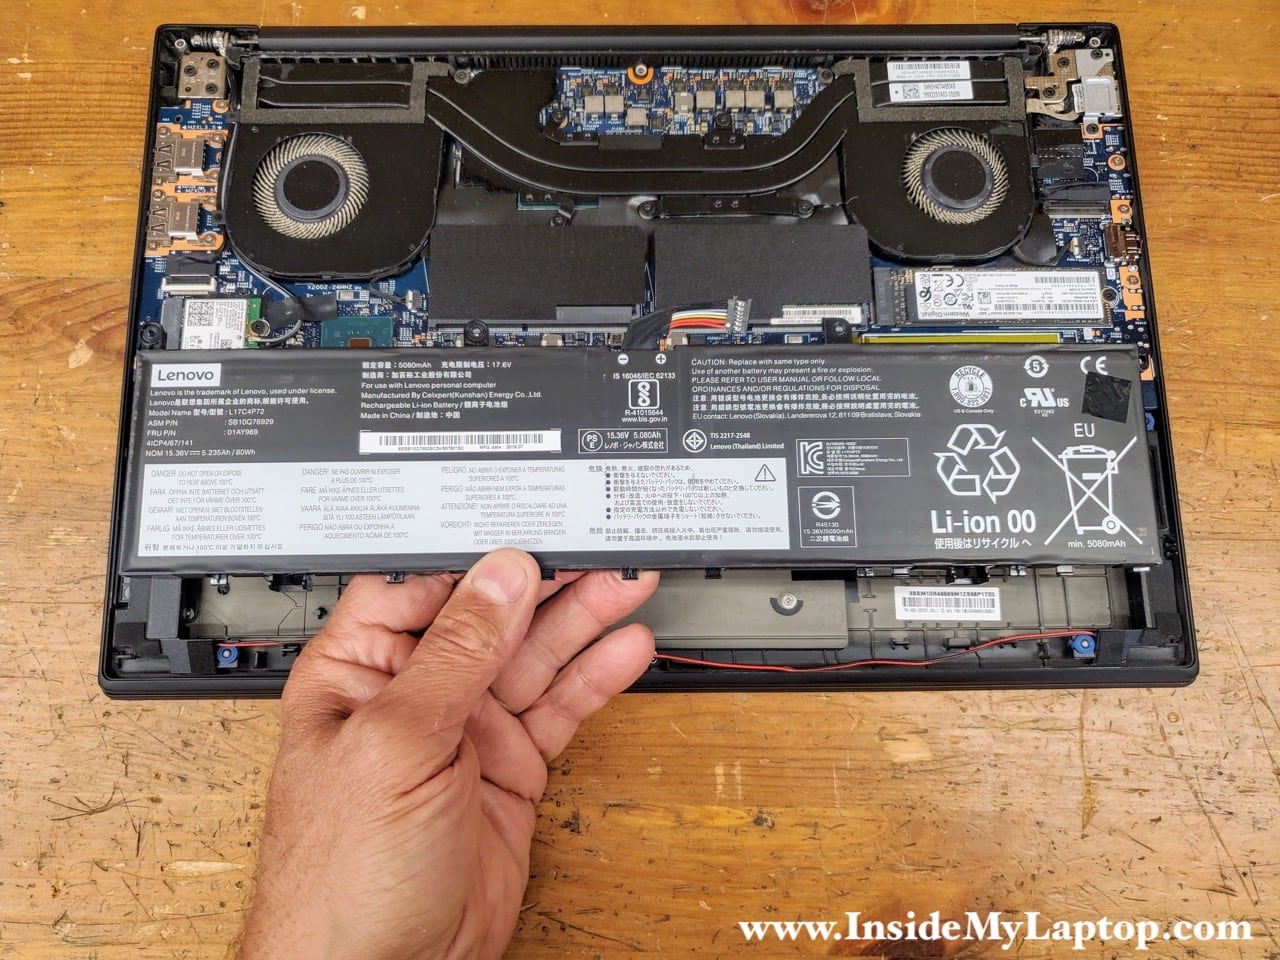
You can find a new replacement battery using model name L17C4P72 or Lenovo part number 01AY969. I recommend using genuine Lenovo batteries.

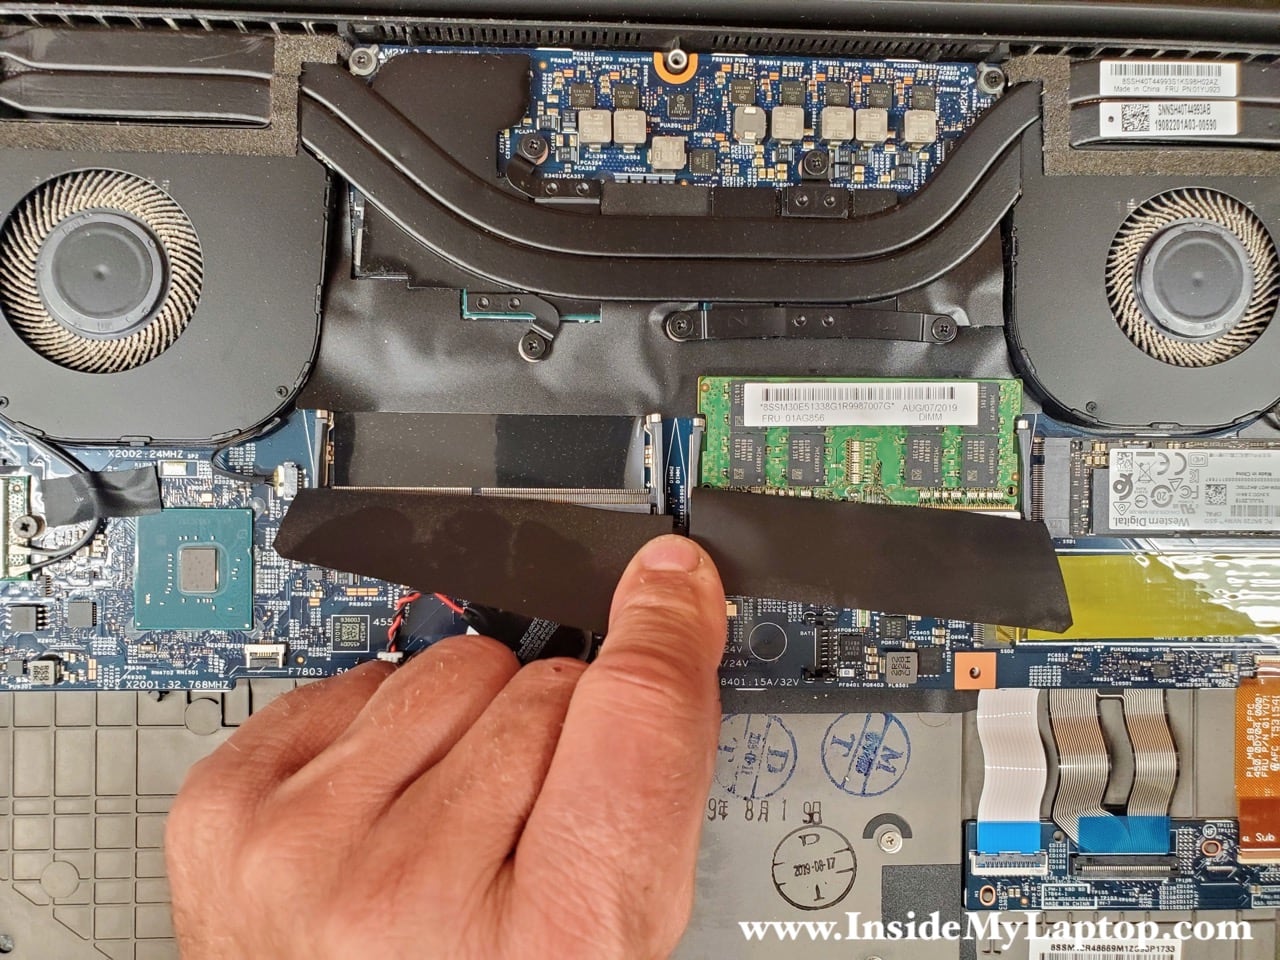
Memory removal and replacement
There are two memory (RAM) slots on the motherboard.
Lenovo ThinkPad X1 Extreme (type 20MF) laptop can handle up to 64GB RAM (2x32GB modules).
You can use DDR4-2666 or DDR4-3200 SODIMM modules.
I recommend using two identical size/speed RAM modules in both slots so it operates in dual-channel mode.
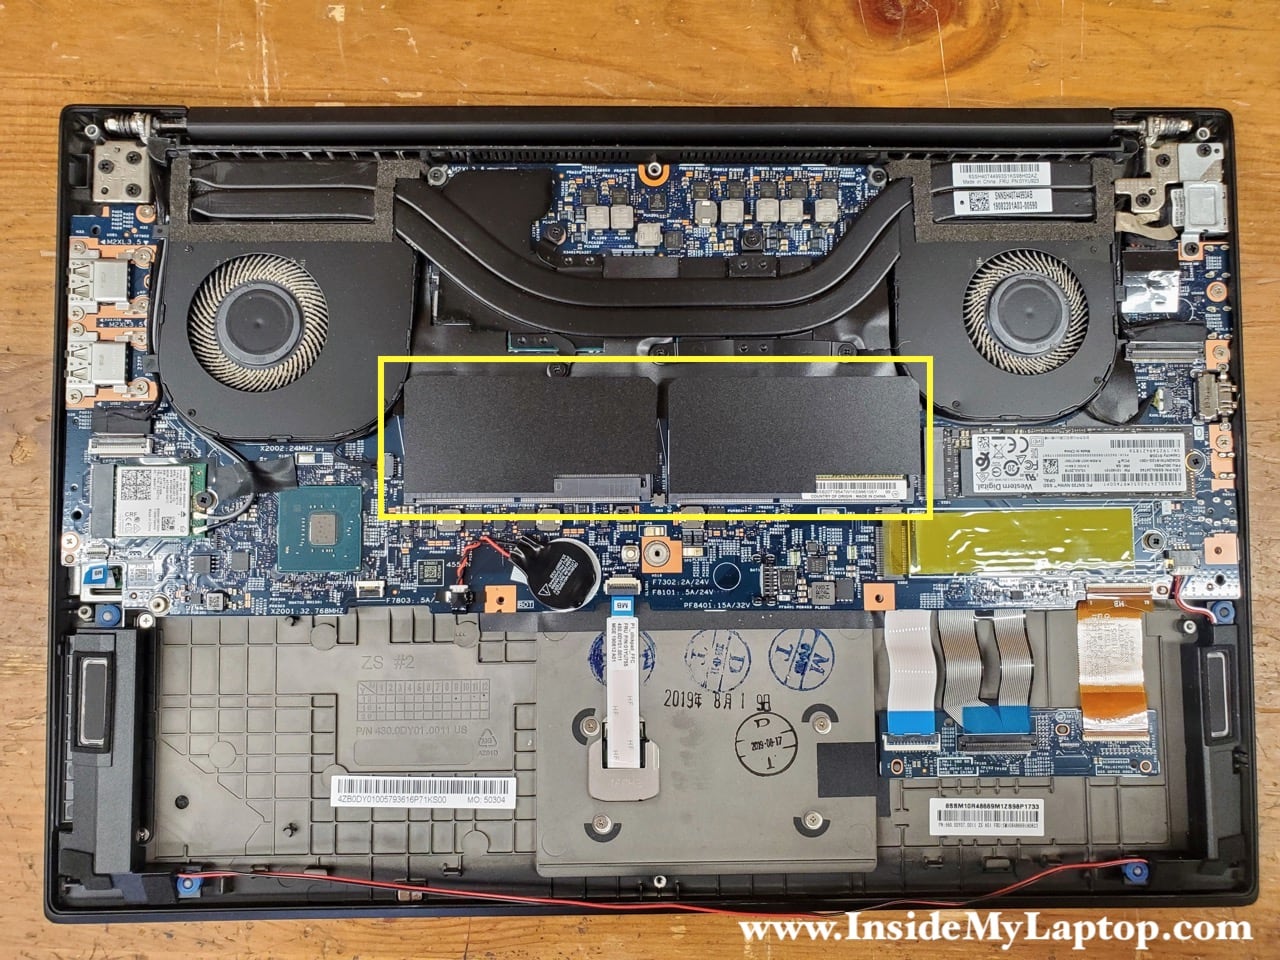
SSD removal and replacement
Remove one screw holding the solid state drive (SSD) in place.
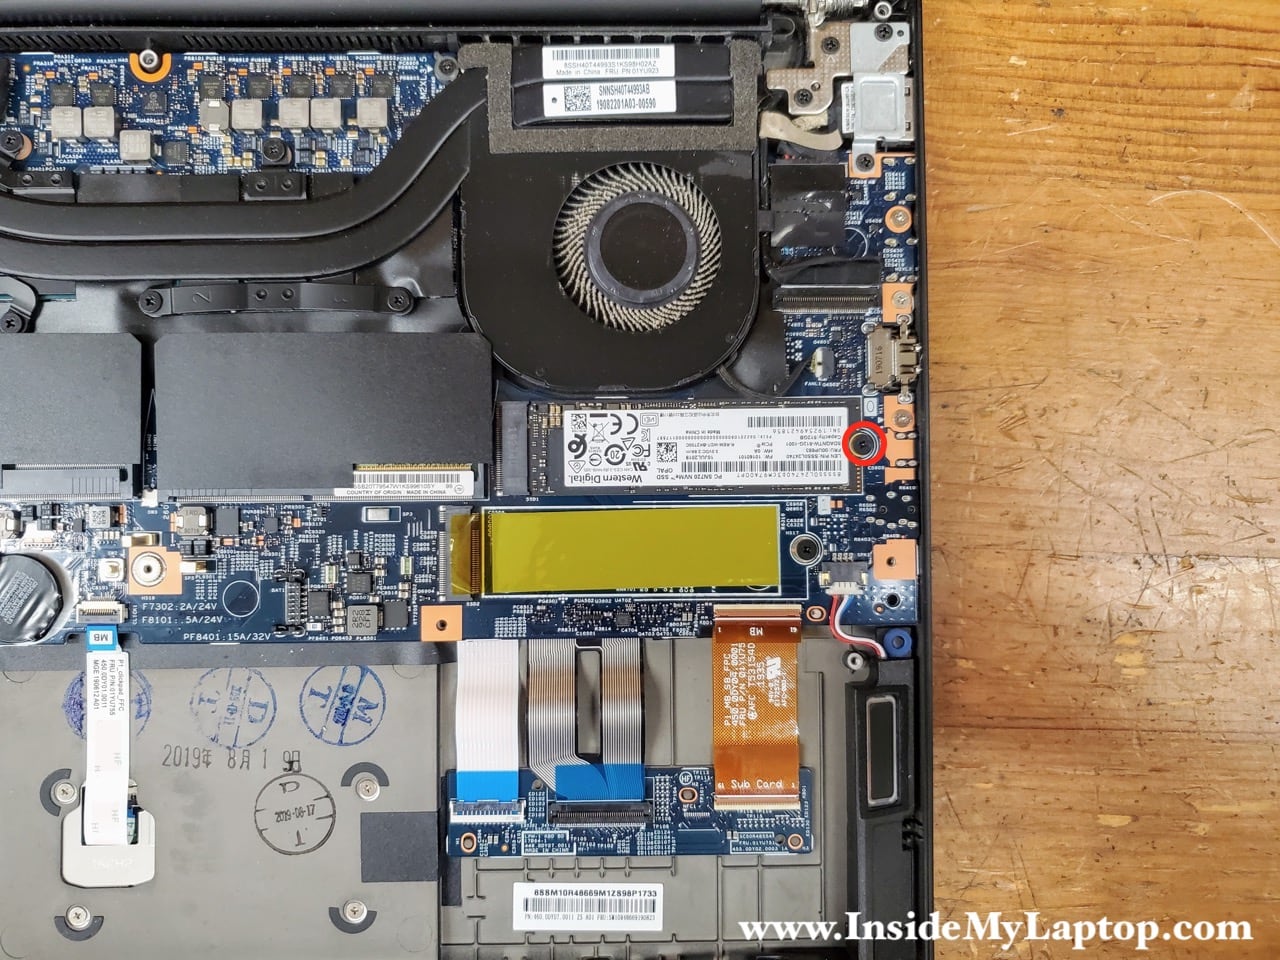
Lift up the right side of the SSD and pull it out of the slot.

Lenovo ThinkPad X1 Extreme laptop can support two M.2 PCIe NVMe Gen3 SSDs.
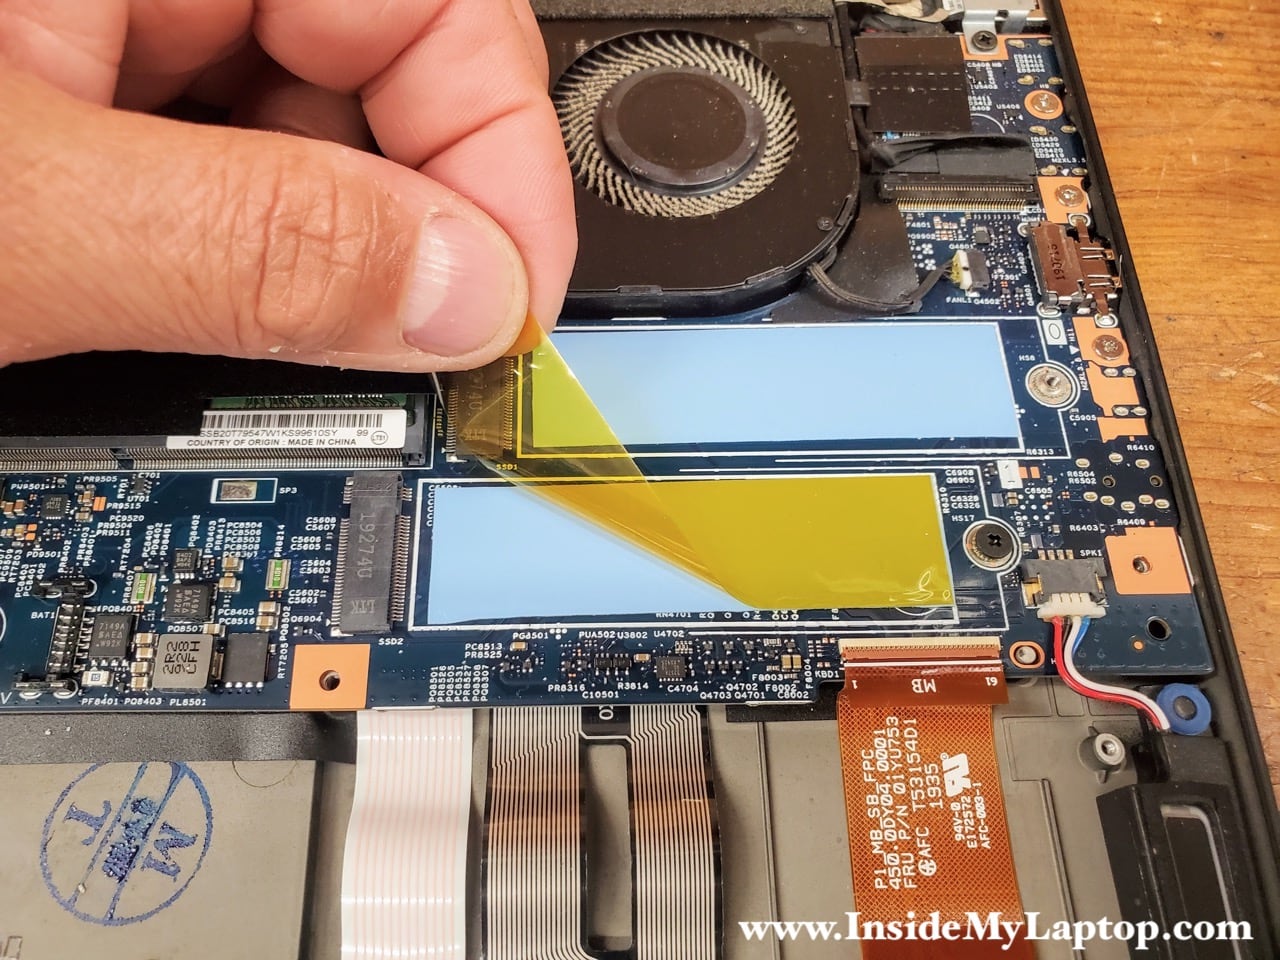
Do not remove blue thermal pad. Install new SSD right on top of it.
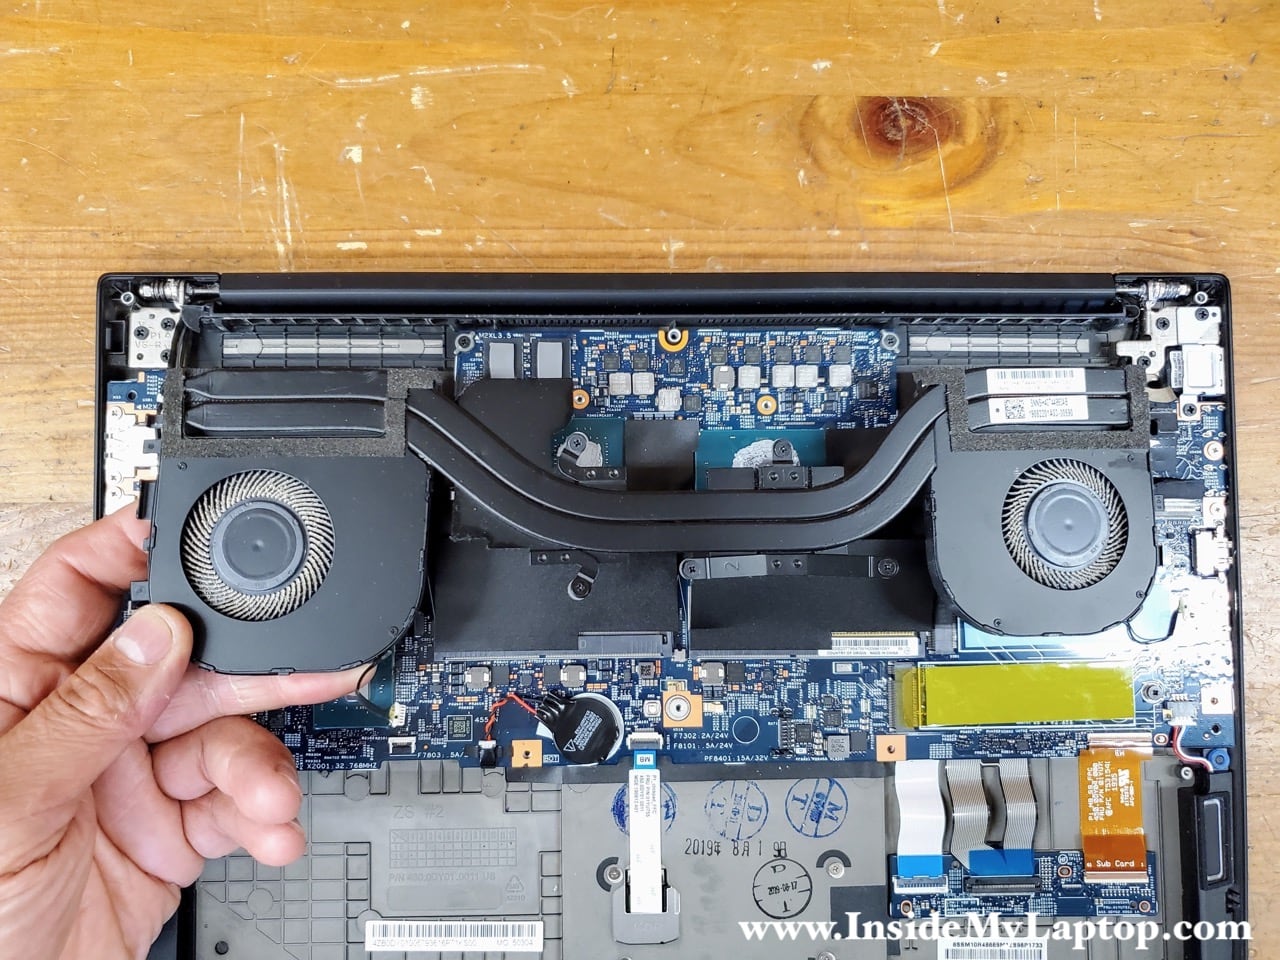
Cooling fans removal
Both cooling fans are attached to the heatsink.

Separate the wireless antenna cables and the webcam cable from the guided path on the left side of the fan.

Carefully pull the white connector to the left to disconnect the fan cable from the motherboard.

Now move to another fan. Separate the display cable from the fan and disconnect the fan cable from the motherboard.

Unscrew five captive screws attaching the heatsink to the processor. These captive screws will remain attached to the heatsink.

Carefully lift up and remove the cooling fan assembly. If thermal grease is dry, it might be necessary to apply some reasonable force to separate the heatsink from the chips.
Here’s the picture of the other side of the cooling fan assembly.

If you need to replace the cooling module, you can find a new one using this Lenovo spare part number: 01YU923.

Power connector removal and replacement
In this laptop the power connector (DC jack) is attached to a harness and can be easily removed and replaced without de-soldering the jack.
Remove four screws securing the display hinge and the DC jack bracket.

Lift up and remove the DC jack bracket.

Open the display hinge as it shown on the following picture. The hinge has to be opened up because the DC jack LED is mounted under the hinge.

Now you can access the DC jack.

Disconnect the DC jack cable from the motherboard and remove it.
You can find new replacement DC jack harness using this Lenovo part number: 01YU754.
