
Soldered DC jacks are very common these days. A wide variety of laptop motherboards have the DC jacks built-in and it is not very convenient for repair.
In this post I explain the steps I go through during the process of removing and replacing a regular DC jack soldered to a regular laptop motherboard. A full description of the equipment and supplies shown in this guide available here.
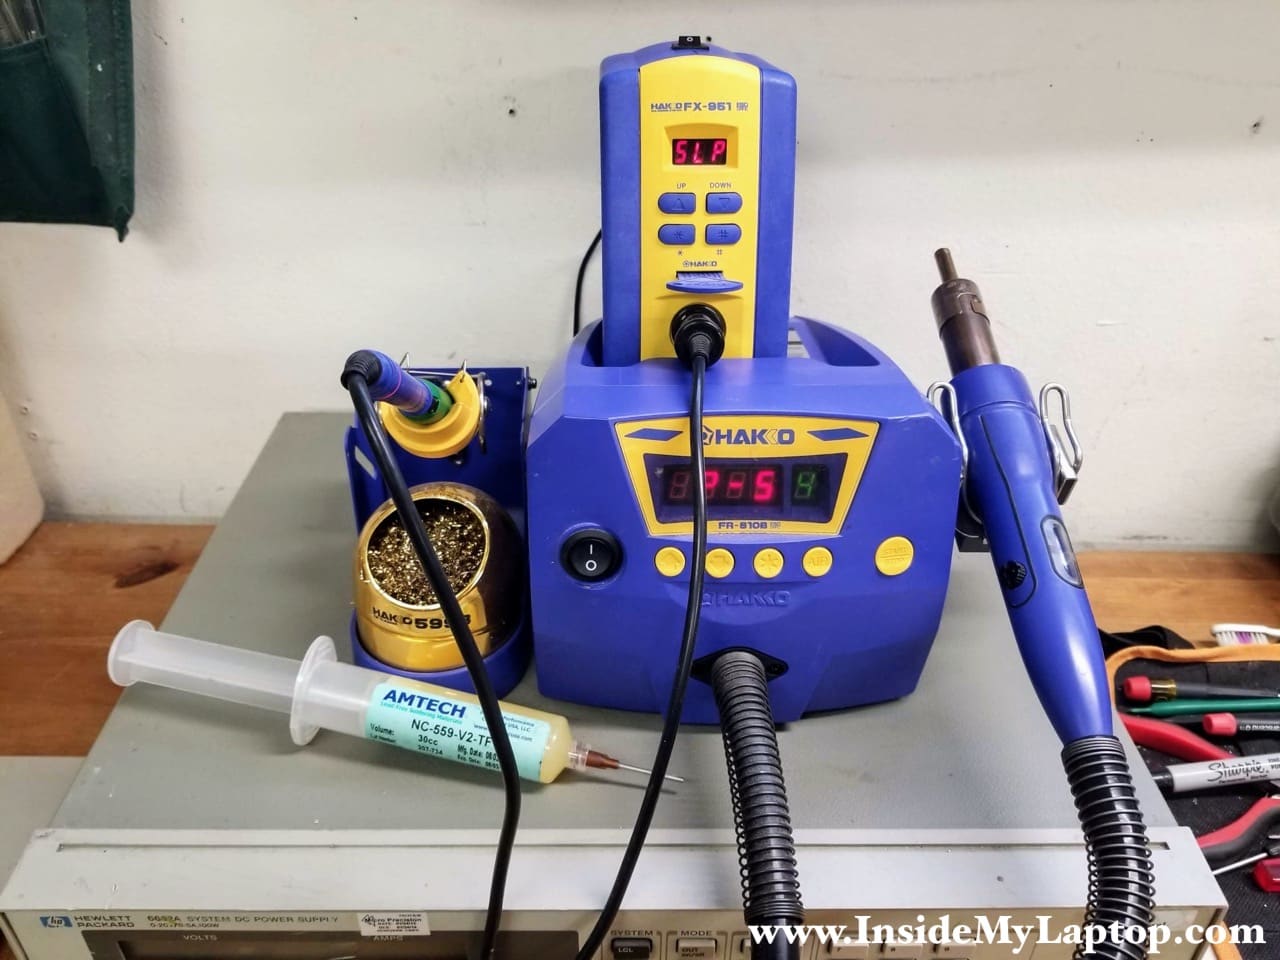
Replacing a soldered DC jack could be a real pain if you are trying to use a cheap soldering iron. They are just not hot enough to effectively melt lead-free solder used in modern circuit boards. I’ve tried multiple 35-60Watt stations and they just don’t work well.
Here’s my current setup which works very well for my purposes. Hakko FX951 75 Watt soldering station and Hakko FR-810B hot air rework station. Not cheap but worth it. I wouldn’t recommend less than a 70 Watt iron for replacing soldered DC jacks.
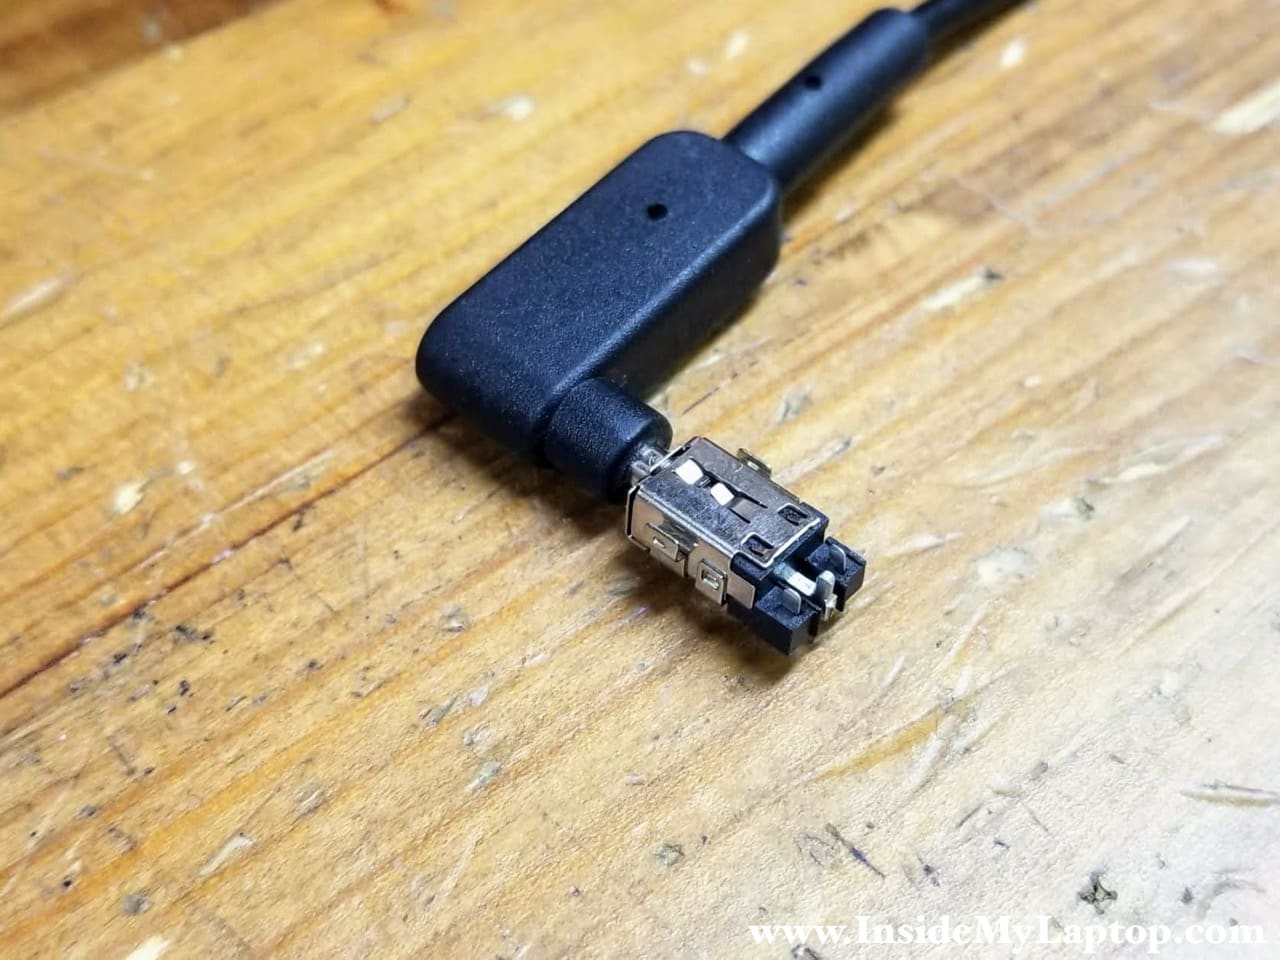
Examine the new DC jack
When you receive a new replacement DC jack, compare it side by side with the original one. Make sure it’s the right size and looks identical.

Also, it’s a good idea to plug the AC adapter into the new DC jack to make sure it fits tightly. Some DC jacks look identical from outside but have different internal diameters.
Four ways to remove soldered DC jack
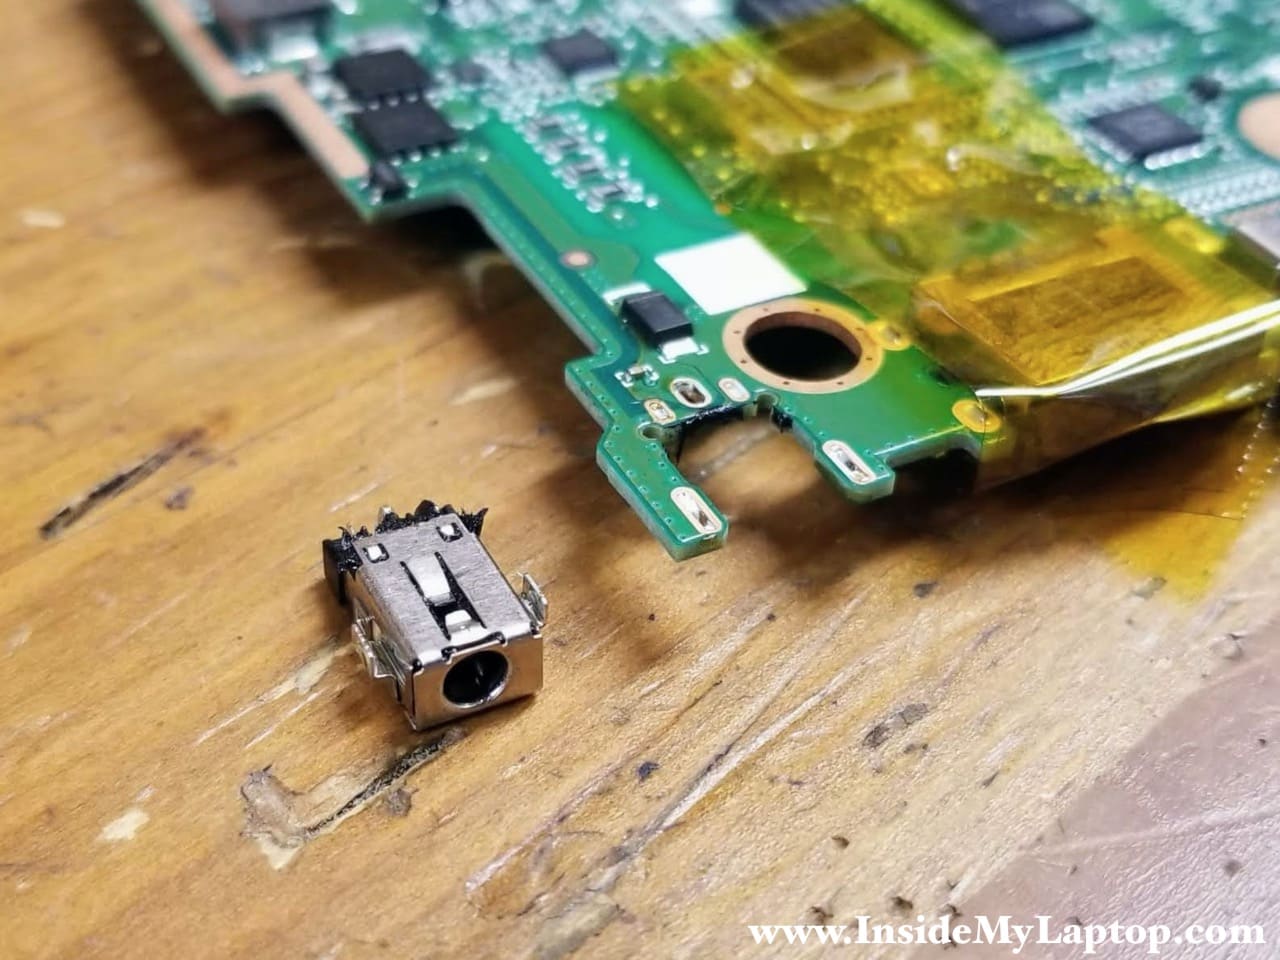
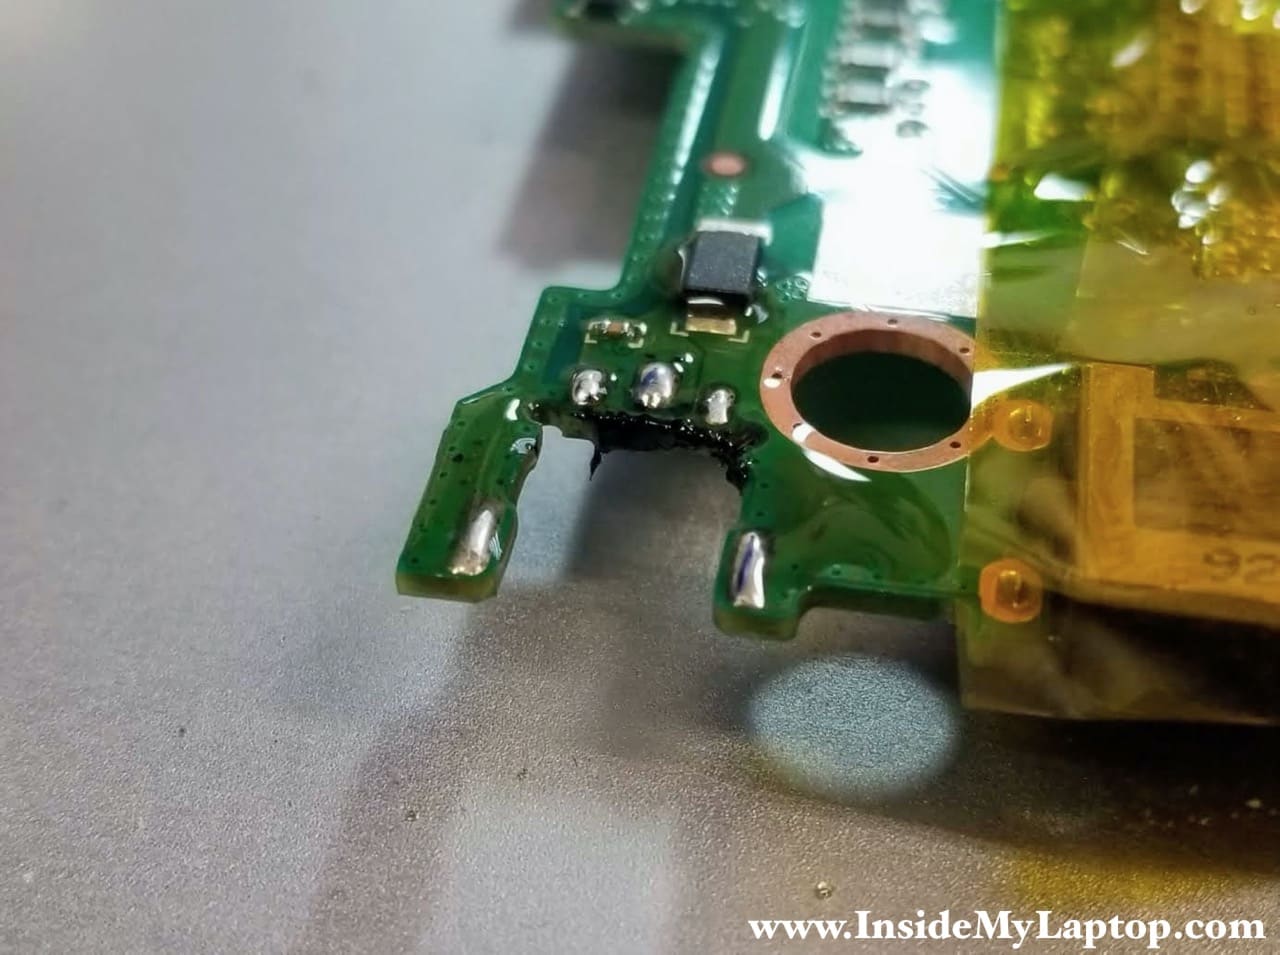
Removing the old DC jack from the motherboard is the hardest part in the entire process. A regular laptop DC jack has a few legs soldered to the motherboard. Your goal is removing the old solder completely in order to free up the failed/damaged DC jack.
There are four different ways to remove the old DC jack from the motherboard and all of them need some practice.
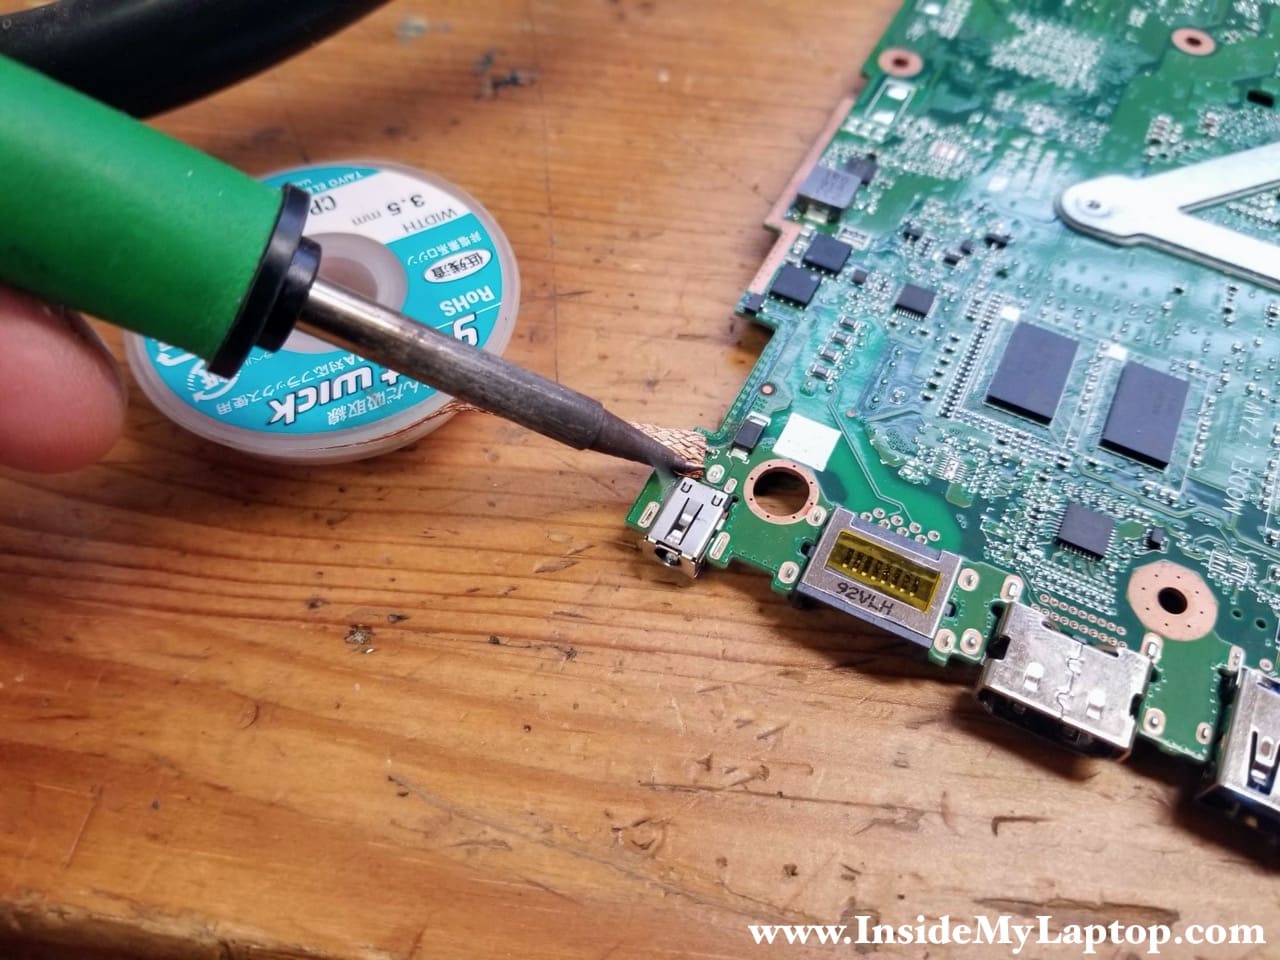
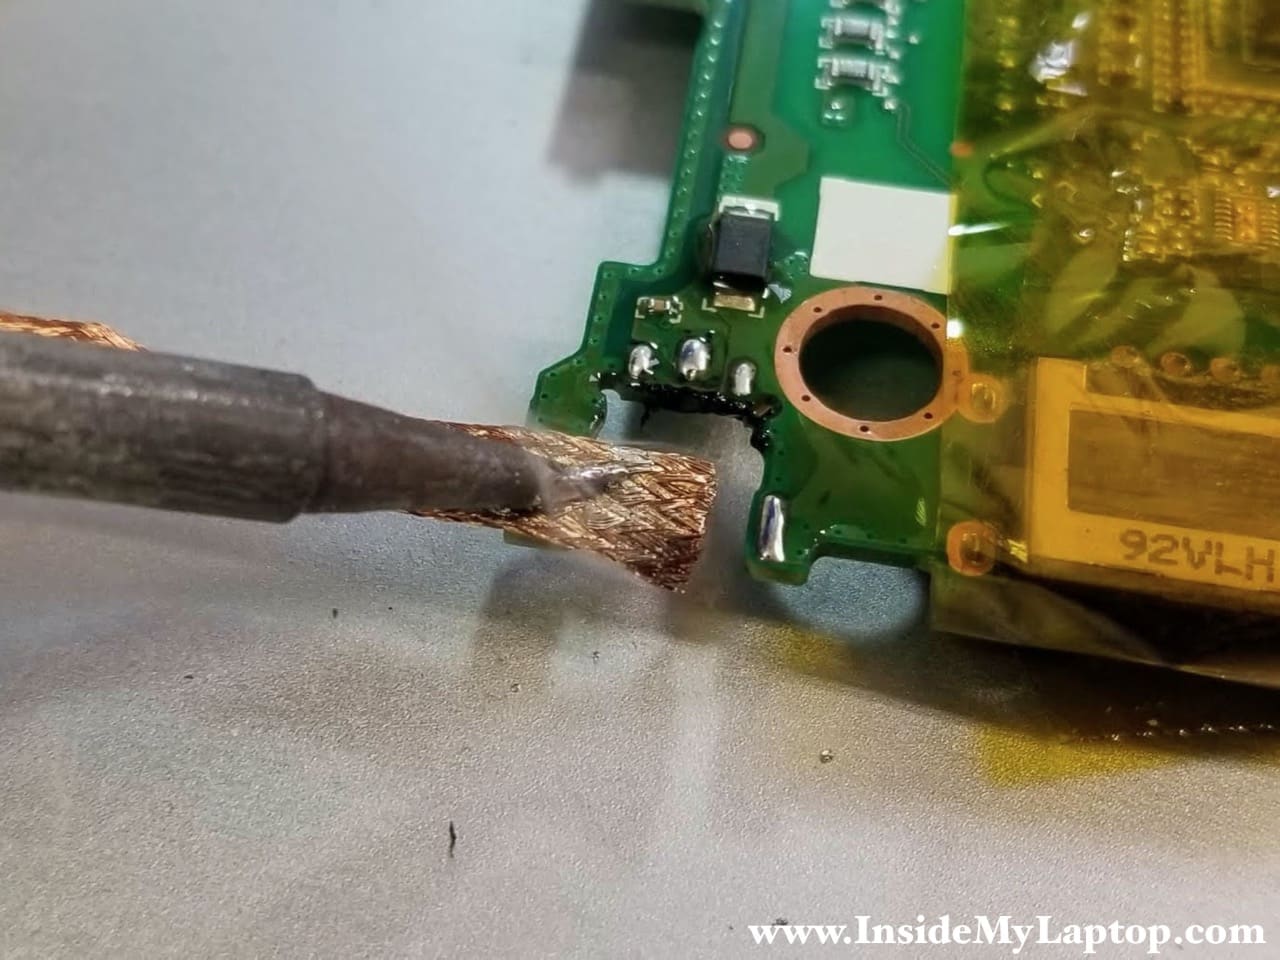
1. Desoldering wick
The first way is using desoldering wick – a braided copper wire that allows you to remove solder from the plated through mounting holes on the motherboard. Simply press the braid onto the soldered joint with the preheated soldering iron tip. As solder melts up, it flows into the braid. It might take a few attempts to empty the plated through mounting hole completely
I usually keep my soldering station at 840°F (450°C). Some people might say it’s way too hot, but that’s my personal preference.
Before using desoldering wick, I strongly advise you preheating the solder joints and adding some fresh leaded solder to make it flow better.
I’m using Kester 63/37 .015 DIA flux-cored wire and Goot Wick 2.5mm or 3.5mm desoldering braid.
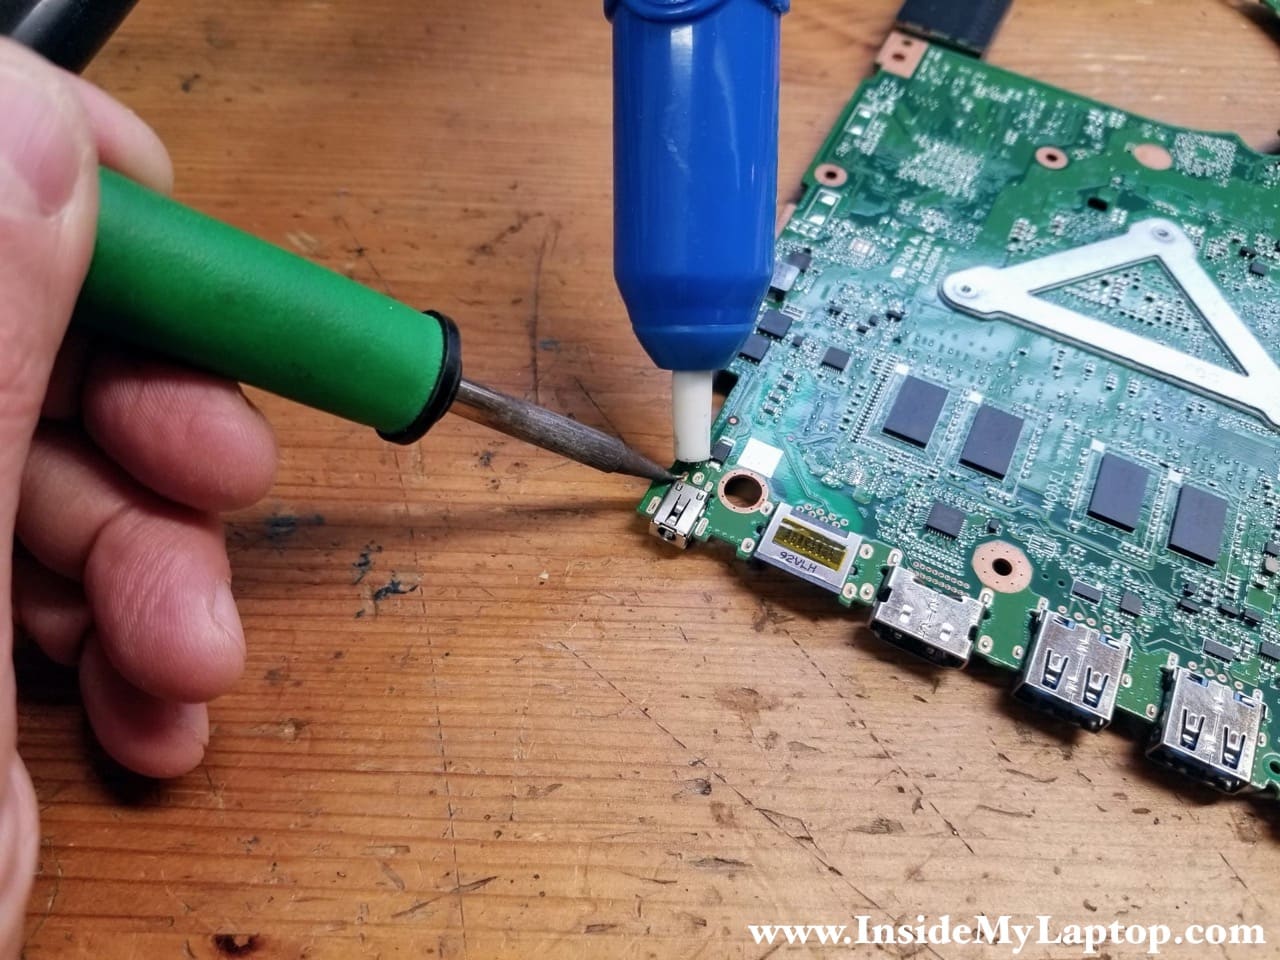
2. Desoldering pump
A desoldering pump commonly used in combination with the desoldering wick. It helps to remove stubborn solder from the inside of a plated through hole.
Wait for the joint to completely melt before sucking out the solder. If you suck too soon, you may not be able to melt the joint properly any more. If stubborn solder won’t leave the hole, add more fresh leaded solder to the joint and try sucking it out again. It might take a few attempts to clean up the hole completely.
3. Removing DC jack pins individually
Some laptop DC jacks have a plastic body. In this case you can cut all the plastic away with side cutters, leaving just the metal pins soldered to the motherboard. After that you can remove each pin individually with a soldering iron and a pair of needle-nose pliers. I don’t like this method because there is a high chance of damaging the motherboard.
4. Hot air station
The fastest, safest and most efficient way to remove the old DC jack is using a hot air rework station. The hot air can melt solder in all plated through mounting holes at the same time making the removal process a breeze.
Before using the hot air station I strongly advise covering all surrounding plastic components with high temperature resistant Kapton tape to prevent any accidental damage.
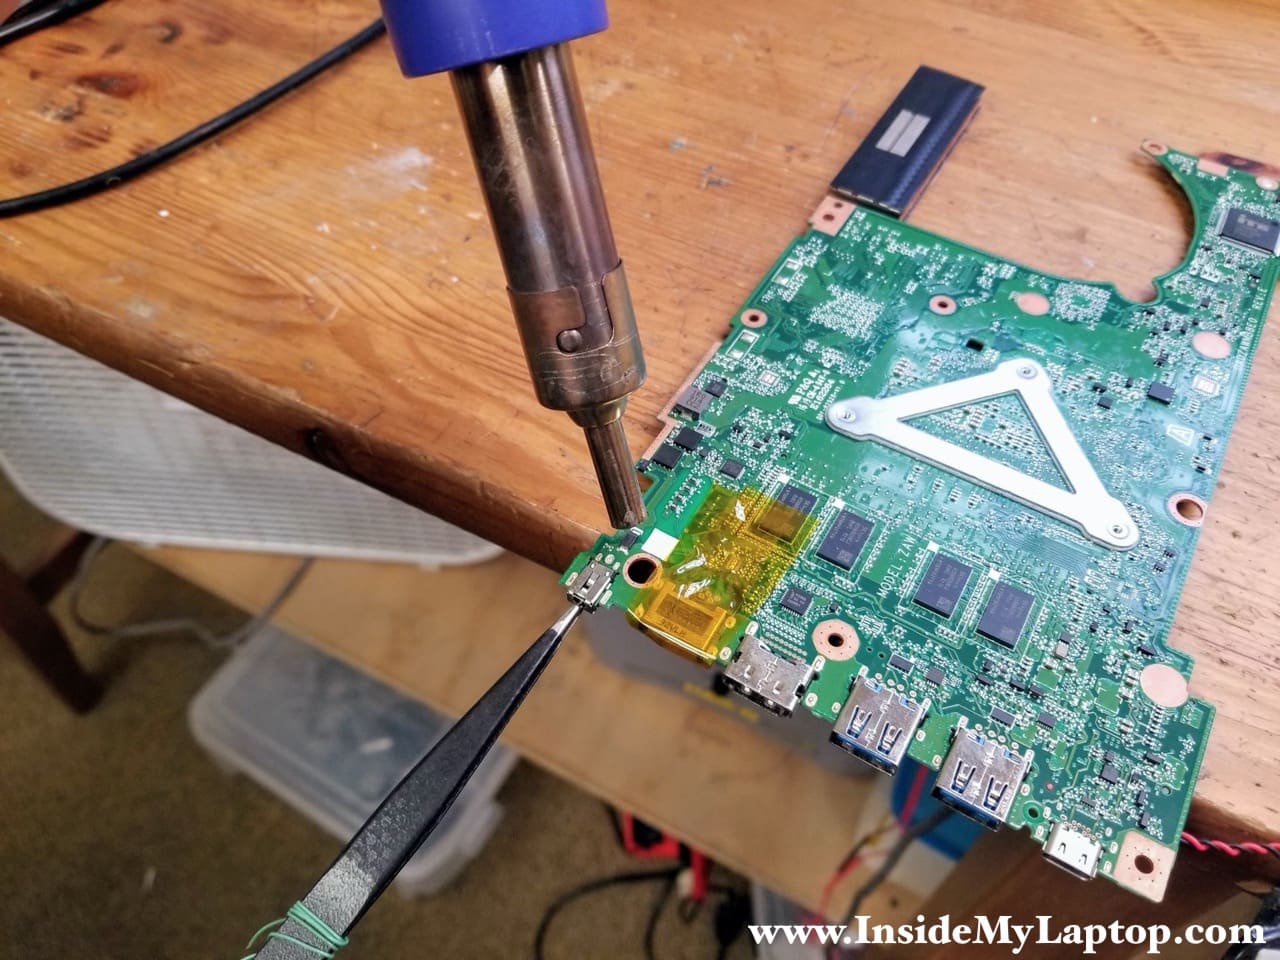
Position the motherboard on the edge of desk and grab the DC jack with tweezers. Heat up the area using hot air station and start pulling the DC jack downwards. As the solder melts, the DC jack simply falls through.
On my Hakko FR-810B I’m using a 6-7mm air nozzle. The temperature is set to 840°F (450°C) and the airflow to 4 out of 9. Using the hot air station allows me to remove any DC jack in less than a minute.
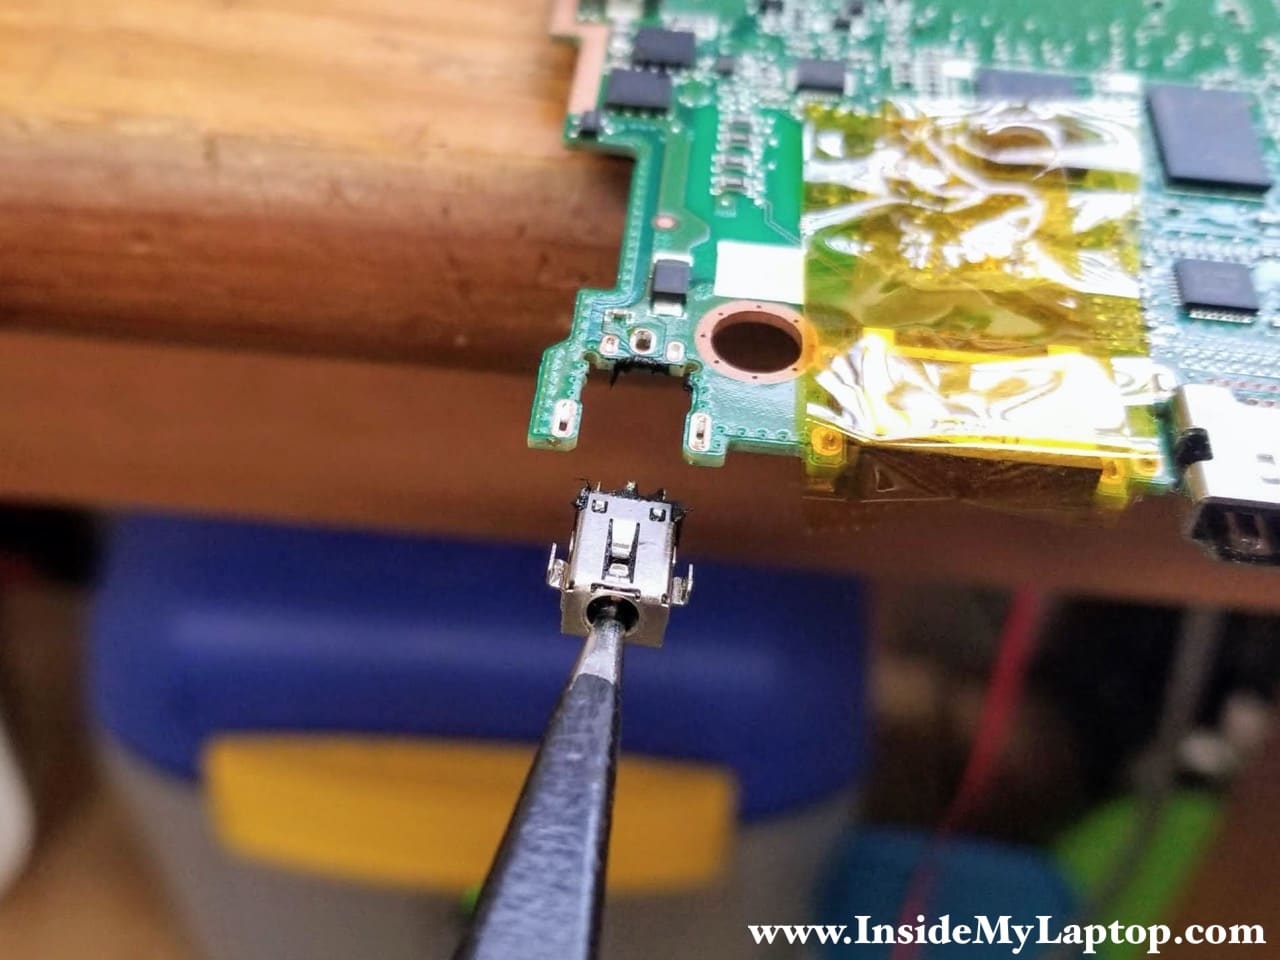
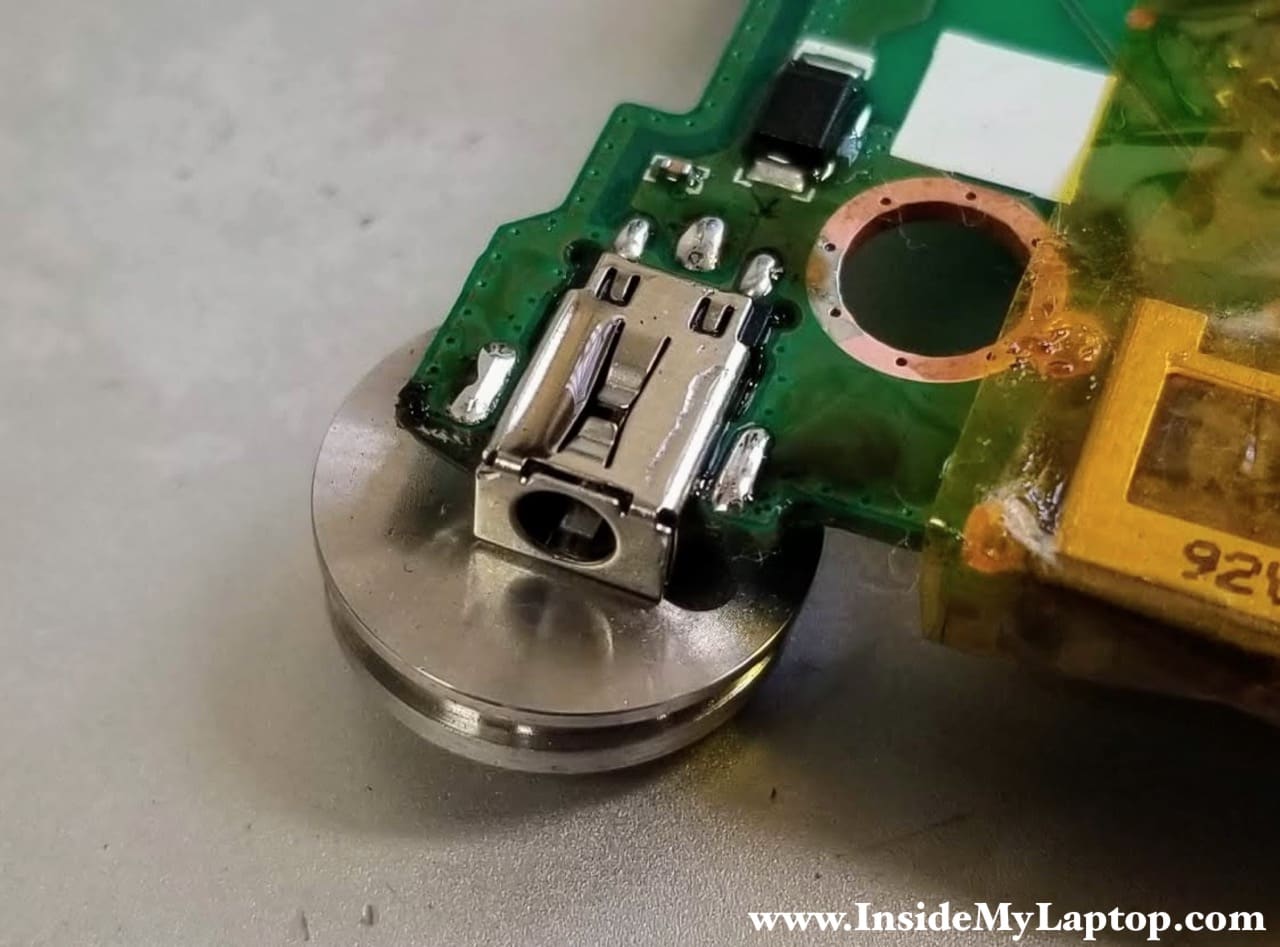
Remember the orientation of the original DC jack. It can fit both ways, the correct one and upside down.
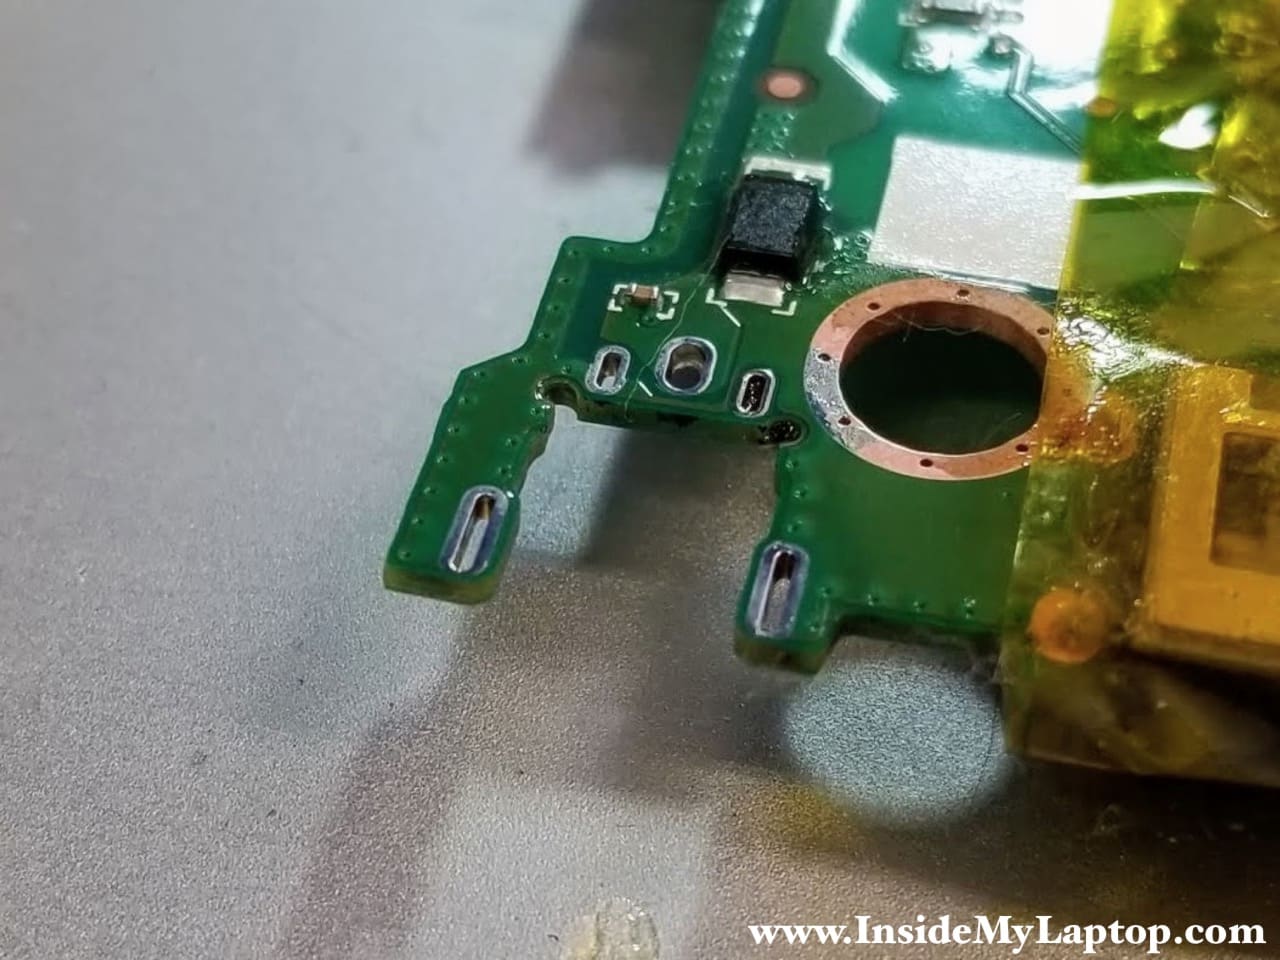
Preparing the motherboard
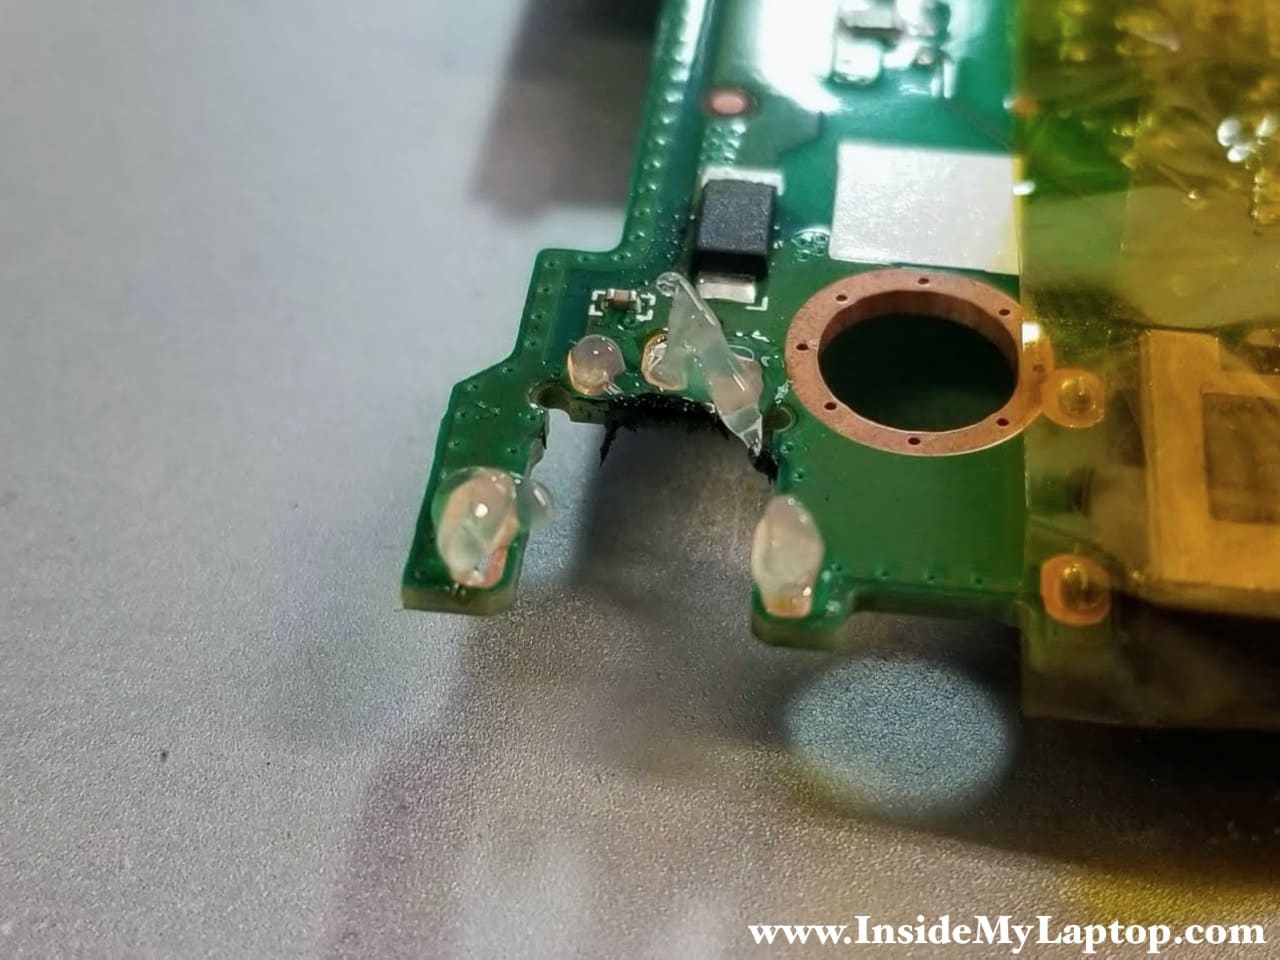
After removing the old DC jack we have to prepare the motherboard for the new one. It’s very important to coat all plated through holes properly before installing the DC jack.
Apply generous amount of flux to all soldering terminals. I’m using AMTECH Solder Flux NC-559-V2-TF. More flux is better because it makes the solder flow. You can always cleanup the excessive flux residue later with a cotton swab and 99% isopropyl alcohol.
Apply fresh solder to all terminals. Make sure when solder melts and flows through the plated holes to the other side of the motherboard.
Remove the solder using desoldering wick or desoldering pump, whatever you prefer.
All plated through holes must be properly coated with fresh solder.
Soldering a new DC jack back in place
Fit the new DC jack on the motherboard. Make sure the orientation of the jack is correct and it seats properly.
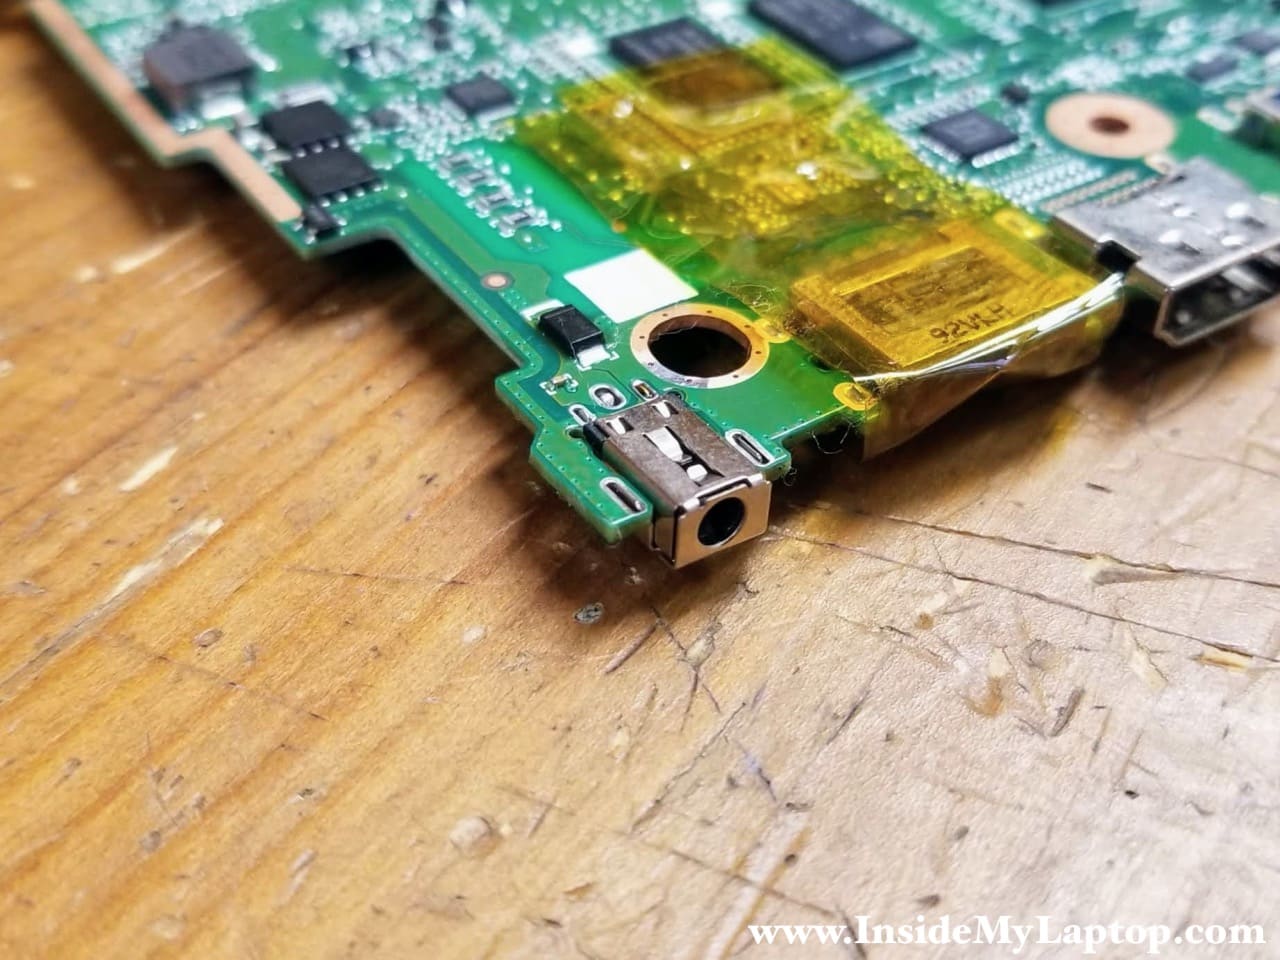
I usually put something underneath the jack to elevate it.

Apply generous amount of flux to all soldering terminals.

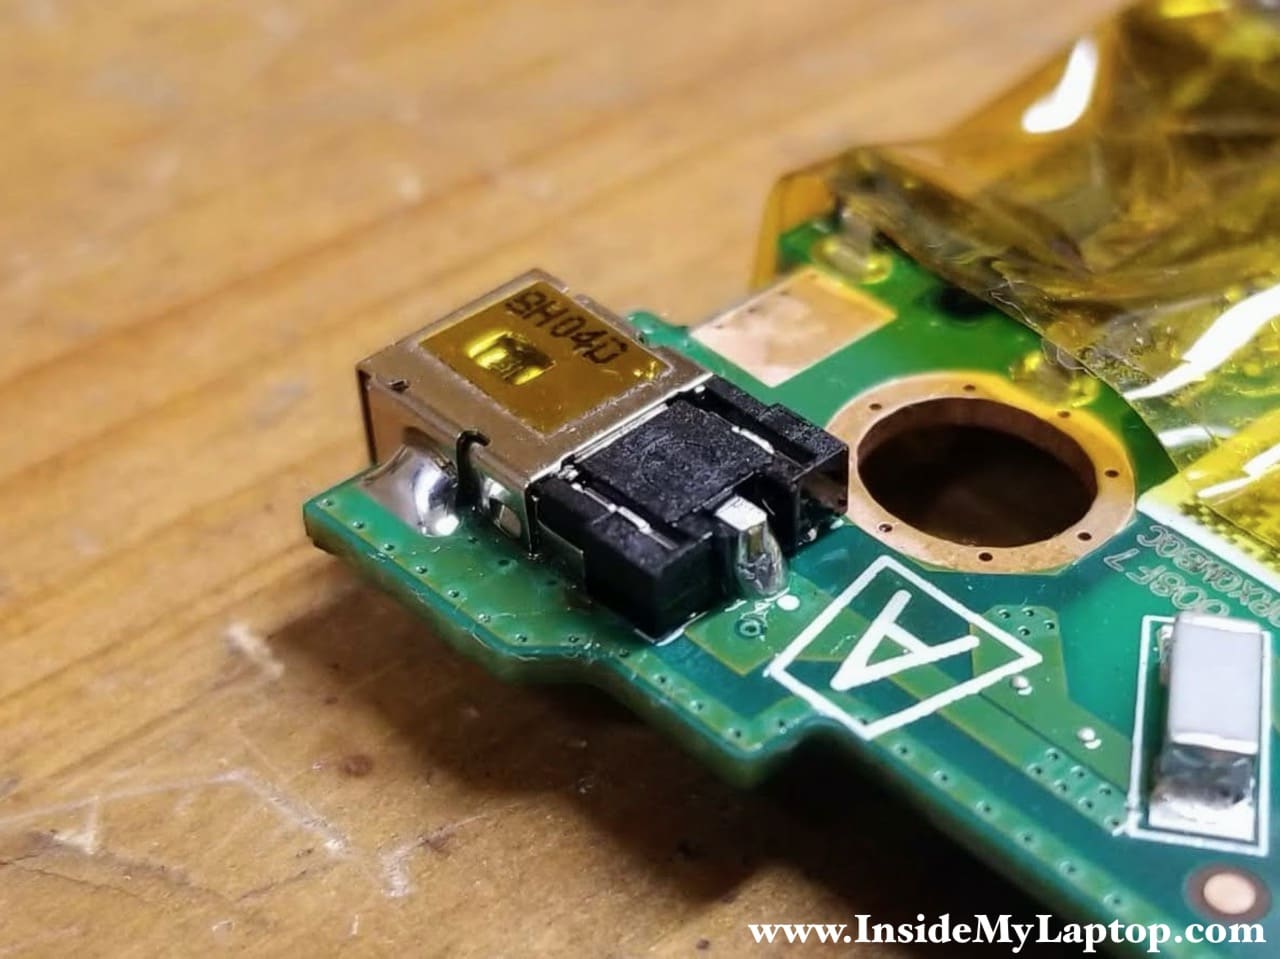
Solder the pins one by one. The flux allows the solder to flow through and solder each pin inside the plated through hole. Cleanup the excessive flux residue with alcohol.
Check the other side of the motherboard. Make sure the new DC jack is properly soldered on both sides of the motherboard.
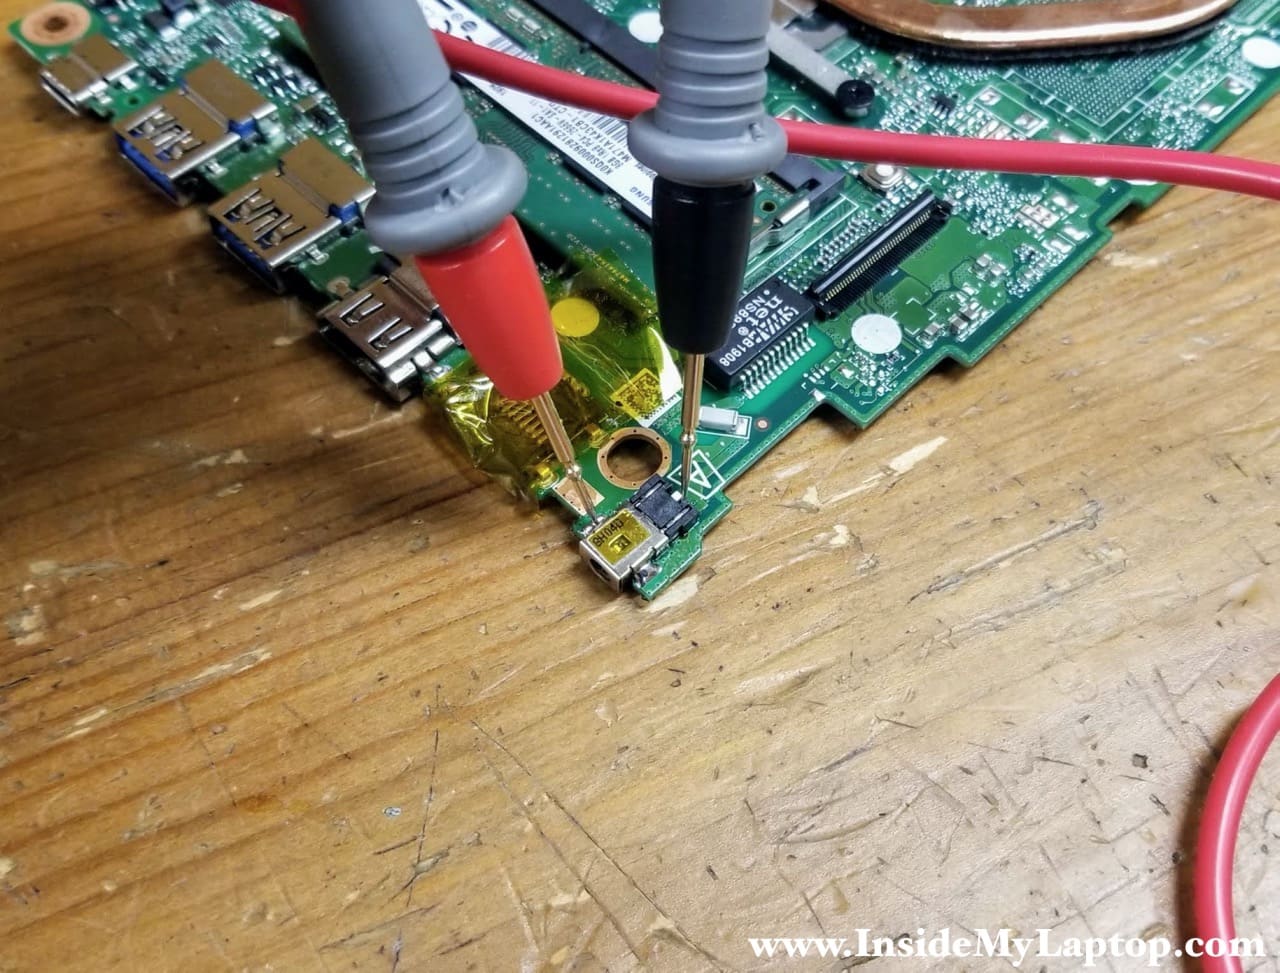
Finally you can test the new DC jack with a multimeter to make sure there is no short between the “+” and ground terminals.
Steve
Thanks for the write up!