
In this guide I disassemble a Lenovo Yoga 7 15ITL5 (model 82BJ0003US) laptop.
Lenovo Yoga 7 15ITL5 design highlights:
– This laptop has a PCIe Gen3 NVMe solid state drive installed.
– All memory is onboard – permanently soldered to the motherboard.
– The cooling fan is attached to the heatsink but can be removed.
– The keyboard is riveted to the top case.
For this disassembly you will need three essential tools: T5 Torx screwdriver, PH0 Phillips screwdriver. A case opener tool and tweezers are optional.
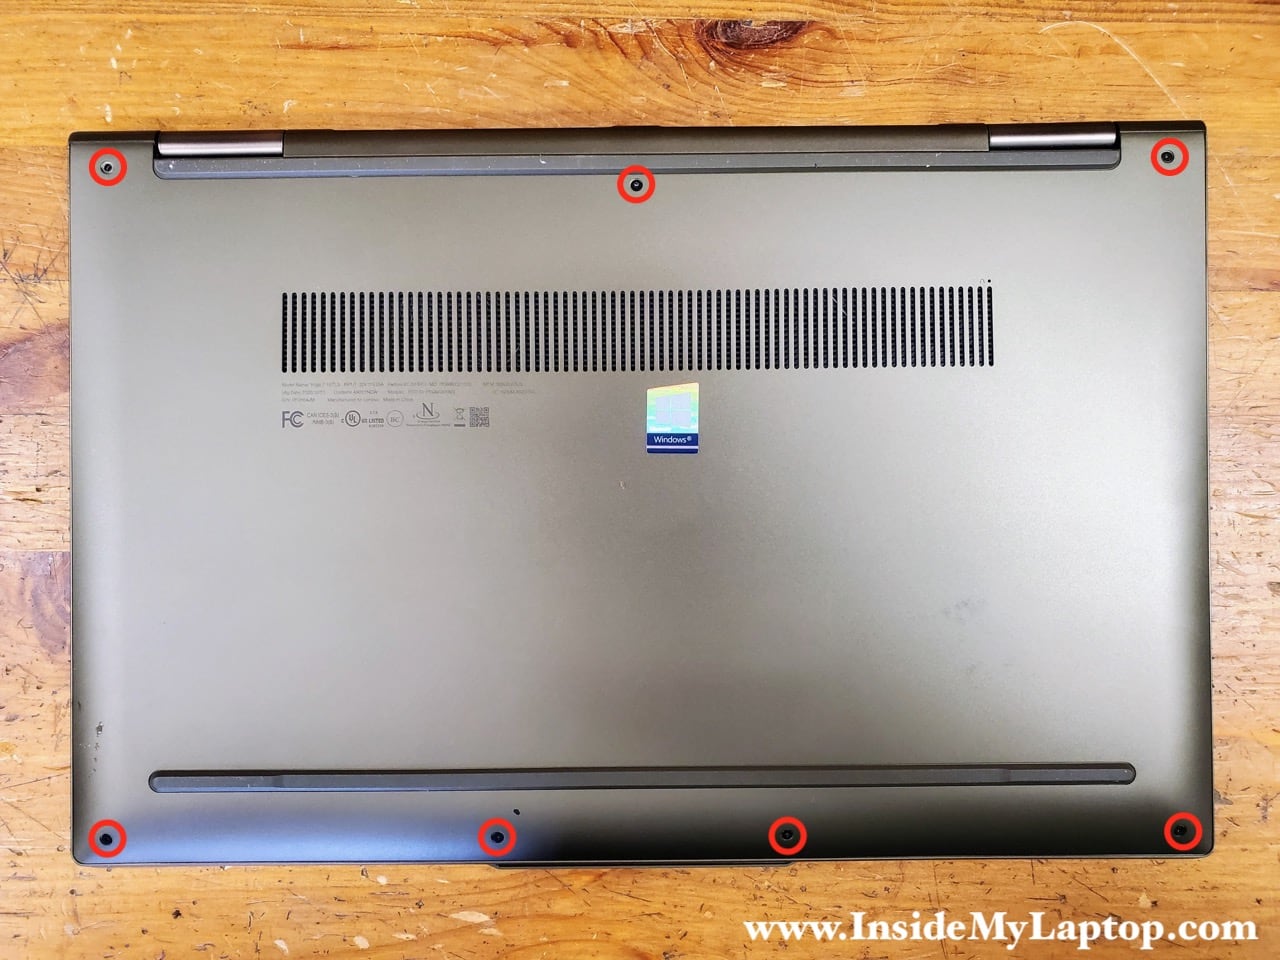
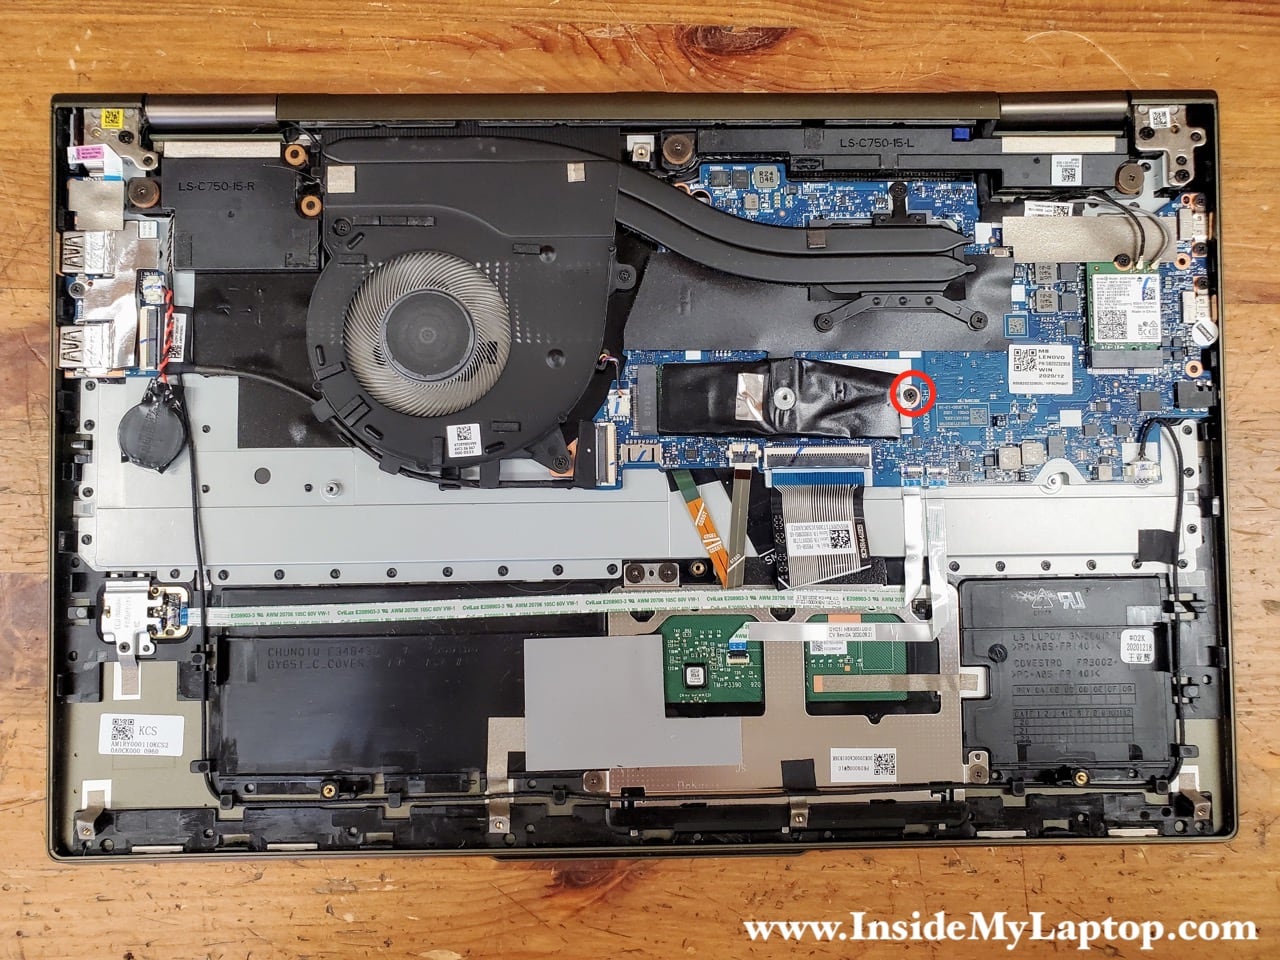
Bottom cover removal
Remove seven Torx screws holding the bottom cover in place.
I’m using a case opener tool to separate the bottom cover from the palmrest assembly.
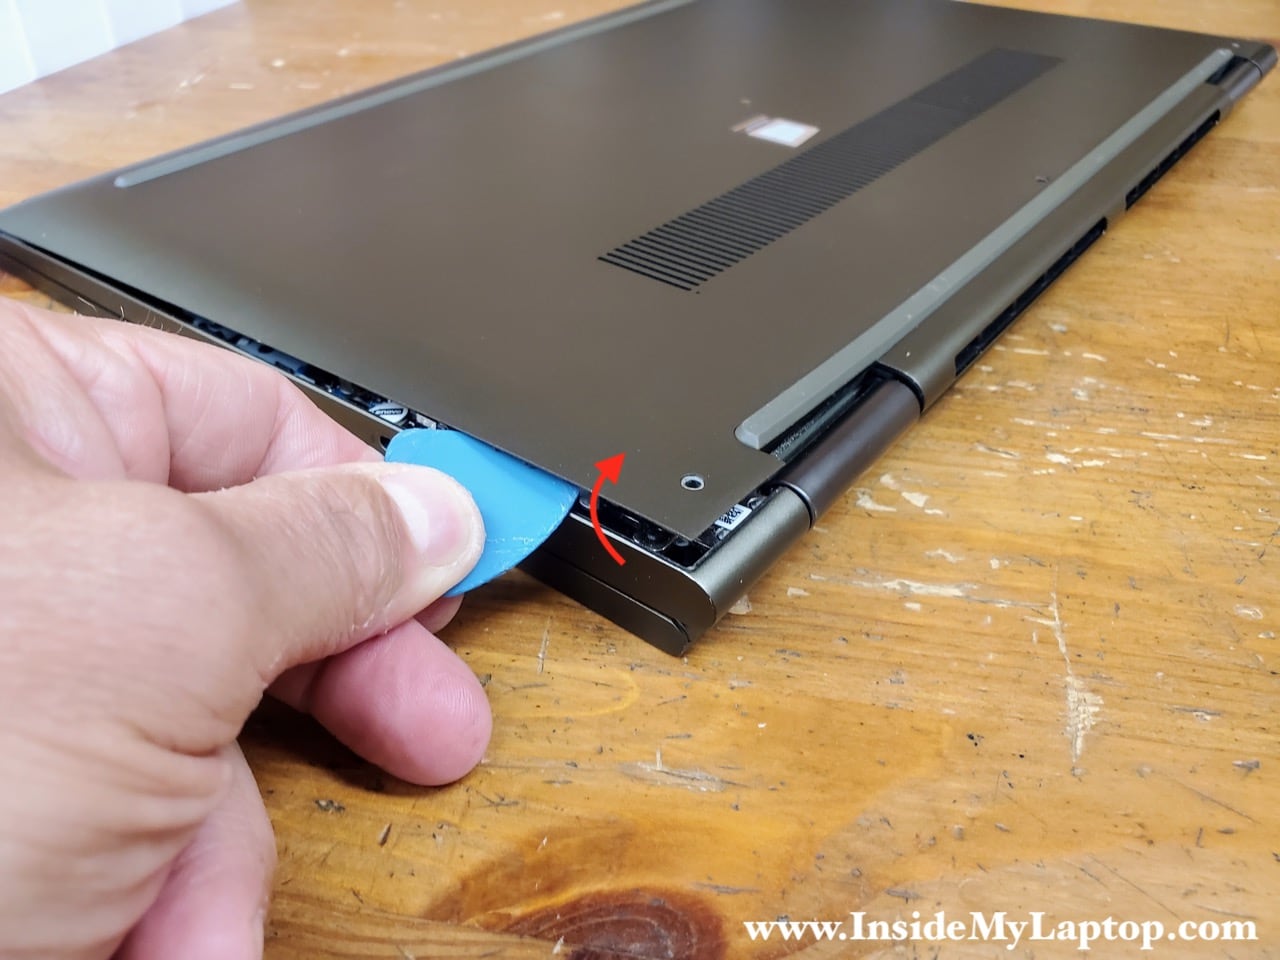
Continue removing the bottom cover with your hands.

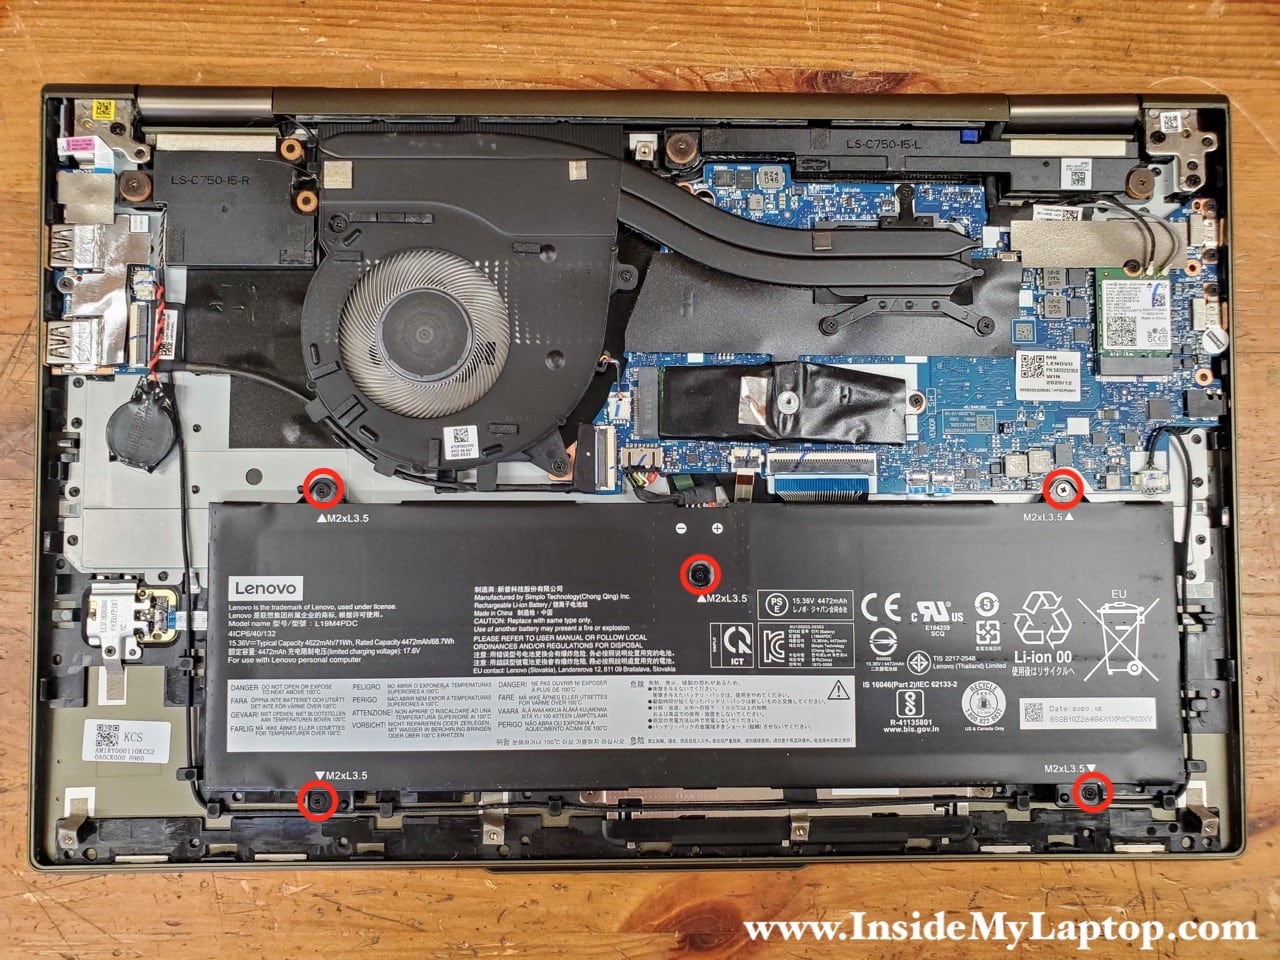
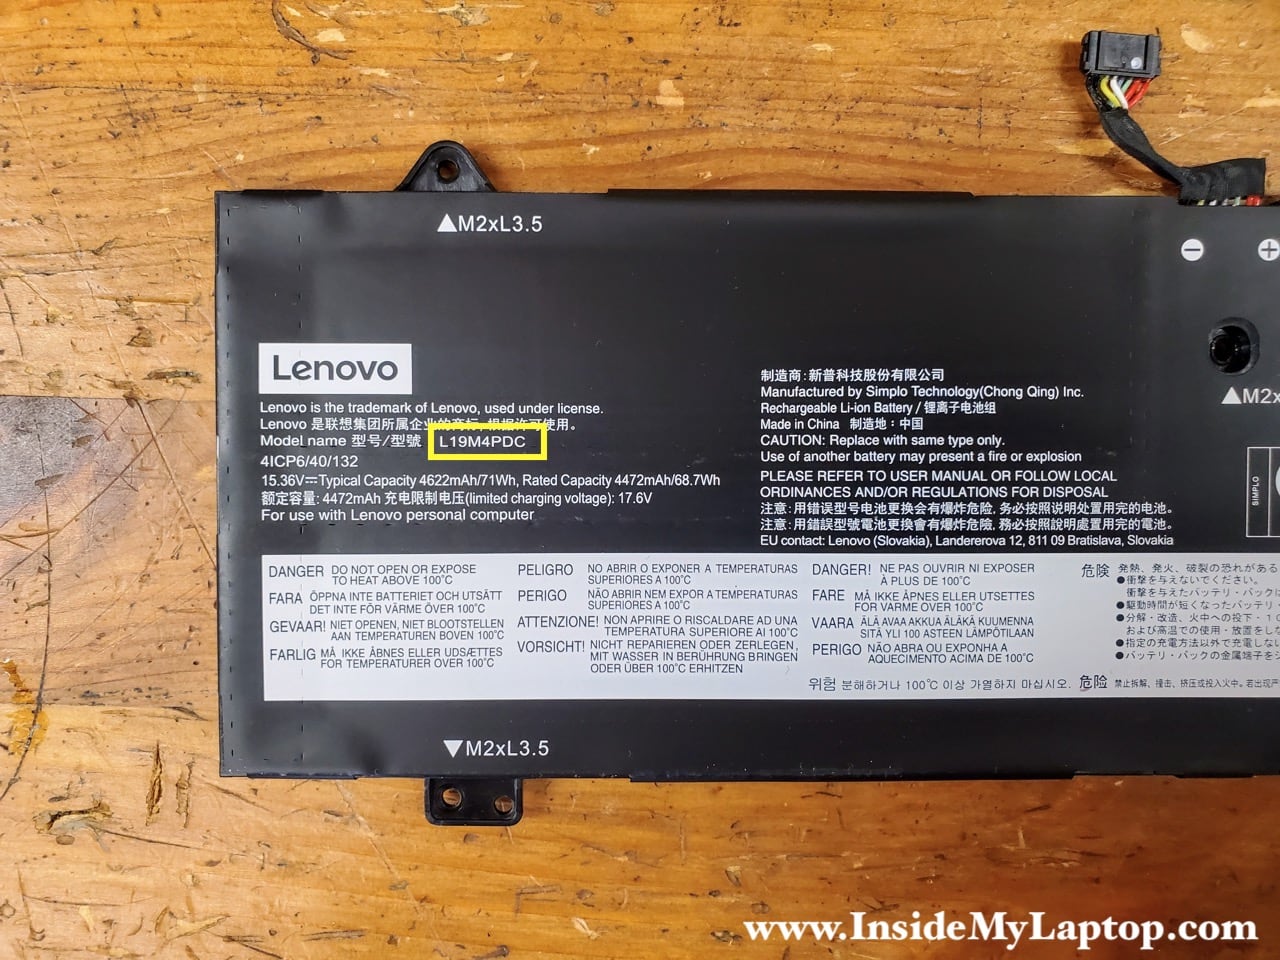
Battery removal and replacement
Remove five screws securing the battery. Don’t forget one screw in the middle of the battery. This screw is easy to overlook.
Lift up the battery and disconnect the battery cable from the motherboard.
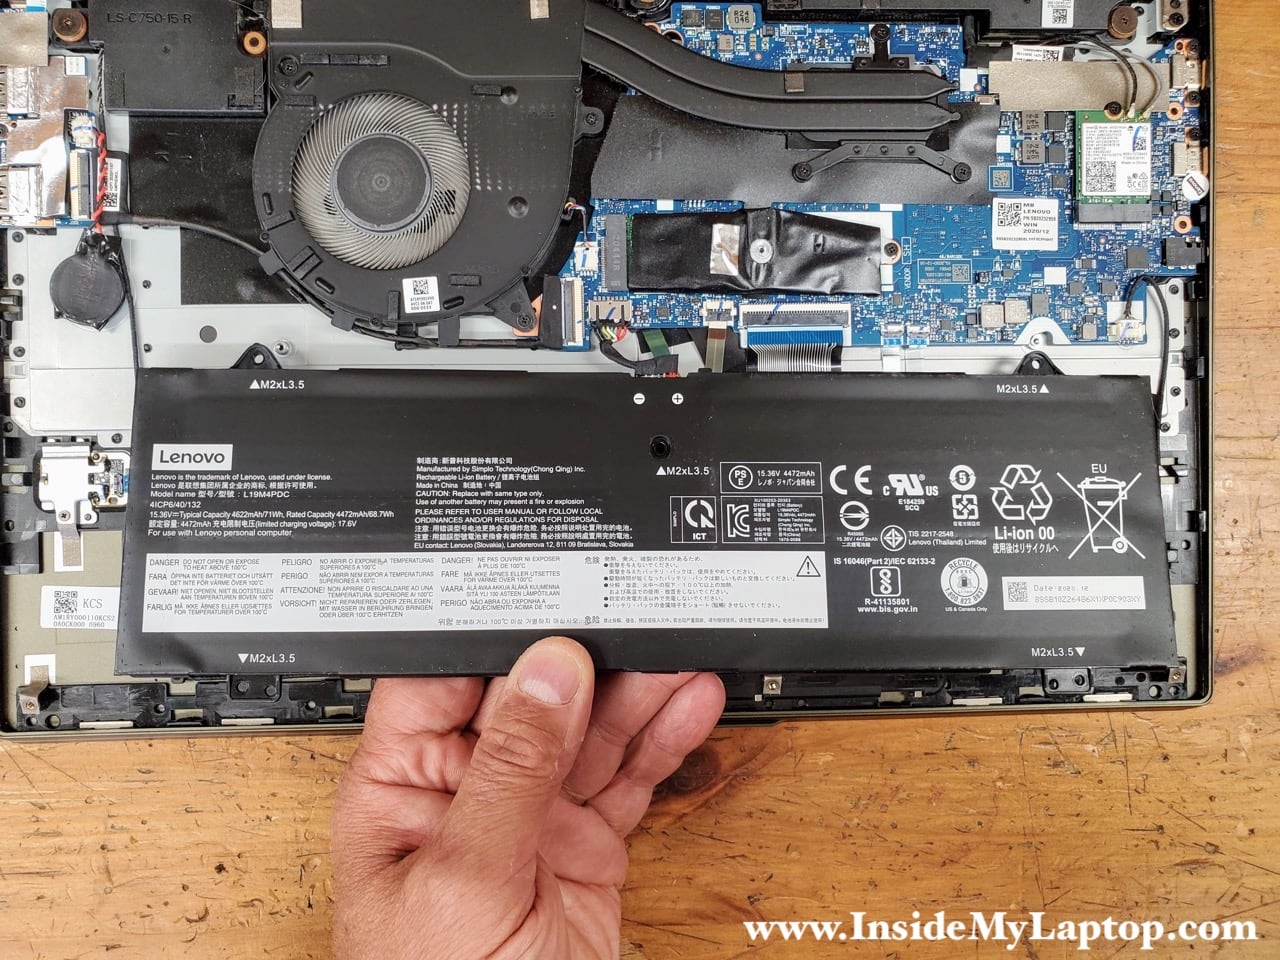
To disconnect the cable, simply pull the black connector out.

If you need to replace the battery, you can find a new one using this model number L19M4PDC. I recommend using only genuine Lenovo batteries.
Solid state drive removal and replacement
Remove one screw holding the solid state drive (SSD) in place.
Pull the SSD out of the slot to remove it.

As you noticed, the SSD is wrapped in a black mylar cover.

Remove one screw attaching the SSD to the mounting bracket.

It’s a 512GB type 2242 M.2 PCIe NVMe SSD. Lenovo part number 5SS0W76178.

If you are replacing or upgrading the SSD, you can install a type 2280 (regular size) PCIe NVMe Gen3 SSD instead of the original type 2242 (short) SSD.

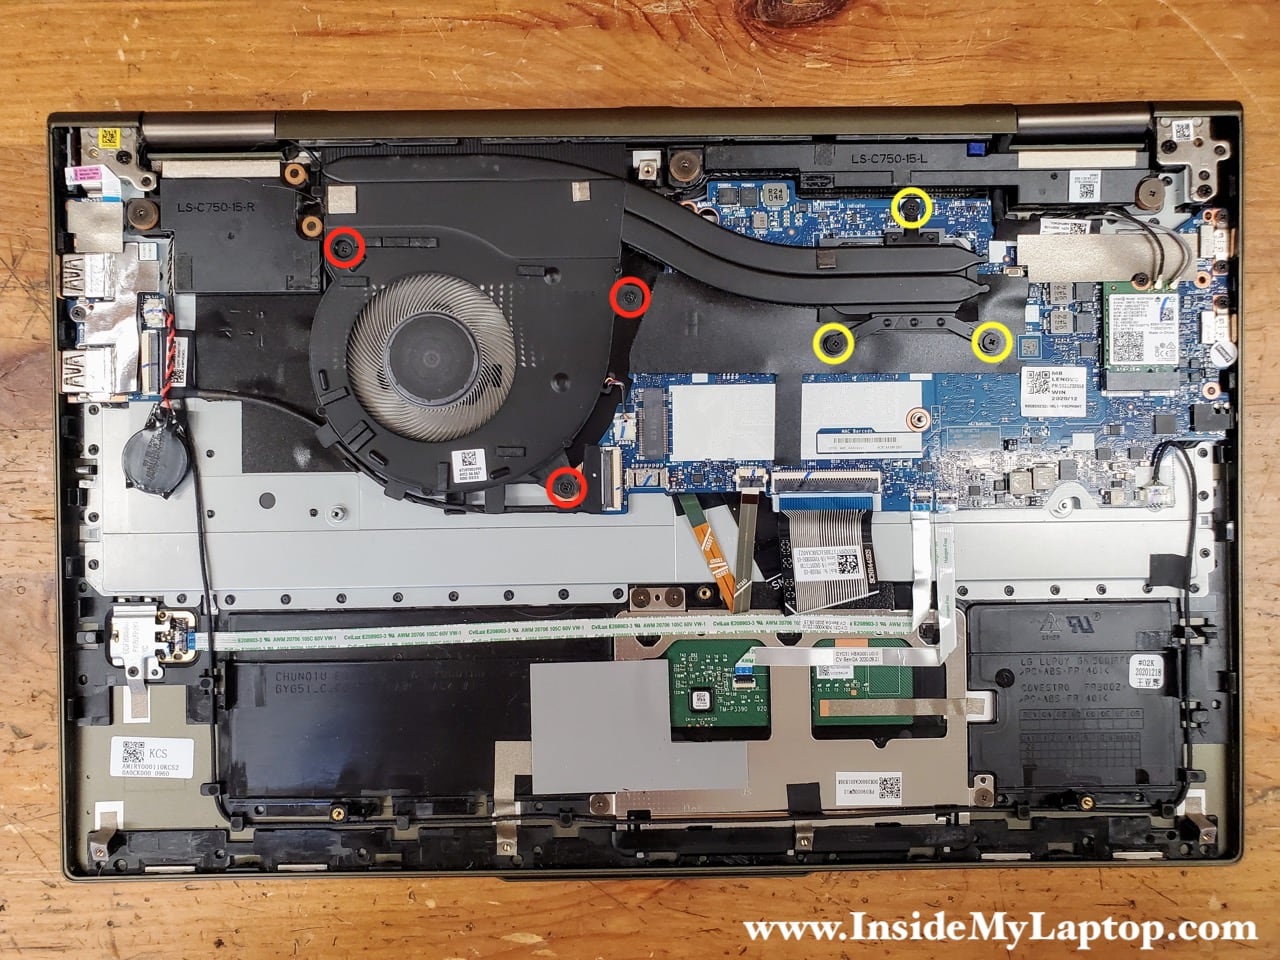
Cooling fan removal and replacement
Remove three screw (red) from the cooling fan. Unscrew three captive screws (red) from the heatsink.
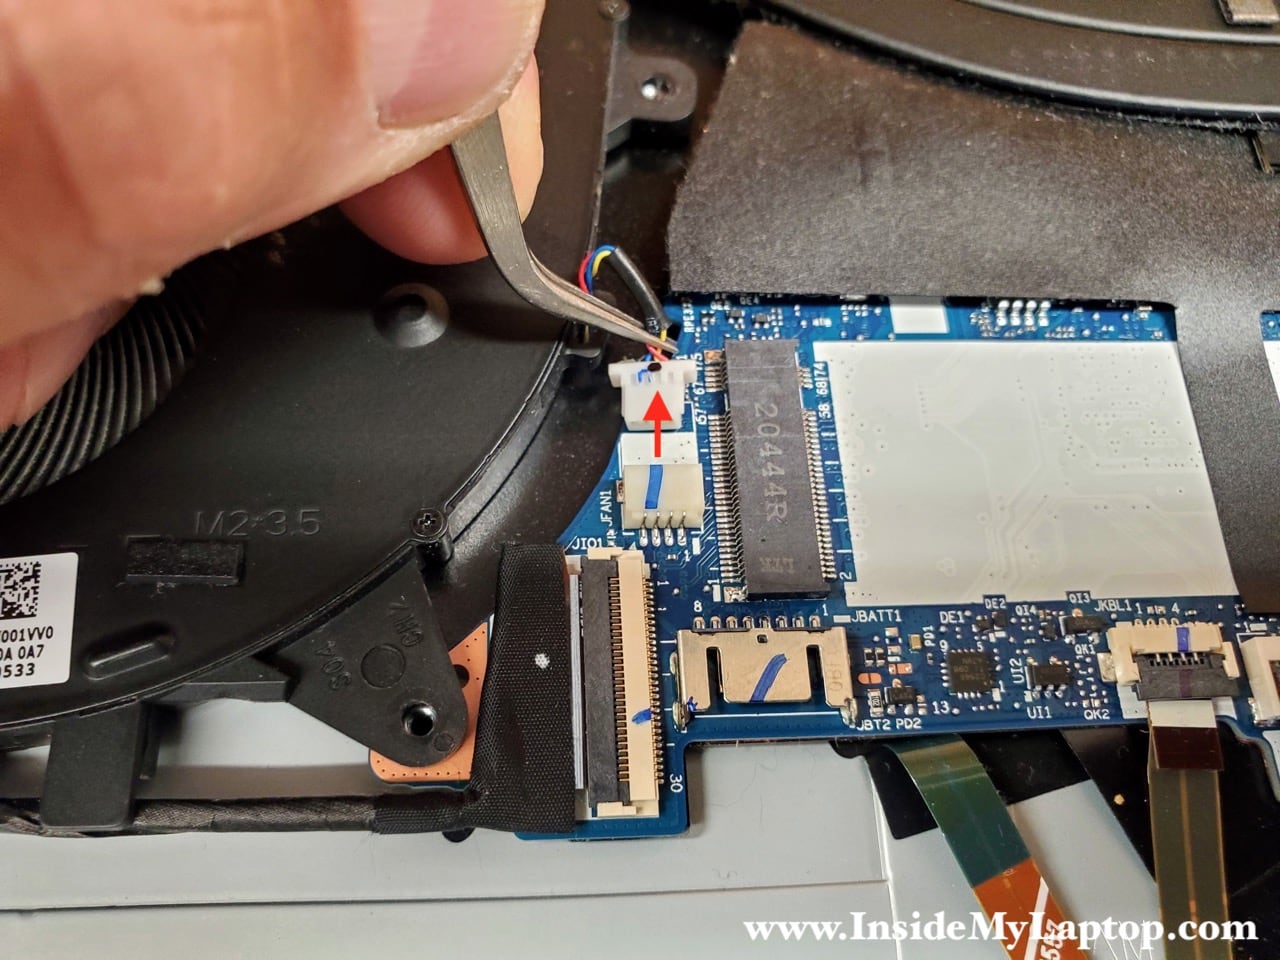
Disconnect the cooling fan cable from the motherboard.
Remove the cooling fan assembly from the laptop.

Remove five screws attaching the fan to the heatsink.

Now you can separate the cooling fan from the heatsink.

Here’s the other side of the fan.
You can find a new replacement fan assembly using this Lenovo part number AT1RY001VV0.

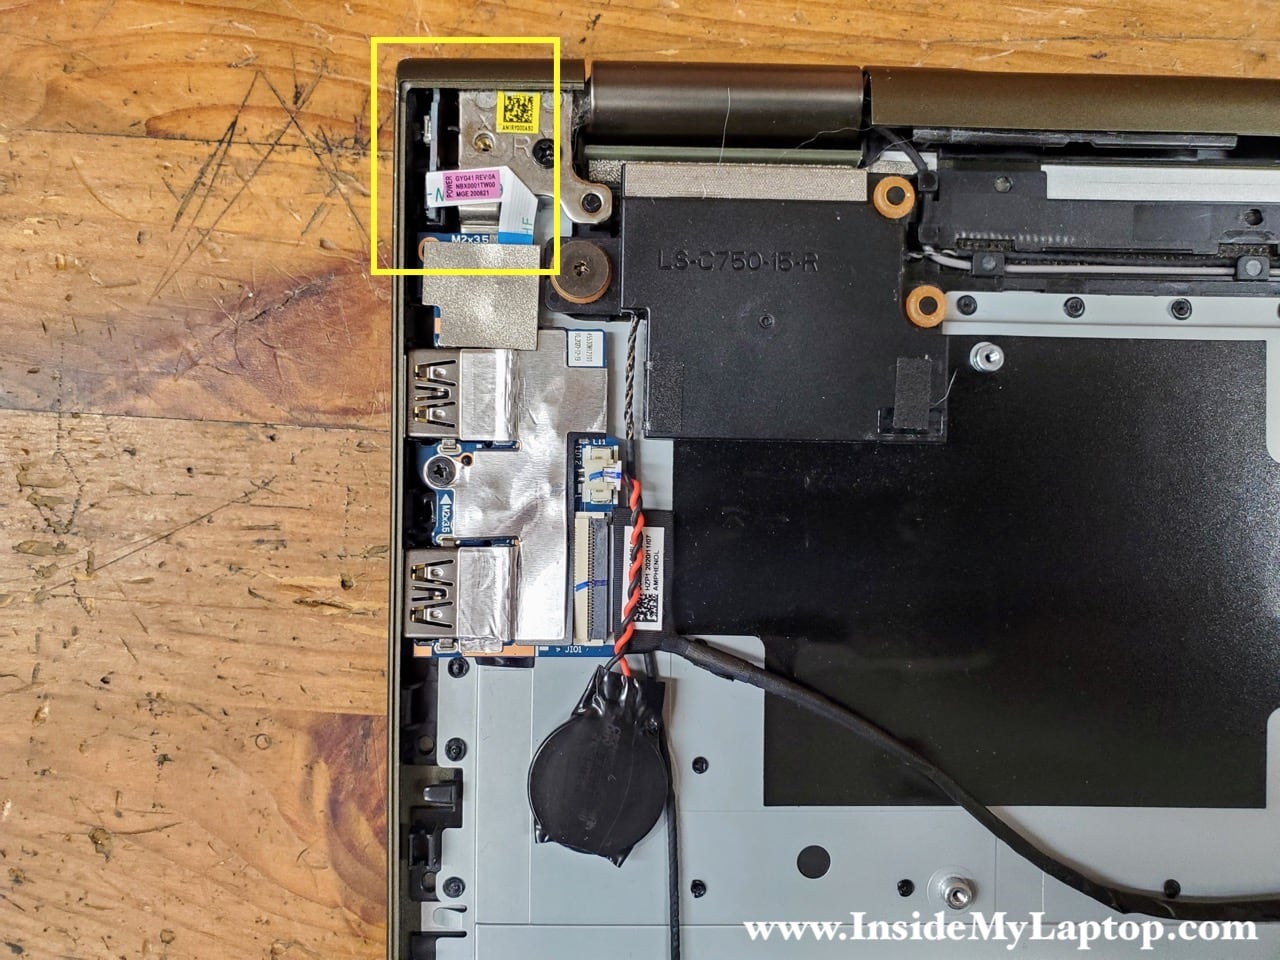
Other internal components
The finger scanning device is mounted under a metal bracket and cab be easily removed and replaced.
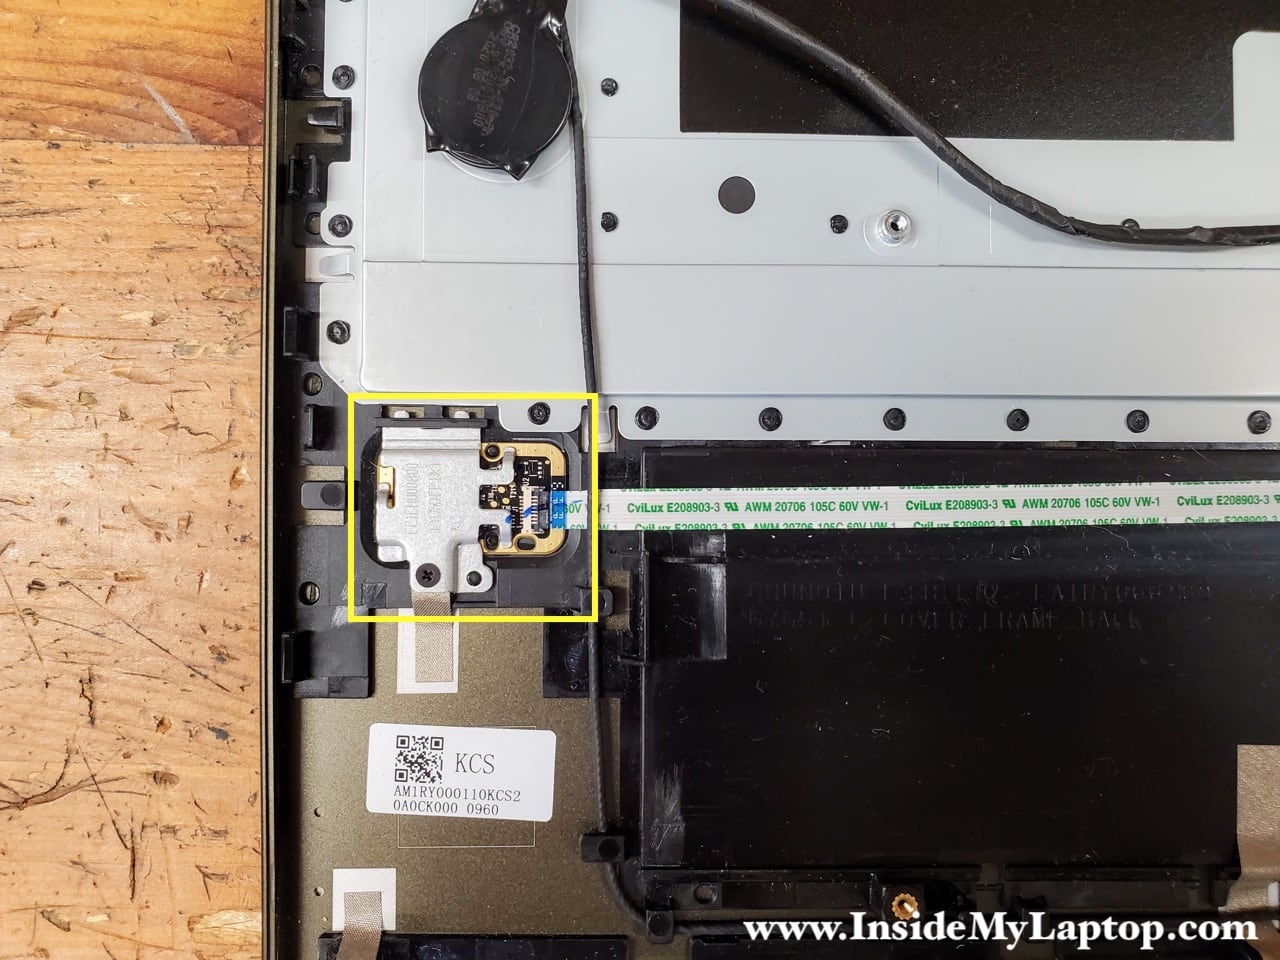
The power button is located on a separate circuit board.
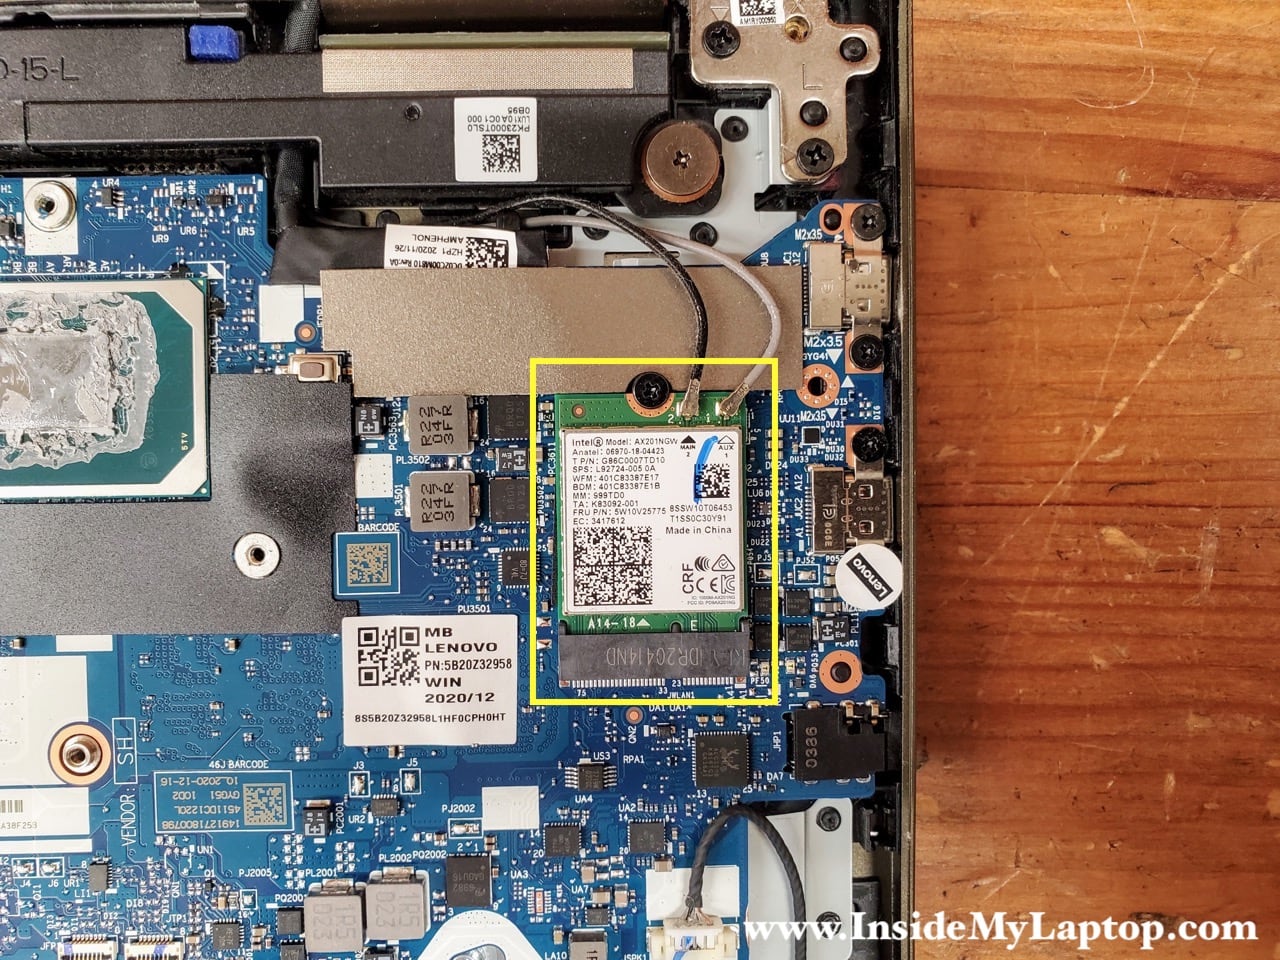
The wireless card is easily replaceable too. In order to remove the wireless card it’s necessary to remove one screw and disconnect two antenna cables.
The touchpad is mounted under a metal bracket.

The keyboard in Lenovo Yoga 7 15ITL5 laptop is riveted to the top case assembly.

Waad Matar
Good day,
Thank you for your informative images on how to dissamble the lenovo yoga 7 15itl5. Can you please demonstrate/explain how to replace the usb 3.2 gen 1 socket? Mine is broken and it is the first time I take dissasamble a laptop.
IML Tech
Both USB sockets located on a removable I/O (input/output) board which can be easily removed and replaced.
You can find this board on eBay, just search for “Lenovo Yoga 7 15ITL5 I/O board”.
Jorge
is there a way to upgrade to 16 ram?
IML Tech
No. The motherboard doesn’t have RAM slots. All RAM is soldered and cannot be removed/replaed/upgraded.
Ray
Do you have any tips on removing and replacing the screen?
IML Tech
Should be similar to this: https://www.youtube.com/watch?v=NNfpvhXUC7I
You will have to remove stretch tape from under the screen. Try removing the tape without damaging it, pull it out very slowly. You should be able to reuse the tape when installing a new display back in place. I’ve done it before and it worked for me.