
Today I show how you can replace only the keyboard without replacing the full laptop top case even though the keyboard is not removable. This is a DIY hack so proceed at your own risk but I guess you have nothing to lose anyway.
You will need a cheap disposable soldering iron as we are going to melt some plastic. A $3.99 iron from Harbor Freight will work just fine for that. Prepare to work in a well ventilated area because it’s going to stink.
Keyboard is permanently attached to the top case
In most modern laptops the keyboard is permanently attached to the top case. If the keyboard fails for any reason (liquid spill, bad key, accidental damage, etc…), it’s necessary to replace the whole top case (according to the manufacturers). Why is that?
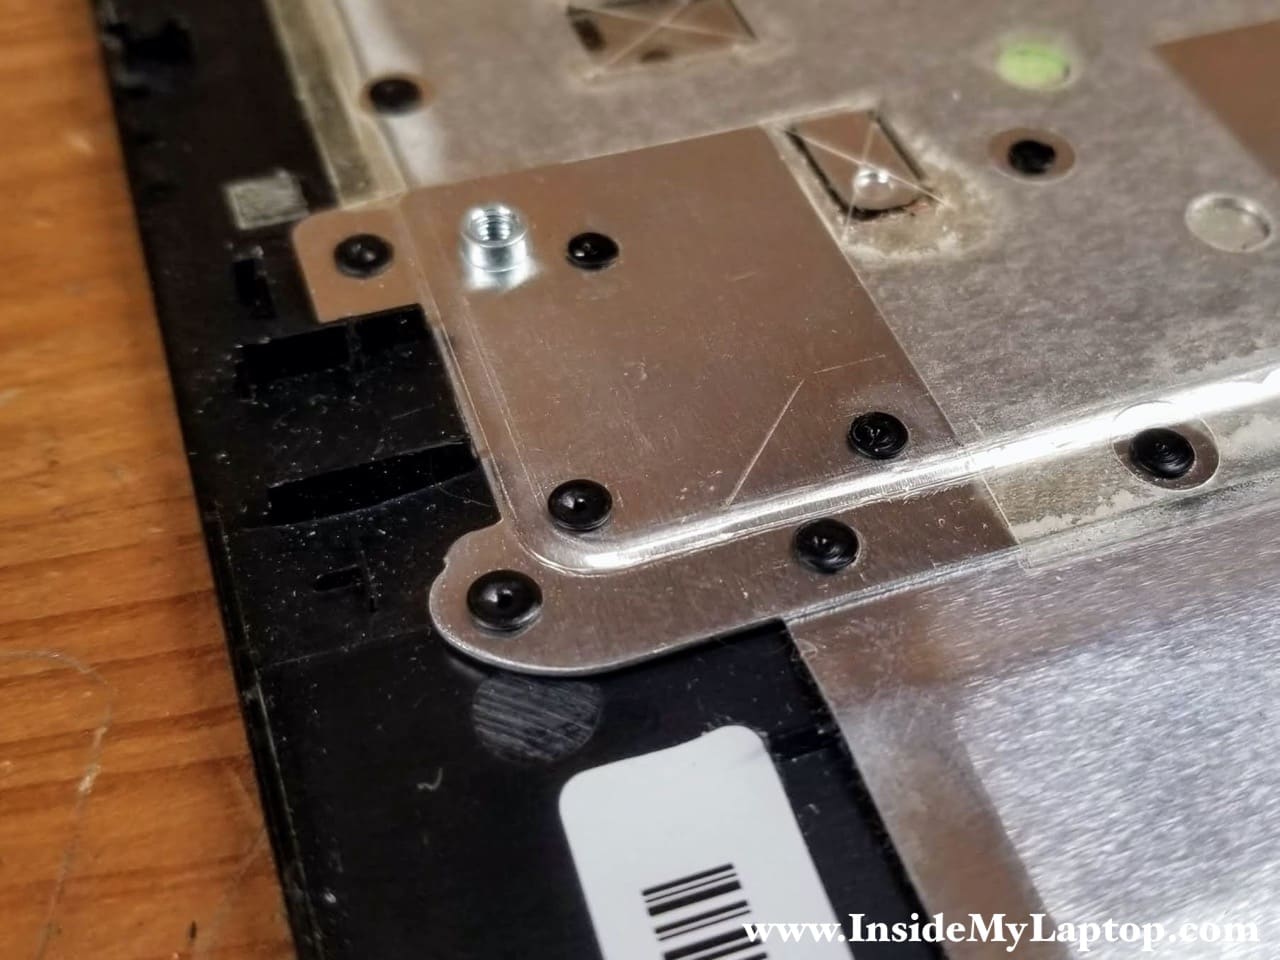
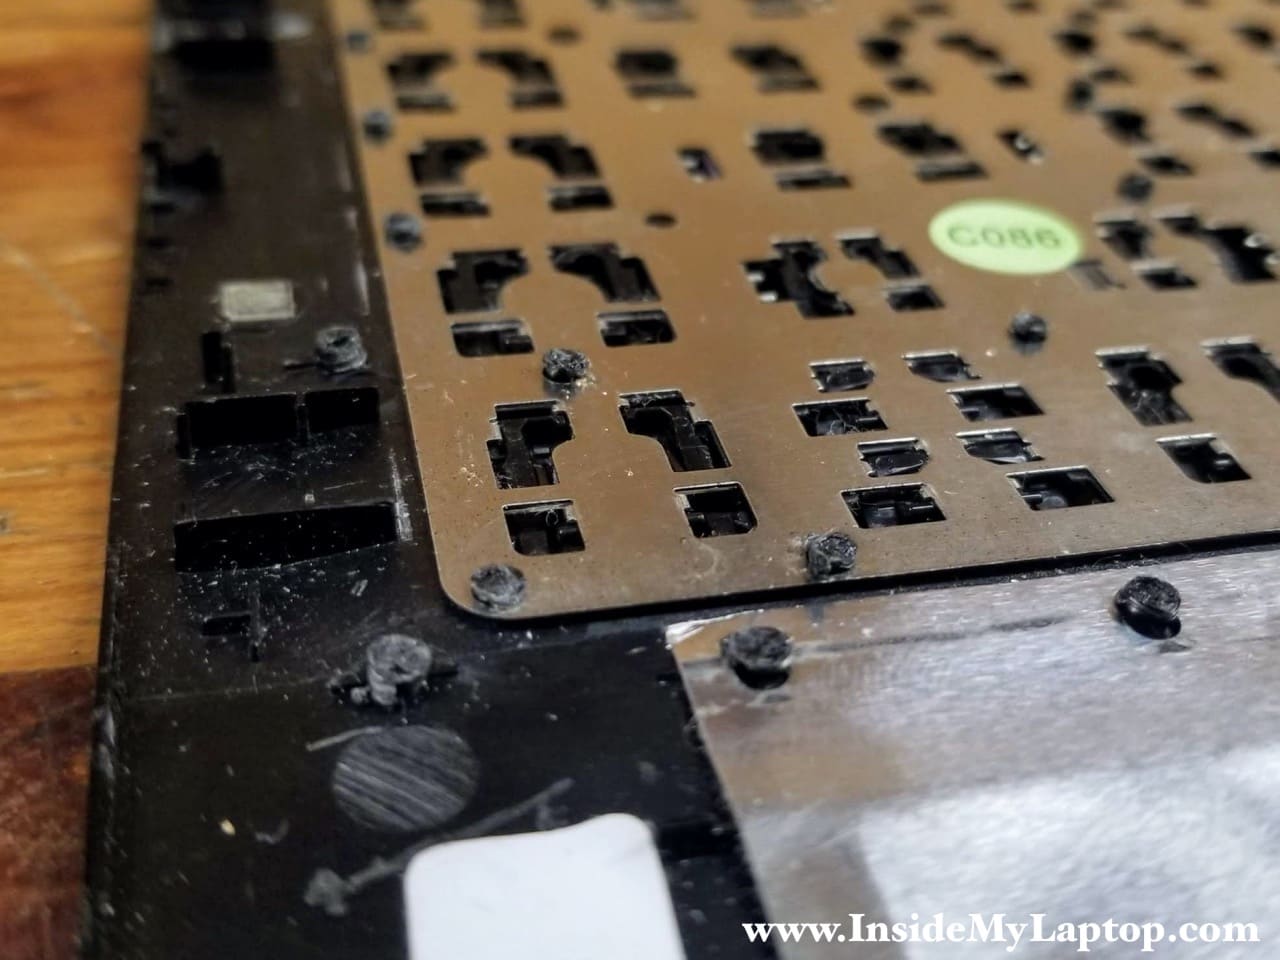
On the following picture you can see the back side of a typical top case assembly removed from an HP laptop. As you see, there is a metal bracket attaching the keyboard to the top case.

If you look closer, you will see that the bracket is riveted to the top case and it’s not removable. That’s the problem!
Removing the old keyboard
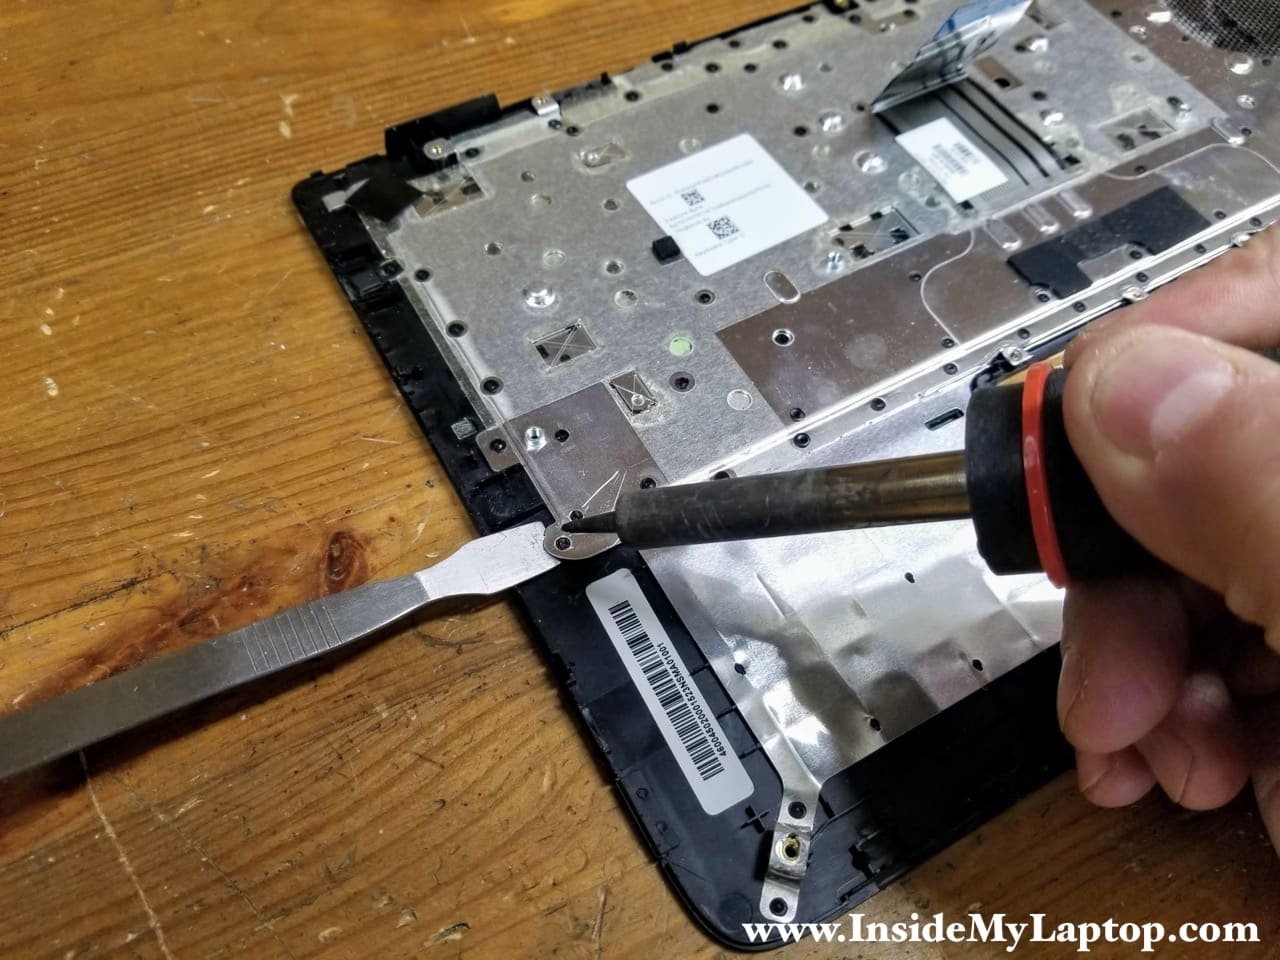
In order to remove the old keyboard you basically have to break all the rivets and I’m going to use a soldering iron to start that process.
Insert a metal pry tool under the keyboard bracket and pry it up. While lifting up the bracket, melt the plastic rivet until it goes through the hole and the bracket separates from the top case assembly. After that move to the next rivet.
Try not to remove the rivets completely and leave some plastic intact because we are going to reuse them later when we install a new keyboard back in place.
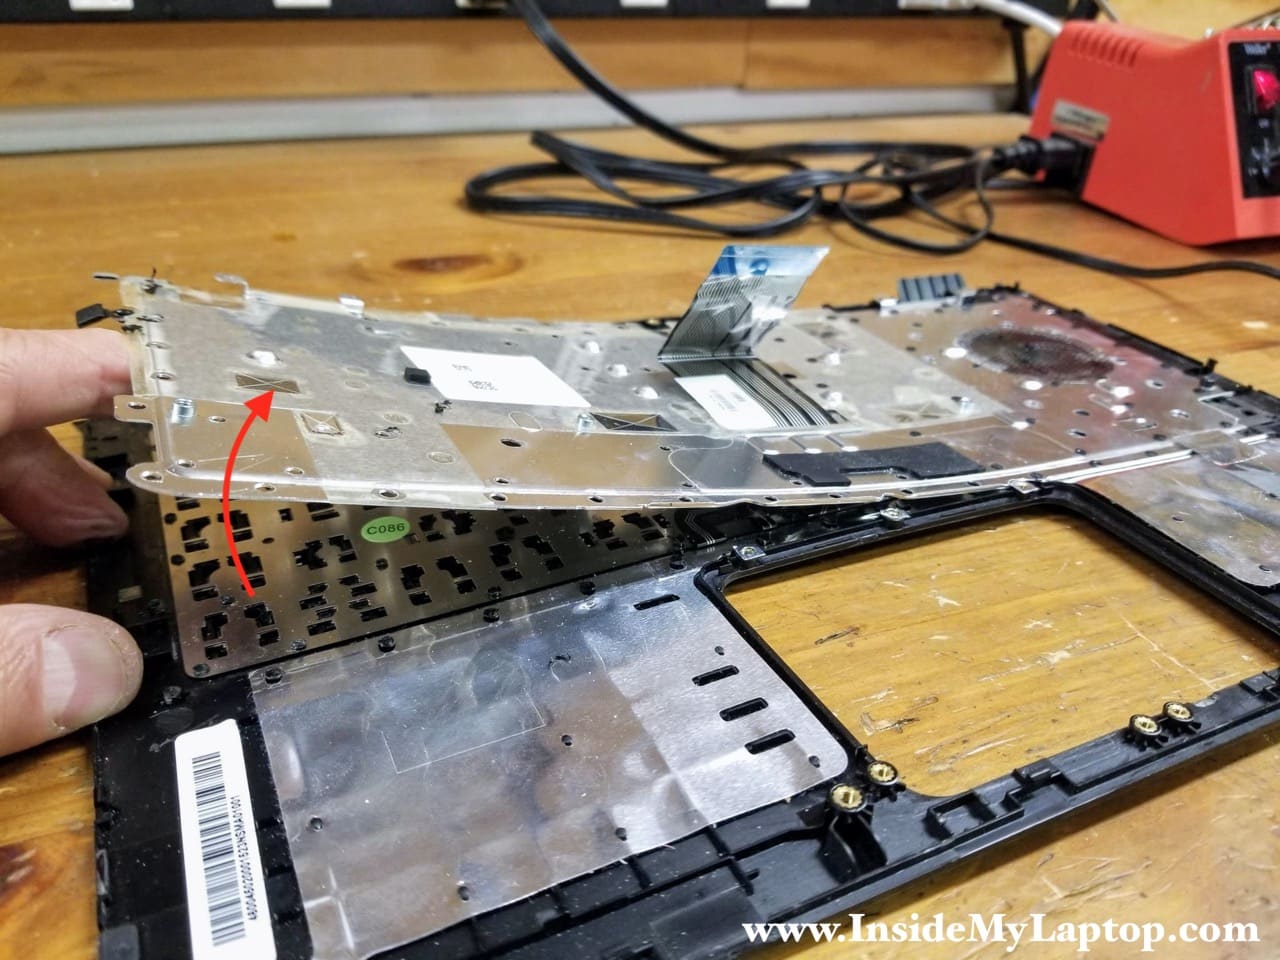
Continue separating the keyboard bracket until there is enough space to grab it with your hands.

Now you can continue separating the bracket with your hands basically breaking the “heads” of the remaining rivets. Try not to bend the bracket.
I found that lifting it up in quick, jerky movements works very well. Those plastic rivets are not strong enough and easily losing their “heads”. It’s much harder to separate keyboard on MacBook Airs.
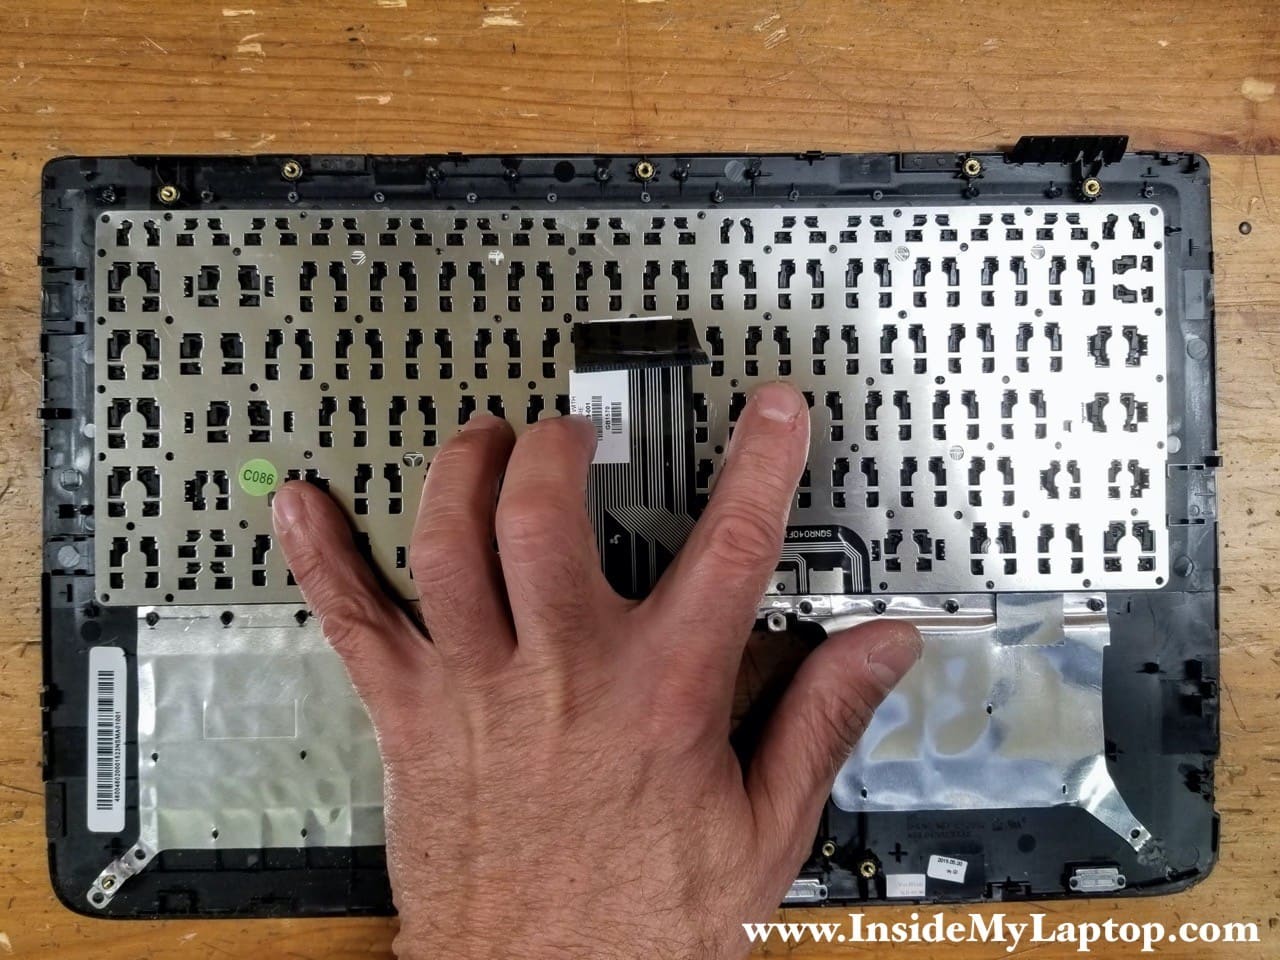
Remove the mounting bracket completely.
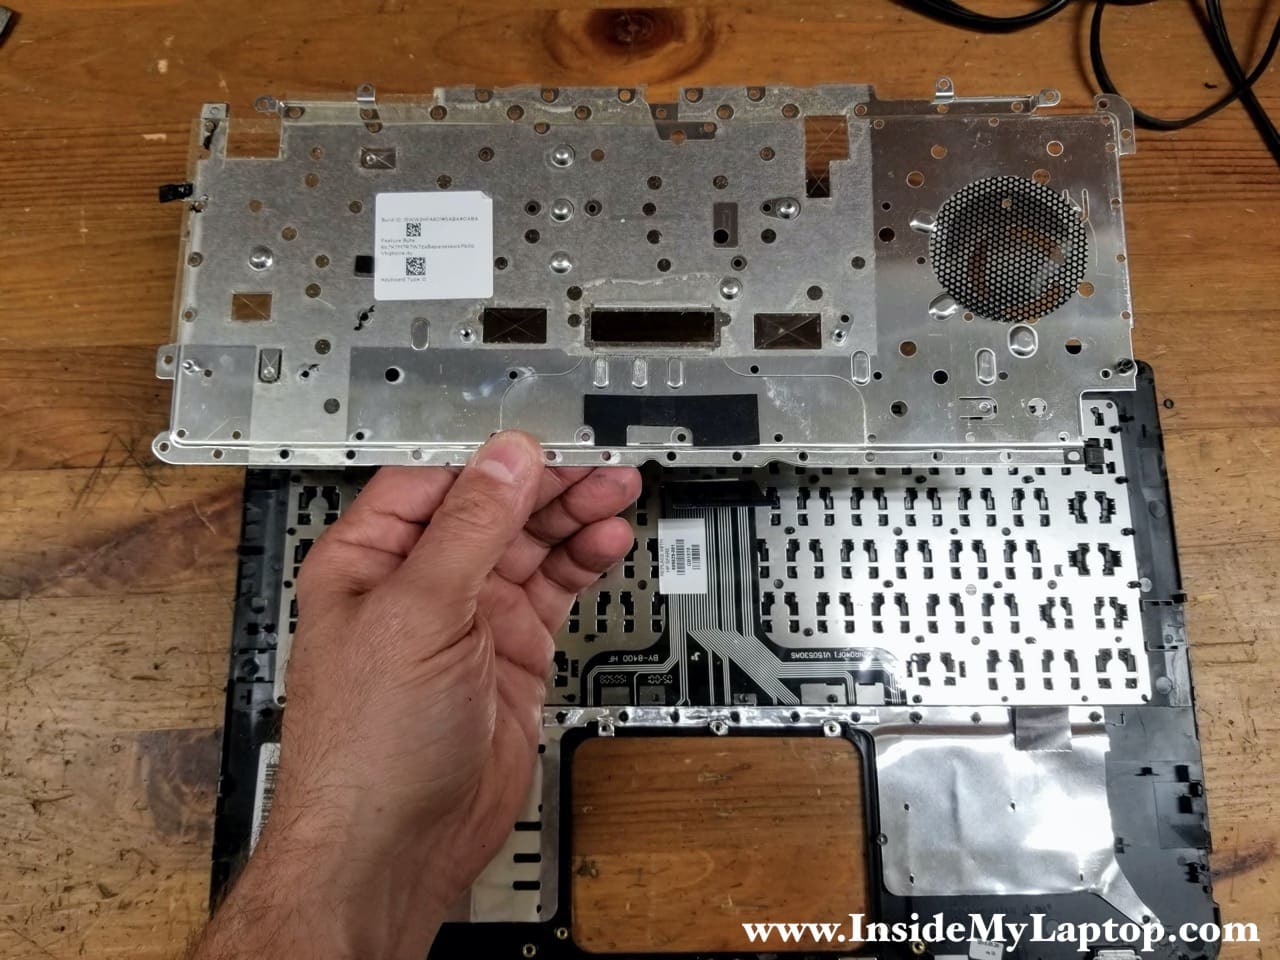
Now we can access the keyboard and start separating it from the top case.

There could be more rivets securing just the keyboards.
Separate the keyboard from the top case. Use the iron to melt more rivets if necessary. You need to be able to grab the keyboard with your hands and rip it off of the top case. That’s OK if you damage the keyboard, just be careful with the top case.

Remove the old keyboard completely.

Preparing the top case for the keyboard replacement
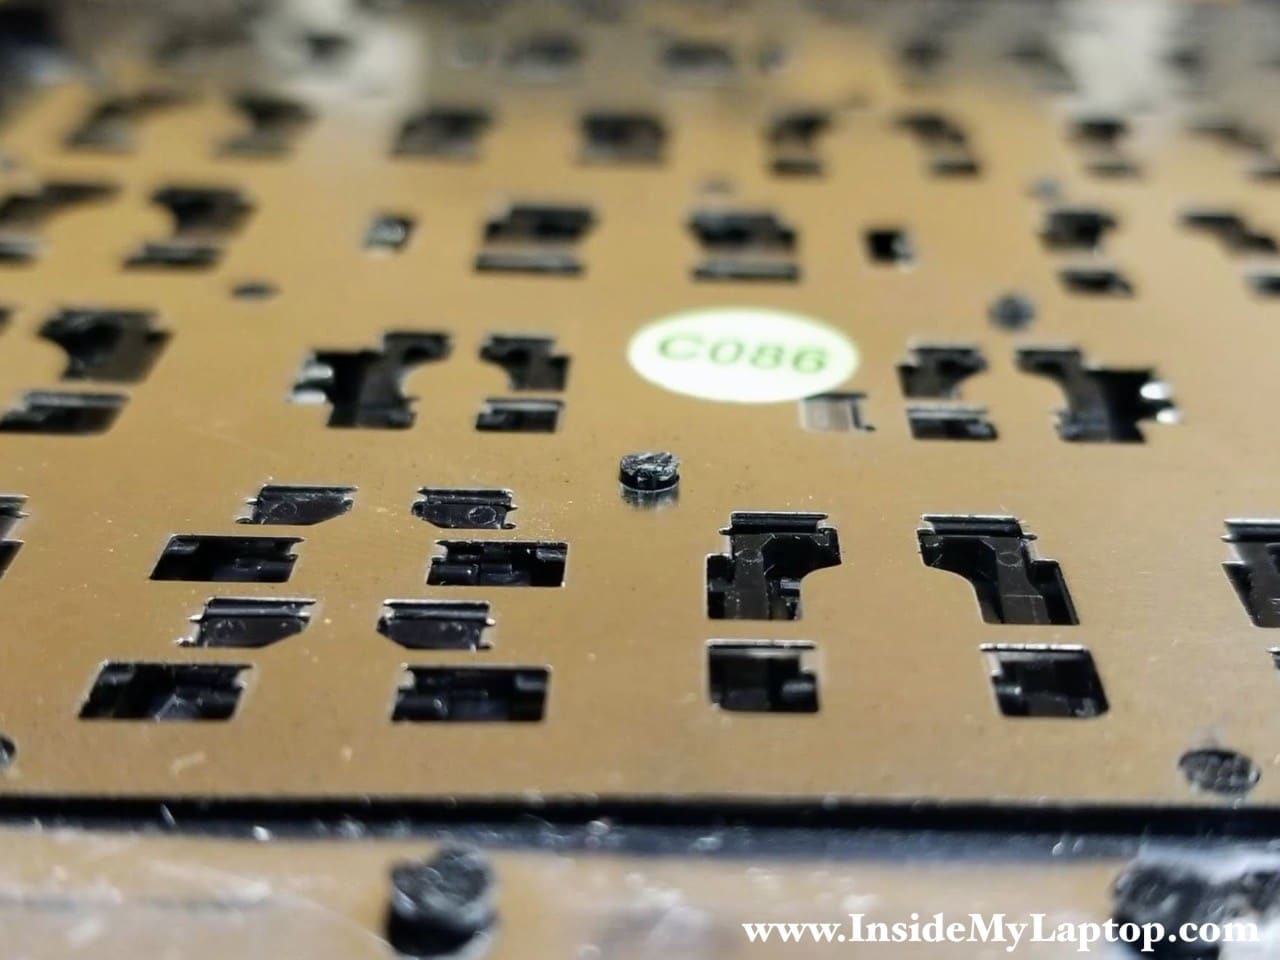
Here’s the top case with the keyboard removed. Now it’s a good time to clean up the frame if it’s dirty.

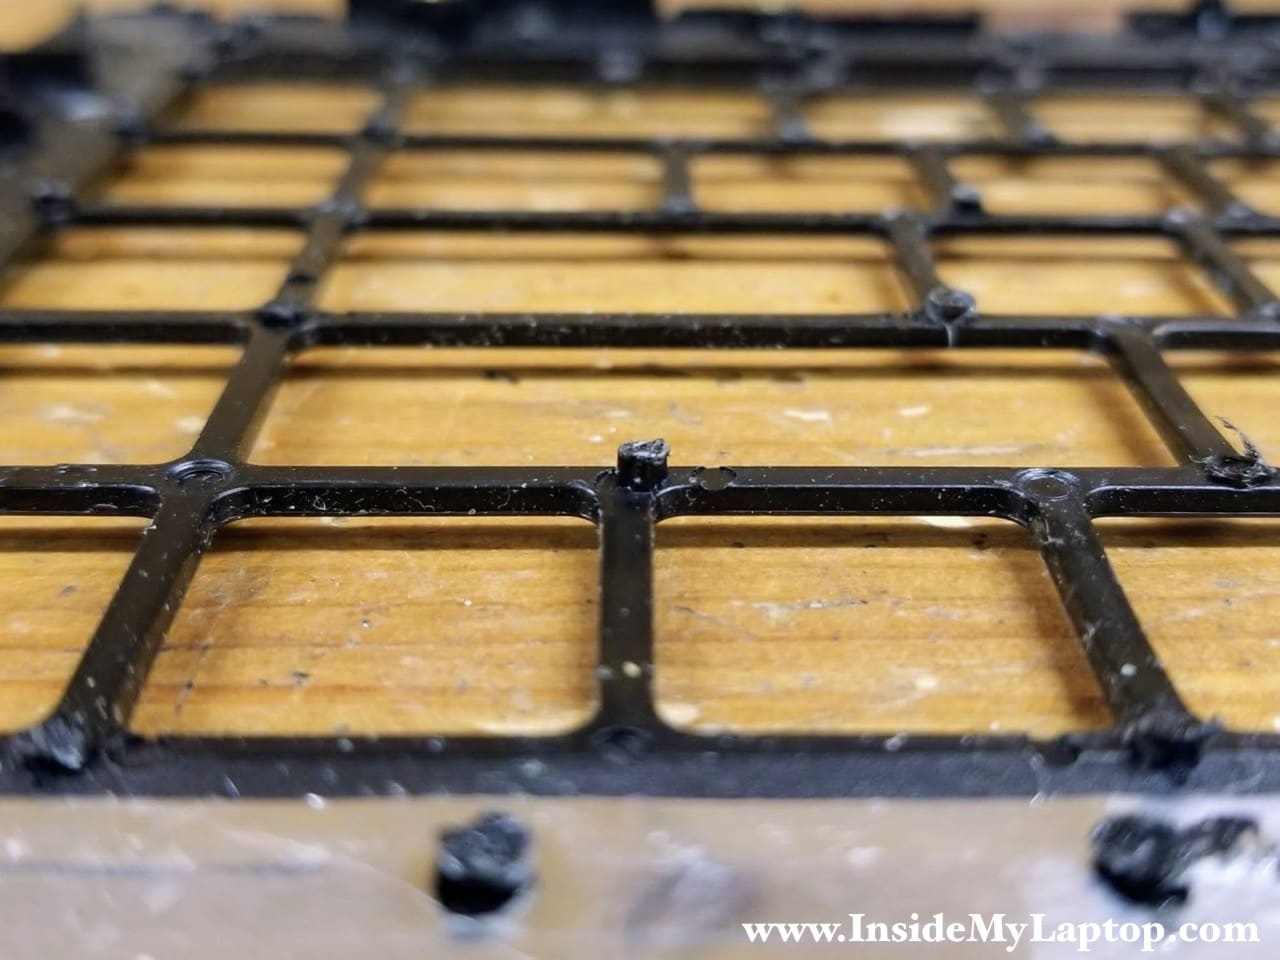
Let’s take a closer look at the rivets. When I ripped the old keyboard off of the top case, not all rivet “heads” were removed cleanly.

Clean them up using a needle nose pliers. You can squeeze the rivet to shape it and make narrow again. You have to be able to push the plastic stand through a hole on the new keyboard.

Some rivets are missing completely but that’s OK. You still should have enough left to secure the new keyboard firmly in place.
Installing a new keyboard
Position the new keyboard above the top case and push it firmly back in place.
All the remaining rivets has to seat properly so the new keyboard is not bulging. If the keyboard not seating properly, remove it and clean the rivets again.
Make sure it seated correctly before you finalize the repair.
While applying pressure on the keyboard, melt the rivet so a new “head” is created and it secures the keyboard.
NOTE: after securing the keyboard, we’ll have to install the bracket on to of it. Most rivets have to go through the keyboard and the bracket. Pay attention to that.

Install the keyboard bracket and secure all rivets the same way.

Robert W "Ruedii"
Theoretically you could use hot glue (or some clipped 3D Printer spool) to replace the top of any of the plastic rivets that are broken beyond repair.
IML Tech
That’s a good idea and probably will work fine.
Don Latham
uhhh, ok, but where did the new keyboard come from if it isn’t a “replaceable” part????????
IML Tech
Don, most “non-replaceable” keyboards are available from eBay or Amazon. Sometimes you have to order them from China but they are there. Just search by the laptop model number and you’ll find it.
Eduardo Lorenzetti Pellini
Perfect solution.
However, I few months ago, I found so difficult to fit the rivets back in the new keyboard that removing them completely was the easy way out. So, instead of trying to melt the rivets with an iron, I removed them completely, cutting the heads off with a sharp razor. Later, to fix the new keyboard back in, I found out that most cases are plastic ABS based. So, I used 3D printer ABS filaments, melted with a soldering iron immediately over the scalped rivets, and pressed with a phillips screwdriver head. The result was also perfectly fine.
Christian
A great alternative to the 3d filament and soldering iron is to install some ABS filament into a dremel and friction weld additional ABS to each fastening position. Experiment with the amount of filament you extend beyond the collet. Too much and the filament just wobbles. 3mm filament worked great!
Randall Price
I have a question;
I spilled some coffee in my keyboard, (black no sugar), immediately shut the laptop down and waited a couple days for it to dry. It still works wonderfully with the exception of a few keys kind of stick. Not too bad, but annoying.
Is there a way to clean the keyboard without disassembly? Or shall I just live with it?
Lance
If you carefully remove each of the sticky keytops (‘usually’ by pulling up first from the top edge of the key, some keyboards start at the bottom or even the side on the ‘special’ keys), you can access the hinge/scissors underneath. Carefully pry it out with a very small jeweler’s flathead screwdriver (again, ‘usually’ start at the top edge or whichever edge that key required) by pushing the tabs out of the hooks and then removing the hinge from the opposite set of hooks. NOTE THE ORIENTATION! You can then clean the keytop and hinge with water and the keytop well with a cotton swab slightly dampened with water and/or isopropy alcohol, being very careful not to dislodge the rubber nipple. Carefully work the hinge back onto the hooks and then slide the bottom of the keytop onto the hinge and press gently at the top edge to remount the keytop.