
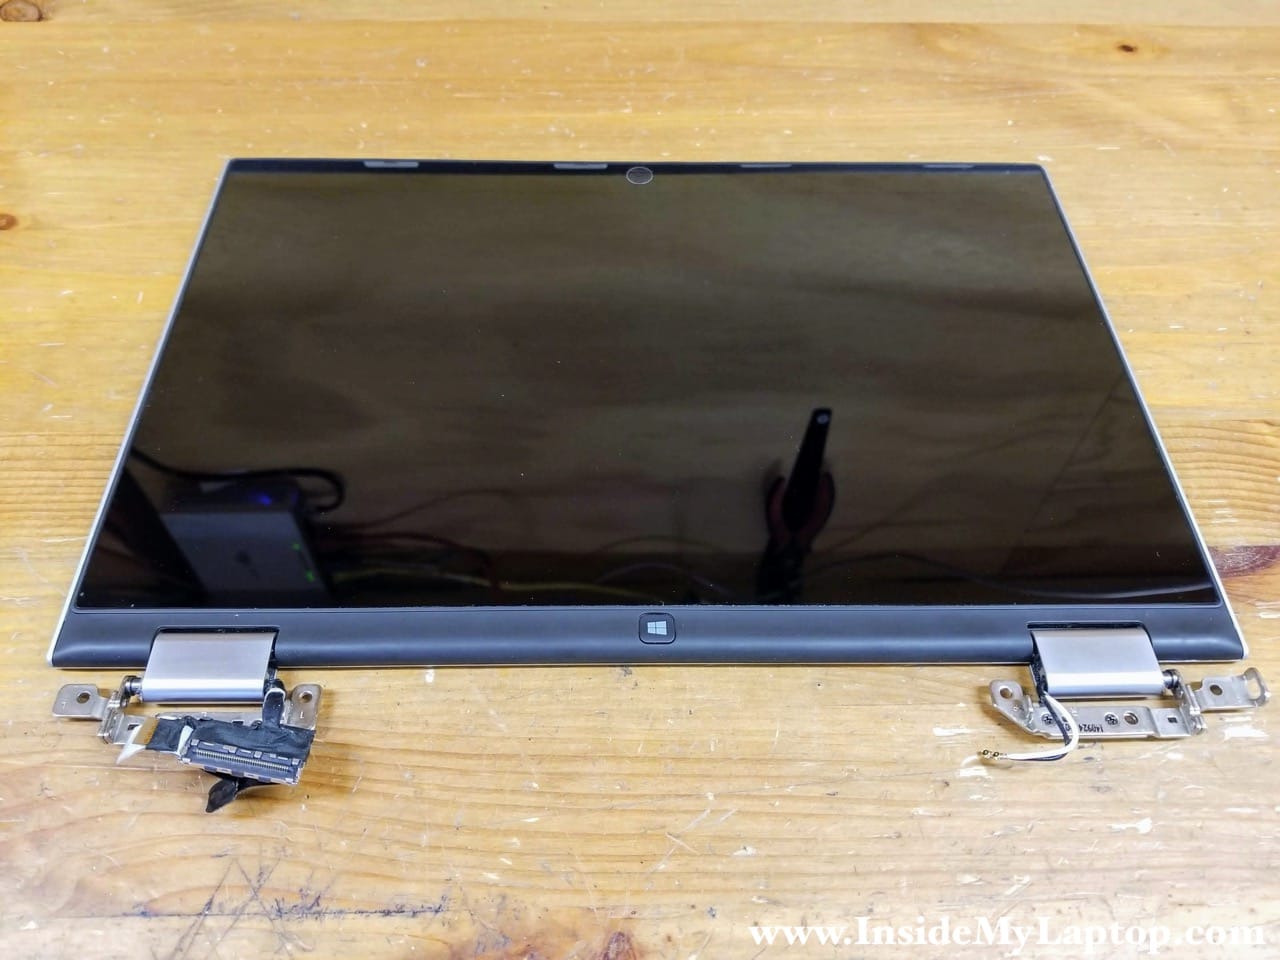
In this tutorial I explain how to replace the screen (touchscreen assembly) on a Dell Inspiron 11 3147 or 3148 laptops (model P20T).
In order to take apart the display panel and replace the touchscreen it’s necessary to remove the display panel first. The display removal steps explained in my first Dell Inspiron 11 3147 3148 disassembly guide, just follow steps 11 through 13.
STEP 1.
Start separating the touchscreen assembly from the display back cover on the bottom part of the display panel. As you see I’m working around the left display hinge area. Use a plastic spudger for opening the case.

STEP 2.
Continue removing the touchscreen assembly around the hinge area with your hands while helping yourself with the case opener tool.

The display cable is routed inside the left hinge cover.
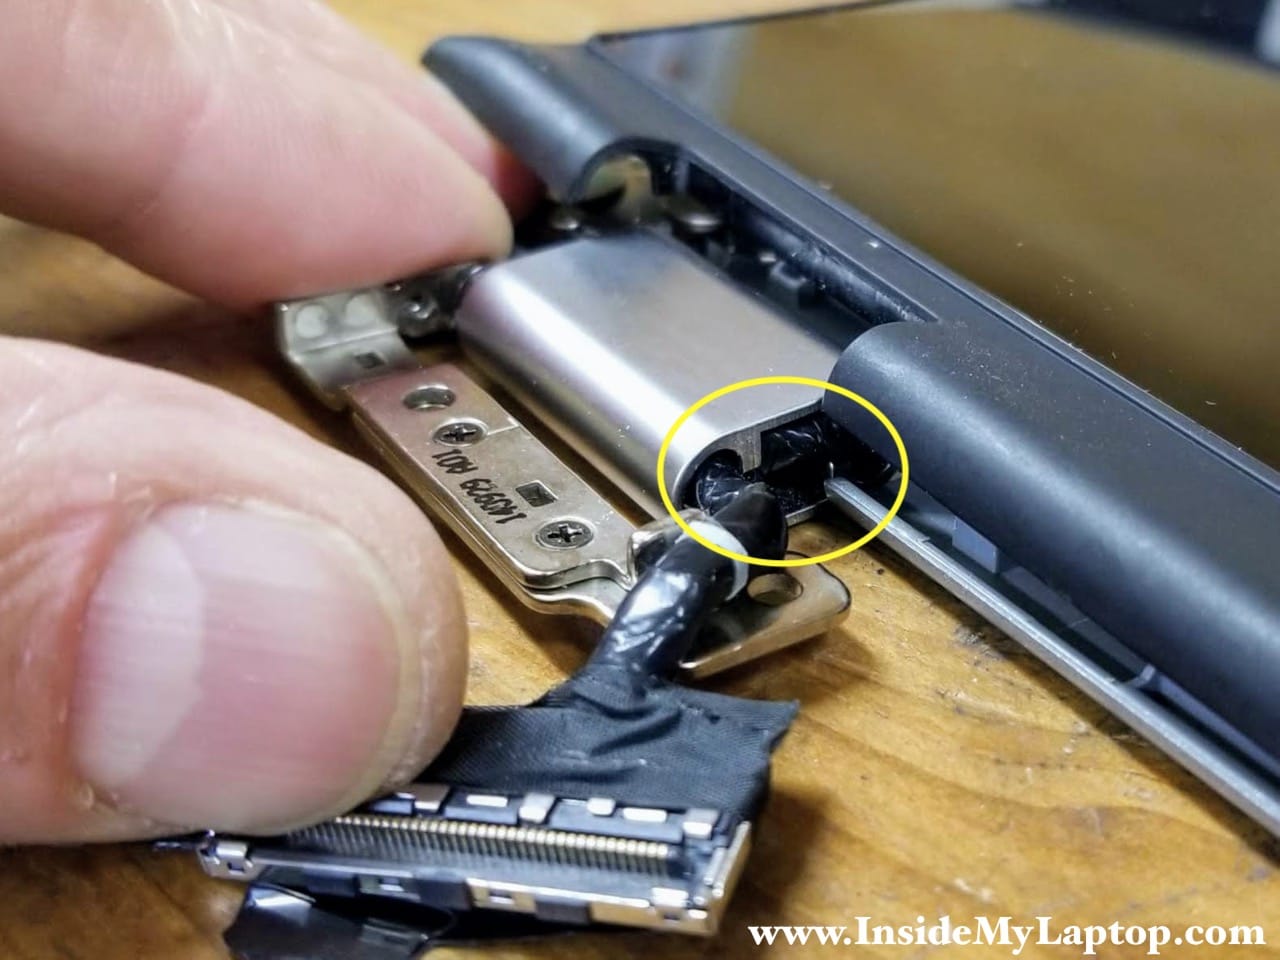
STEP 3.
Carefully pull the display cable out of the left hinge cover.

STEP 4.
Separate the bottom side of the touchscreen assembly from the display back cover.

STEP 5.
Remove the touchscreen assembly completely.
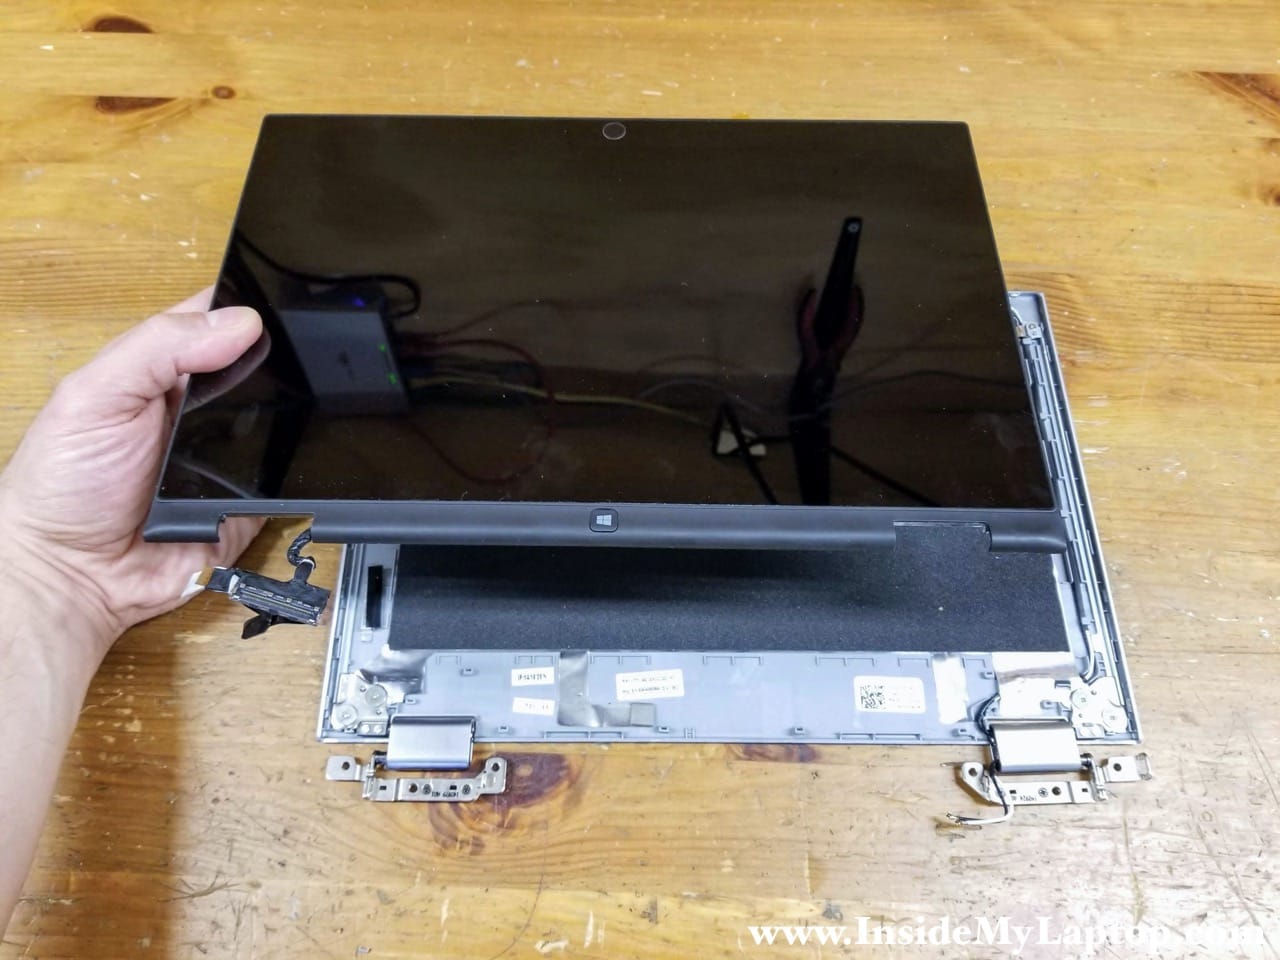
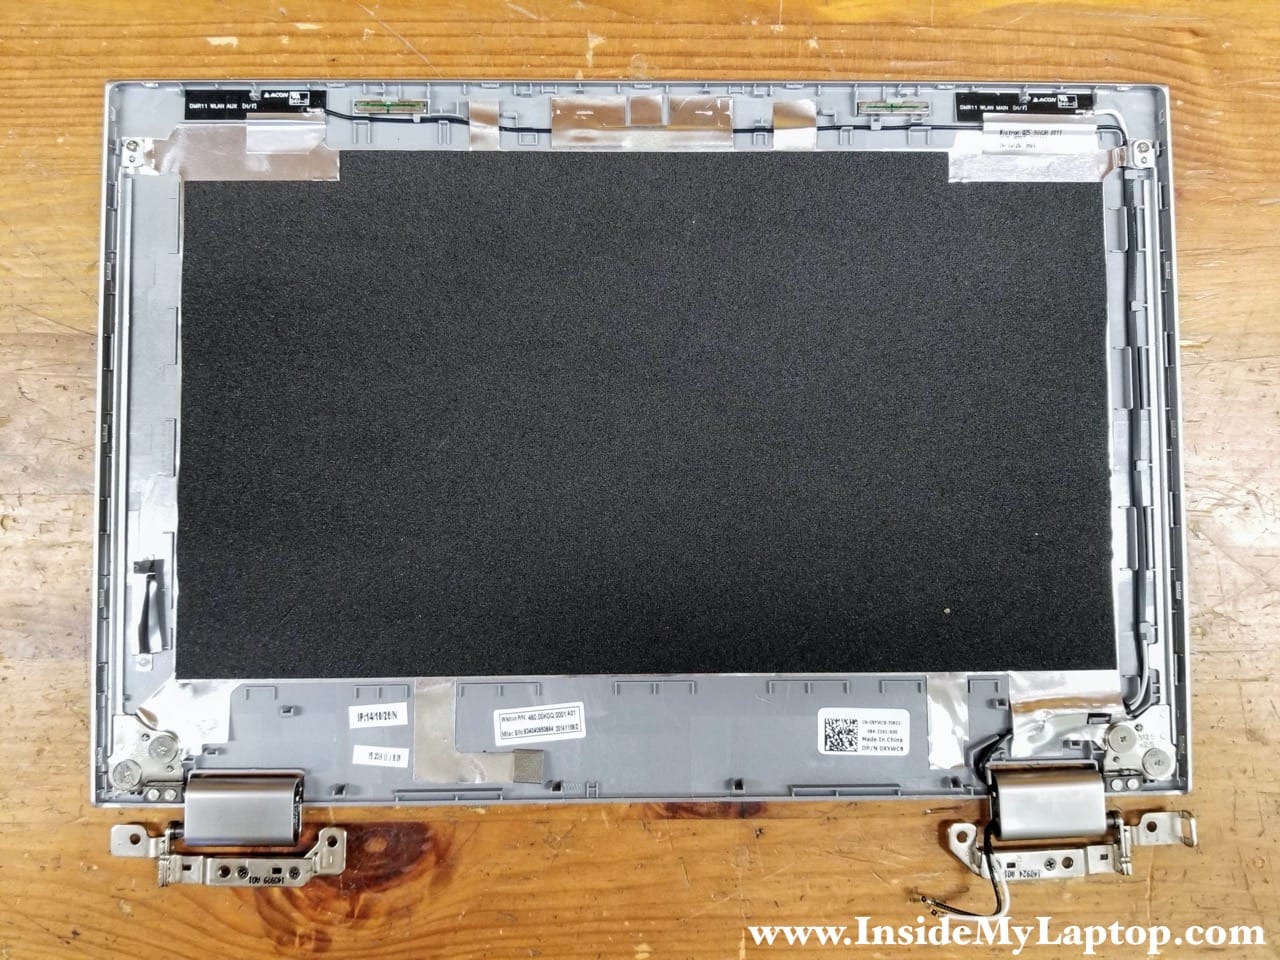
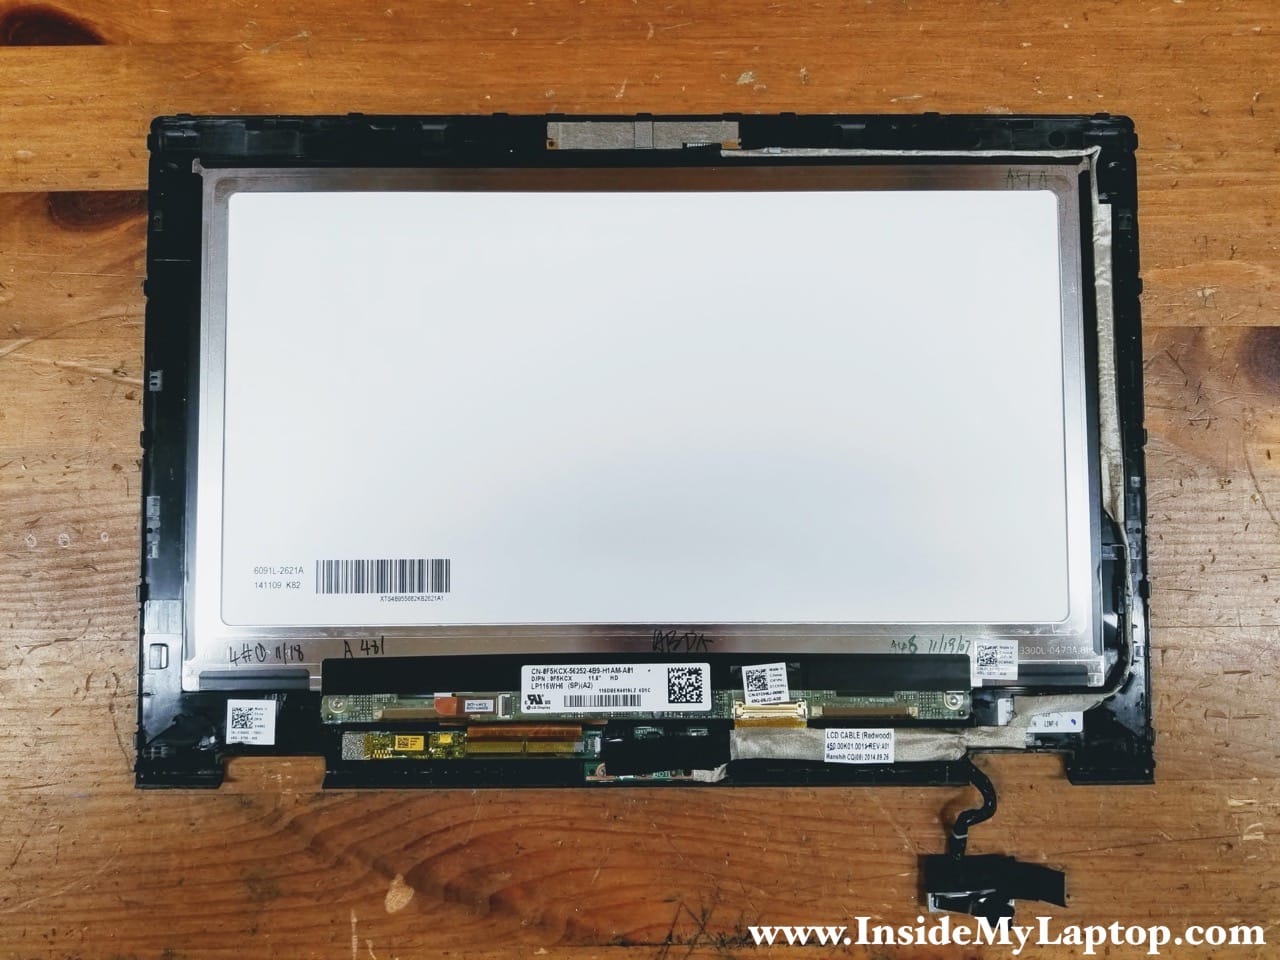
Here’s the display back cover with the screen removed. Now you can access and replace the hinges if necessary. The wireless antenna cables are attached to the display back cover.
Next we are going to remove the webcam and display cable harness routed on the right side of the display panel.
STEP 6.
Remove the black tape covering the connector.

STEP 7.
Disconnect the following color-coded cables:
1. Windows-button board cable (orange).
2. Display cable (yellow).

Here’s how to remove the Windows-button board cable.
Lift up the locking tab securing the cable inside the connector. Pull the cable out.

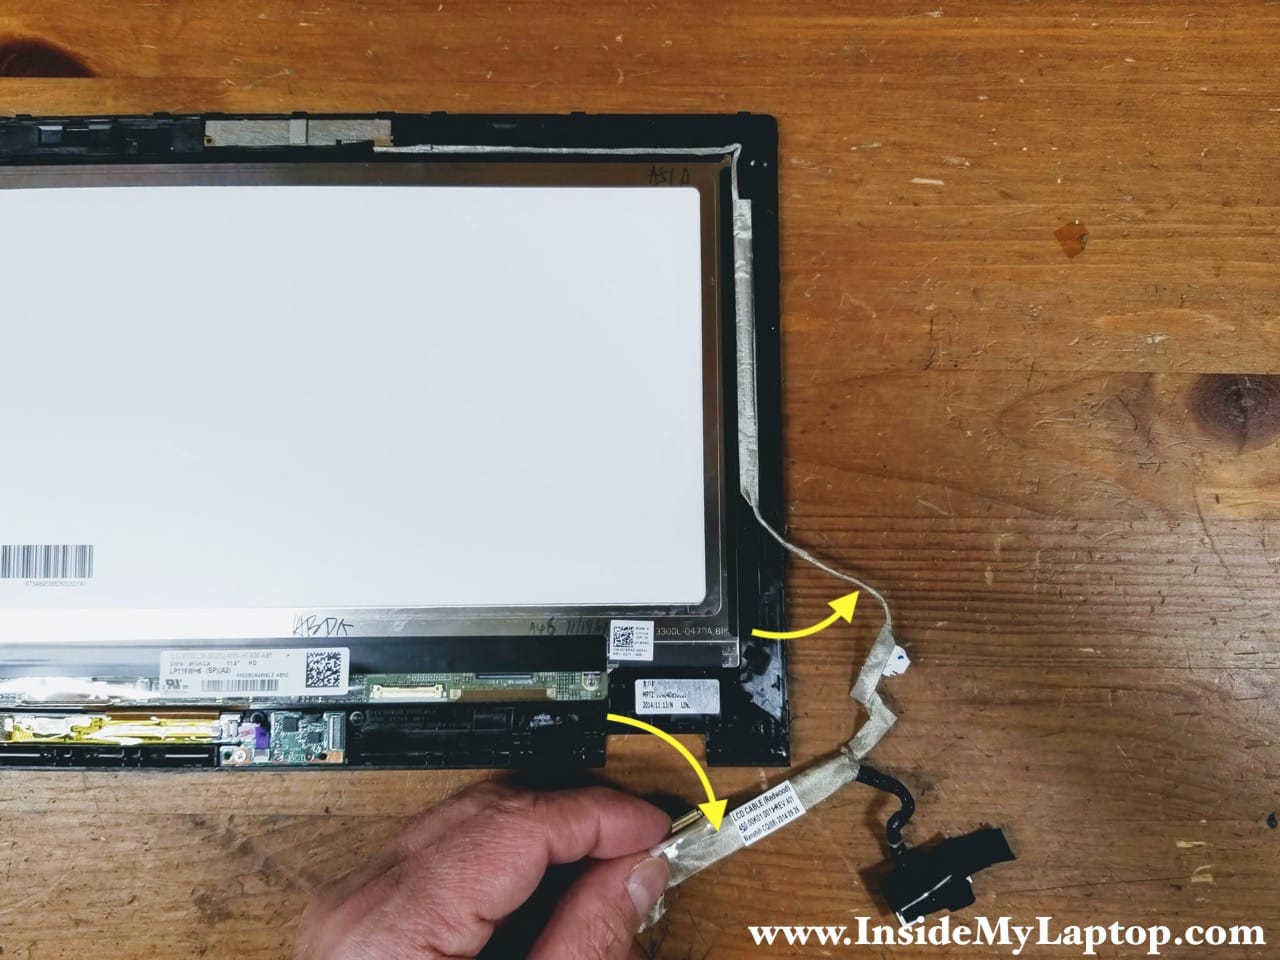
The display cable also has to be unlocked before it can be disconnected from the screen.
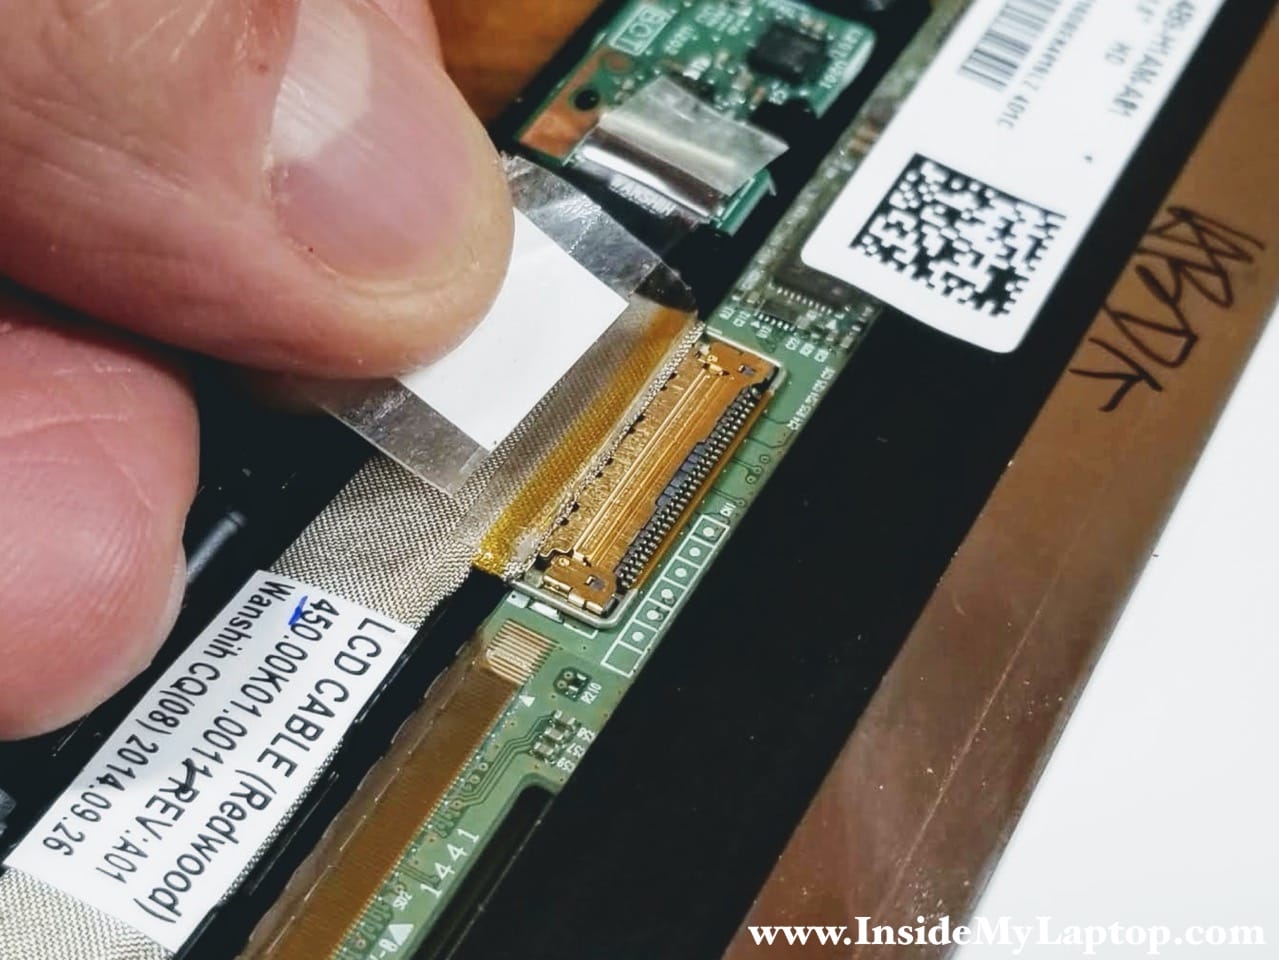
Lift up the metal bracket securing the cable inside the connector.
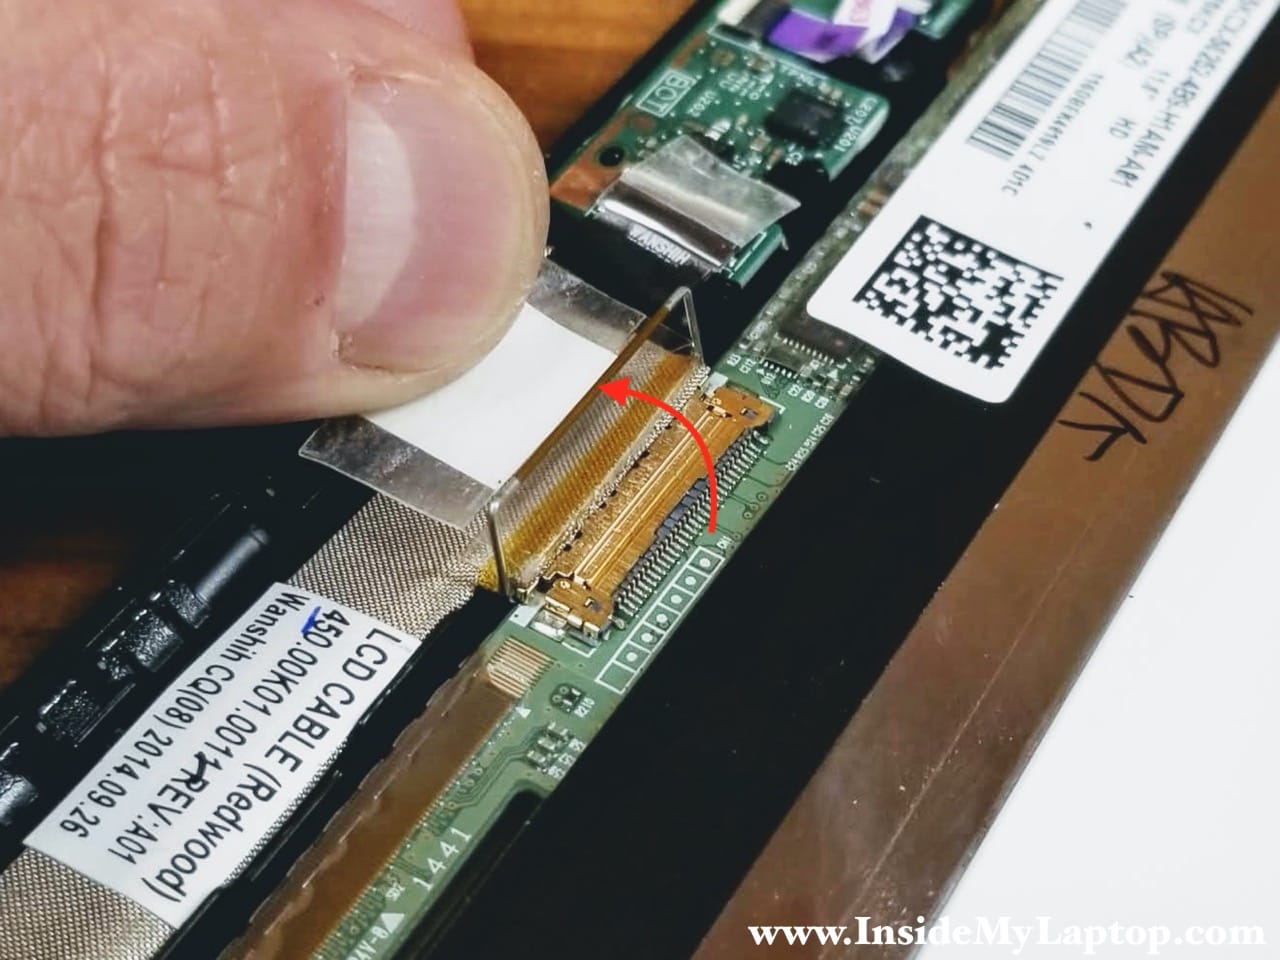
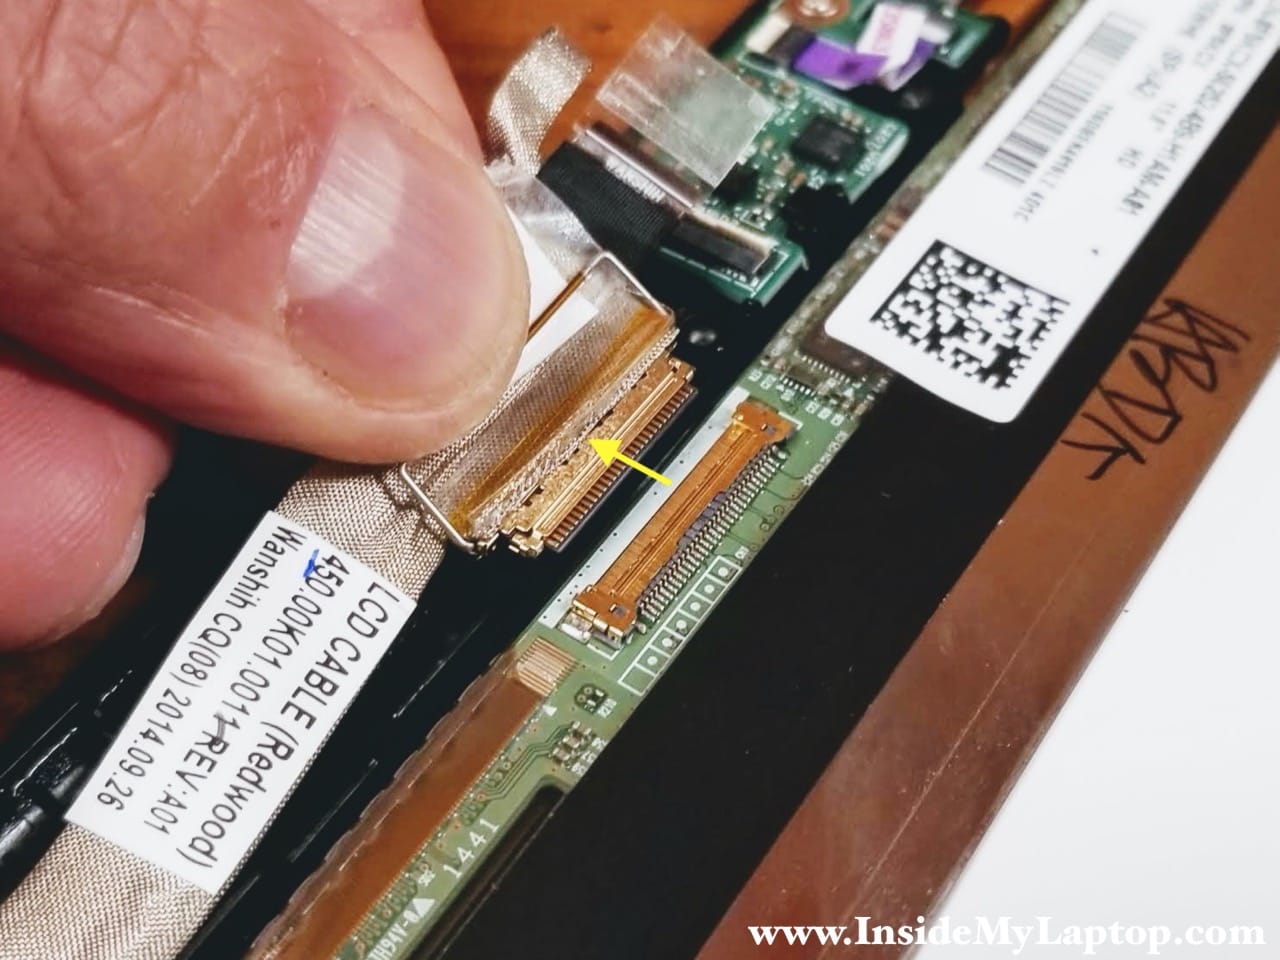
Disconnect the display cable from the LCD screen.
STEP 8.
Start separating the display harness from the right side of the bezel. Part of the cable is routed in the guided path. Part of the cable attached with adhesive.
STEP 9.
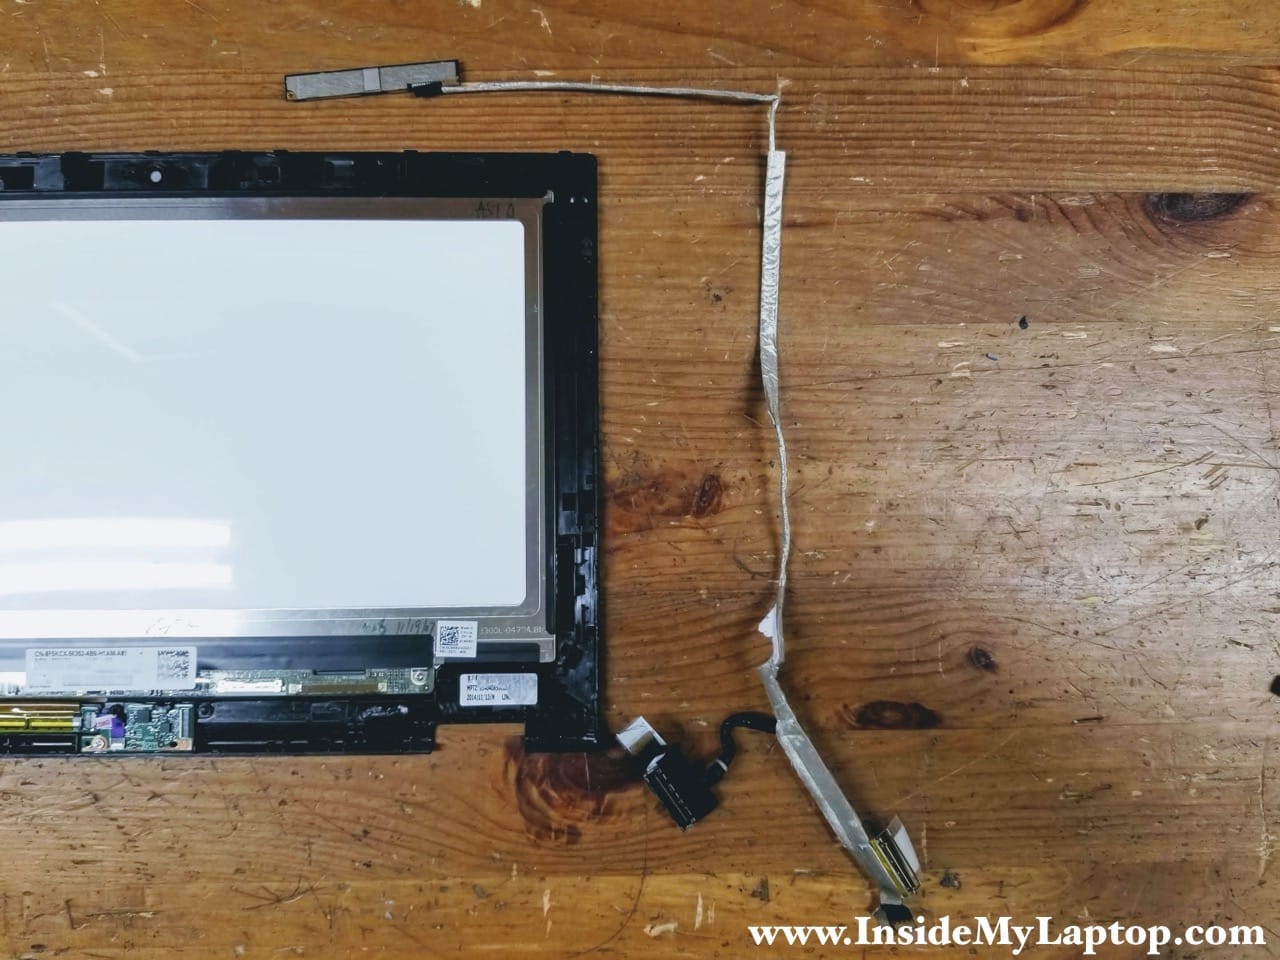
Pry up and remove the webcam board. There are small latches securing the webcam.

STEP 10.
Remove the display harness completely. It has to be transferred to the new touchscreen.
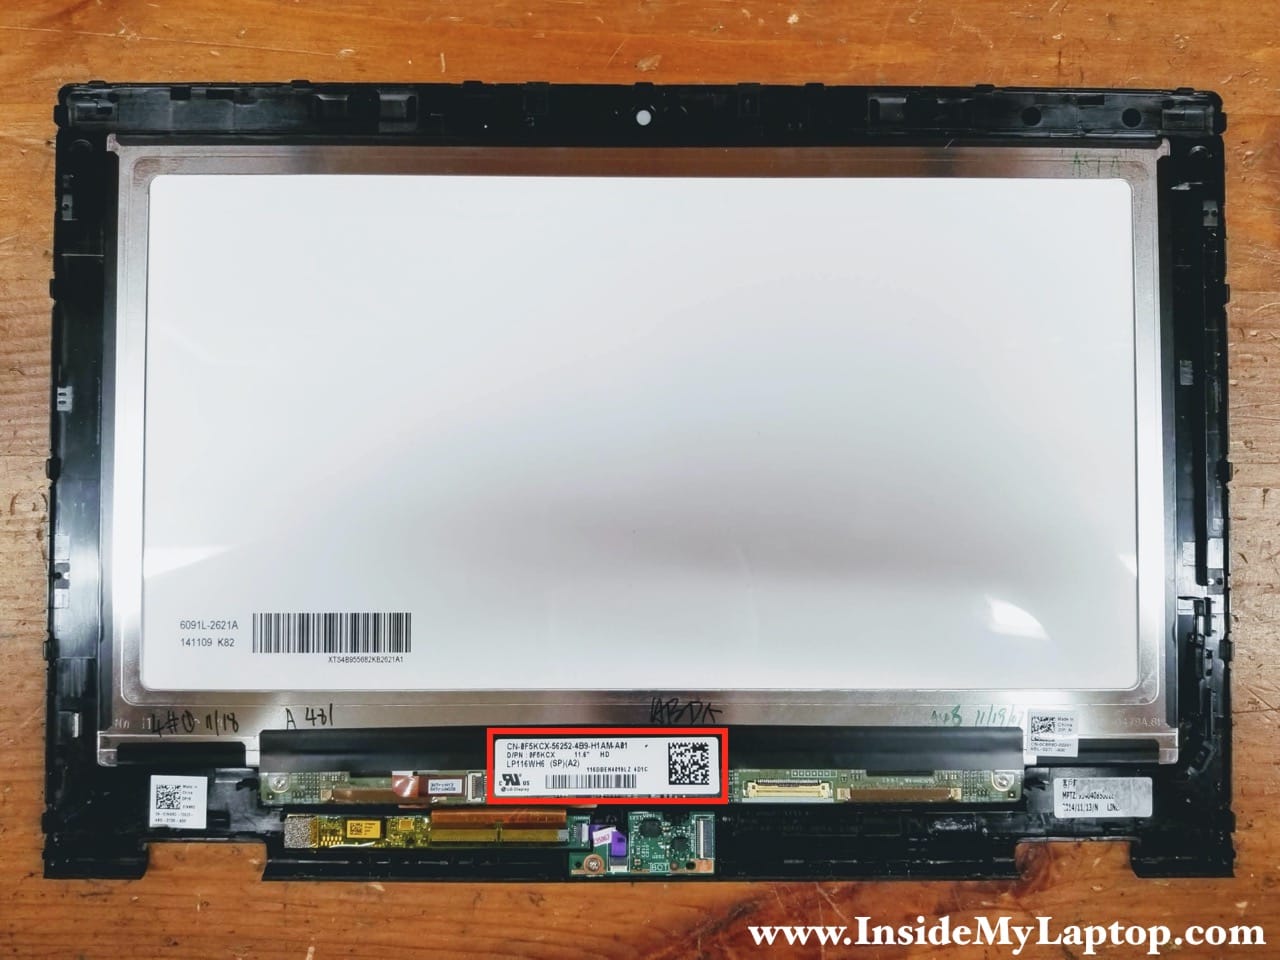
The LCD screen is permanently attached to the front glass and cannot be removed separately. If the screen failed or you cracked the front glass, it’s necessary to remove the entire assembly.
You can find a new touchscreen assembly if you search by the Dell part number printed on the original screen.
Dell Inspiron 11 3147 3148 (model P20T) touchscreen part number: 0F5KCX.
Replace the touchscreen and assemble the display panel back together following all steps in the reverse order.