Taking apart Dell Inspiron 13 5000 series 5378 5368

posted in: 4. Dell | 12
Taking apart Dell Inspiron 13 5000 series 5378 5368

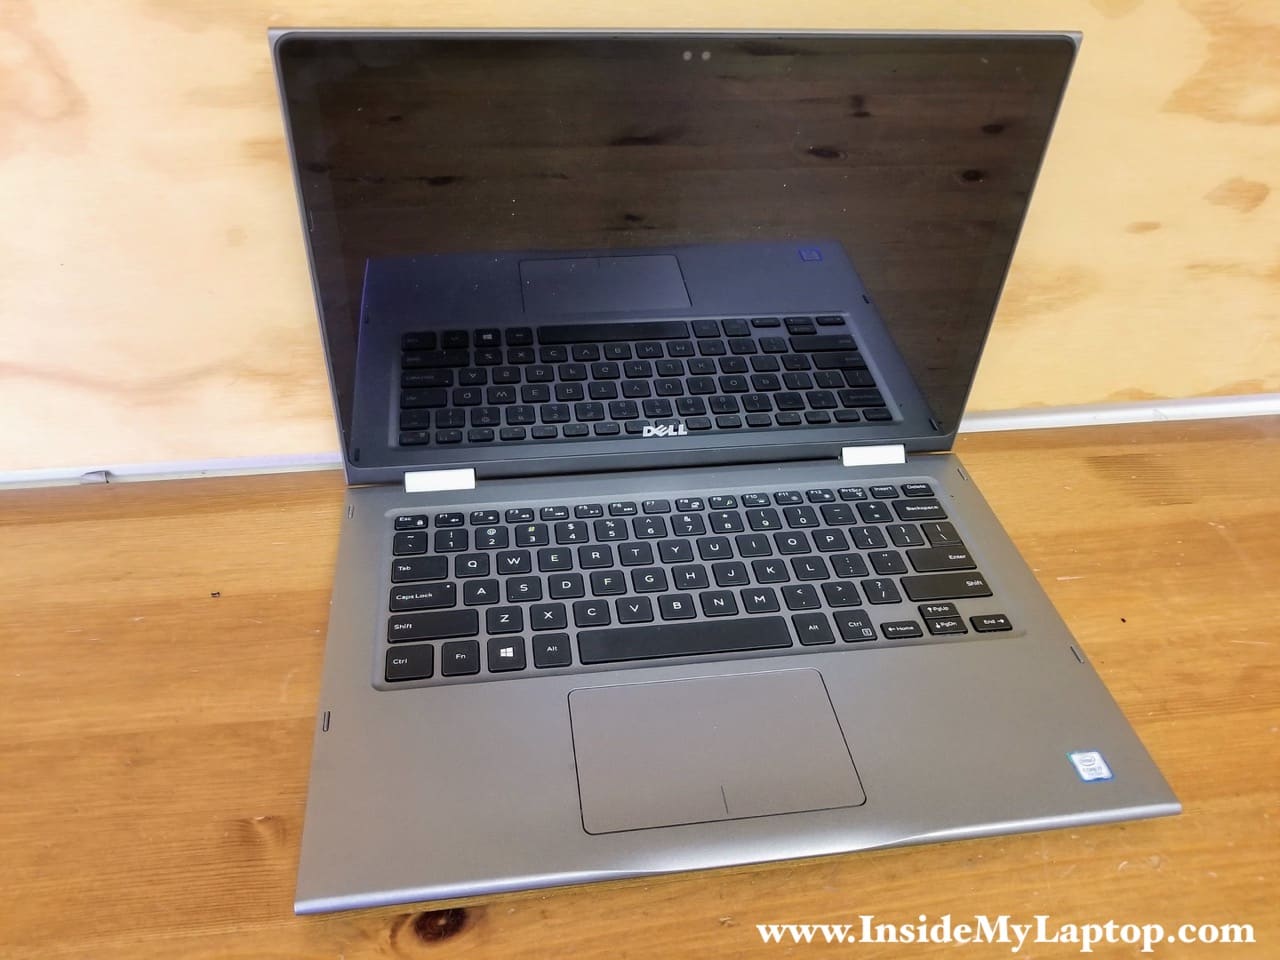
In this guide I will be taking apart Dell Inspiron 13 5000 series laptop model P69G. The disassembly guide was made for Dell Inspiron 13 5378 but also should fit Dell Inspiron 13 5368.

In the first part I will take apart the laptop base and in the second part I will show how to remove and replace the touch screen. Both parts are independent from each other and you can use either one at your convenience.

Continued

Teardown of Dell Inspiron 13 7000 series 7353 7359

posted in: 4. Dell | 3
Teardown of Dell Inspiron 13 7000 series 7353 7359

In this post I present you a teardown of Dell Inspiron 13 7000 series laptop (regulatory model P57G). You can use this disassembly guide for Dell Inspiron 13-7353, Inspiron 13-7359 and probably some other models too.

In this guide I’m taking apart only the laptop base. For the display disassembly and screen replacement check out my next post: Replacing touchscreen on Dell Inspiron 7347 7348 7352 7353 7359.

Continued

How to take apart Dell XPS 15 9530 or Precision m3800

posted in: 4. Dell | 3
How to take apart Dell XPS 15 9530 or Precision m3800

In this disassembly guide I show how to take apart Dell XPS 15 9530 or Precision m3800 laptop. Regulatory model: P31F.

While Dell XPS 15 9530 targets mostly home users and Precision m3800 is more business oriented, both models are very similar. This guide will help you to access and remove all main internal components.

Continued

Fixing left hinge separation on Dell Inspiron 15 7000

posted in: 4. Dell | 13
Left hinge separation on Dell Inspiron 15 7000

Today I’ll talk about the left hinge separation on Dell Inspiron 15 7000 series laptops, why it happens and how to fix this problem.

If your laptop hinge looks like one on the picture above, you are not alone. Apparently, the left hinge separation is a well known issue on Dell Inspiron 15 7000 series and many people complaining about it.

Continued

Replacing video cable on Dell Inspiron 15 7000 series 7559 7557

posted in: 4. Dell | 5
Remove display from Dell Inspiron 15 7559 7557

Replacing failed video cable on a Dell Inspiron 15 7000 series 7559 7557 is a relatively complicated and time consuming process. In my case the laptop had a touch screen and because of that the disassembly process was even more difficult.

Why do I replace the video cable? This laptop has developed a very annoying problem. As soon as you open the display more than 90 degrees, the backlight turns off. You move the display back and the backlight turns on.

Continued

How to disassemble Dell XPS 13 9343 9350 9360 Ultrabooks

posted in: 4. Dell | 0
Dell XPS 13 Ultrabook 9343 9350 9360 disassembly

In this guide I will show how to disassemble Dell XPS 13 9343 9350 9360 Ultrabooks.

These Dell XPS 13 ultrabooks were announced and released as follows: 9343 (Early 2015), 9350 (Late 2015), 9360 (Late 2016).

I’m taking it apart in order to replace failed keyboard but you can use this teardown guide for accessing and replacing any other internal component.

Continued

Taking apart Dell Inspiron 17 5000 Series 5759 5758 5755

posted in: 4. Dell | 0
Dell Inspiron 17 5000 Series 5759/5758/5755

Today I will be taking apart a Dell Inspiron 17 5000 series laptop. This guide should work for Dell Inspirons 5759, 5758, 5755. All three models are very similar.

During the disassembly process I’ll go through the following major steps:

  • Removing hard drive, RAM modules and CD/DVD drive – STEPS 1-5
  • Removing keyboard and bottom case – STEPS 6-14
  • Removing cooling fan, motherboard and DC power jack – STEPS 15-22
Continued

How to disassemble Dell Inspiron 15 5000 Series 5559 5558 5555

posted in: 4. Dell | 5
Dell Inspiron 15 5000 Series 5558/5559 disassembly guide

In this guide I will show how to disassemble Dell Inspiron 15 5000 Series laptop.

As an example I’m taking apart a laptop with product name: Dell Inspiron 5559 but also it should work for Dell Inspiron 5558 and 5555.

In this guide I’ll go through the following major steps:

  1. Removing the battery, hard drive, memory and optical drive: STEPS 1-8.
  2. Removing the keyboard: STEPS 9-13.
  3. Removing the bottom case: STEP 14-19.
  4. Removing the motherboard, DC power jack and cooling fan: STEP 20-27.
Continued