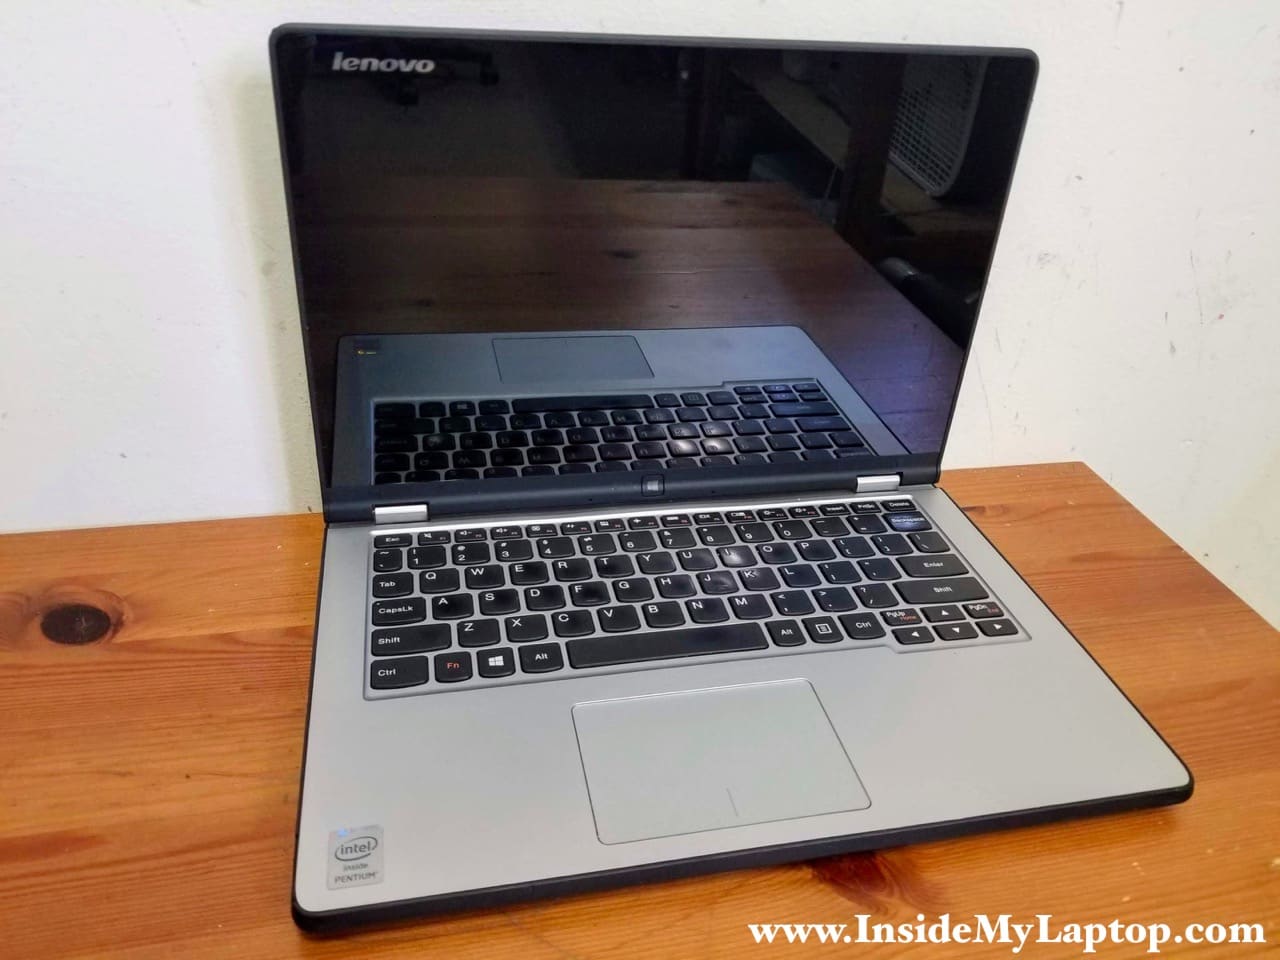
In this guide you will find Lenovo Yoga 2 11 20332 touch screen removal instructions.
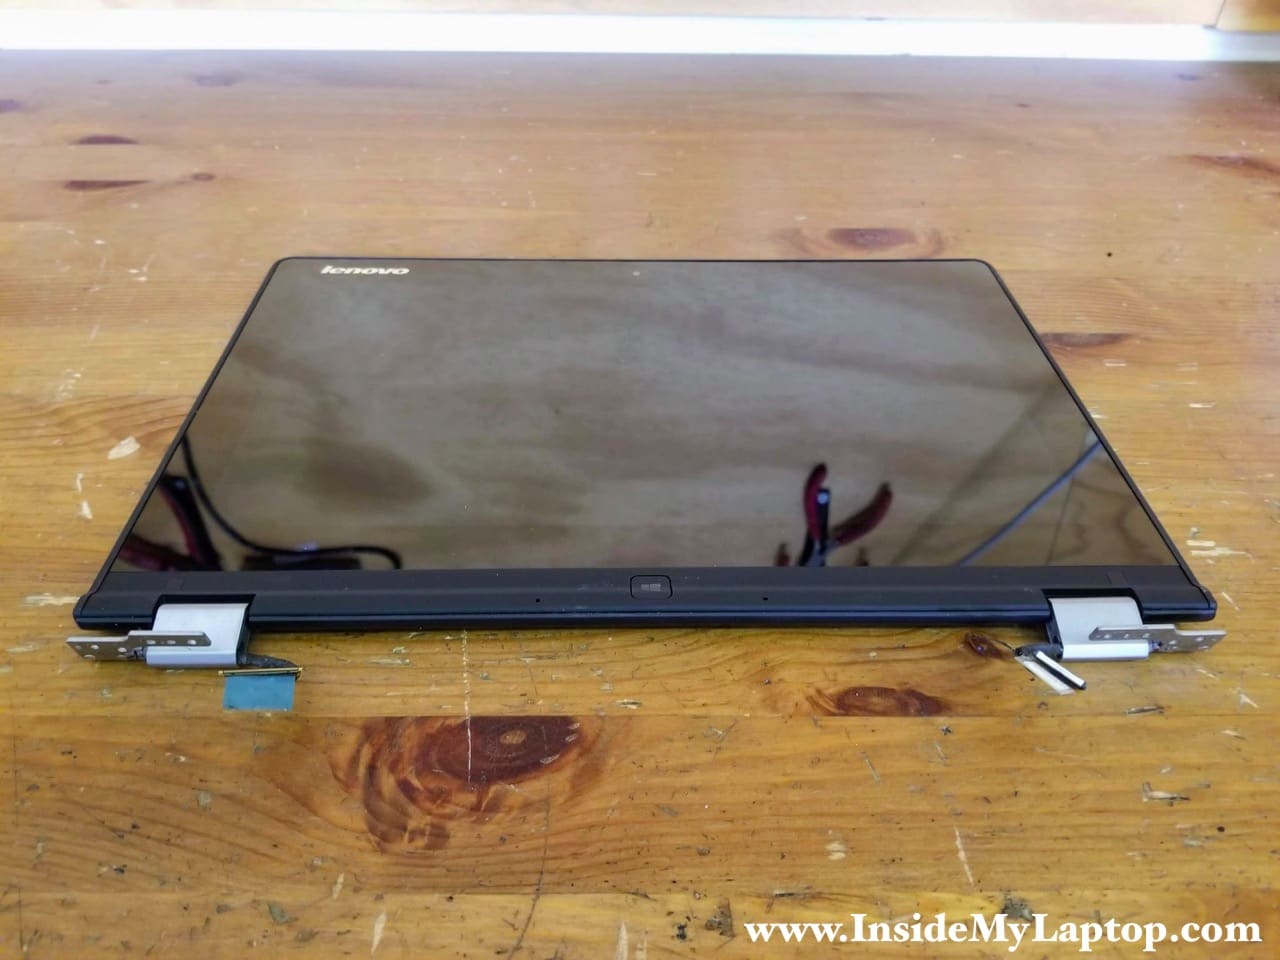
It’s possible to remove and replace the touch screen while the display is still attached to the laptop base but easier to do when the display is removed (as shown in my example).
You can remove the display following this Lenovo Yoga 2 11 disassembly guide (steps 11-13).
Continued