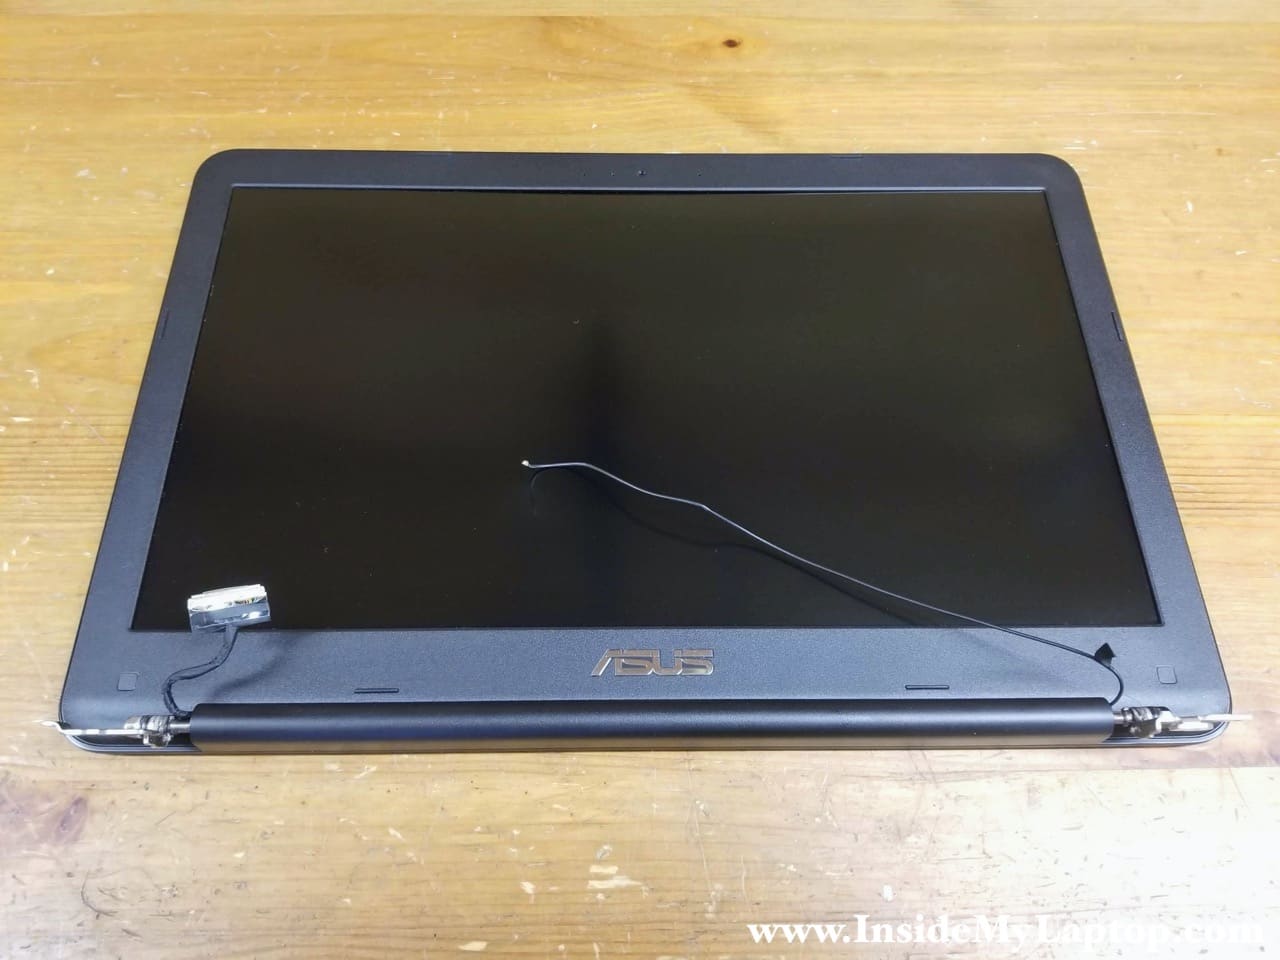
This guide will help you to take apart the display panel and replace the LCD screen on an Asus F556U series laptop. Also this guide should work for Asus F555L models.
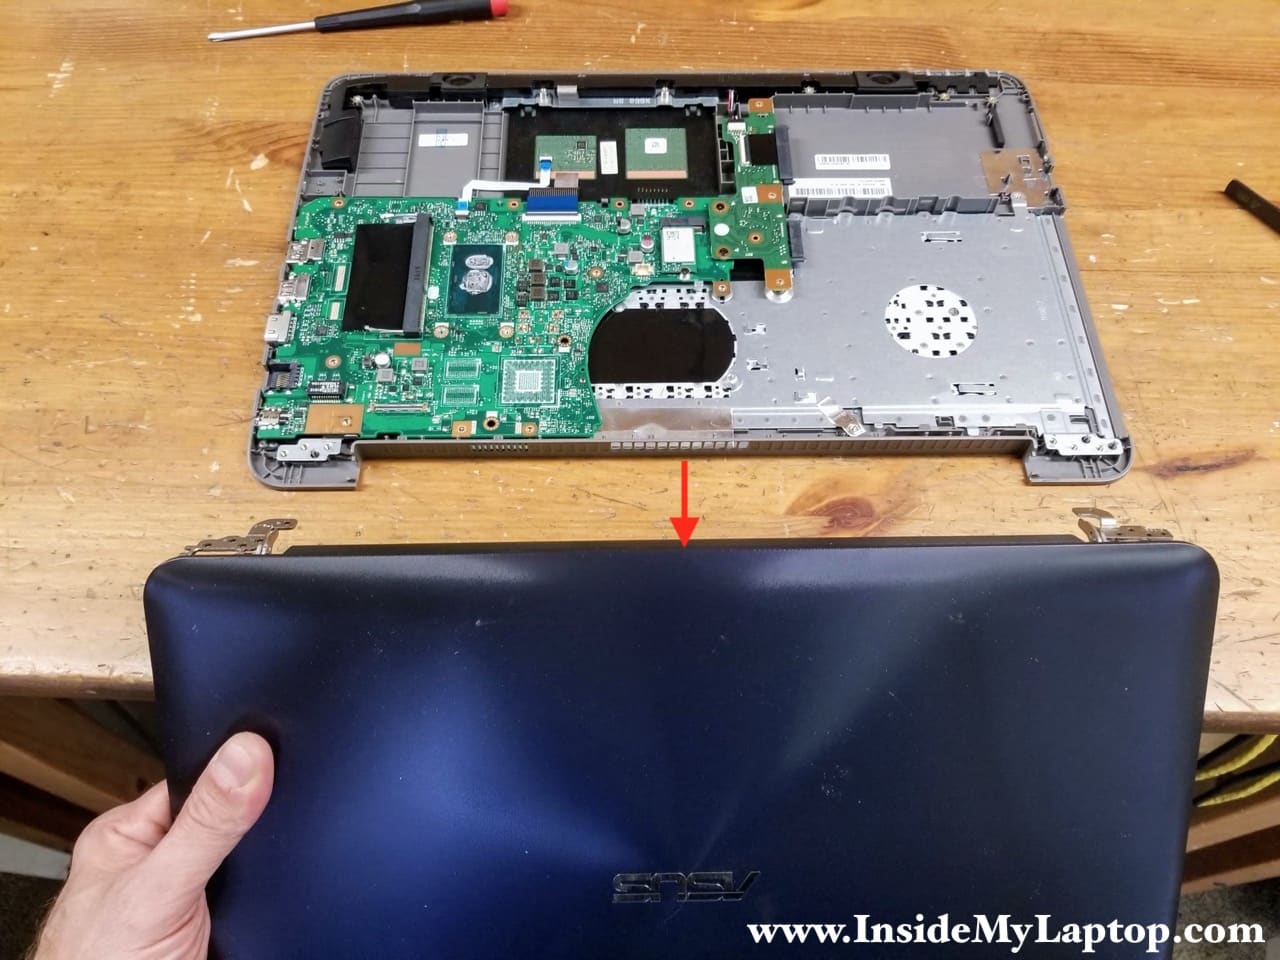
It is much easier to replace the LCD screen if you separate the display panel from the laptop base as I explained in my previous Asus F556U base disassembly guide.
It’s possible to replace the screen without removing the display but most likely you will have trouble seating the screen bezel back in place during the re-assembly process. The screen bezel has to go under the hinge cover which cannot be removed with the display attached to the base. The display panel must be removed if you are taking it apart in order to replace damaged hinges.
For the screen removal I’ll be using a Philips #0 screwdriver and X-Acto knife.
STEP 1.
Slide the hinge cover to the right until it clicks and separates from the display.
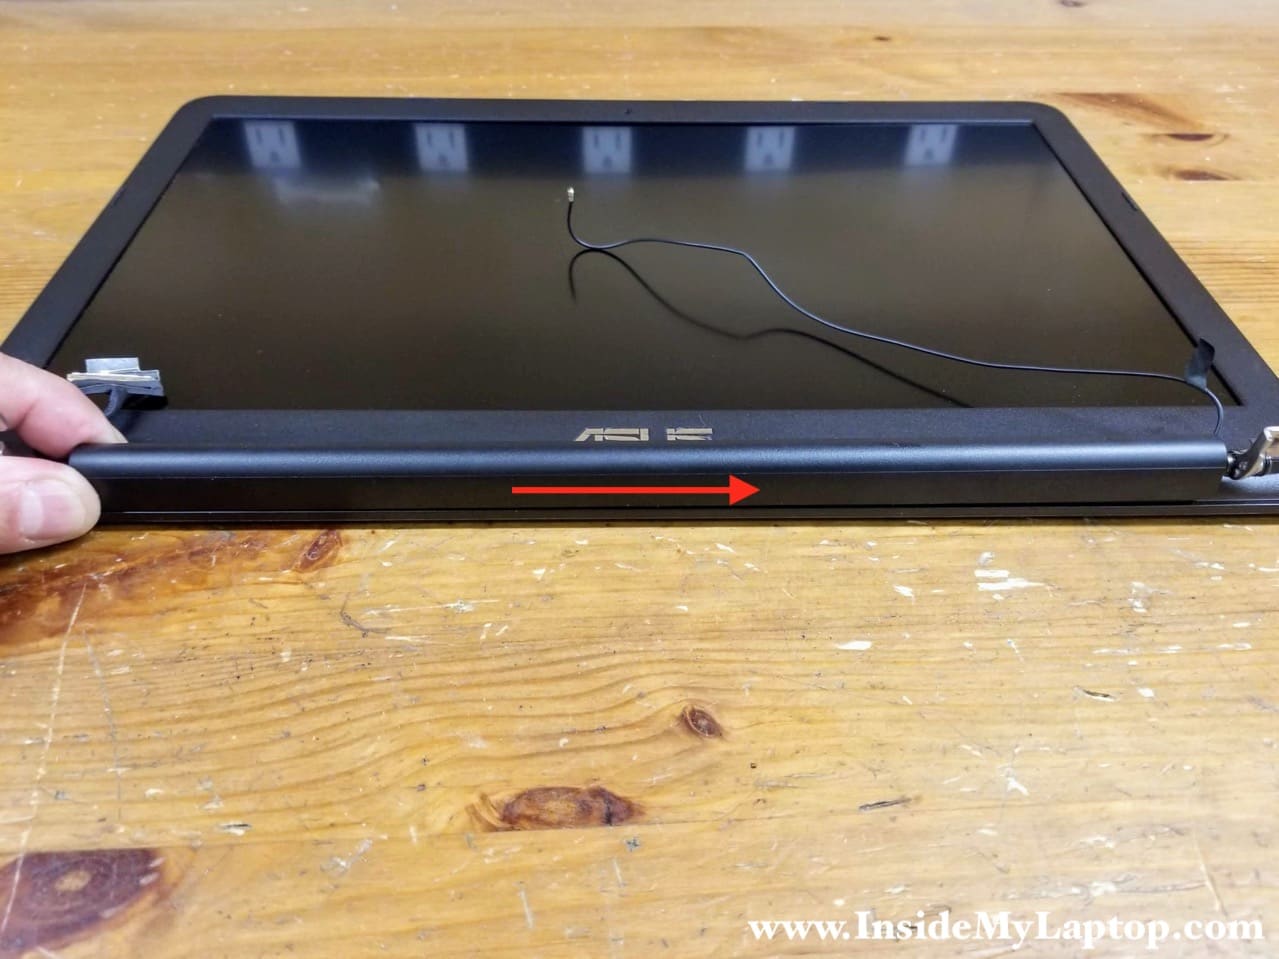
STEP 2.
Remove the hinge cover. This cannot be done with the display panel still connected to the laptop base.

STEP 3.
Remove two screws securing the screen bezel in the lower left and right corners of the display assembly.
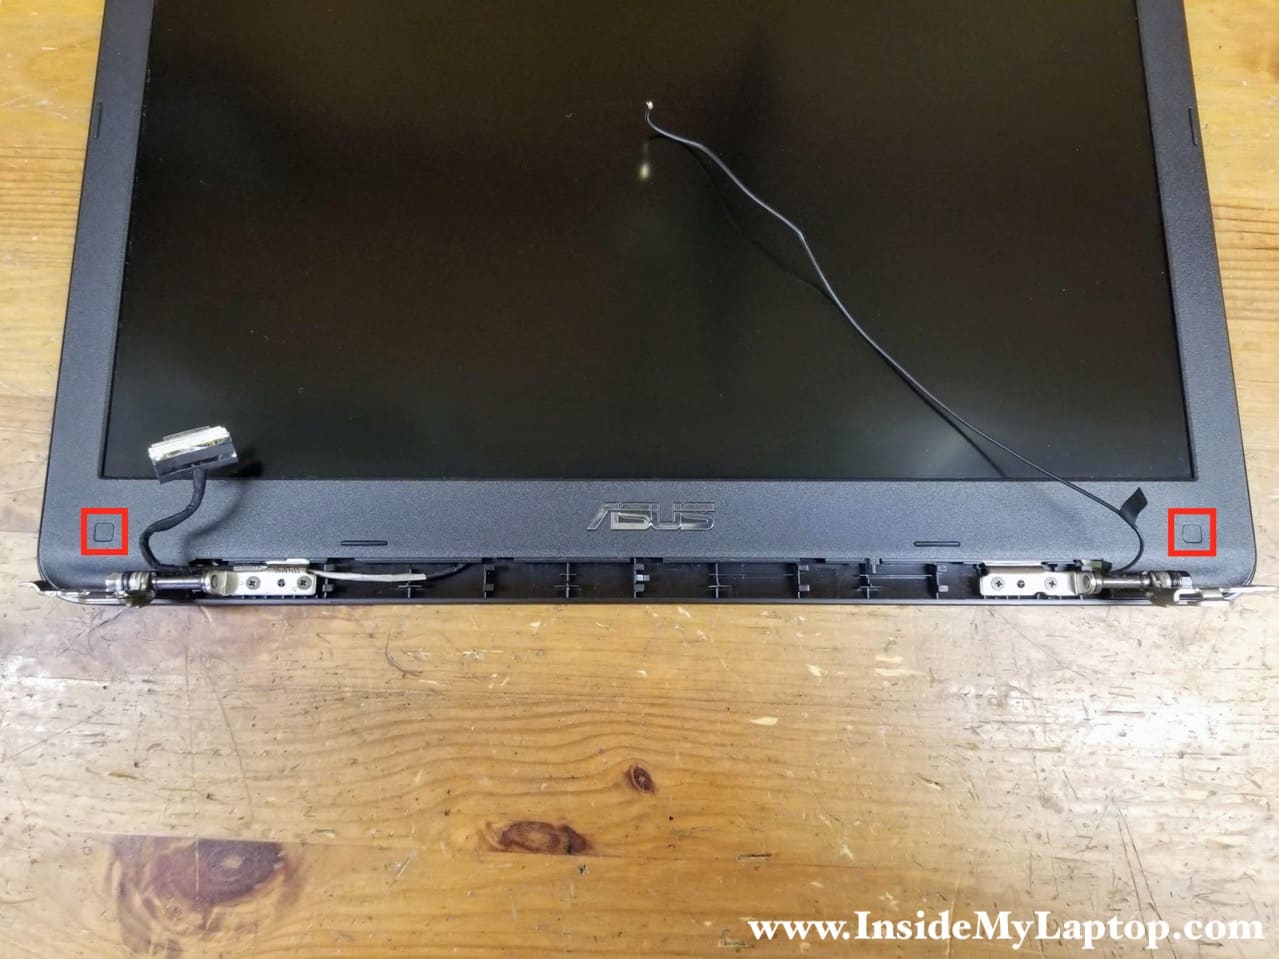
The screws are hidden under self-adheasive covers. You can remove the screw cover using an X-Acto knife. The blade is thin enough to get under the cover and remove it without leaving marks on the plastic bezel.

STEP 4.
Start separating the screen bezel from the back cover on the top side of the display, somewhere around the webcam.

STEP 5.
Continue removing the screen bezel. You’ll have to wiggle the bezel to disengage multiple hidden latches securing it to the back cover.

STEP 6.
Remove the screen bezel completely.

STEP 4.
Remove four screws attaching the LCD screen to the display hinge brackets.

STEP 5.
Separate the LCD screen from the display back cover and turn it upside down on the desk.

STEP 6.
Now you can access the connector on the back of the LCD screen and unplug the video cable.
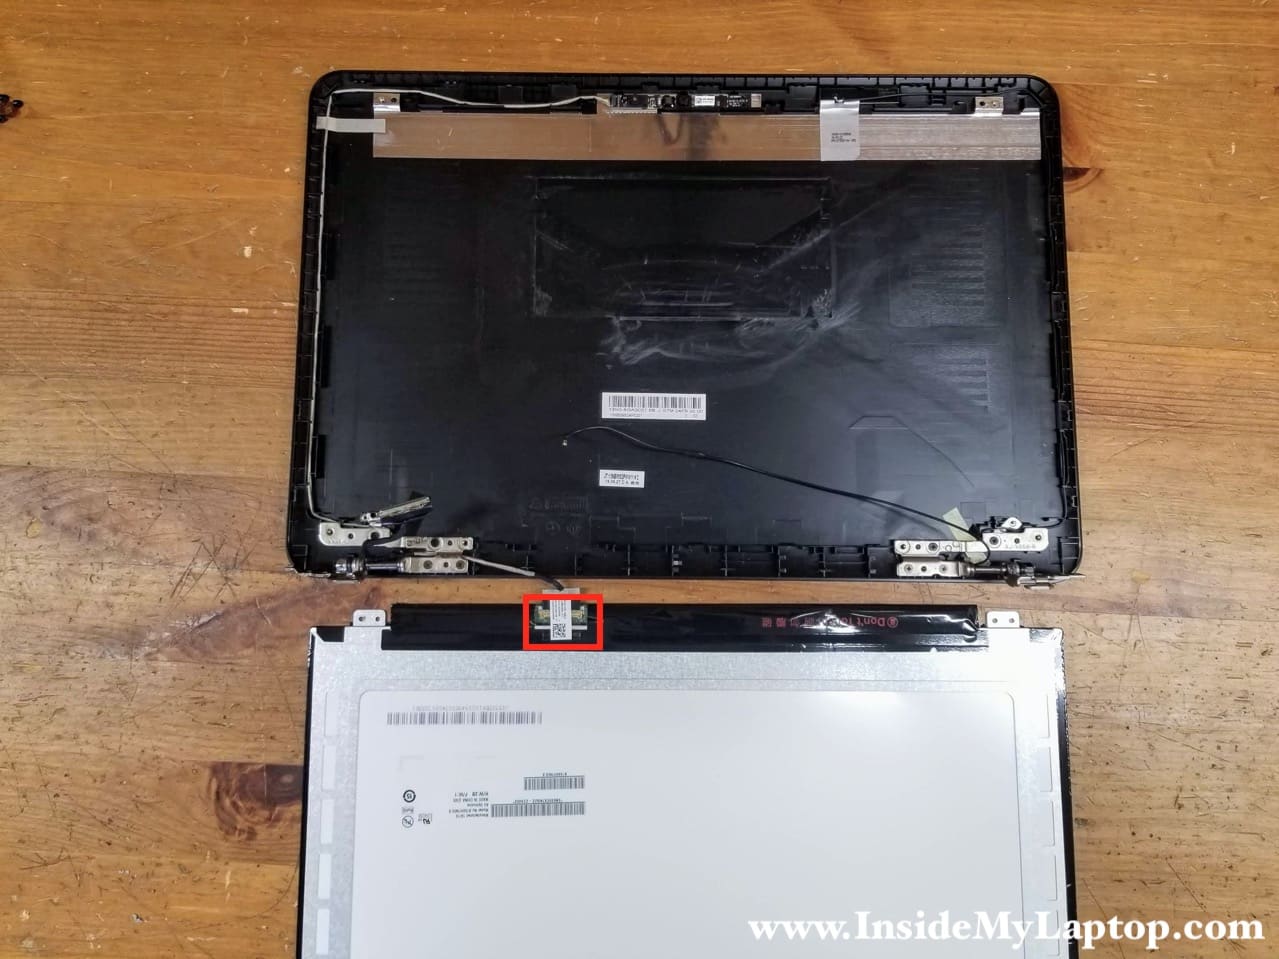
STEP 7.
Peel off the clear tape securing the connection. Pull the video cable out to unplug it from the screen.

You can find a replacement LCD screen if you search by the model number printed on the original screen. In my Asus F556U I had this screen installed: B156HTN03.8

Here’s the display back cover with the LCD screen removed. Now you can replace the damaged hinges if necessary.
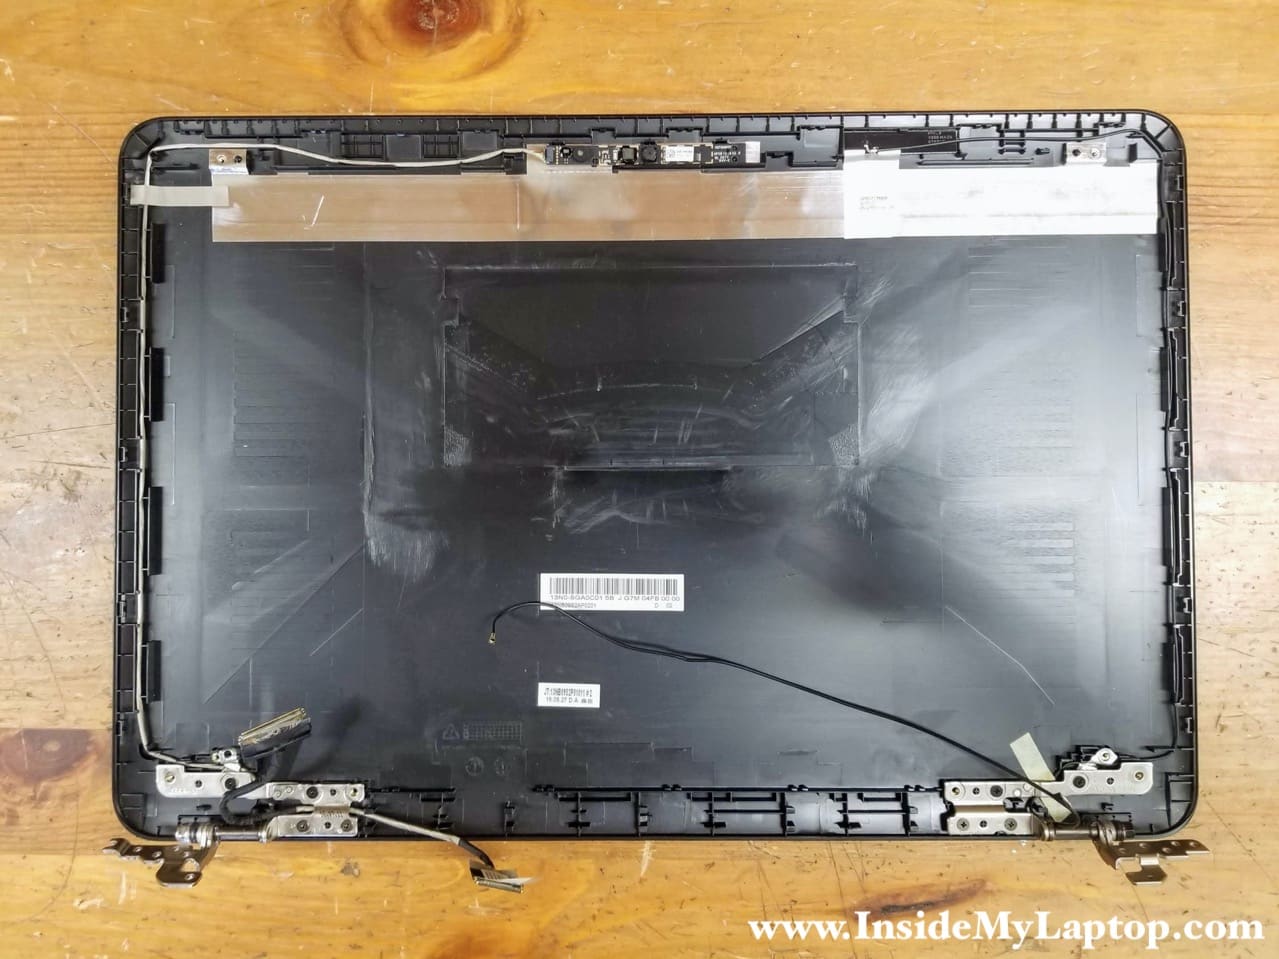
To re-assemble the laptop just follow all disassembly steps in the reverse order.
Roknod
I am looking for ASUS Desktop-F79O8GB screen replacement.
Will appreciate if you could be of any help