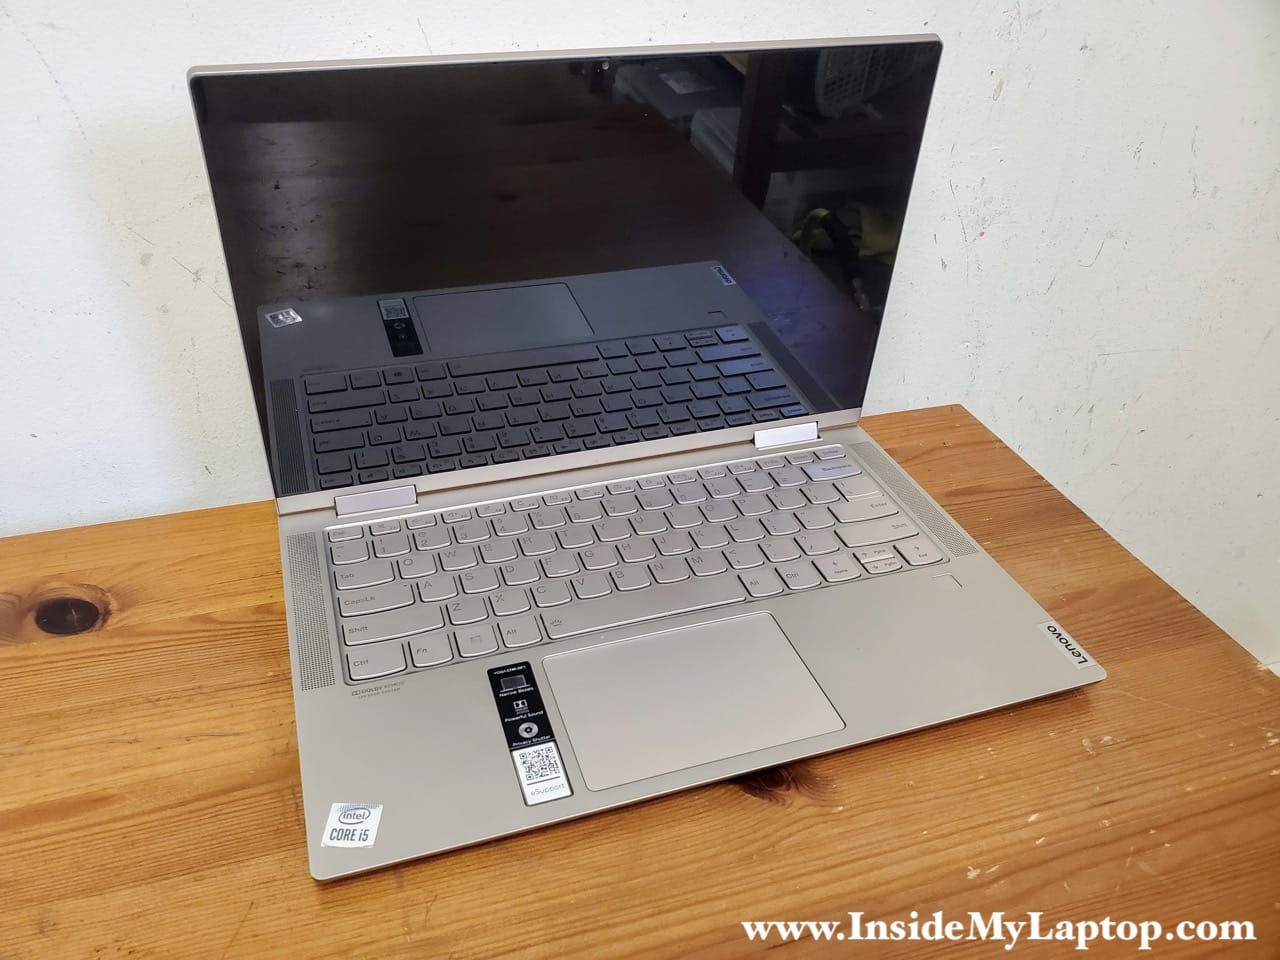
In this guide I show how to disassemble a Lenovo Yoga C740-14IML (model 81TC) laptop.
Lenovo Yoga C740-14IML design highlights:
– This laptop configured with a PCIe NVMe solid state drive.
– The memory (RAM) is not removable. It’s integrated into the motherboard.
– The cooling fan is attached to the heatsink but can be removed and replaced.
You will need four basic tools for this disassembly: T5 Torx screwdrivers, PH0 Phillips screwdriver, tweezers and thin case opener tool.
Bottom cover removal
Remove nine Torx screws located on the bottom cover.

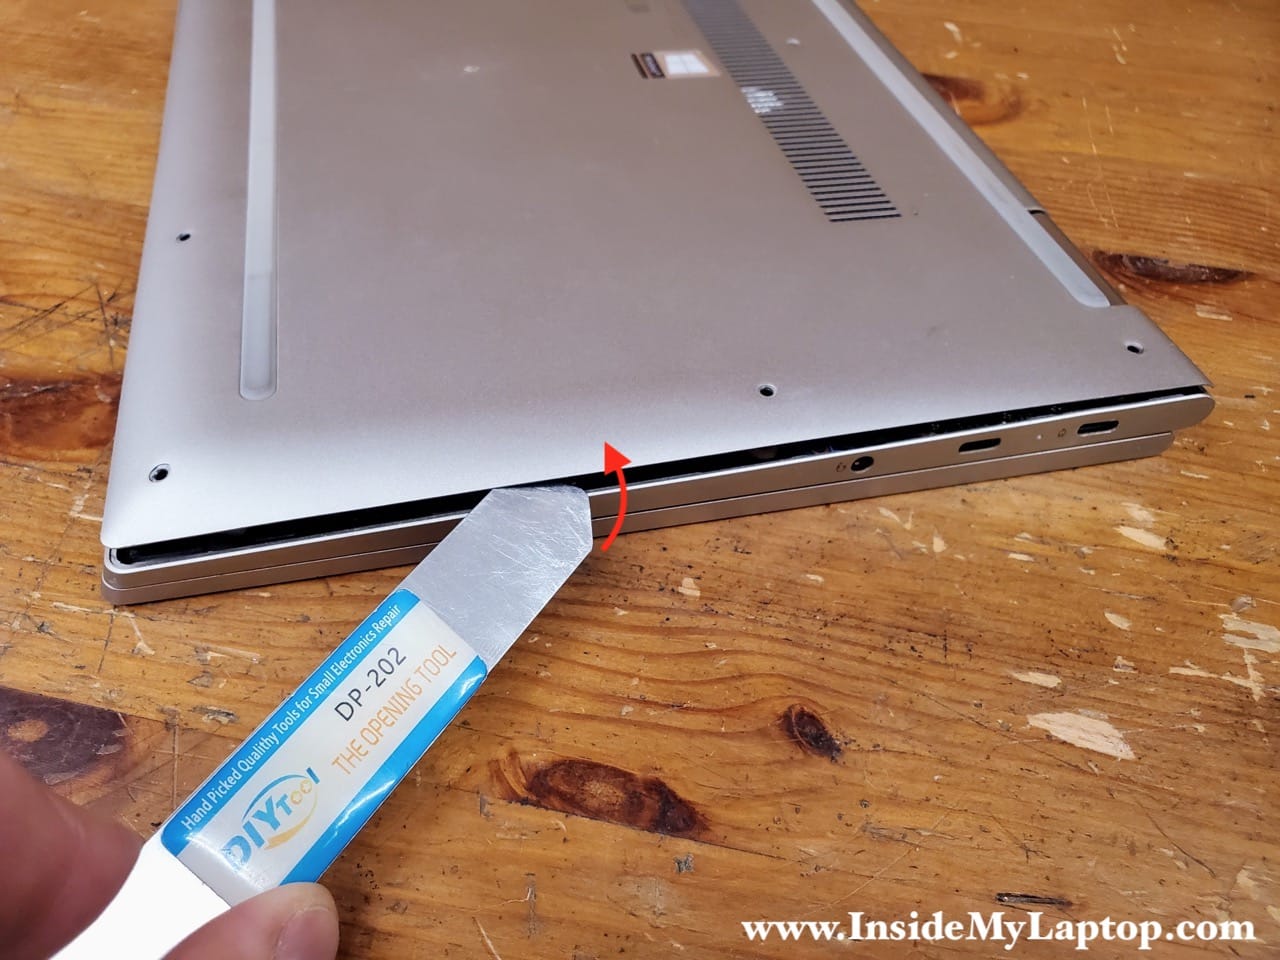
The bottom cover is fitted very tightly to the top case assembly. You’ll need a thin case opener tool to separate one from another. Works slowly. The case is made of aluminum and easy to scratch.
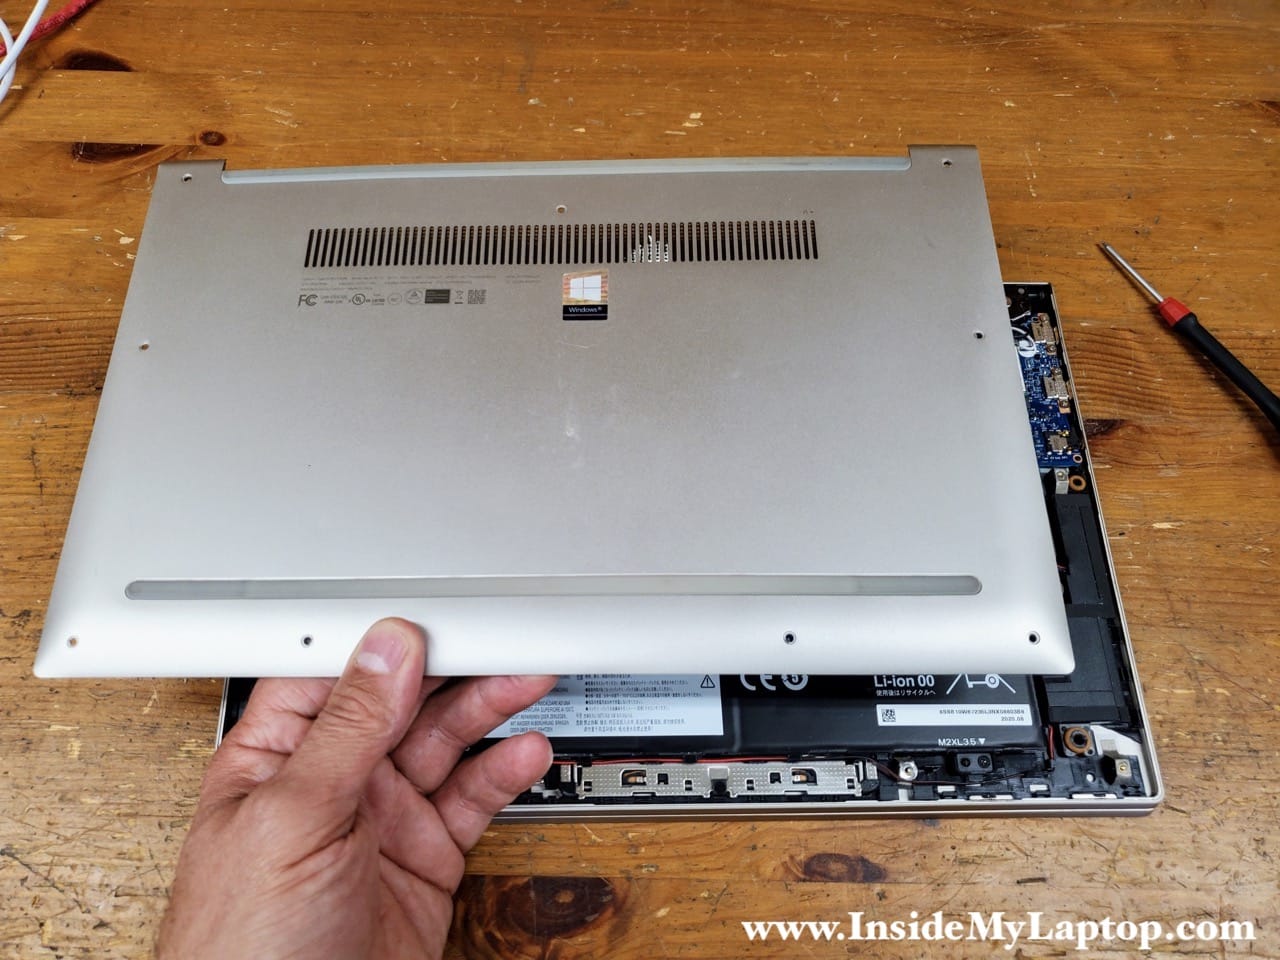
Insert the case opener between the bottom cover and the top case and carefully pry up the cover. Continue removing the cover with our fingers. You’ll have to wiggle the cover to release the latches.
Remove the bottom cover completely.
Battery removal and replacement
Remove four screws (circled in red) and loosen one screw (circled in yellow) attaching the battery.

Disconnect the battery cable from the motherboard.

Remove the battery.
There are speaker cables routed on the bottom side of the battery. It’s necessary to un-route the cables while removing the battery.
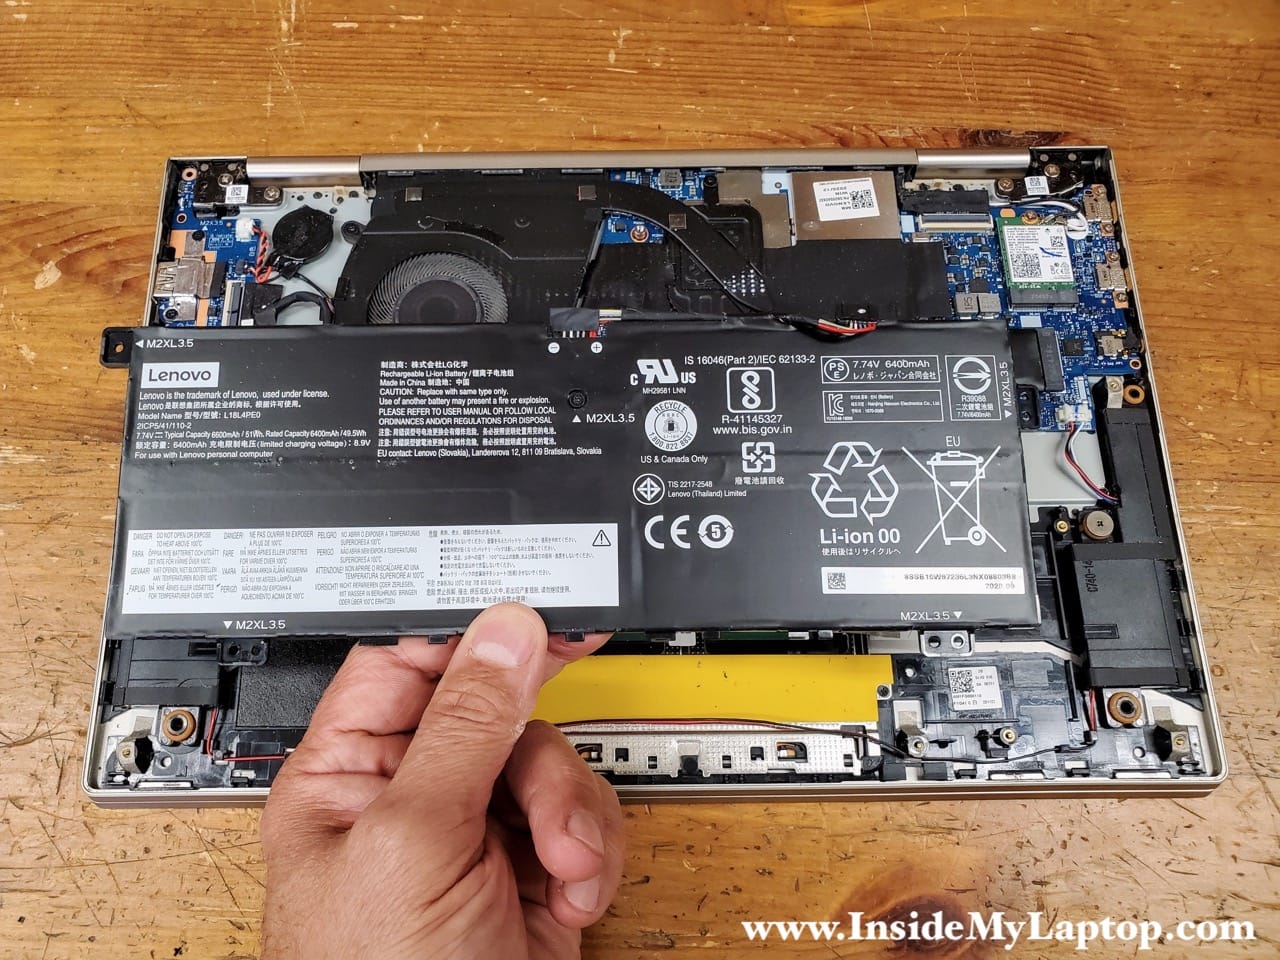
If you need to replace the battery you can find a new one using this model number: L18L4PE0.
I recommend using genuine Lenovo battery.

SSD removal and replacement
Lenovo Yoga C740-14IML laptop configured with one PCIe NVMe solid state drive (SSD).
Remove one screw securing the SSD.

Pull the SSD out.
If you want to replace or upgrade the drive, you can use any third party PCIe NVMe SSD (Like Samsung, Western Digital, Crucial, etc…).

Cooling fan removal and replacement
Remove two screws securing the cooling fan (circled in red). Loosen three screws attaching the heatsink to the processor (circled in yellow).

Disconnect the fan cable from the I/O board.

Un-route the I/O board cable from the guided path on the fan.

Remove the cooling fan and heatsink assembly.

Here’s the other side of the assembly.

Remove four screws attaching the fan.

Start removing black tape covering the fan.

Continue removing black tape on the other side of the fan assembly.
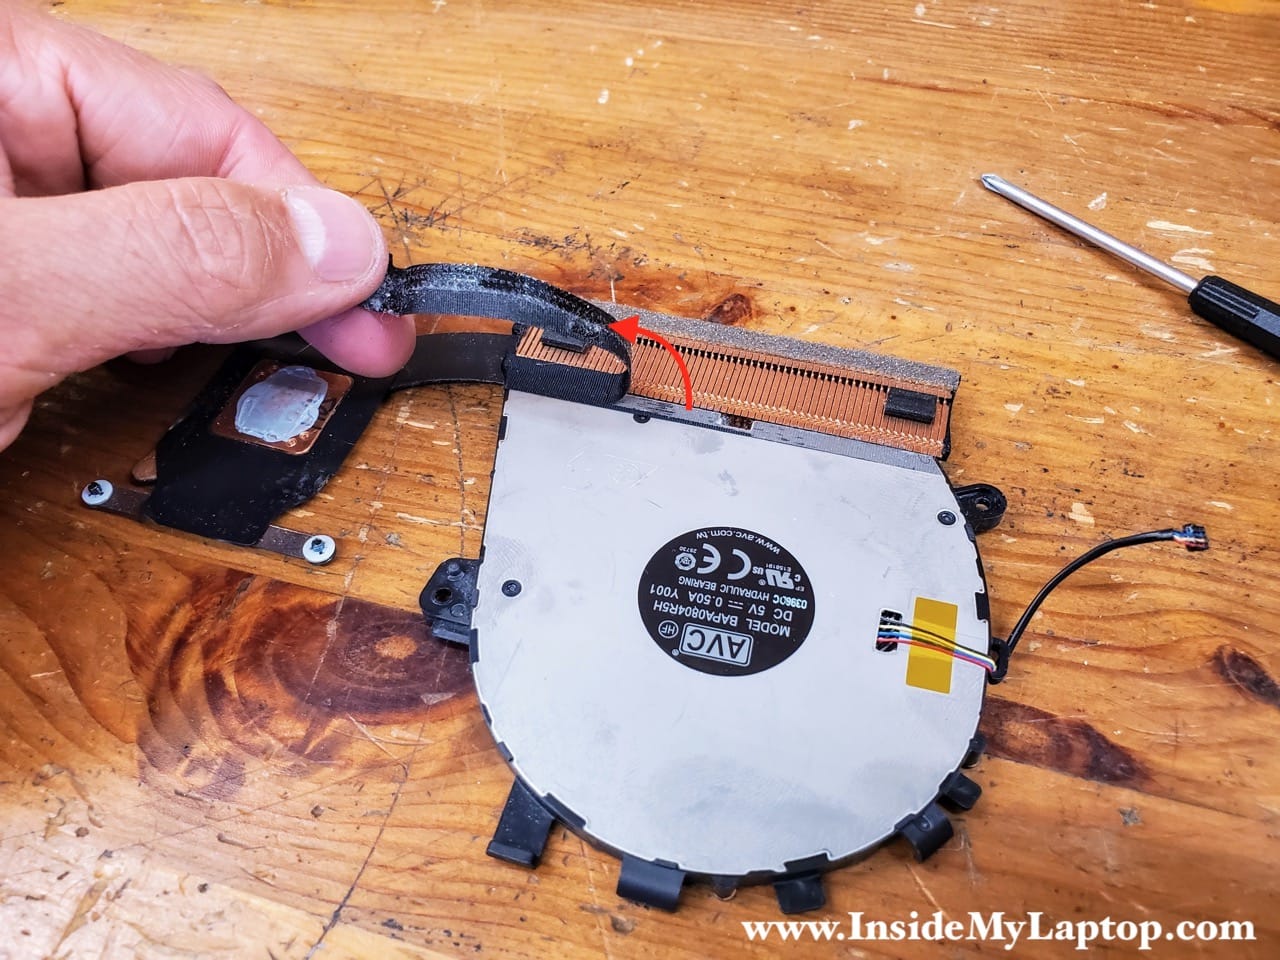
Separate the fan from the heatsink.
Now you can replace the fan if necessary and clean up the heatsink from dust.

Wireless card removal and replacement
The wireless card can be easily removed and replaced after you disconnect antenna cables.
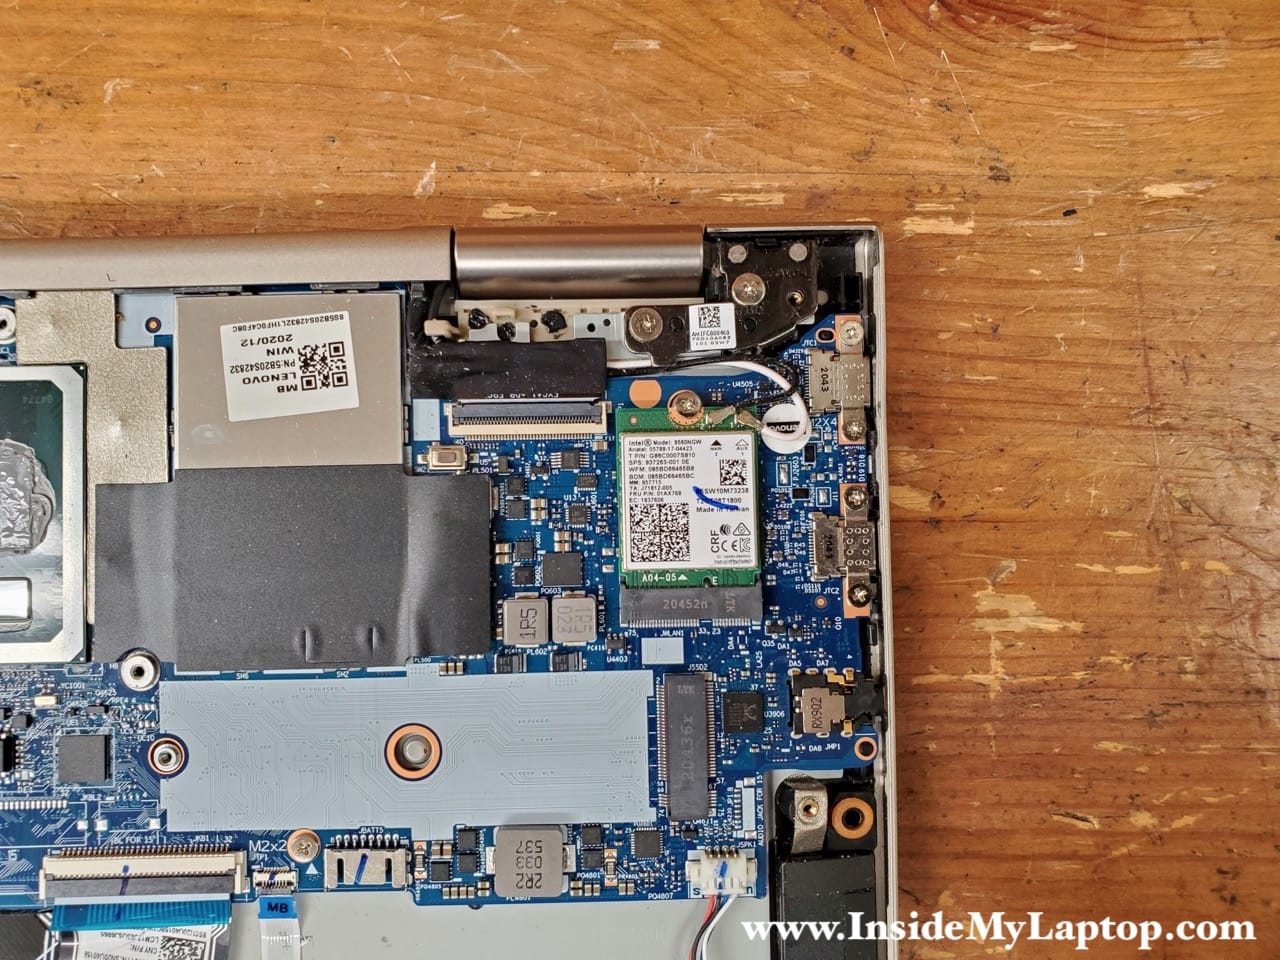
Using fine tweezers lift up the black and white antenna cables to disconnect them from the wireless card. Remove one screw securing the card.

Pull the wireless card out.
If you need to replace the wireless card you can find a new one using this Lenovo part number: 01AX768. It’s Intel 9560NGW dual band wireless-AC Bluetooth 5.1 Wi-Fi card.
