
This guide will help you with taking apart the display panel and removing the touchscreen from a Lenovo ideapad FLEX 4 laptop.
You can use these instructions for one of the following models:
Ideapad FLEX 4-1570 | ideapad FLEX 4-1580
Ideapad FLEX 4-1470 | Ideapad FLEX 4-1480 | Ideapad FLEX 4-1435
In order to open up the display panel and remove the touchscree it’s necessary to remove the display firsts as I explained in my previous Lenovo ideapad FLEX 4 disassembly guide.
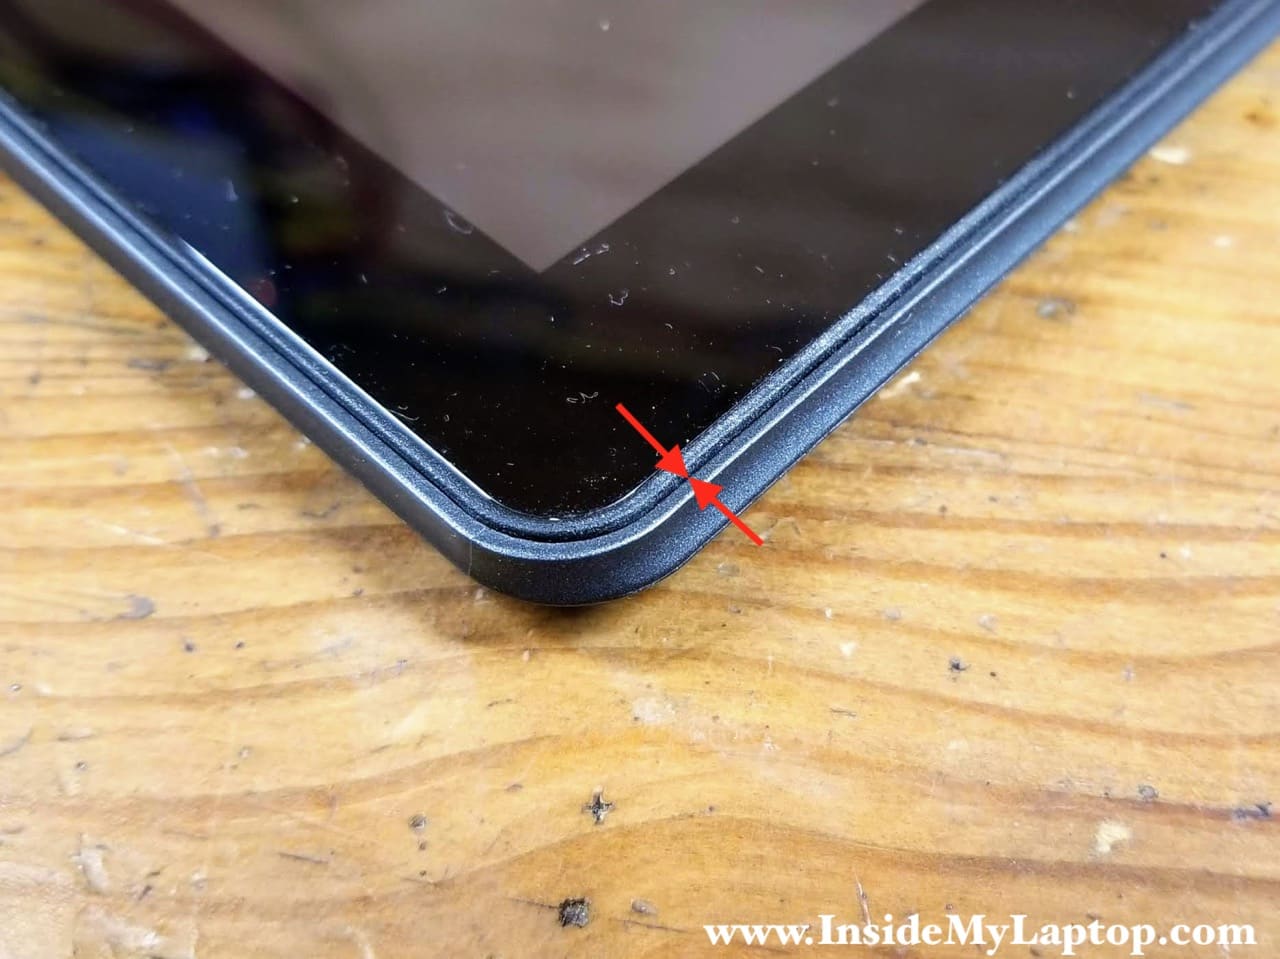
STEP 1.
There are two rubber screw covers located in the lower left and right corners of the display panel.
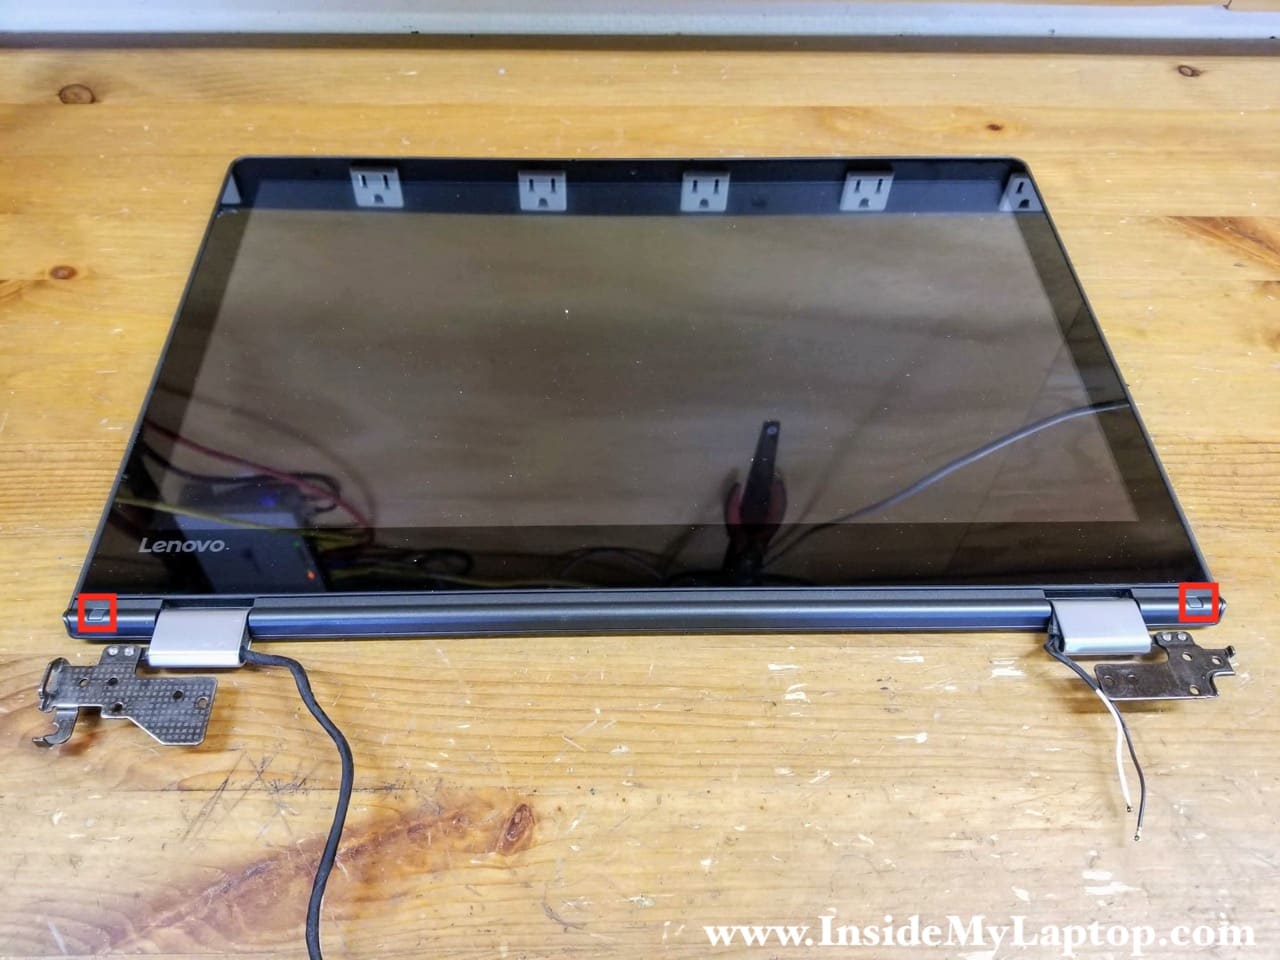
The rubber covers are self-adhesive and can be easily removed with a needle-nose tweezers. Remove both screws from the left and the right sides.

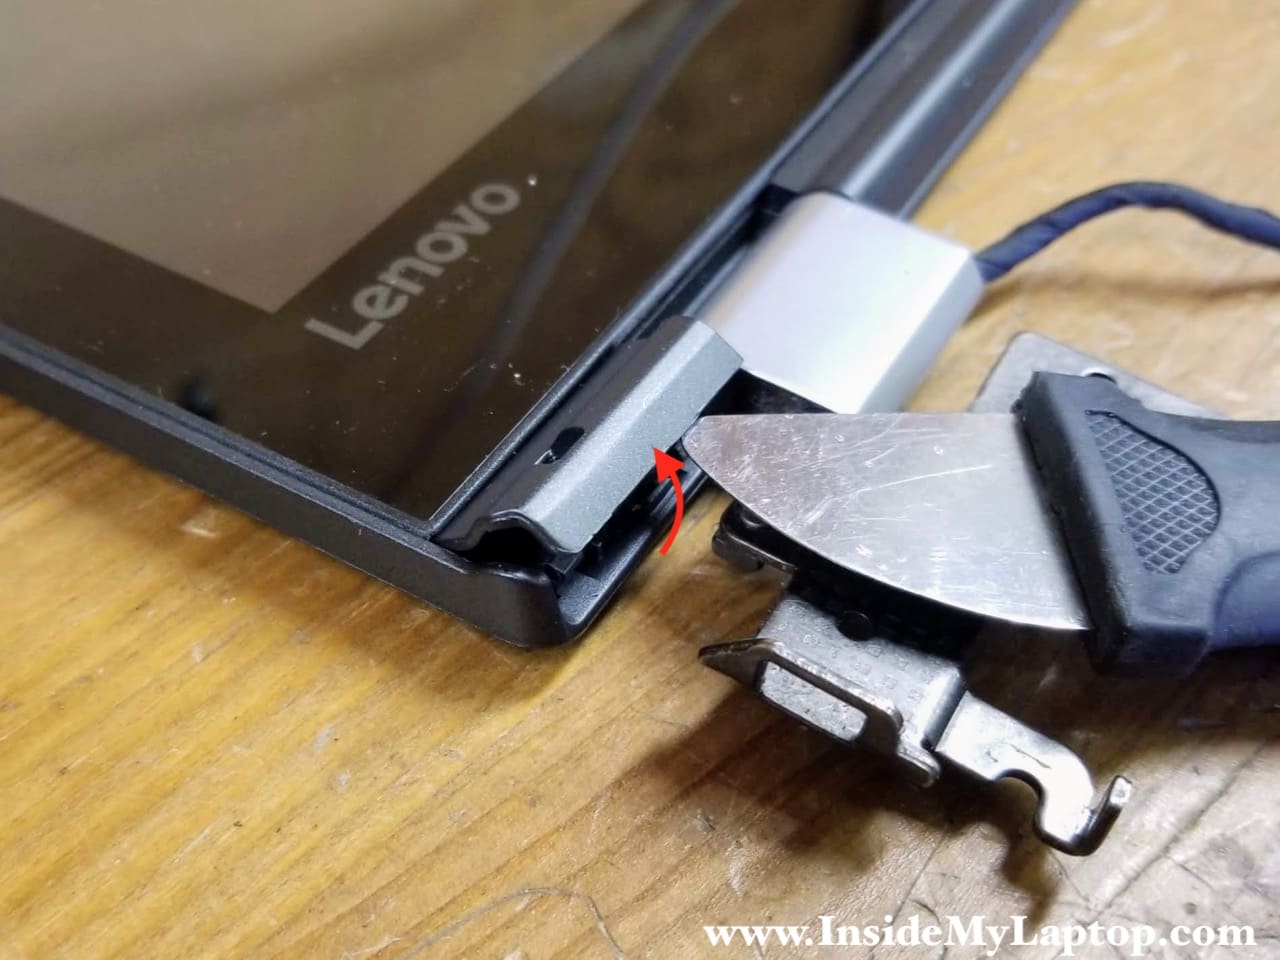
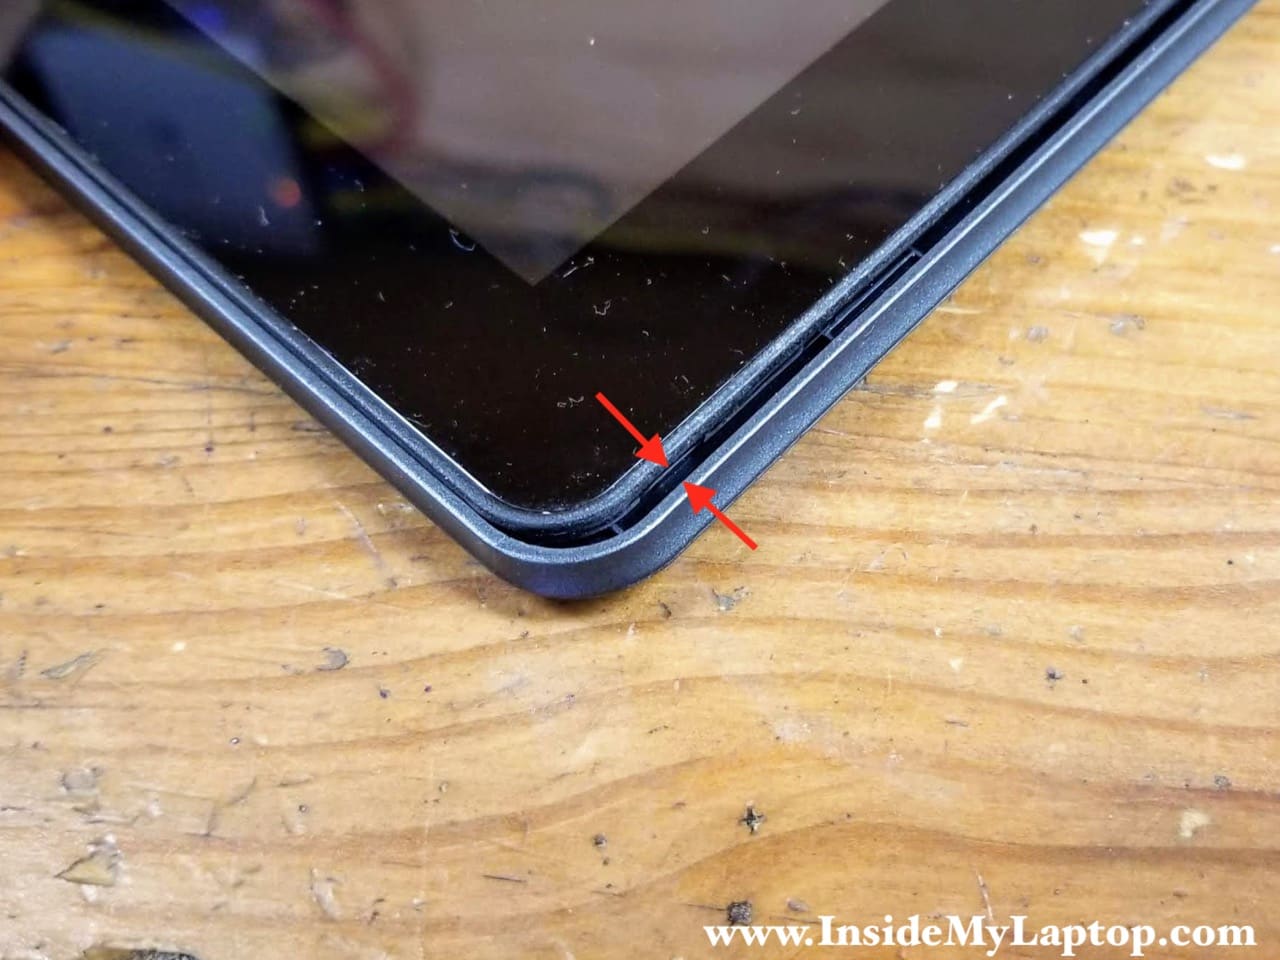
STEP 3.
Using a metal case opening tool, pry up and remove two plastic covers from the left and the right sides of the display panel.
STEP 4.
Start removing the cover located between the display hinges.

STEP 5.
Remove the cover. You’ll need to apply some reasonable force to remove this cover. There are multiple hidden latches securing it to the display panel.

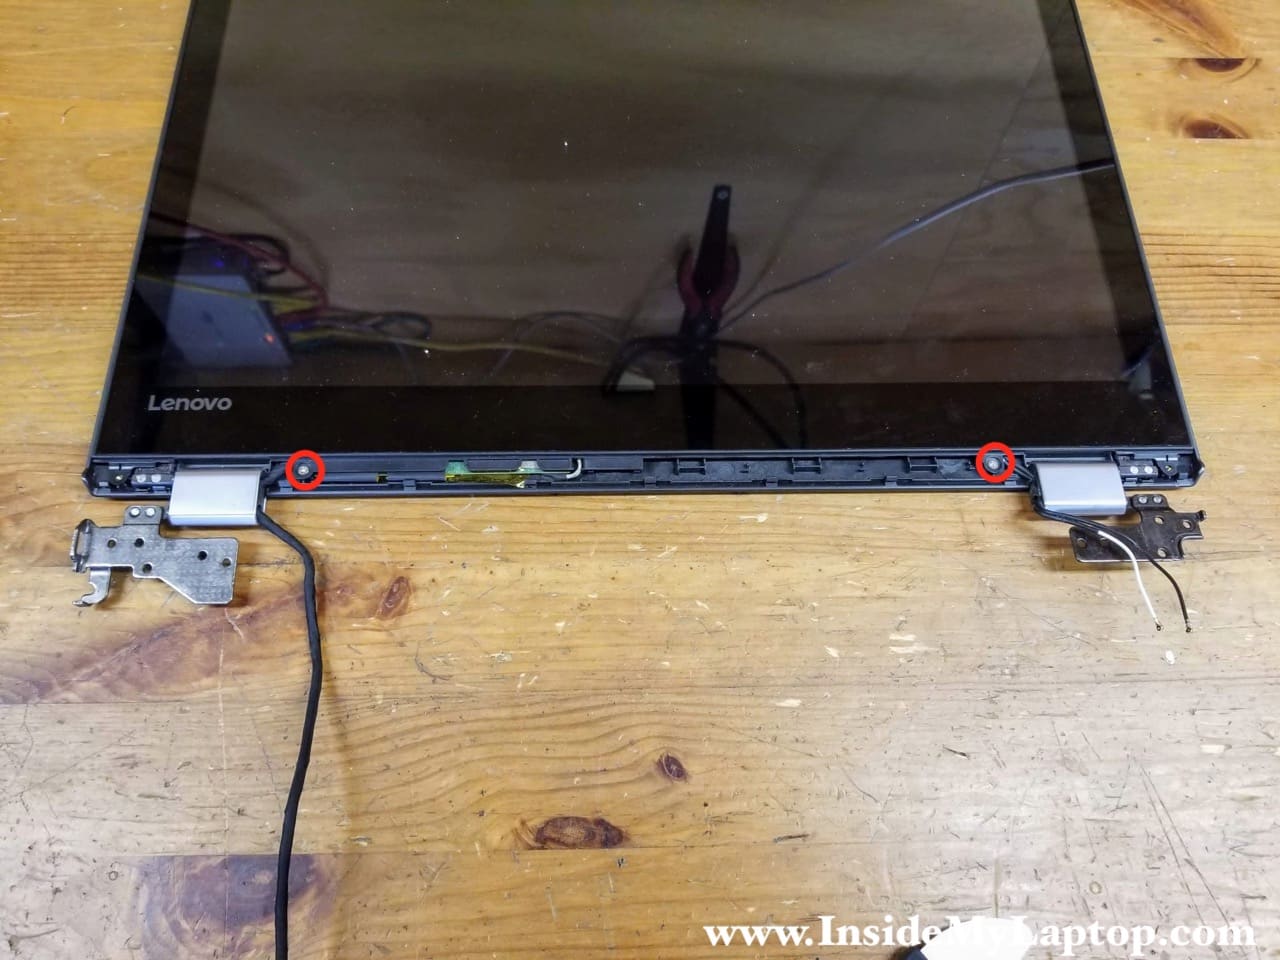
STEP 6.
Remove two screws securing the touchscreen assembly to the display cover.
STEP 7.
Move the touchscreen towards the hinges.
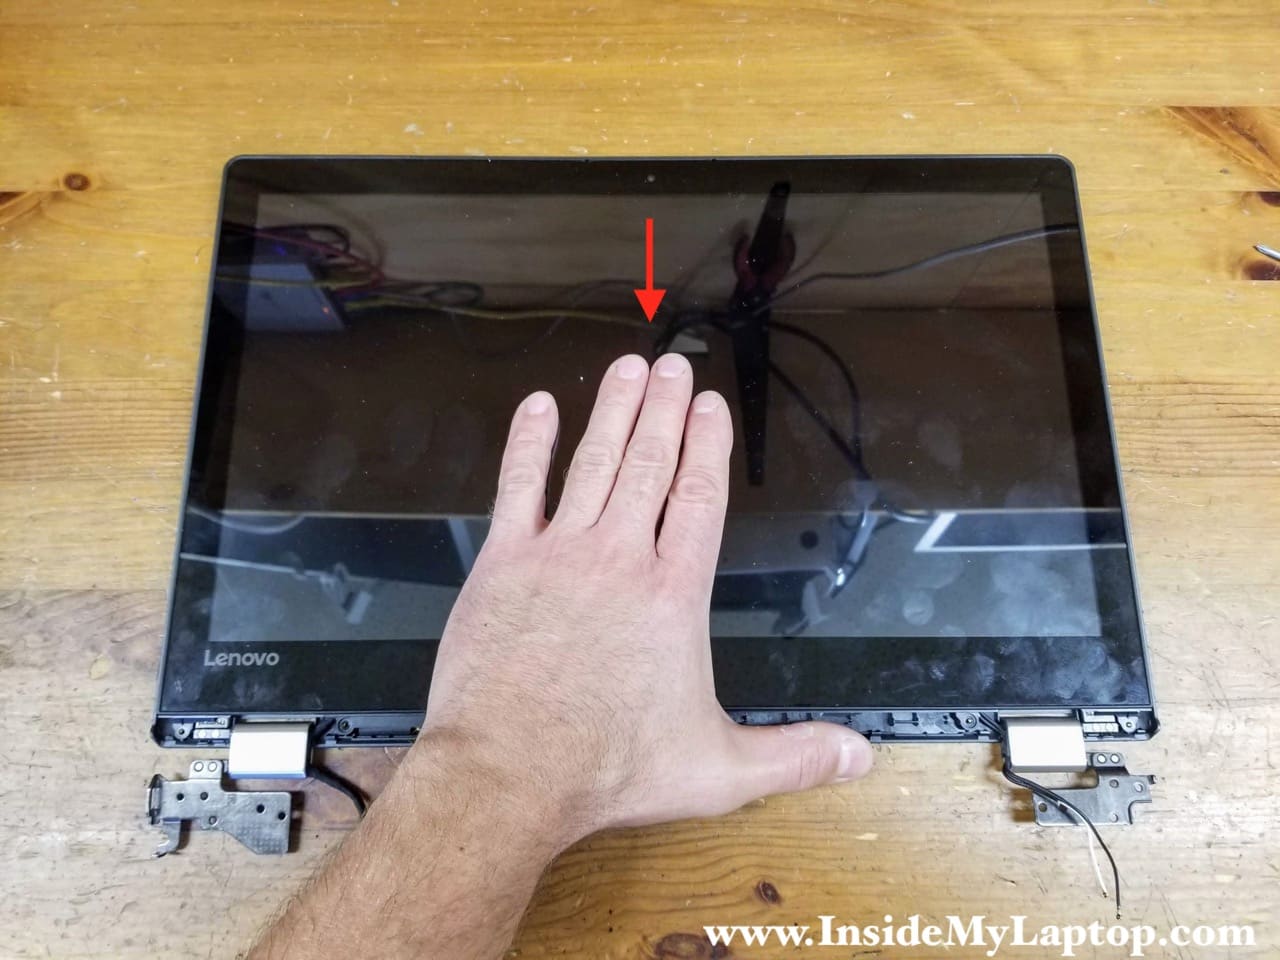
Before you move the touchscreen there will be no gap on the top.
When you move the touchscreen, a gap will appear between the bezel and the cover.
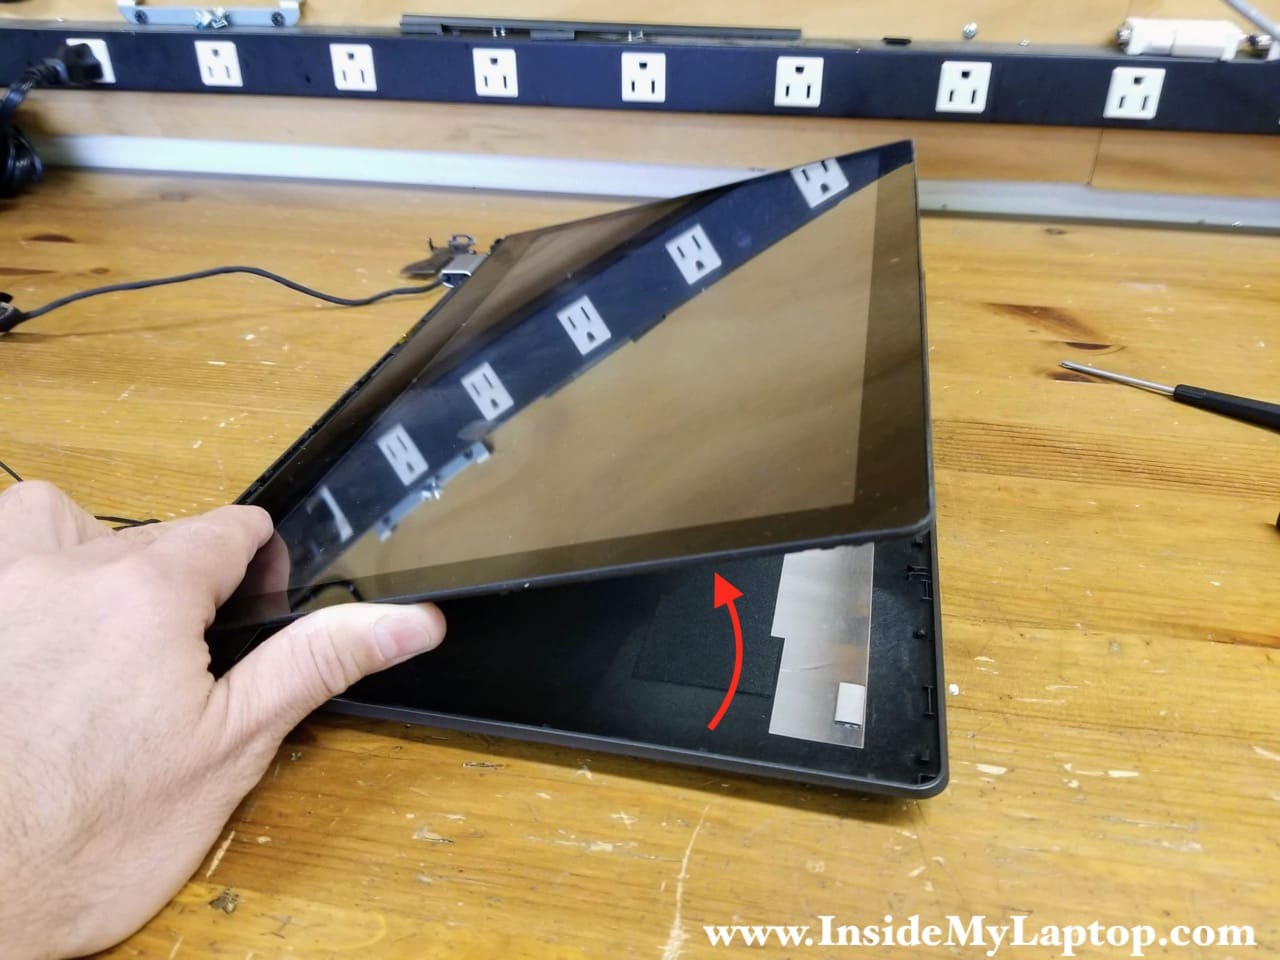
STEP 8.
Now you can separate the touchscreen assembly from the display caver and place it upside down on the desk.
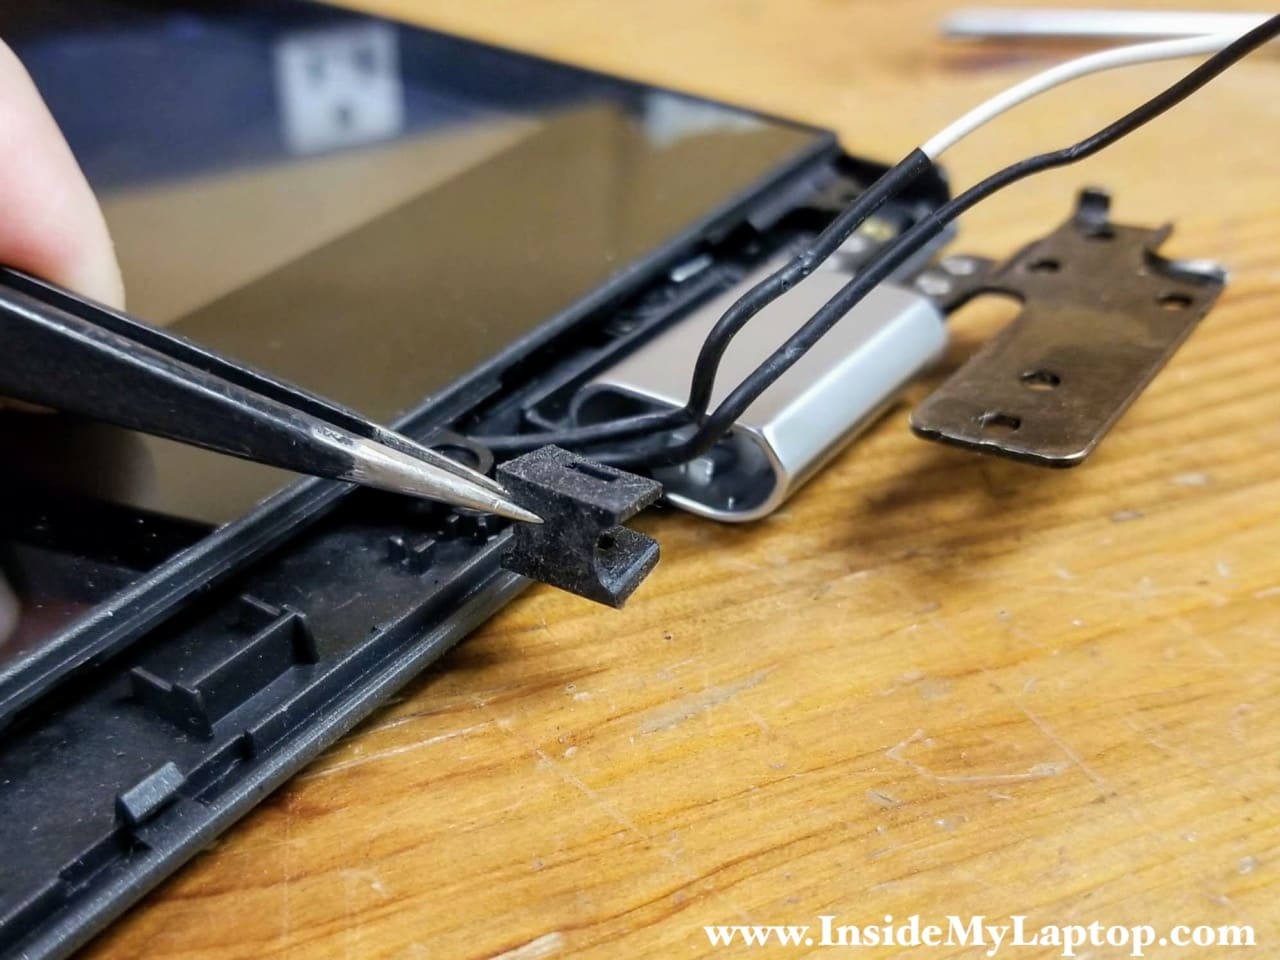
Here’s how the cables are routed inside the silver hinge covers. There is a rubber cover securing the hinges inside.

You can easily remove the cover from the hinge cover.
You don’t have to remove the cover. I just wanted to show where’s it’s located if the cover accidentally falls off.
STEP 9.
Remove the antenna cables from the guided path on the left and the right sides of the touchscreen assembly.

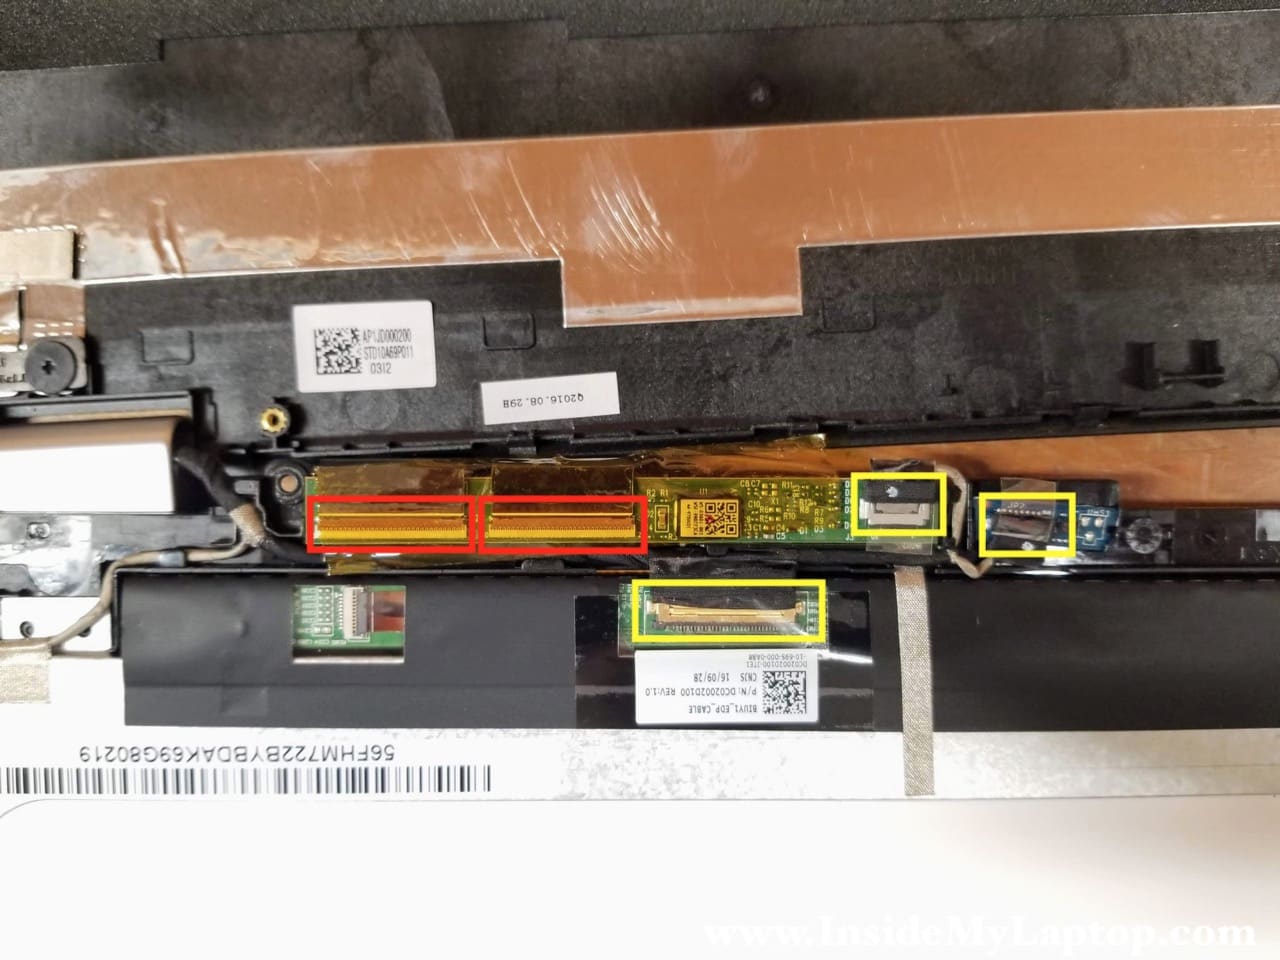
STEP 10.
Disconnect the LCD screen from the touchscreen board.
Now you can replace the touchscreen assembly with a new one. The LCD screen is permanently glued to the glass and cannot be replaced separately.
IML Tech
If you need a replacement touchscreen assembly, you can find it here:
https://amzn.to/36H4y5r