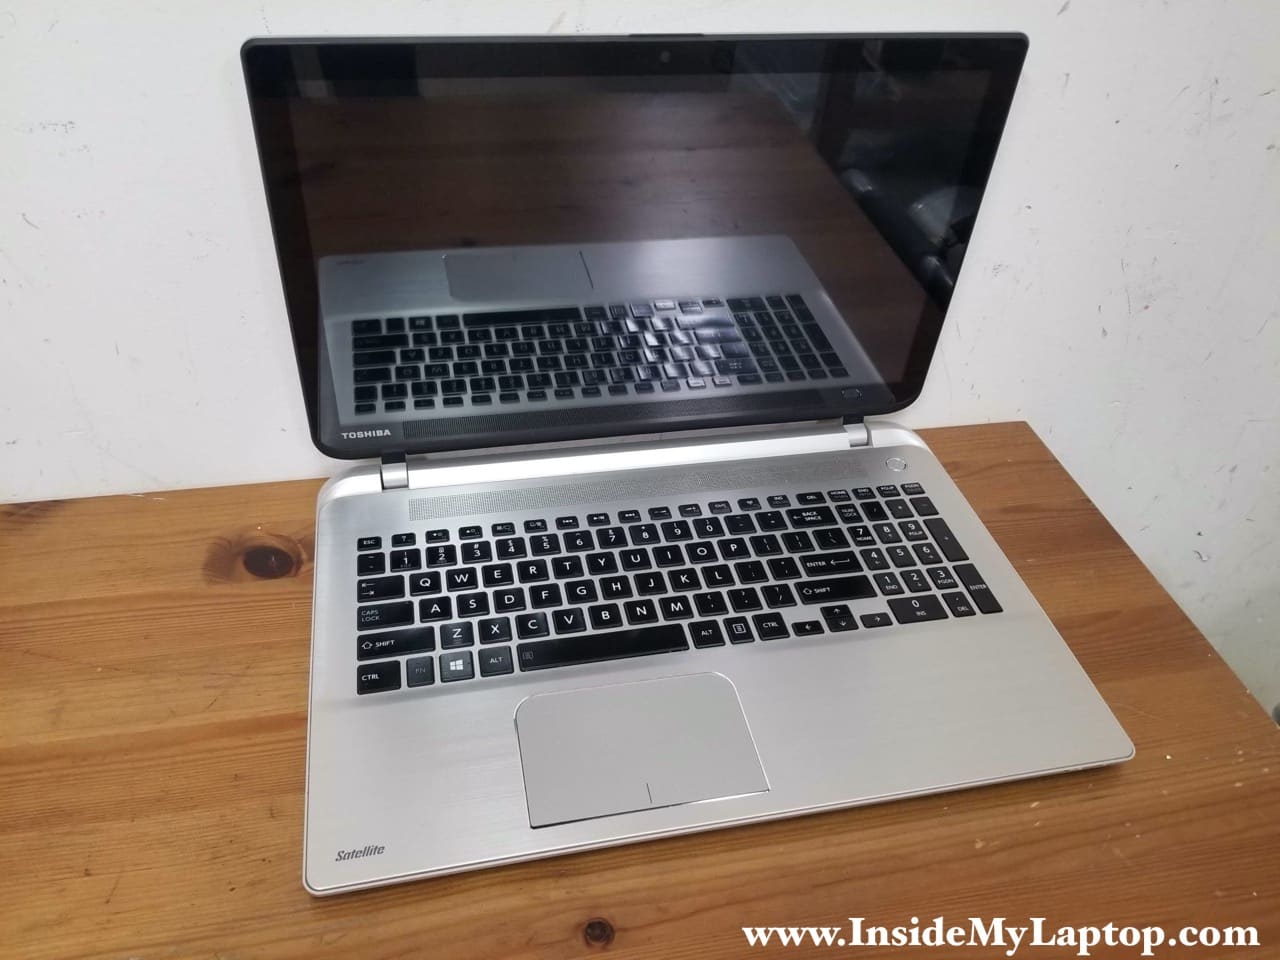
In this guide I’m taking apart a Toshiba Satellite S55t-B5273NR. My goal is removing the hard drive but I will show how to remove other internal components too.
This guide will work for some other models in the Toshiba Satellite S55t-B computer line: S55t-B5134, S55t-B5136, S55t-B5150, S55t-B5152, S55t-B5158, S55t-B5165, S55t-B5261, S55t-B5271, S55t-B5335, 5382.
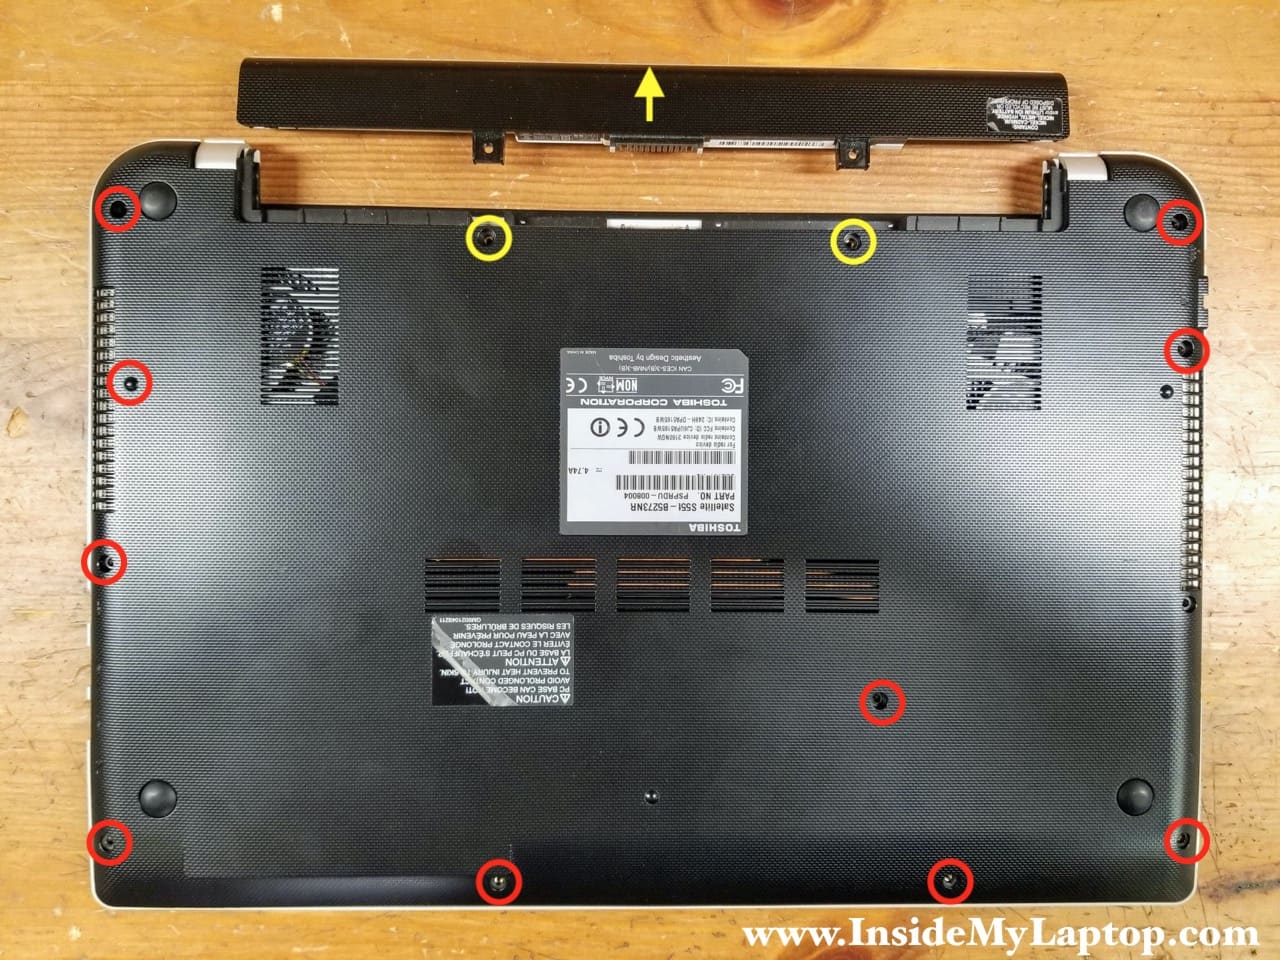
Removing battery and base cover
STEP 1.
Remove two screws (yellow) securing the battery. Pull the battery out.
Remove all other screws from the base cover.
Toshiba Satellite S55t-B5273NR battery model: PA5195U-1BRS.
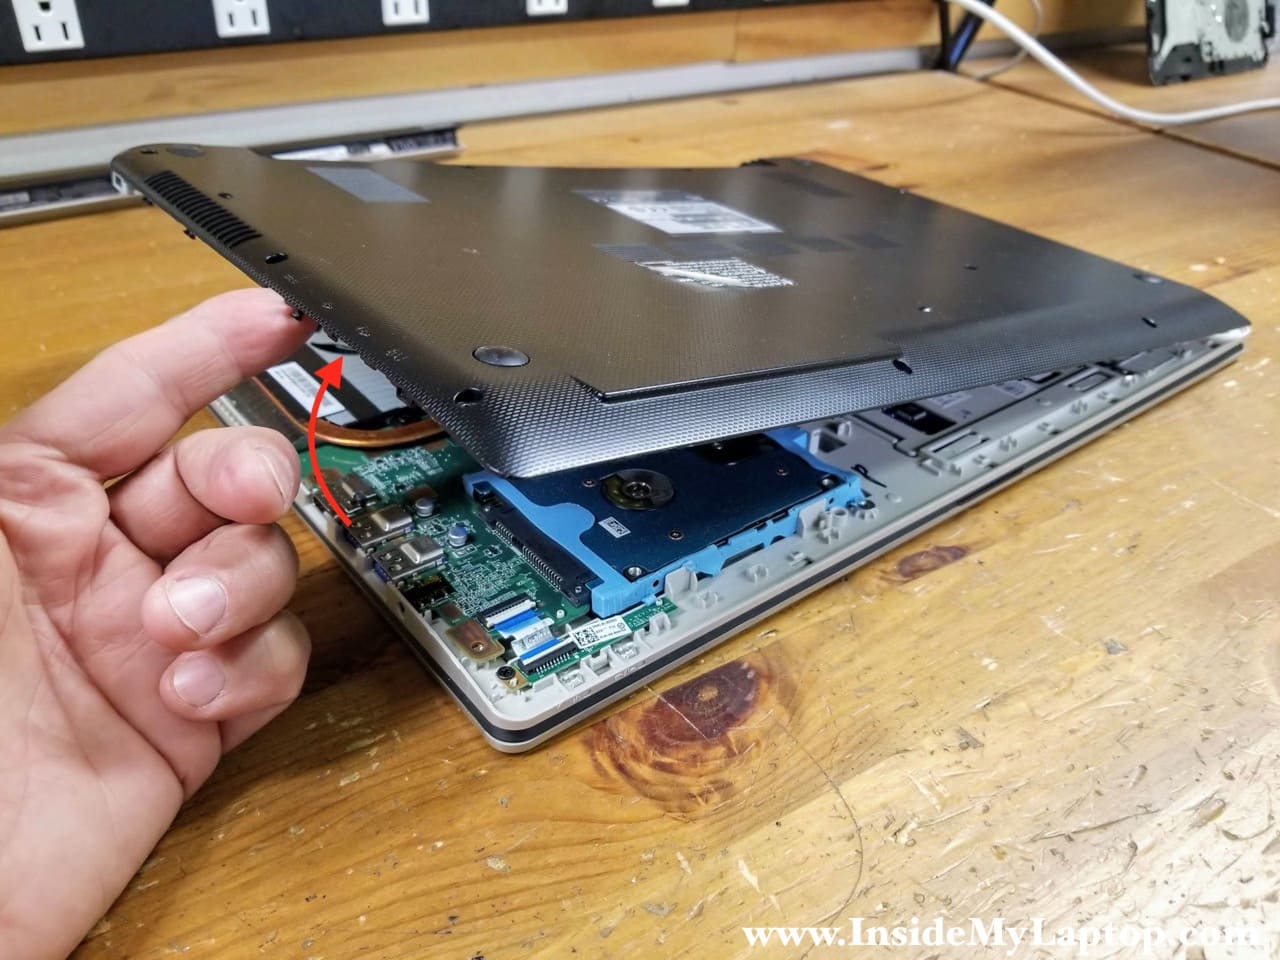
STEP 2.
Using a case opener tool pry up the base cover and separate it from the top case assembly.

STEP 3.
Continue removing the base cover with your hands.
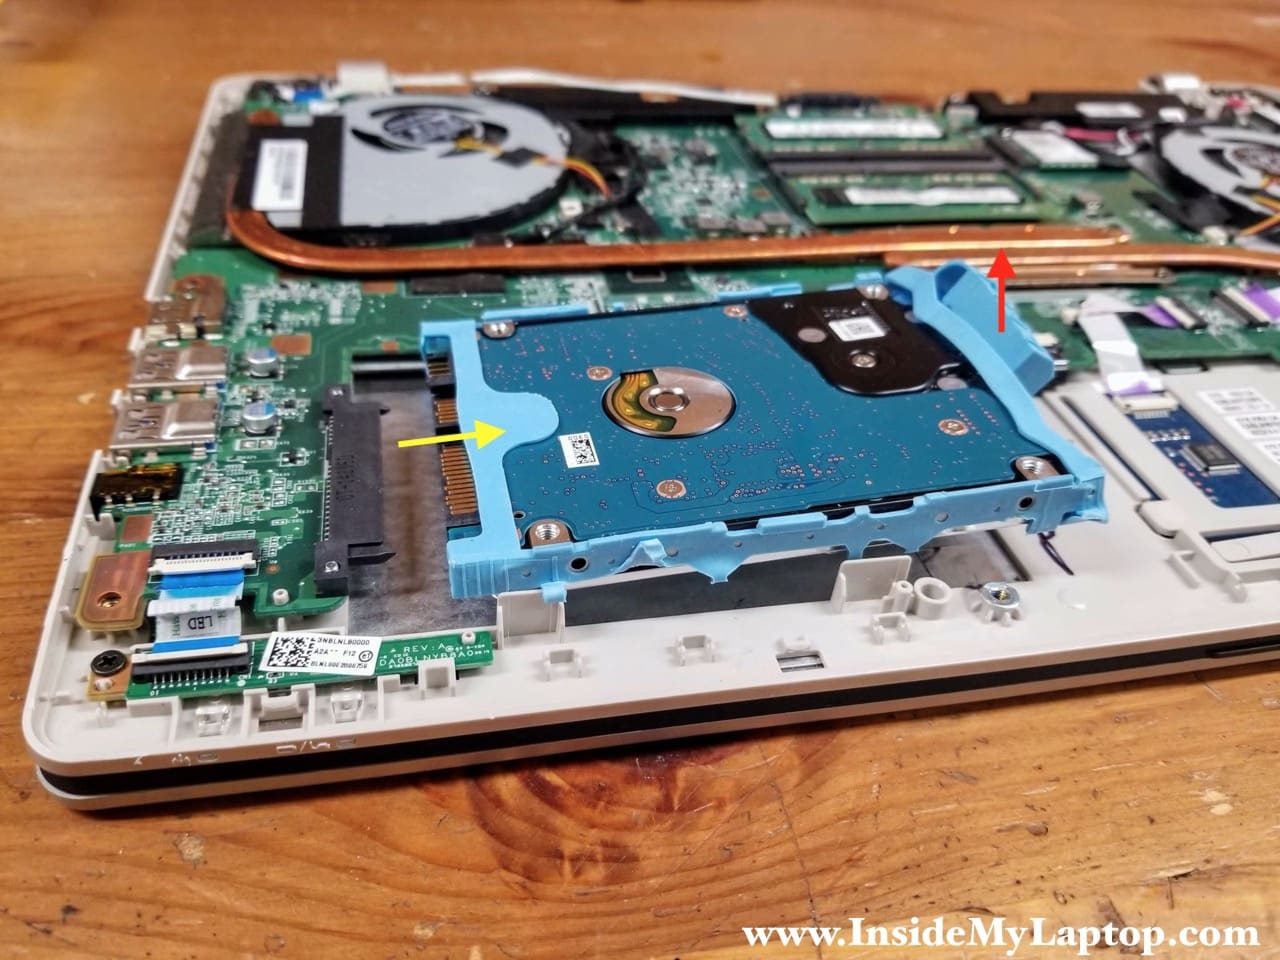
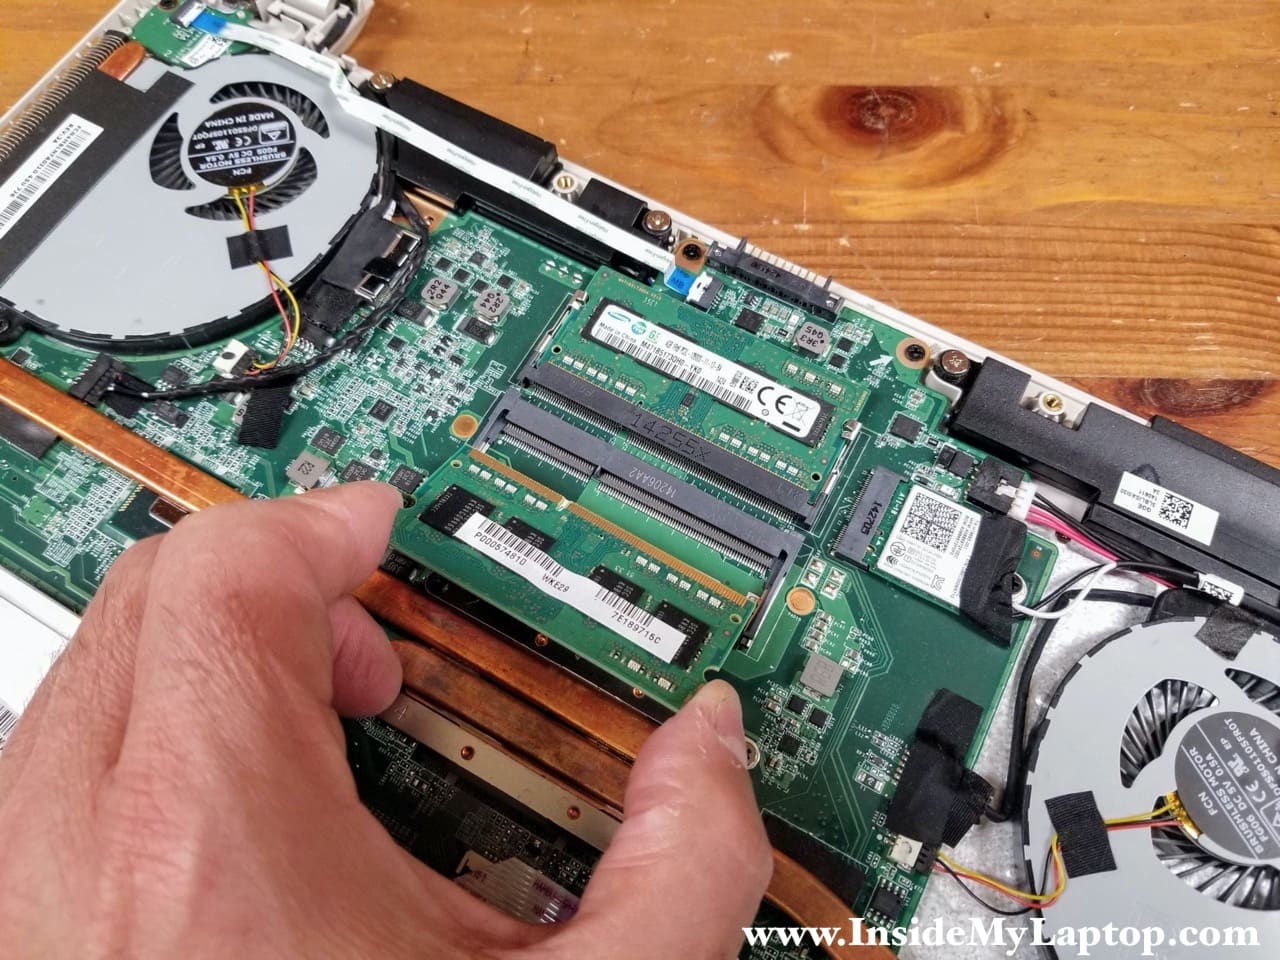
Removing hard drive and memory
Toshiba Satellite S55t-B5273NR has two memory slots and can take up to 16GB (2x8GB) DDR3 1600MHz memory modules. It has a regular spinning 2.5″ SATA hard drive installed. Upgrading the hard drive to a solid state drive will speed up this machine significantly.

STEP 4.
Lift up the rear side of the hard drive sleeve and pull the hard drive out.
STEP 5.
Remove both memory modules.
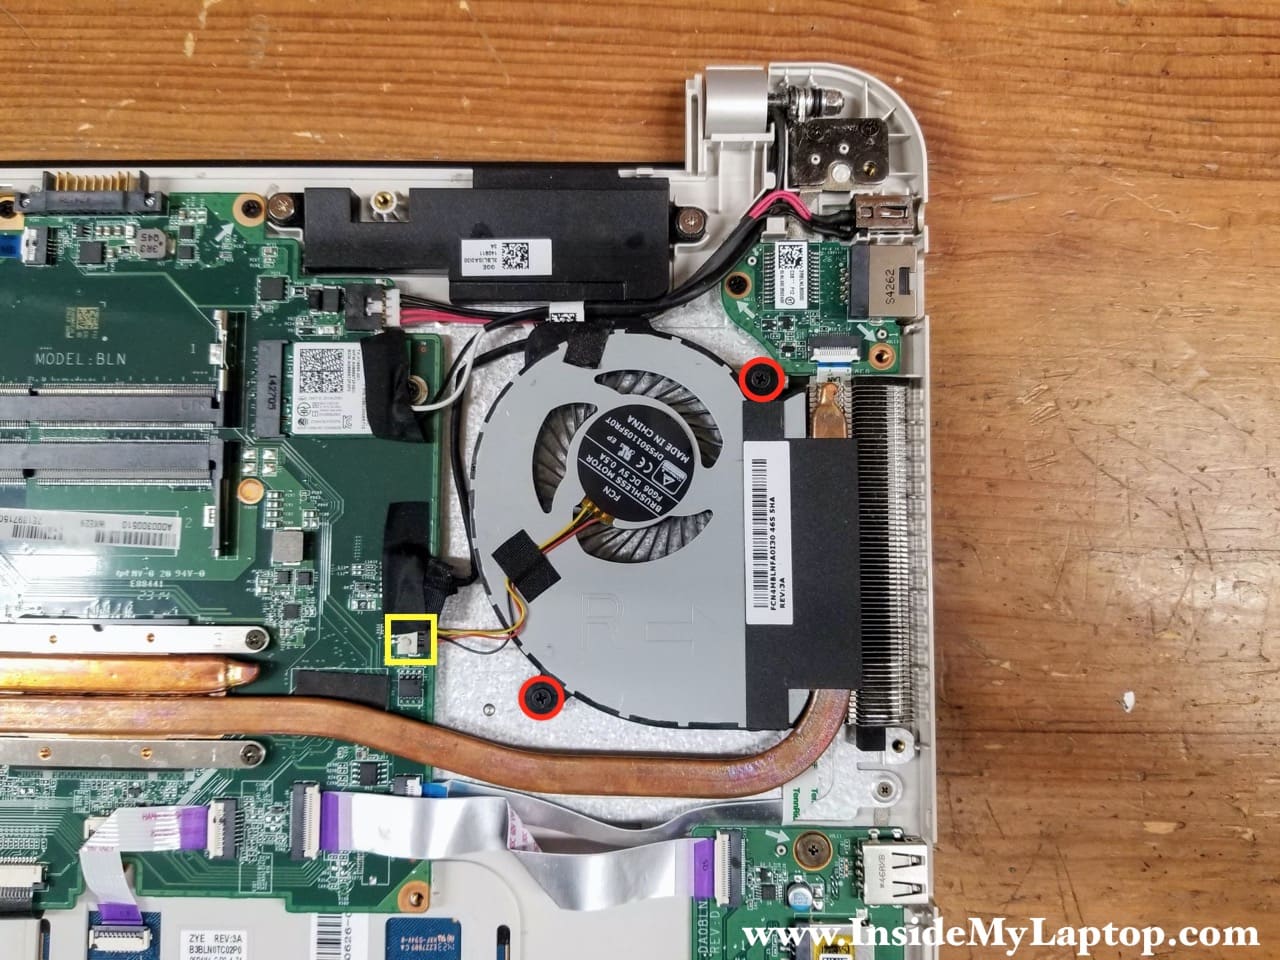
Removing cooling fans
Toshiba Satellite S55t-B5273NR has two cooling fan installed. They are not attached to the heatsink and can be easily removed for cleaning or replacement.
STEP 6.
Remove two screws securing the right cooling fan and disconnect the cable from the motherboard.
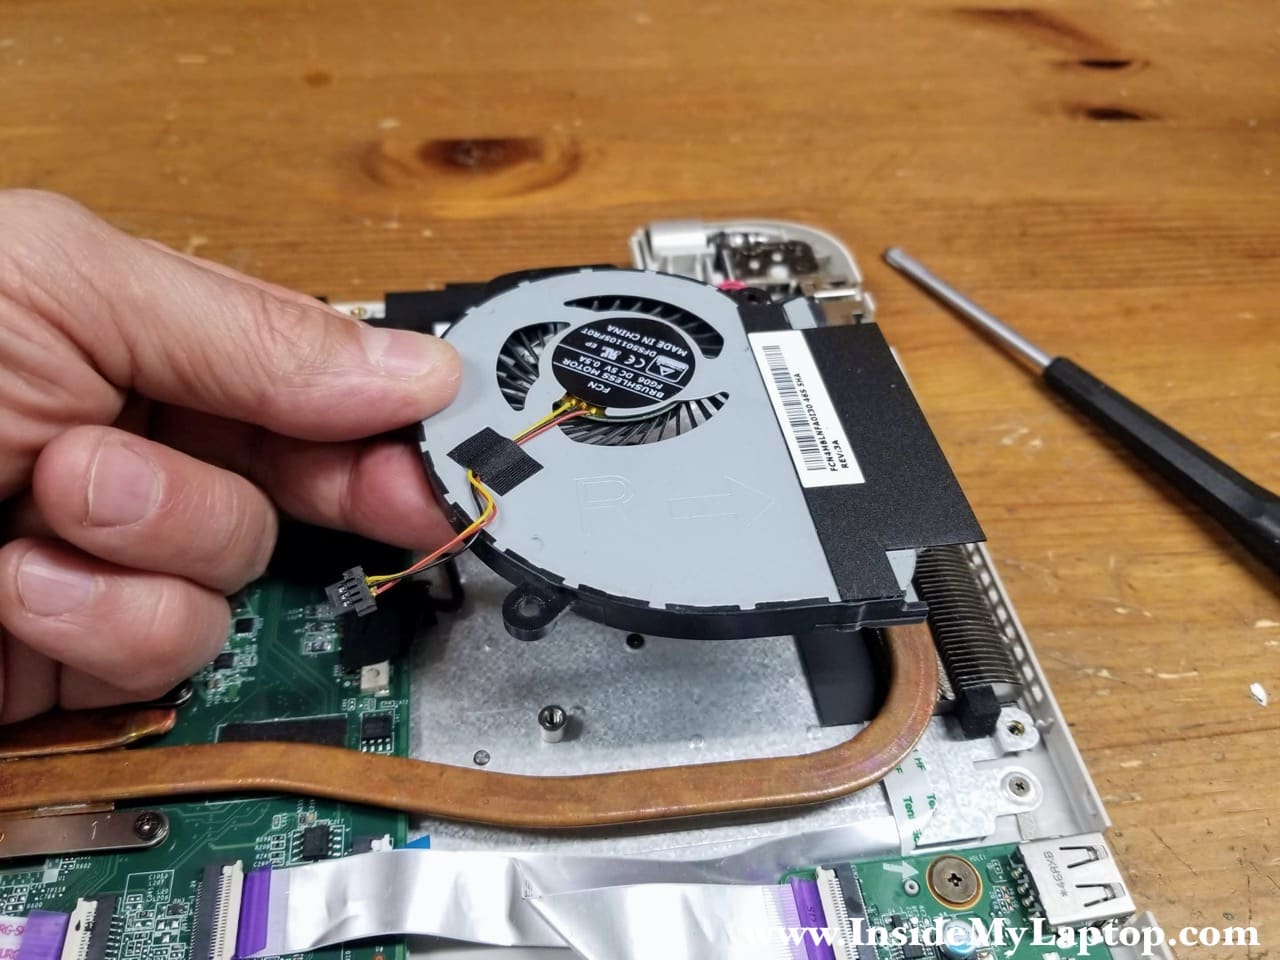
STEP 7.
Remove the right fan.
STEP 8.
Remove two screws from the left fan. One of the screws is located under the power button board cable. Disconnect the fan cable from the motherboard.
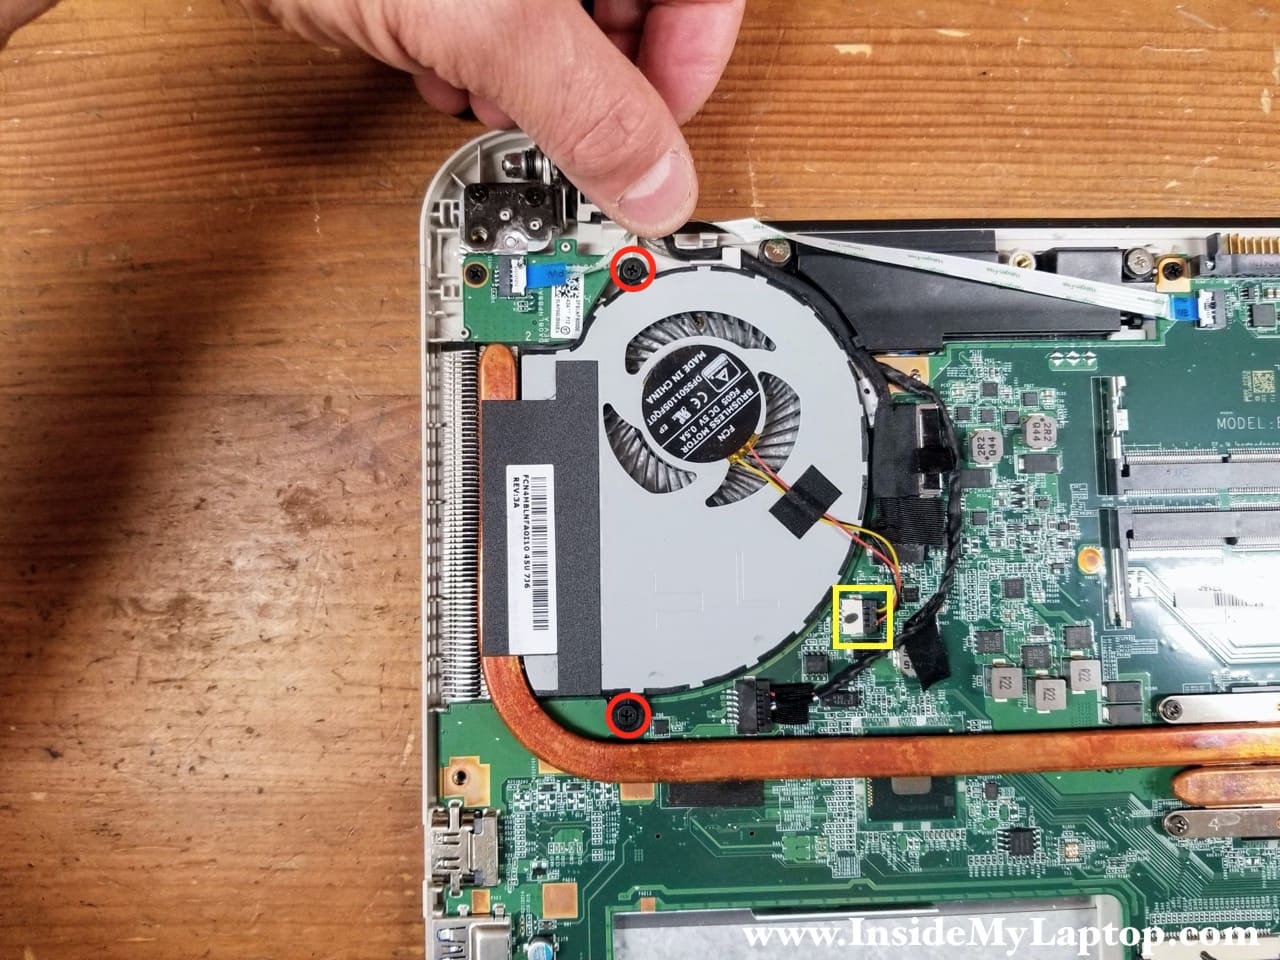
STEP 9.
Remove the right cooling fan.

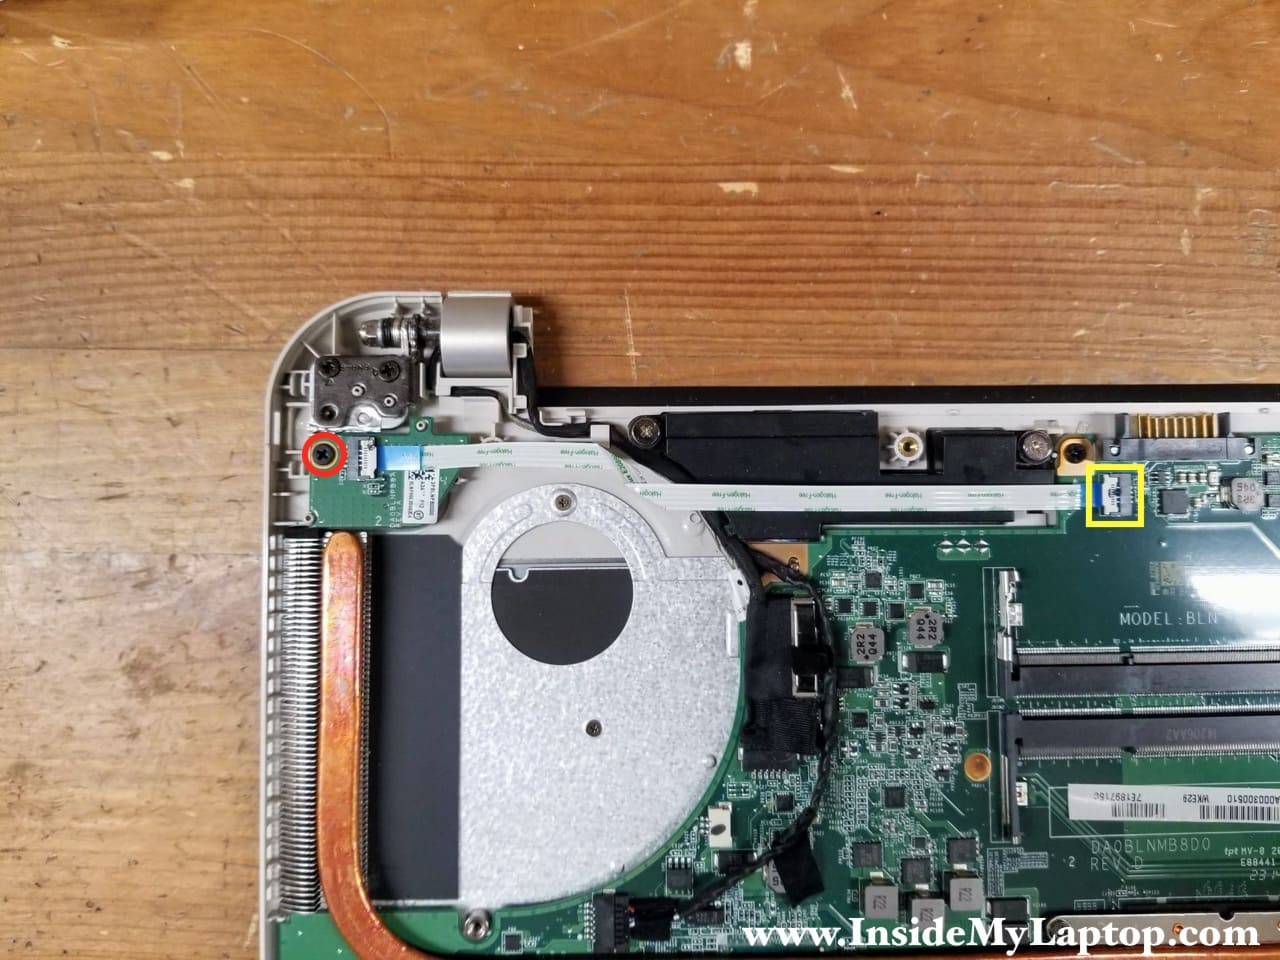
Removing power button and DC jack
STEP 10.
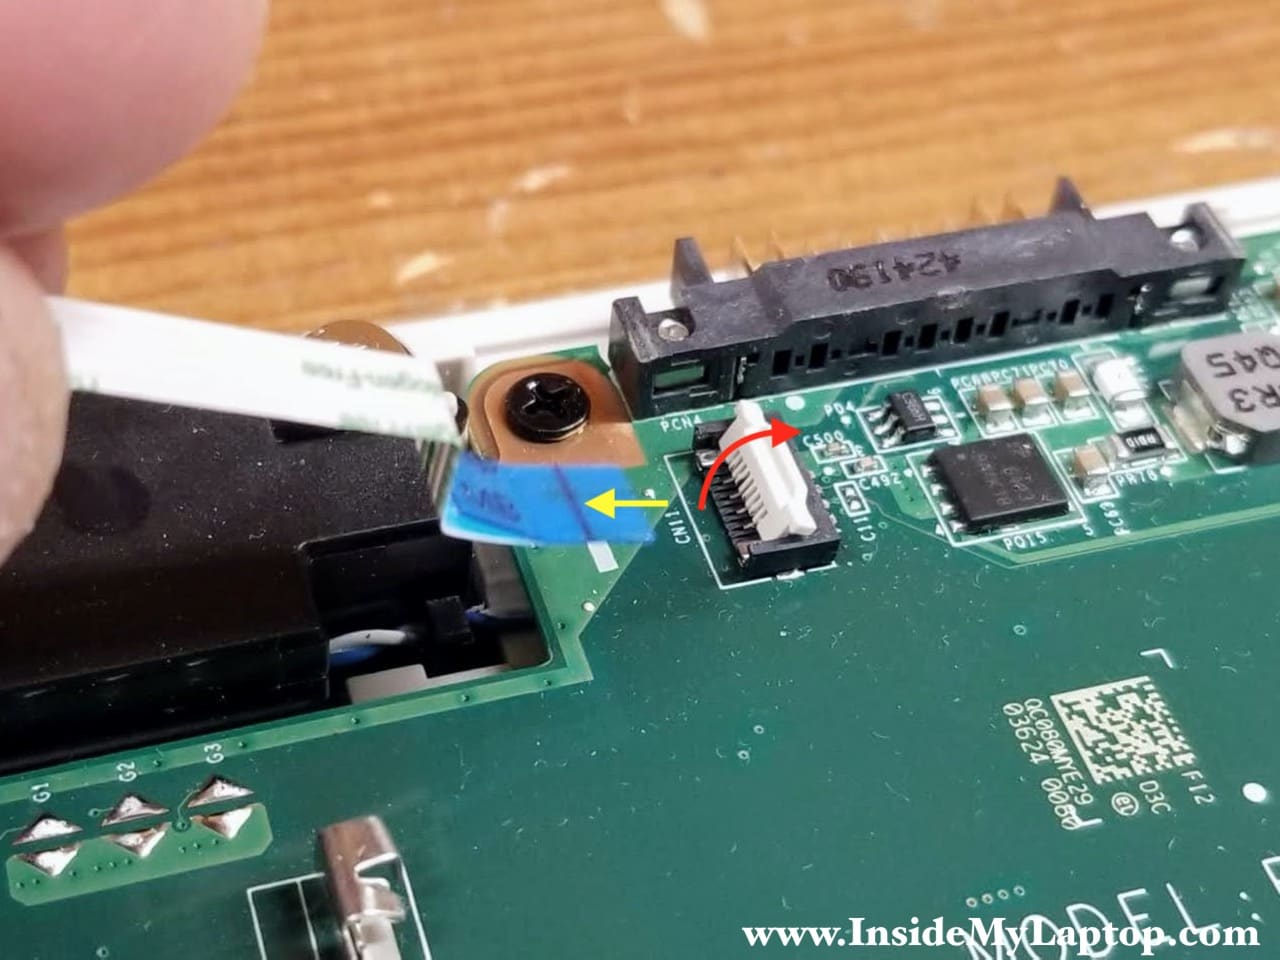
Remove one screw from the power button board and disconnect the cable from the motherboard.
Here’s how to release the cable. Lift up the locking tab to unlock the connector (red arrow) and pull the cable out.
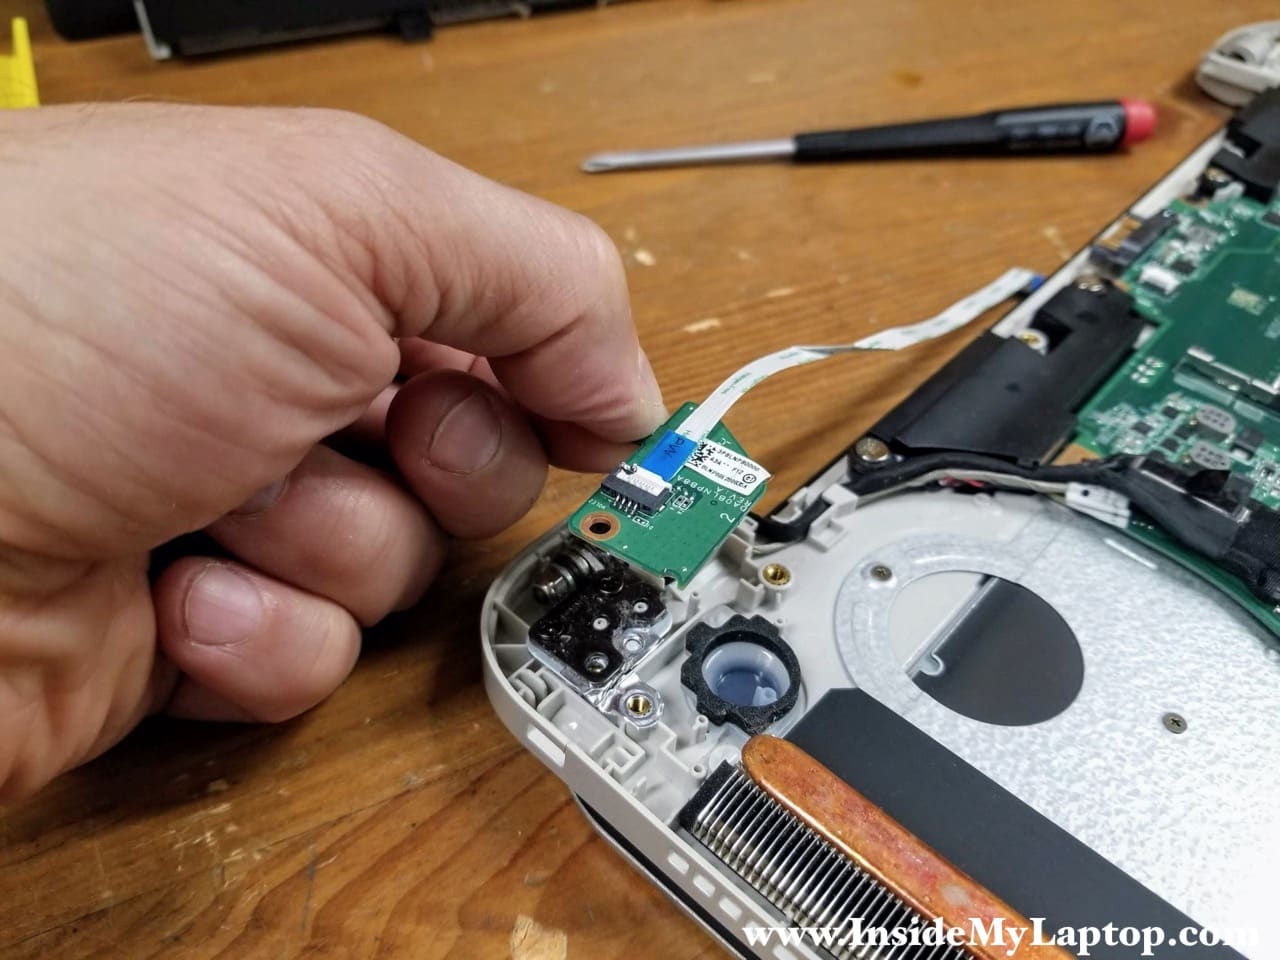
STEP 11.
Lift up and remove the power button board.
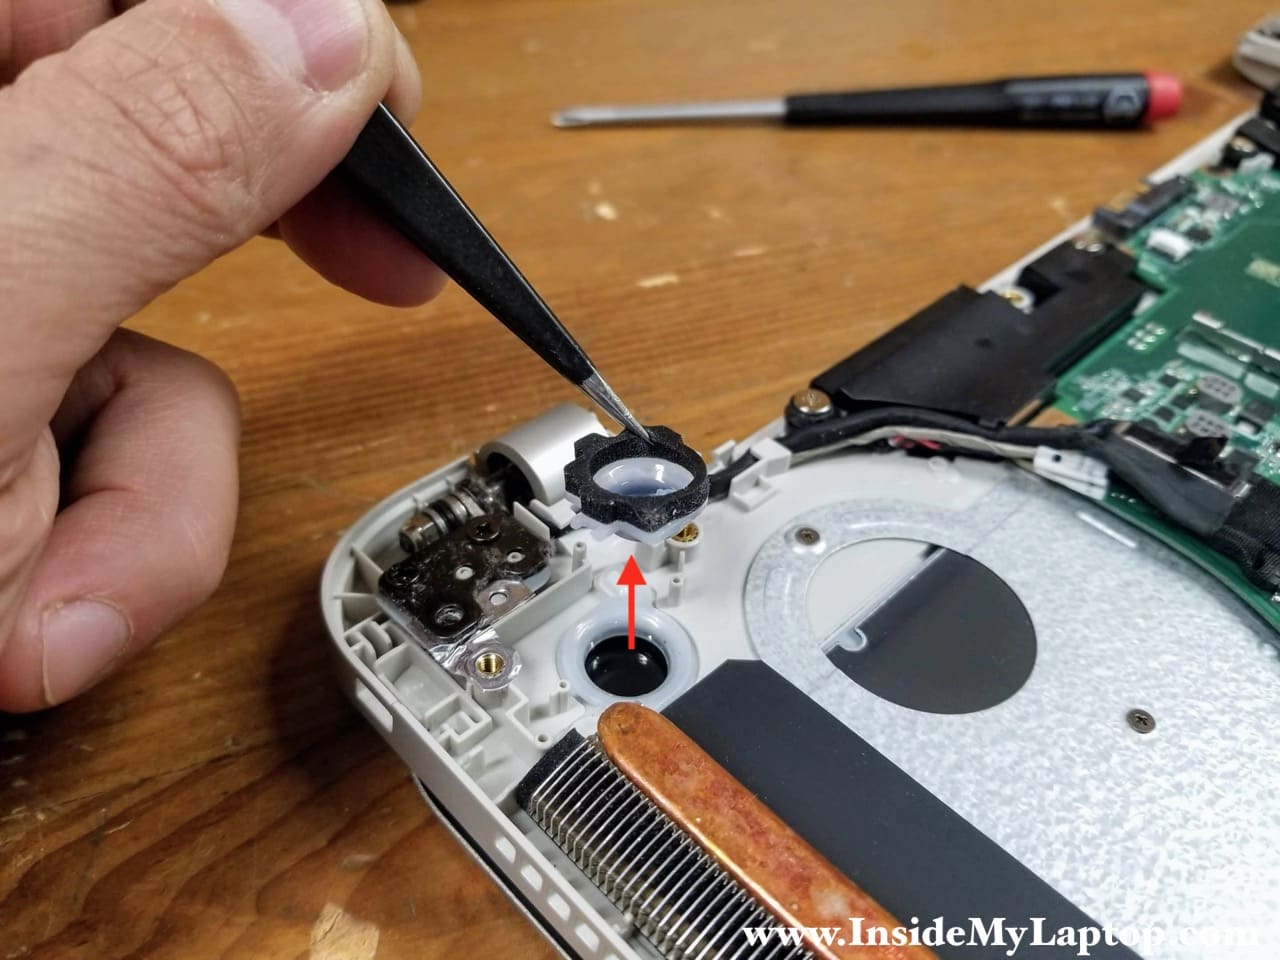
STEP 12.
Remove the power button just in case. It’s not attached to the top case and you can lose it if you move the case.
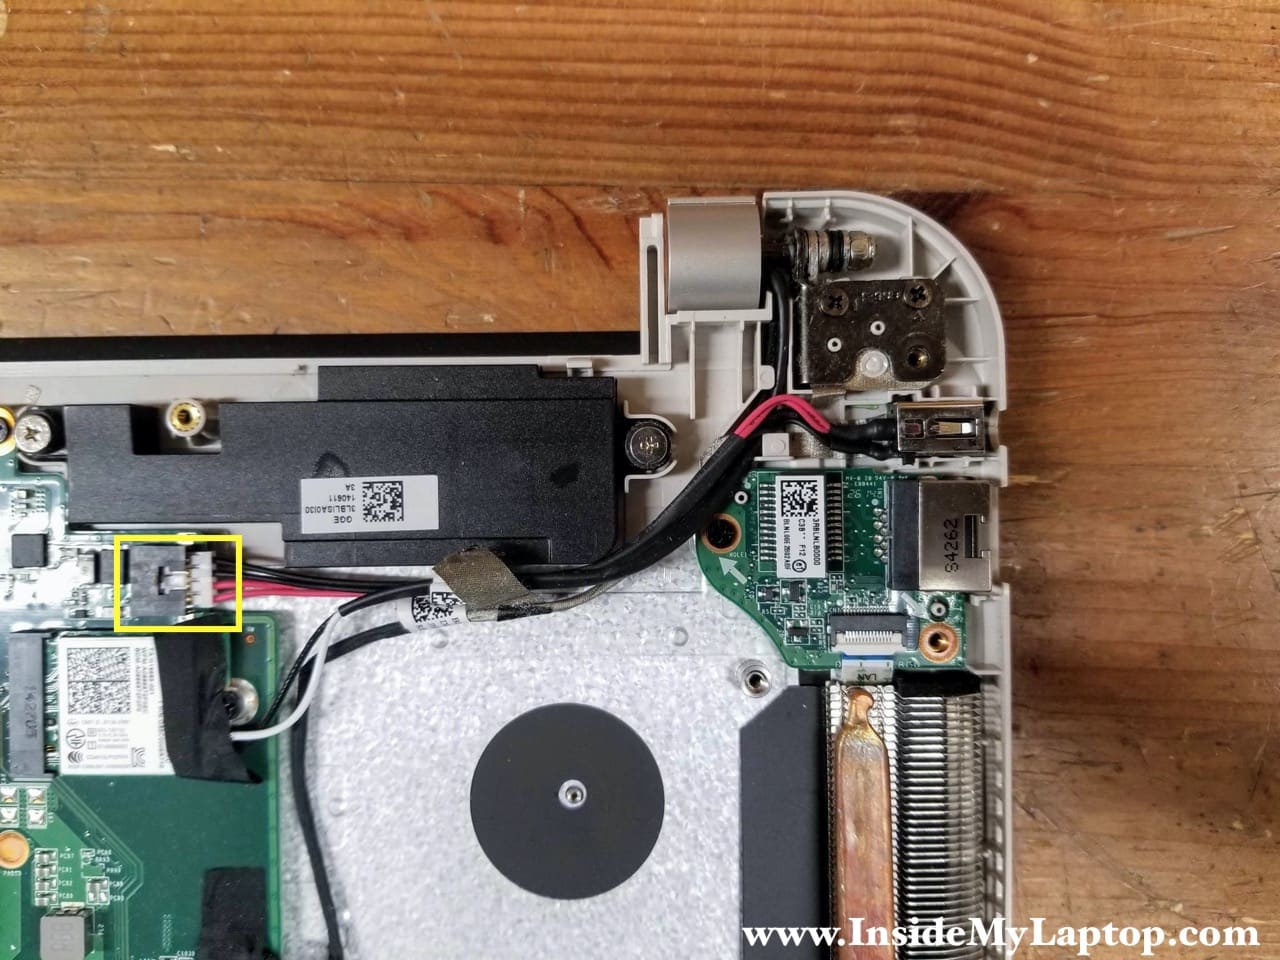
STEP 13.
Disconnect the DC power jack cable from the motherboard.
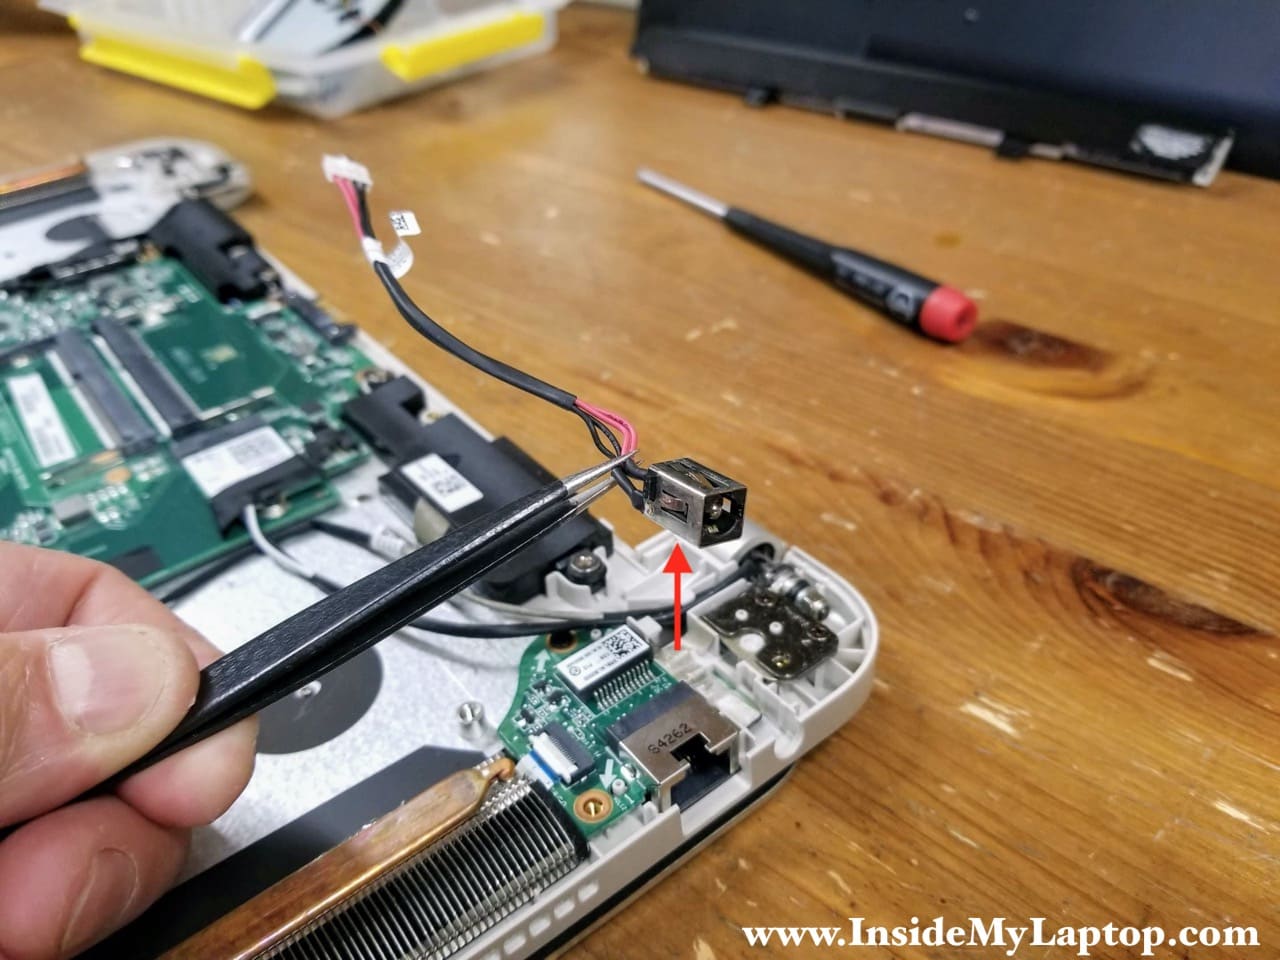
STEP 14.
Lift up the DC jack and remove it from the top case.
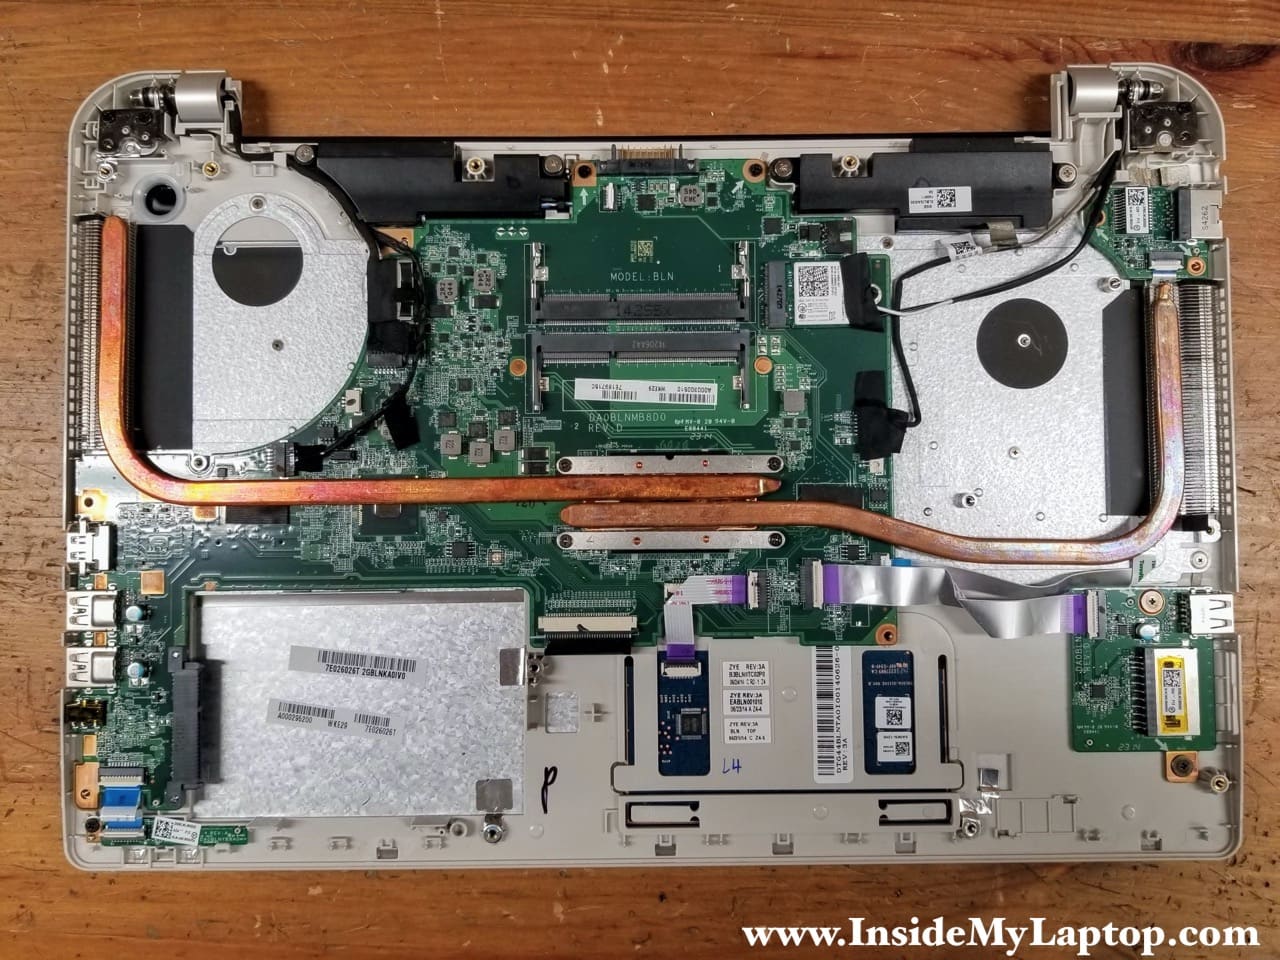
All other internal components are easily accessible. I’m not going to remove them but it should be pretty much straight forward.
Herbert
Good stuff, Where is the CMOS battery toshiba S55t
MarkG
Thanks for posting this. I am looking online at the specs for Satellite my S55T-B5273NR and it says the memory is not user upgradable. Your photos suggest otherwise. Based on your photos I’m going to try to install 2 8 Gig modules into mine that currently has 2 4 Gig modules.
IML Tech
Most likely they say “not user upgradable” because there is no easy access to RAM slots. The motherboard has two RAM slots, so RAM is upgradable.