
In this guide I explain how to replace the LCD screen on an Acer Aspire 1830T series laptop.
In my case the laptop was dropped and the image disappeared from the screen.

In this guide I explain how to replace the LCD screen on an Acer Aspire 1830T series laptop.
In my case the laptop was dropped and the image disappeared from the screen.

In this guide I explain how to disassemble an Acer Aspire 5742 series laptop.
In my case I’m taking apart an Acer Aspire 5742-6682 model.
Also, this guide will work for Acer Aspire 5742z laptops.

In this guide I explain how to remove and replace the LCD screen on an Acer Aspire one D255E netbook.
As you see, in my case the screen was cracked.

In this guide I explain how to replace damaged or failed LCD screen on an Acer Aspire 4830 series laptop (Model No. P4LJ0).
In this particular case I’ll be replacing cracked screen on an Acer Aspire 4830T-6678 laptop.
Make sure the laptop is turned off and battery removed before you start taking it apart.

In this guide I’ll be removing and replacing the LCD screen on an Acer Aspire 5830TG-6782 laptop.
Most likely you can use this guide for other models in the Acer Aspire line. If it works for your laptop please mention the model number in comments after the post.

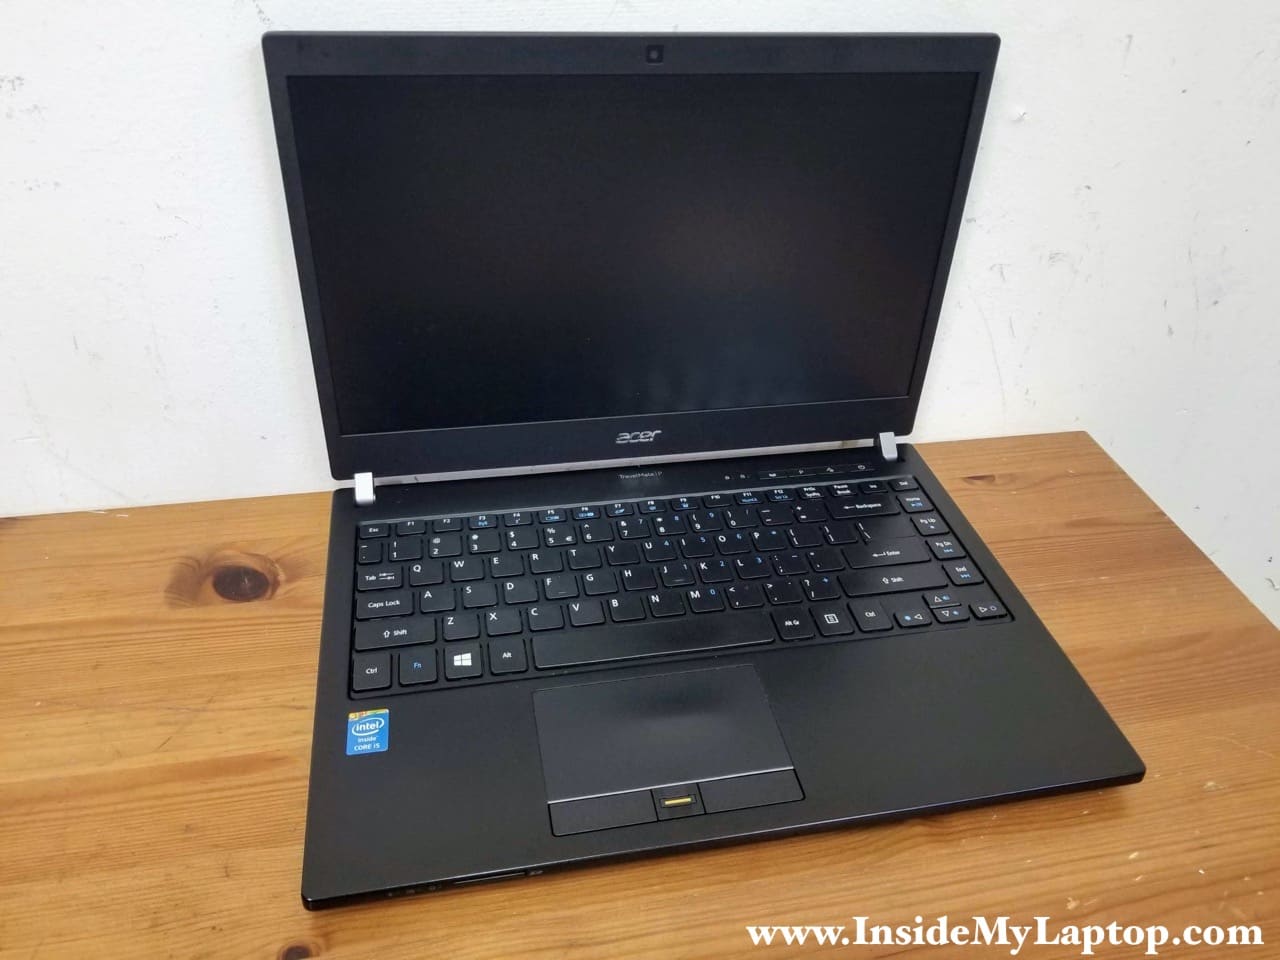
In this guide I show how to disassemble an Acer Aspire 5741 5741G series laptop.
In this particular case I’m taking apart an Acer Aspire 5741G-6983 laptop.
I will go though the following major laptop disassembly steps:
STEP 1-7: Removing the laptop hard drive and DVD drive. Accessing RAM modules and wireless card.
STEP 8-13: Disconnecting and removing the laptop keyboard.
STEP 14-18: Removing the palmrest assembly.
STEP 19-25: Disconnecting and removing the motherboard.
STEP 26-27: Removing the cooling fan and DC power jack.

In this guide I’ll be replacing broken LCD screen on an Acer Asprire 5733z-4851 laptop.
I believe all LCD screen replacement steps will be the same or similar for all Acer Aspire 5733 series laptops.

In this guide I explain how to disassemble Acer Aspire 5740/5340 series laptop.
I’ll walk through the entire laptop base disassembly and remove the motherboard.
Main laptop disassembly steps:
STEP 2-5: Removing laptop hard drive, memory and DVD drive.
STEP 6-11: Removing laptop keyboard.
STEP 12-17: Removing display assembly.
STEP 18-22: Removing top cover assembly.
STEP 23-30: Removing laptop motherboard. Accessing cooling fan and DC jack.

In this post I explain how to take apart an Acer Aspire 5820T series laptop.
I will take apart the laptop base assembly down to the motherboard.
Here are major laptop disassembly steps:
STEP 1-5: Accessing and removing laptop memory, hard drive, DVD drive.
STEP 6-12: Removing laptop keyboard.
STEP 13-18: Removing laptop top cover (palmrest) assembly.
STEP 19-23: Removing laptop motherboard.
STEP 24-25: Accessing laptop cooling fan, CMOS battery and DC power jack harness.

In this guide I explain how to dismantle Acer Aspire 5534 series laptops.
I will dismantle the laptop base and remove most internal parts.
STEP 1-5: Removing hard drive, memory, DVD drive.
STEP 6-12: Removing keyboard.
STEP 13-16: Removing top cover assembly.
STEP 17-25: Removing laptop motherboard.
STEP 26-28: Removing DC power jack.