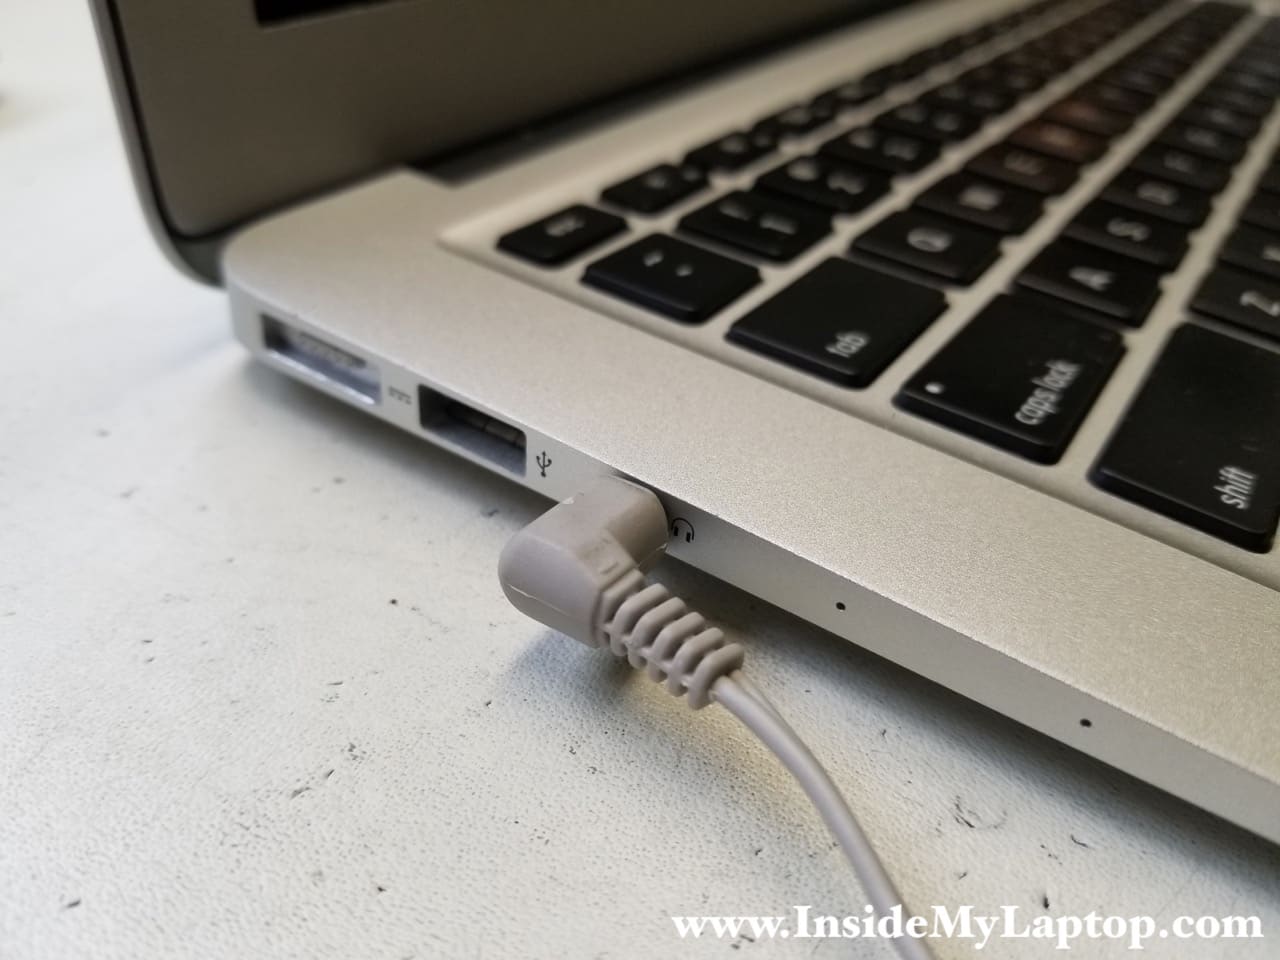
Today I’ll be replacing damaged headphone jack in a 13-inch MacBook Air laptop (model A1466).
In this particular case the headphone jack just started failing. In order to get any sound through headphones I had to wiggle the audio plug, find the right position.
This guid should fit all 13″ MacBook Air laptop models 2013, 2014, 2015 and 2017.
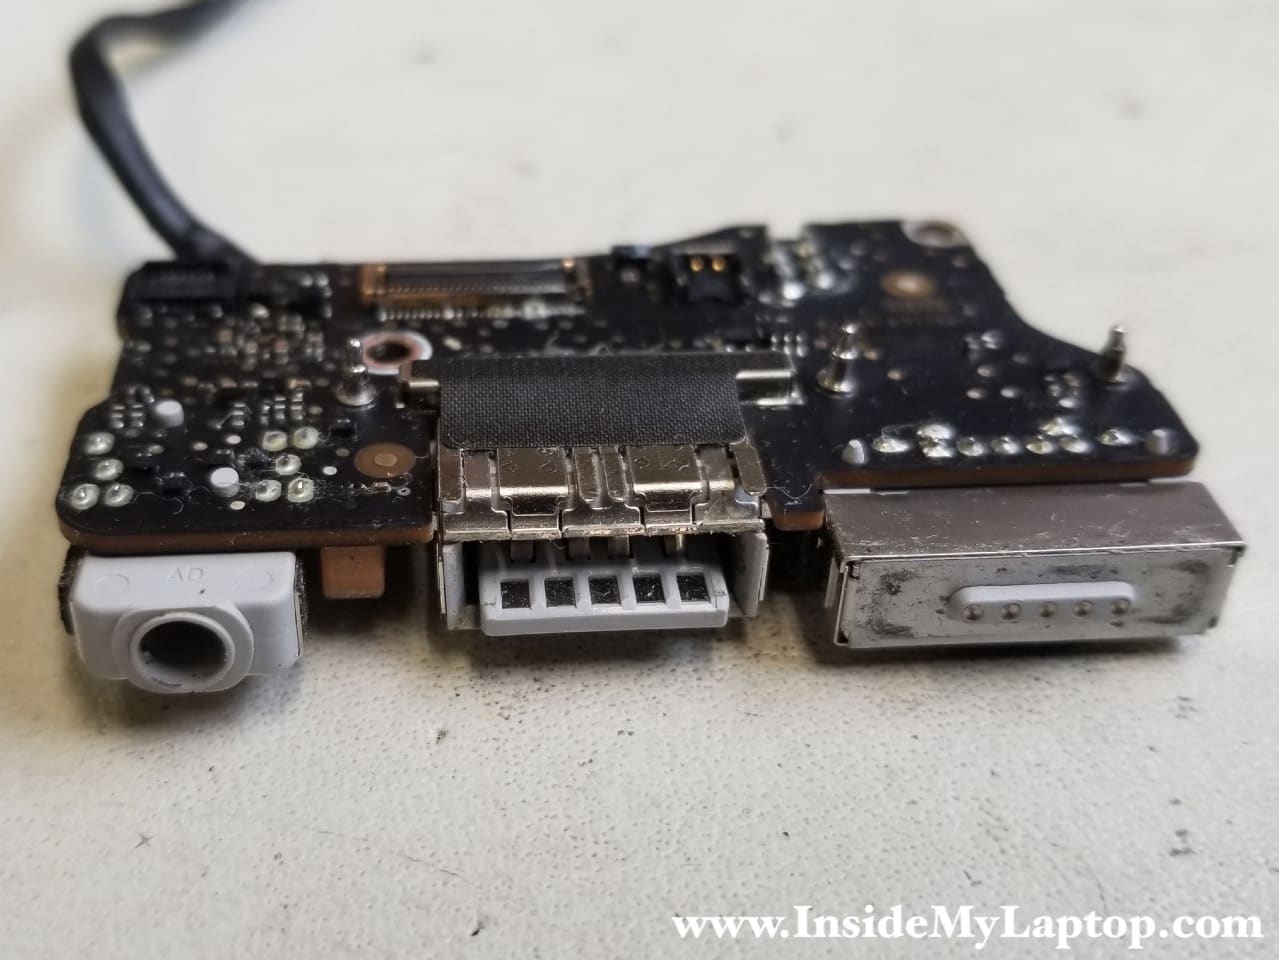
The headphone jack located on the I/O board. The cheapest way to fix that problem is to replace the entire board about $15-20.
Update: here’s how to repair damaged USB port without replacing the I/O board.
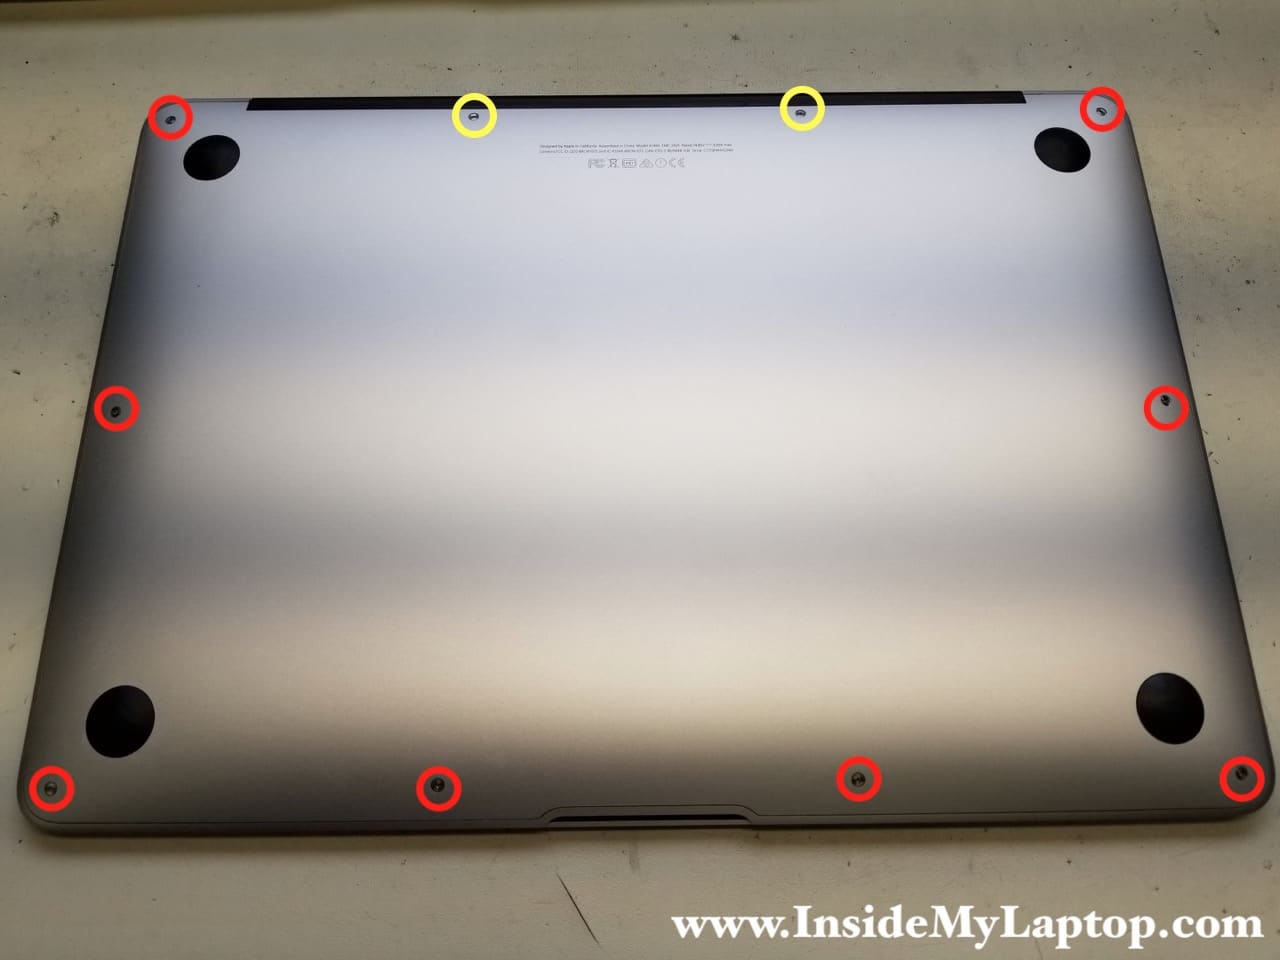
STEP 1.
Remove 10 P5 Pentalobe screws securing the bottom cover.
Two screws that I marked with yellow circles are longer than 8 screws marked with red circles.
Lift up the cover and separate it from the body.
STEP 2.
Disconnect the battery connector from the logic board. Pull it out using the black tab.
STEP 3.
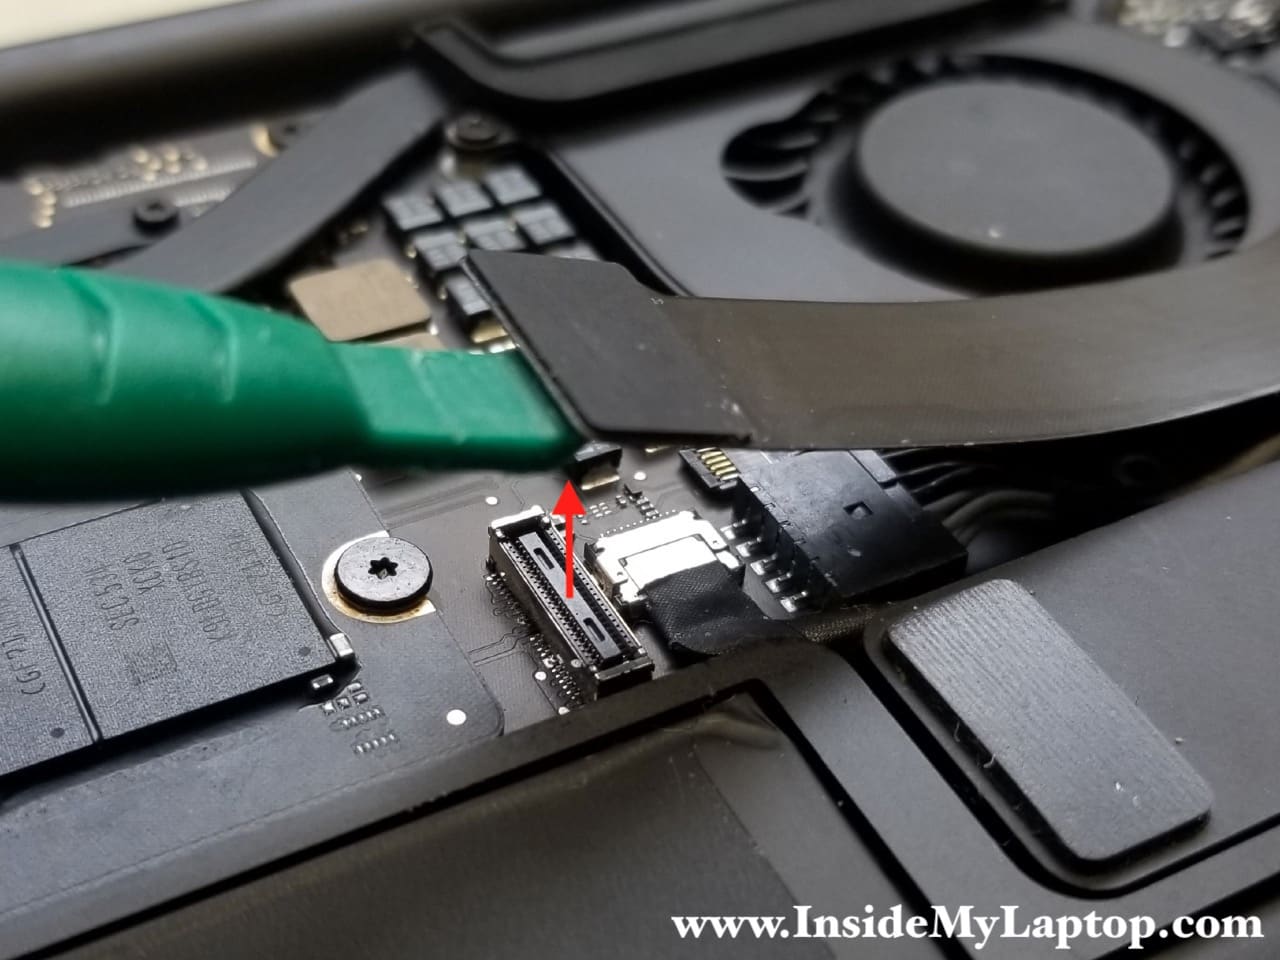
Disconnect the flex cable from the logic board and I/O board.
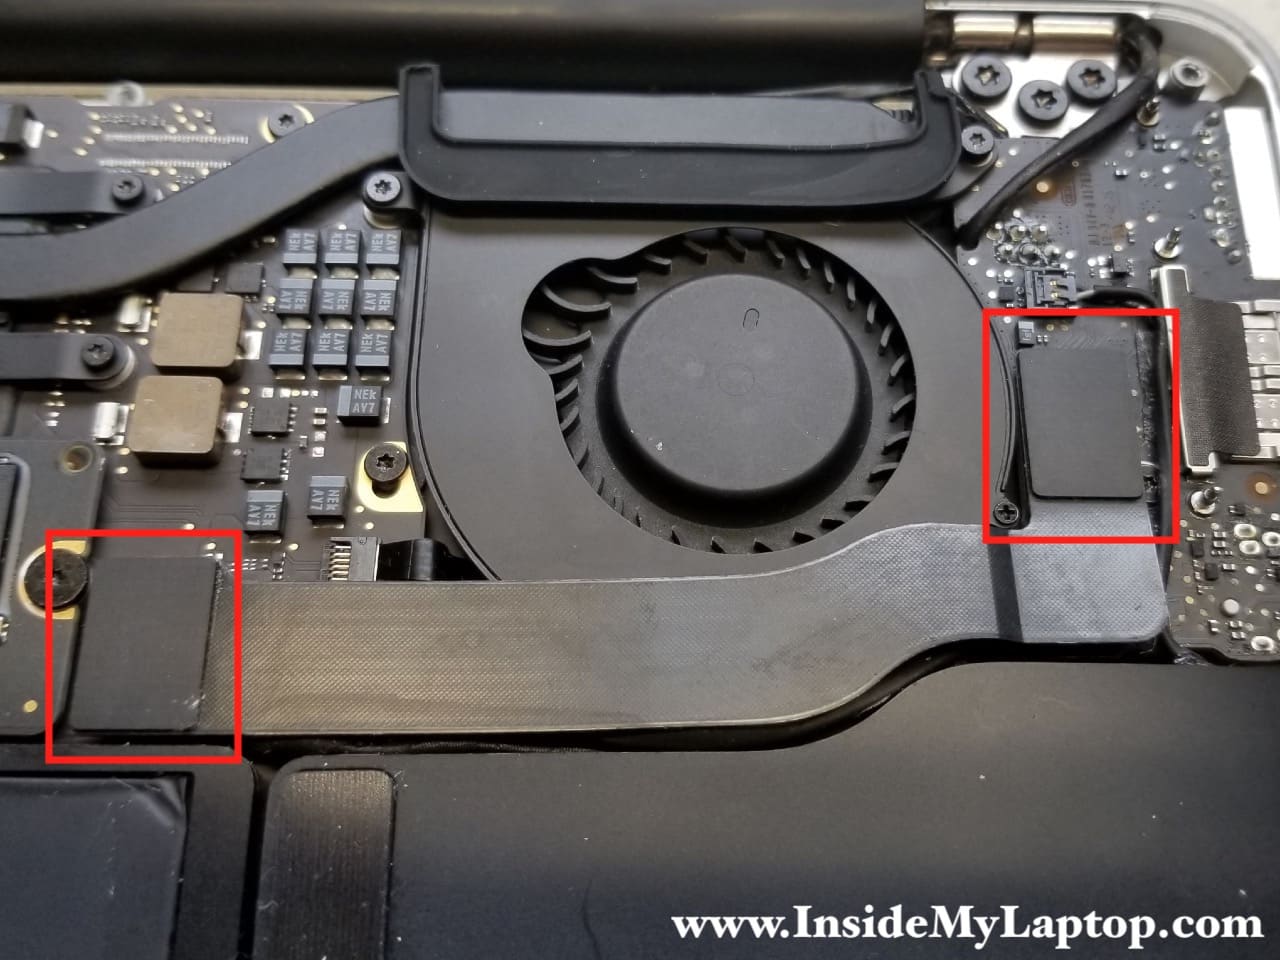
In order to disconnect it, lift up the connector using plastic pry tool.
Separate the cable from the fan. It’s attached by adhesive tape.
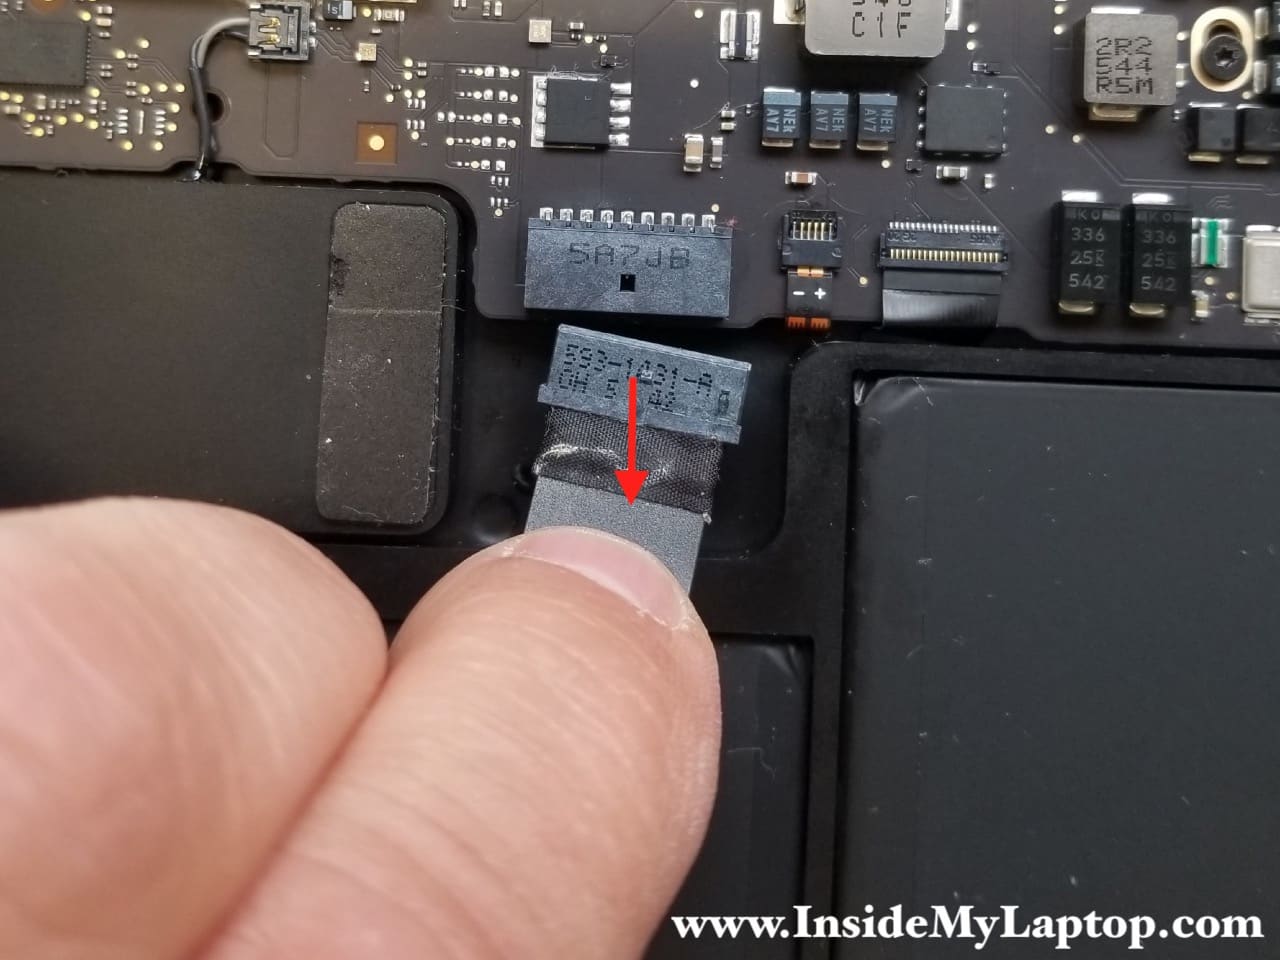
STEP 4.
Now we are going to disconnect the cooling fan cable. Be careful, this connector is fragile.
Lift up the left side of the connector locking tab so it opens up at a 90 degree angle (red arrow).
Using tweezers pull the fan cable out of the connector.

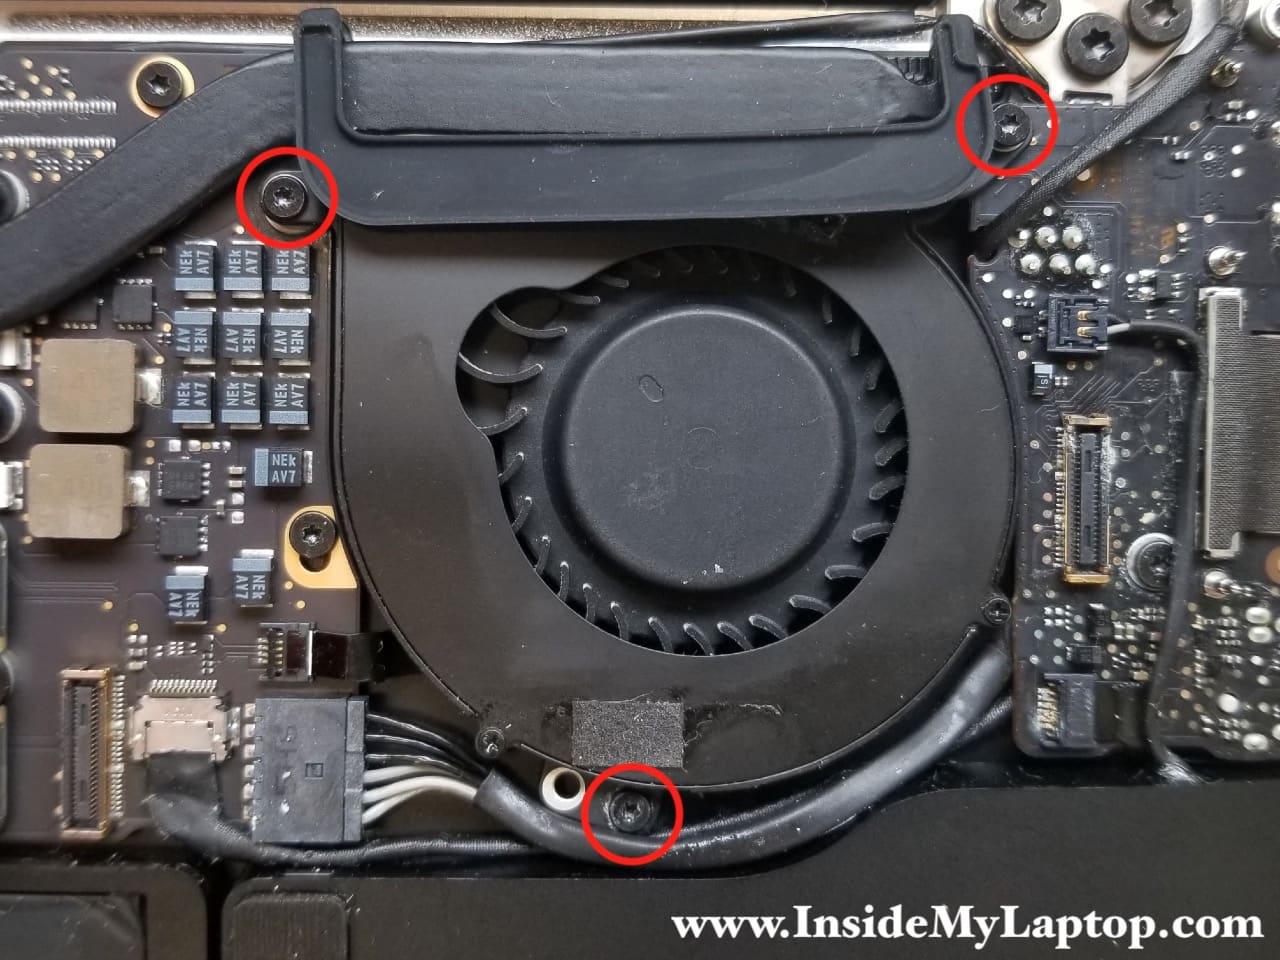
STEP 5.
Remove three Torx T5 screws securing the cooling fan.
All three screws have different length. Make notes or draw a diagram of the correct location for each screw.
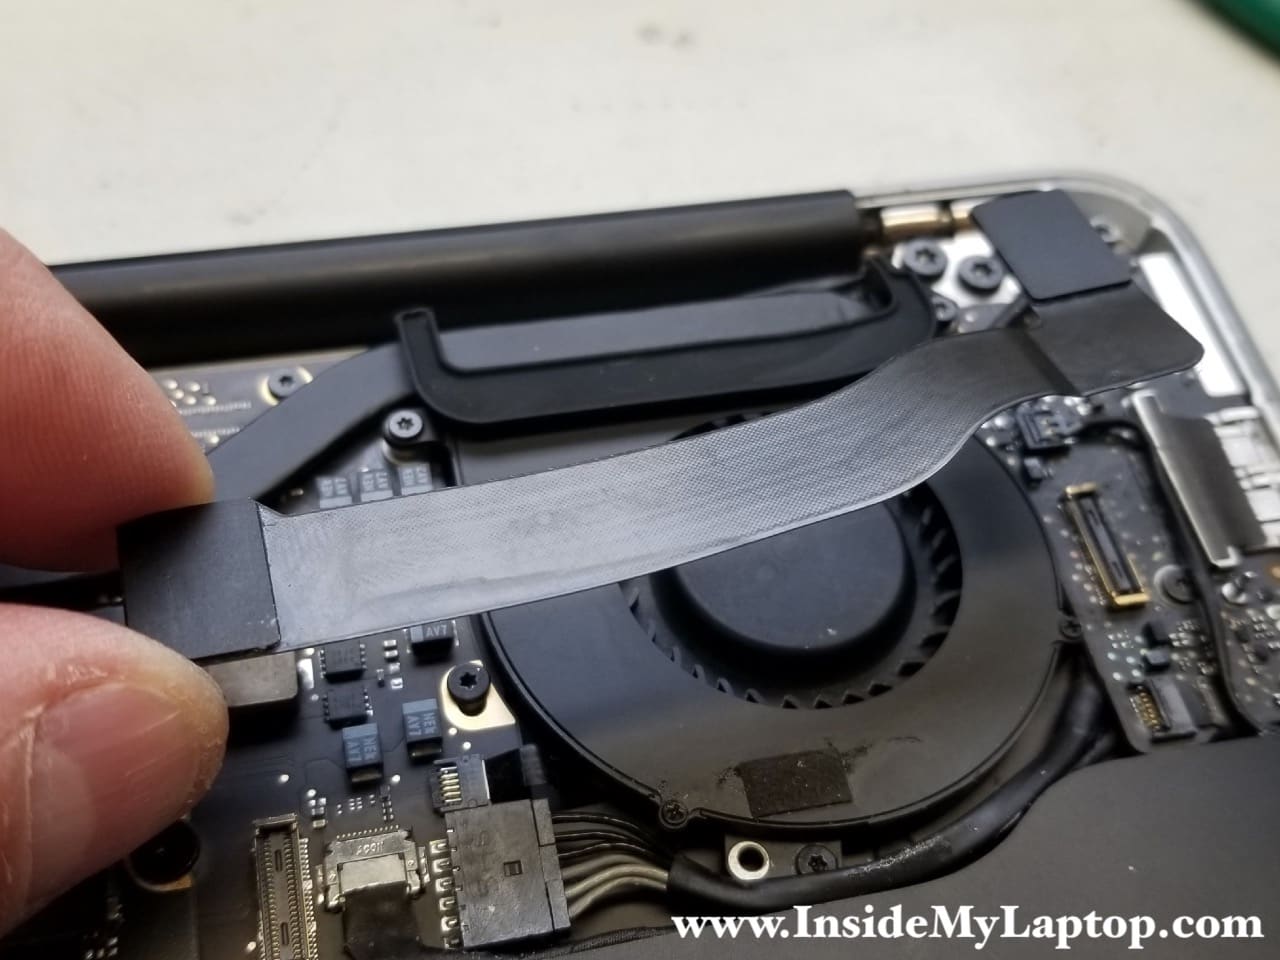
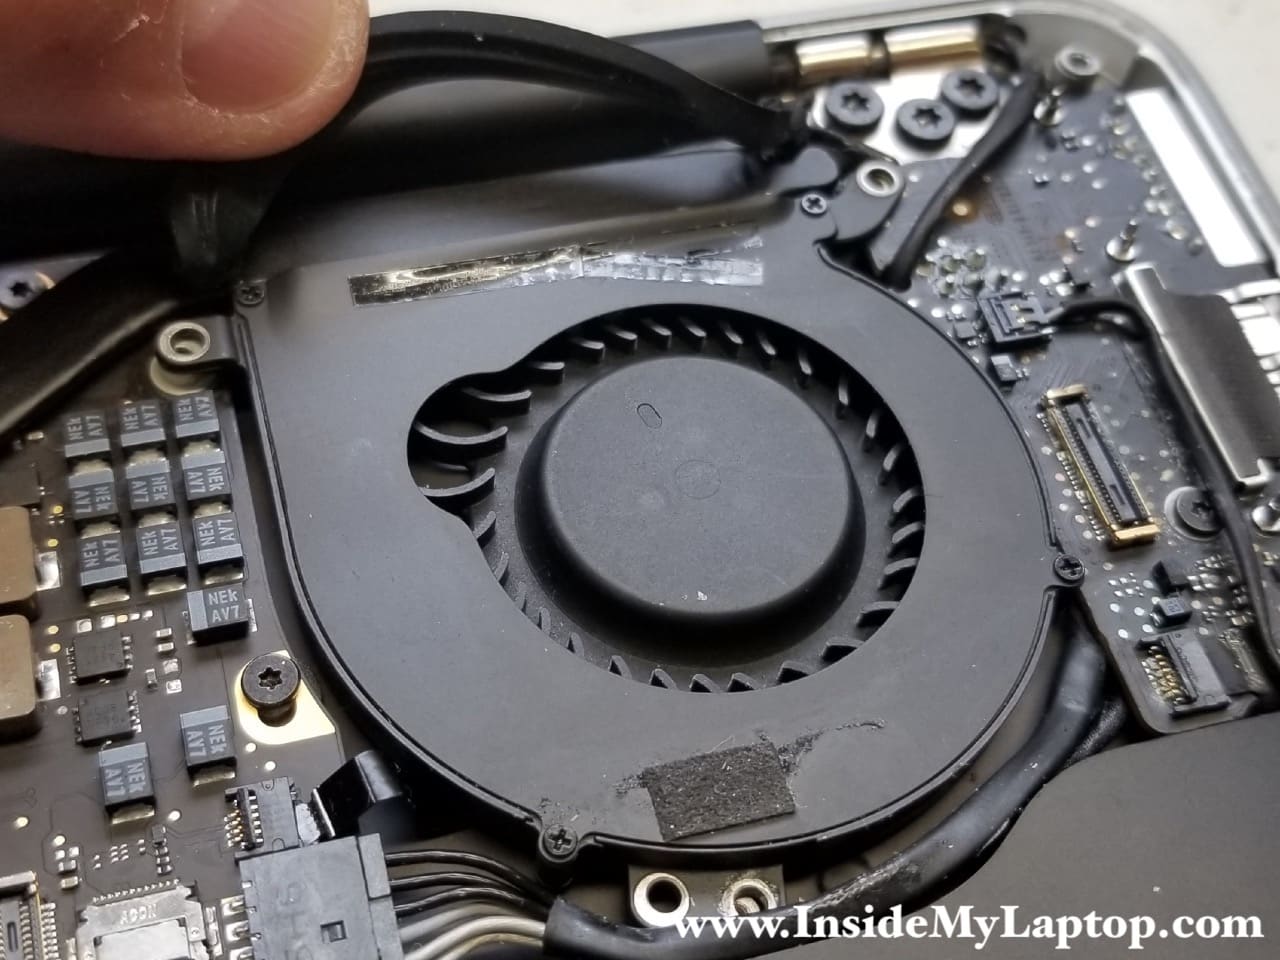
STEP 6.
Lift up the heatsink gasket and remove the fan. The gasket attached to the fan by adhesive tape.
STEP 7.
Lift up the left speaker connector in order to disconnect it from the I/O board.
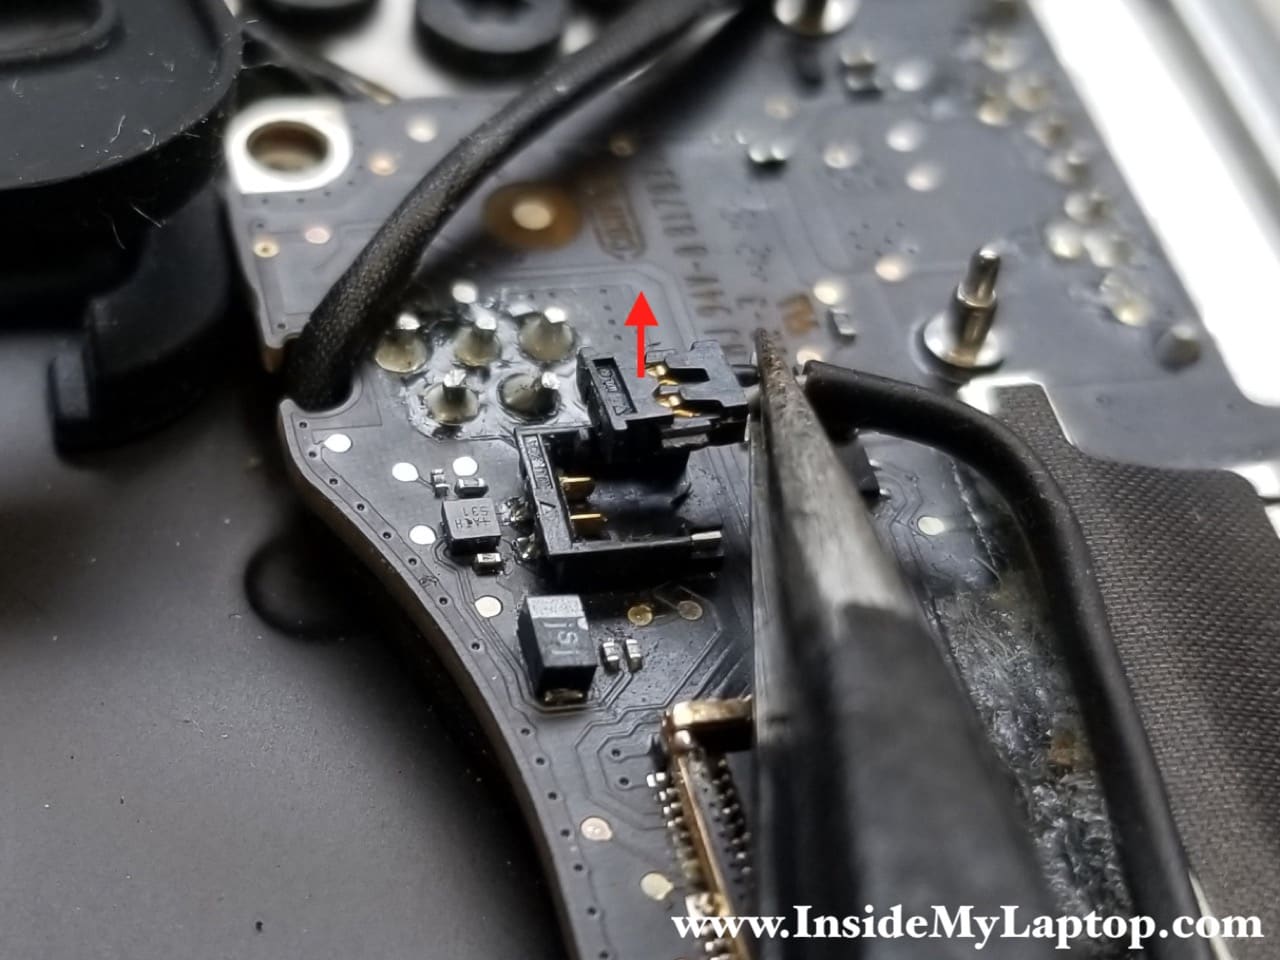
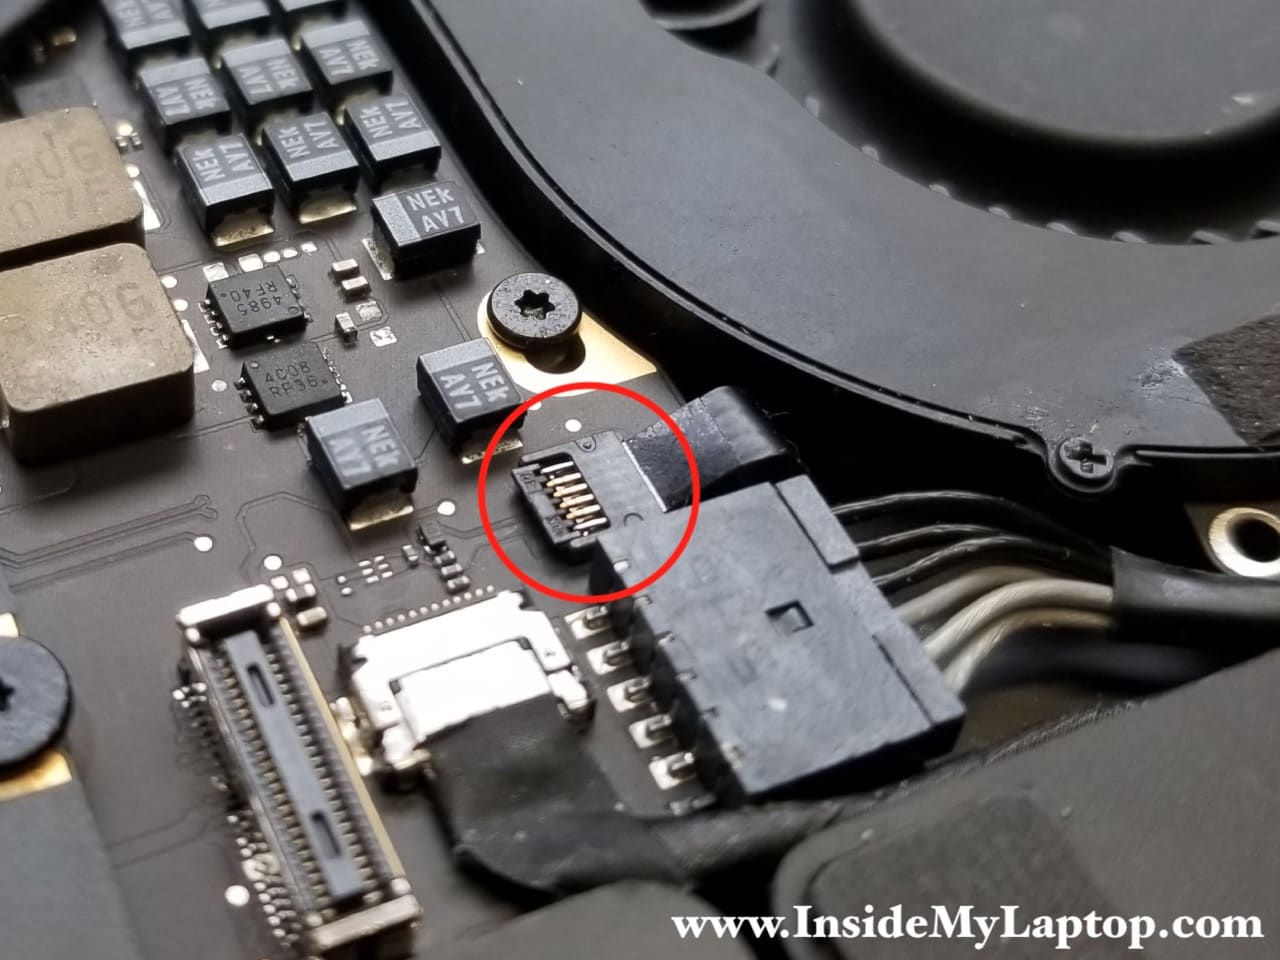
STEP 8.
The microphone cable disconnection procedure is similar to the cooling fan cable.
Unlock the connector (red arrow) and pull the microphone cable out (yellow arrow).

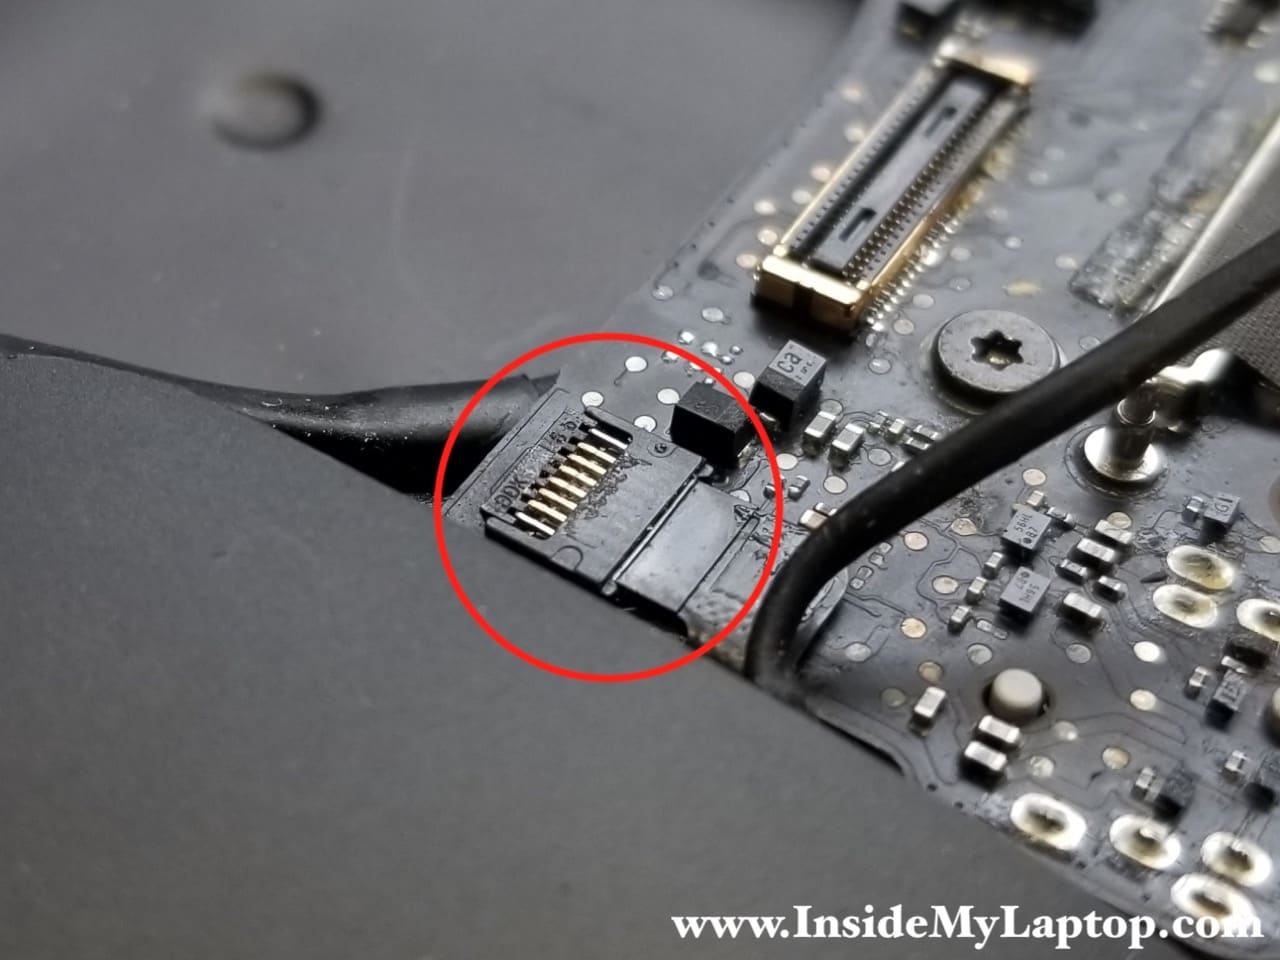
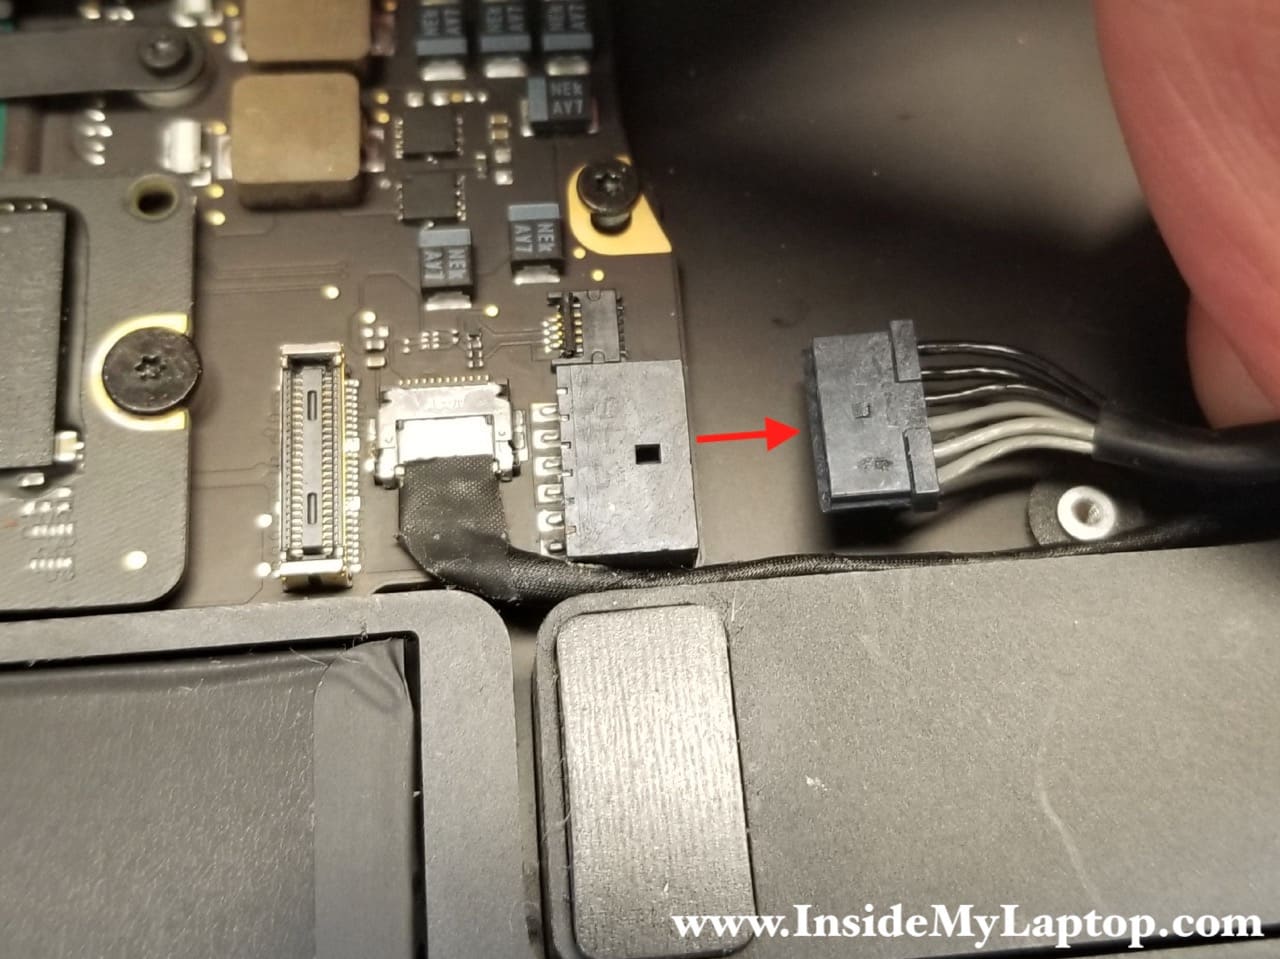
STEP 9.
Disconnect the I/O board power cable from the logic board.
STEP 10.
Carefully disconnect the webcam cable from the logic board. Do not pull by the cable, use tweezers and push the connector out instead.

STEP 11.
Remove one Torx T5 screw securing the I/O board.

STEP 12.
While removing the I/O board, take a closer look at how the webcam cable is routed.
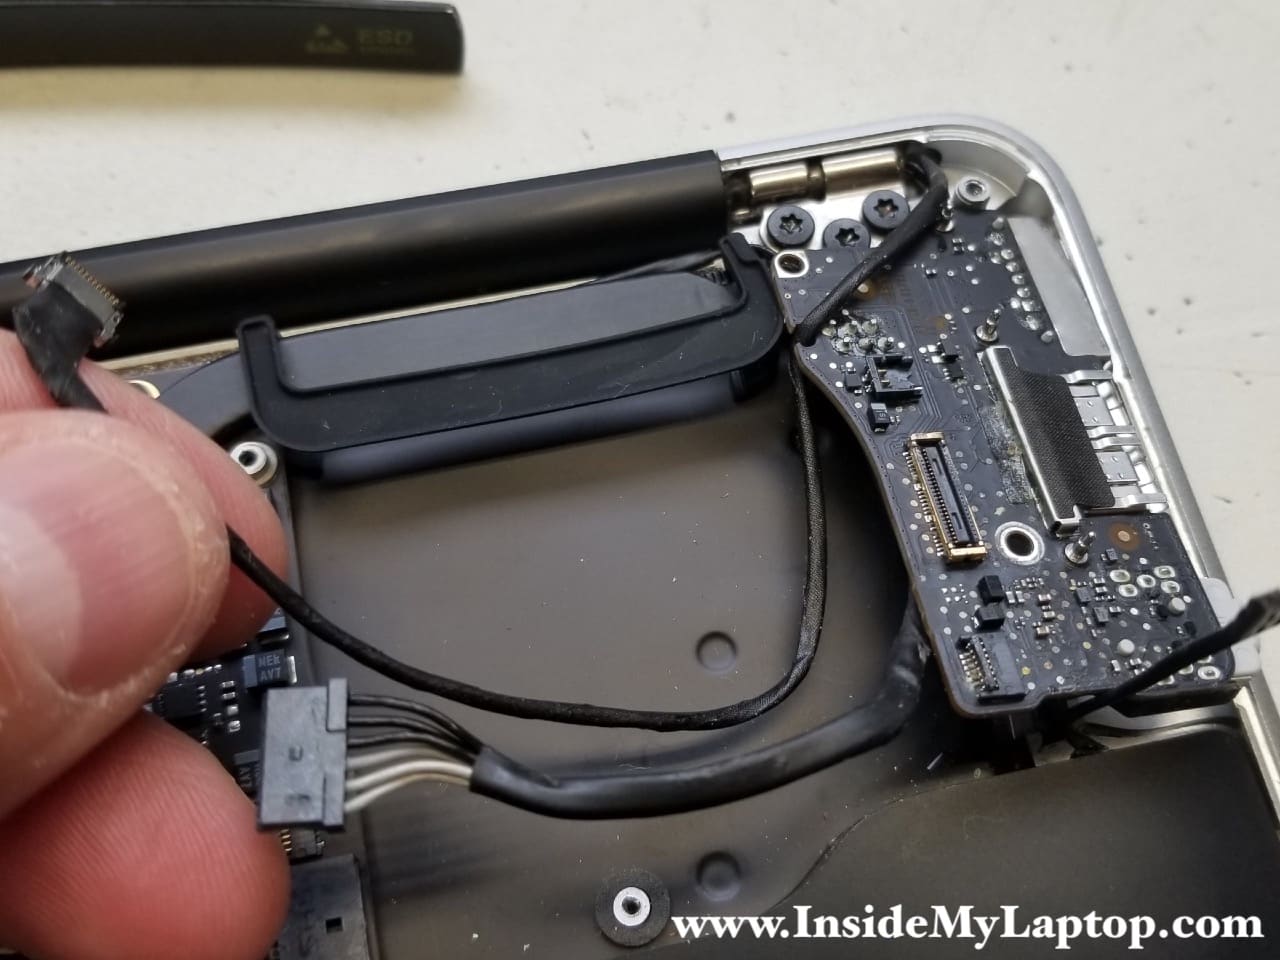
STEP 13.
Remove the I/O board.
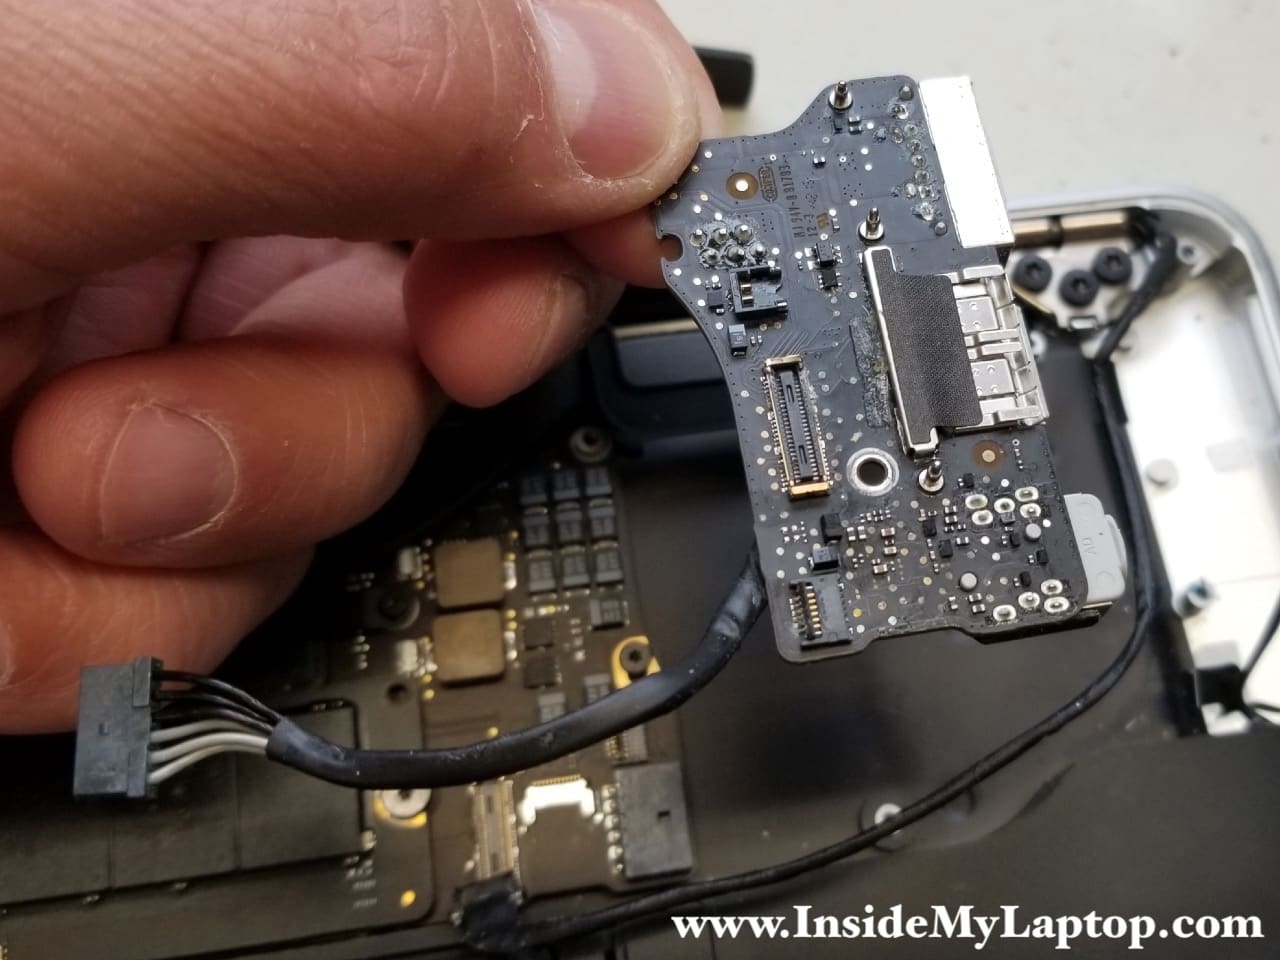
STEP 14.
Replace it with a new board and assemble the laptop following all steps in the opposite direction.
If the laptop wasn’t assembled correctly, you may run into a few problems. Let’s go through a few troubleshooting techniques:
- Both laptop speakers stopped working but they worked prior the disassembly. There is no chime sound on startup. TIP: Make sure the I/O board cable connected correctly. Try reseating it on both ends.
- The MagSafe adapter LED stays green all the time even though it should turn orange when the battery is charging. TIP:Â Make sure the I/O board cable connected correctly. Try reseating it on both ends.
- Left speaker stopped working. TIP: Check connection shown in the Step 7. Reconnect the cable.
- Webcam stopped working: TIP:Â Check connection shown in the Step 10. Reconnect the cable.
- Microphone stopped working: TIP:Â Check connection shown in the Step 7. Reconnect the cable. Make sure it’s seated all the way down.