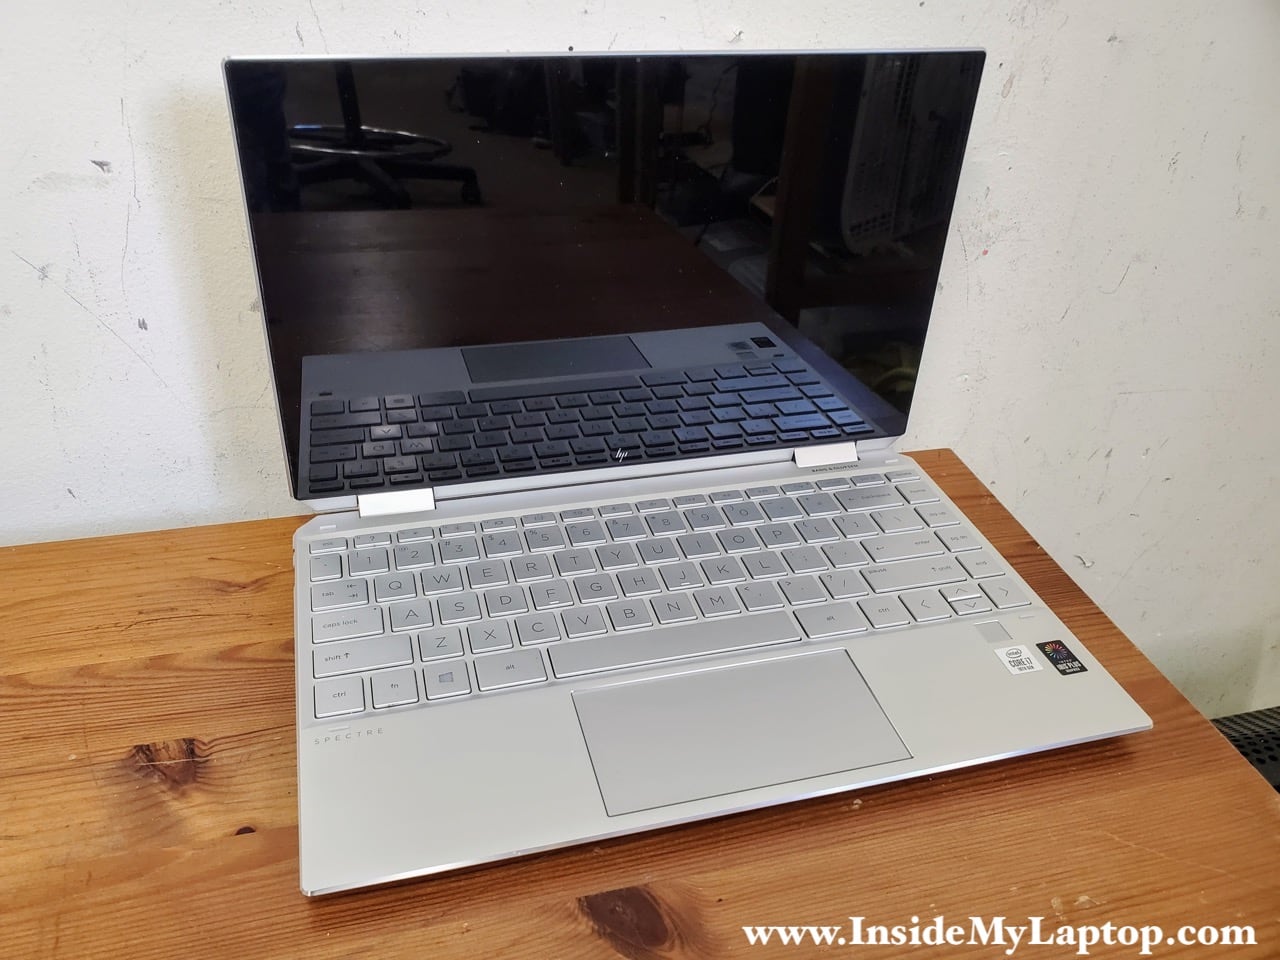
In this guide I will be taking apart an HP Spectre x360 Convertible 13t-aw000 laptop. You can use this guide for replacing or upgrading the SSD, replacing the battery, cleaning or replacing the cooling fans and accessing other internal laptop components.
All disassembly steps will be identical or very similar for HP Spectre x360 13t-aw100 and 13t-aw200 models.
HP Spectre x360 Convertible 13t-aw000 design highlights:
– This model supports one M.2 PCIe NVMe solid state drive.
– Memory is not removable. It’s permanently soldered to the motherboard.
– The wireless card is not removable – also soldered.
– Both cooling fans are permanently attached to the heatsink.
For this disassembly process you will need these essential tools: T5 Torx screwdriver, PH0 Phillips screwdriver, fine tweezers and case opener tool (optional).
Bottom cover removal
There are four screws hidden under the upper bottom cover foot. Remove the foot, it’s attached to the cover with adhesive tape.

Remove four Phillips screws and two Torx screws.

Start separating the bottom cover from the rest of the laptop using a case opener tool. It might be necessary to wiggle to cover in order to release hidden latches holding it in place.

Remove the bottom cover.

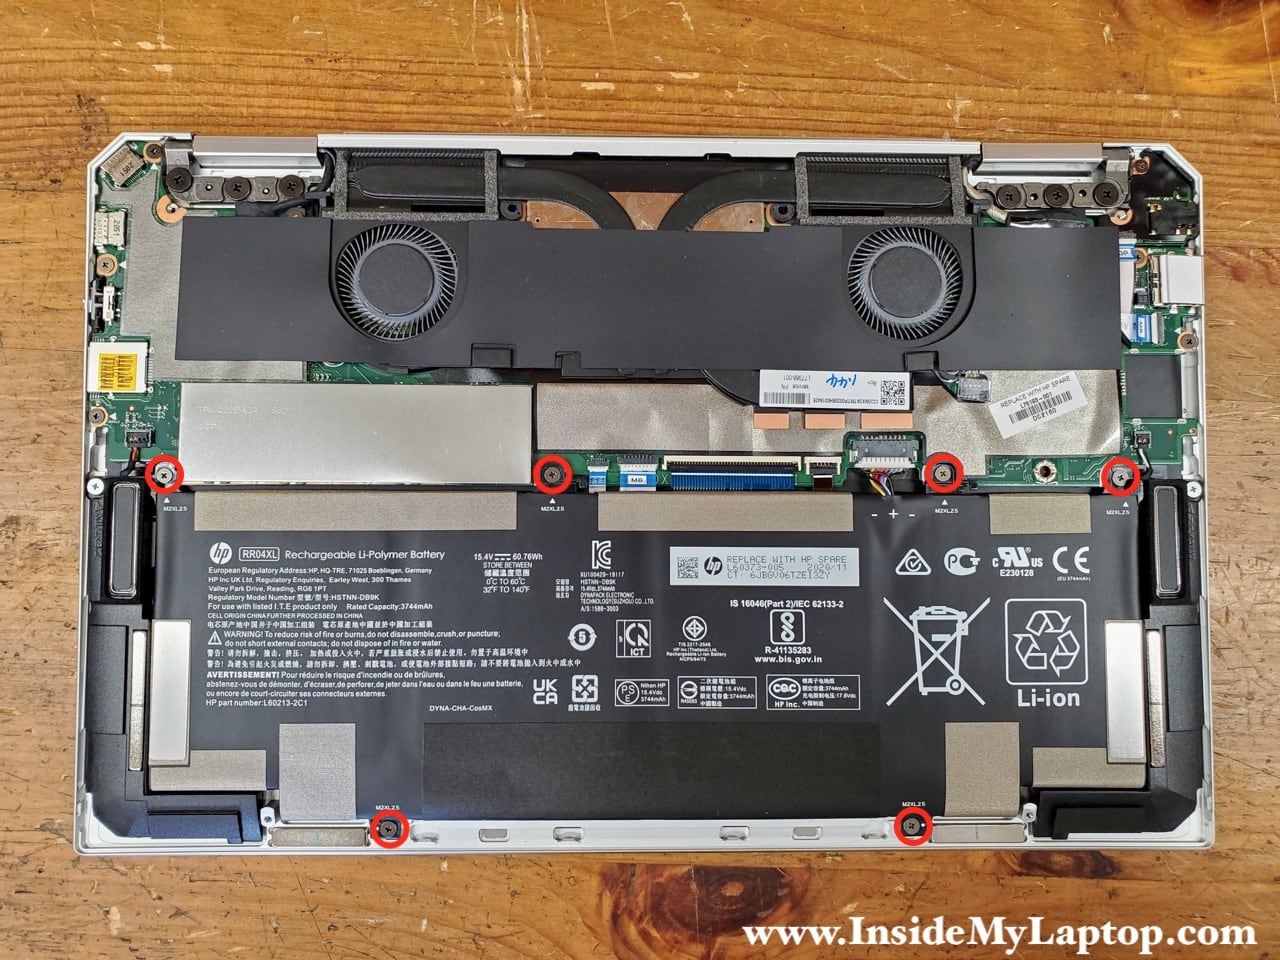
Battery removal and replacement
Remove six screws holding the battery in place.
Lift up the battery and disconnect the cable from the motherboard.
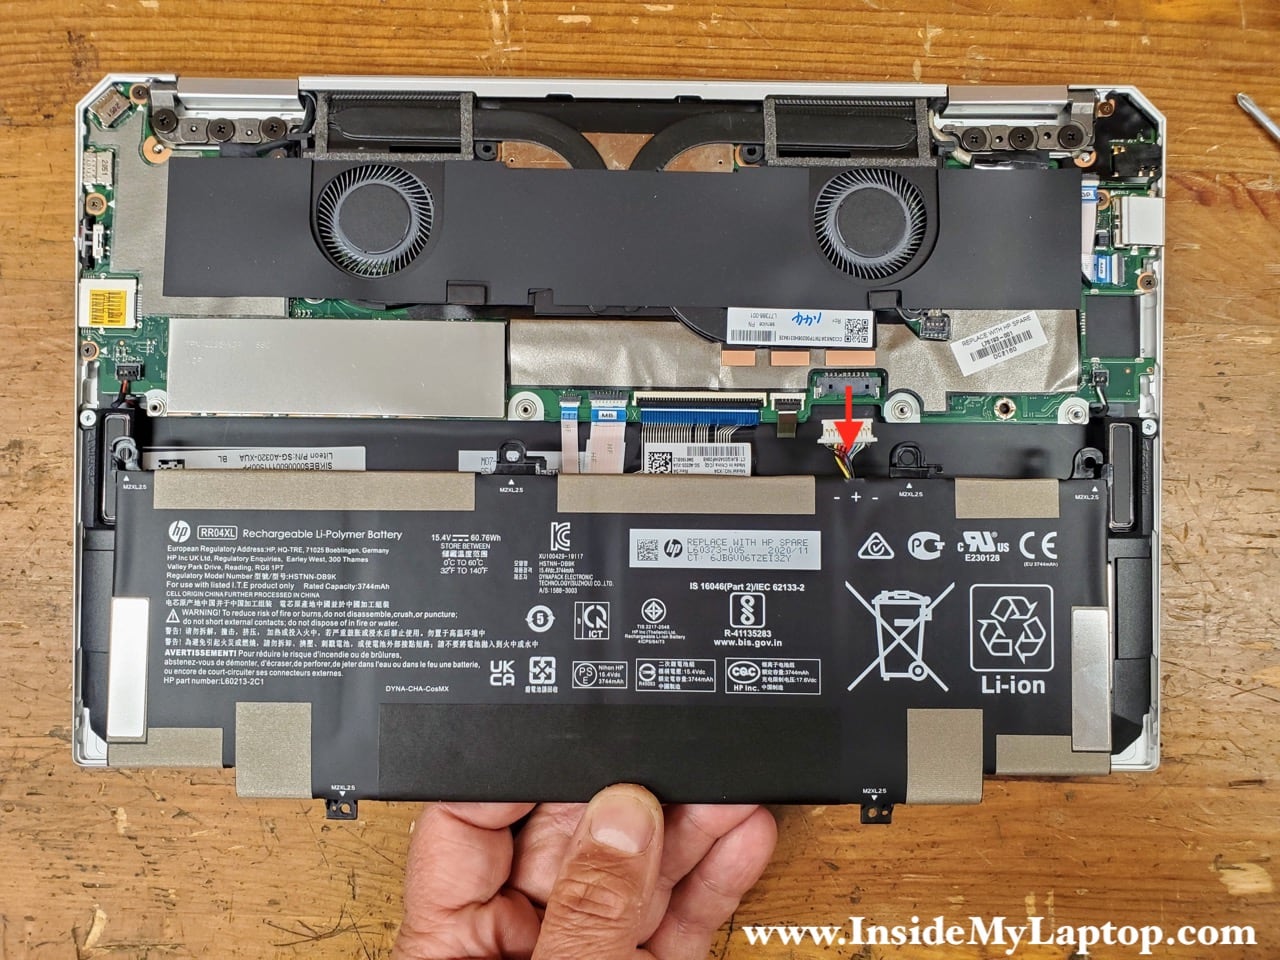
You can find a new replacement battery using the HP spare part number L60373-005 or battery model number RR04XL. I recommend using genuine HP batteries.

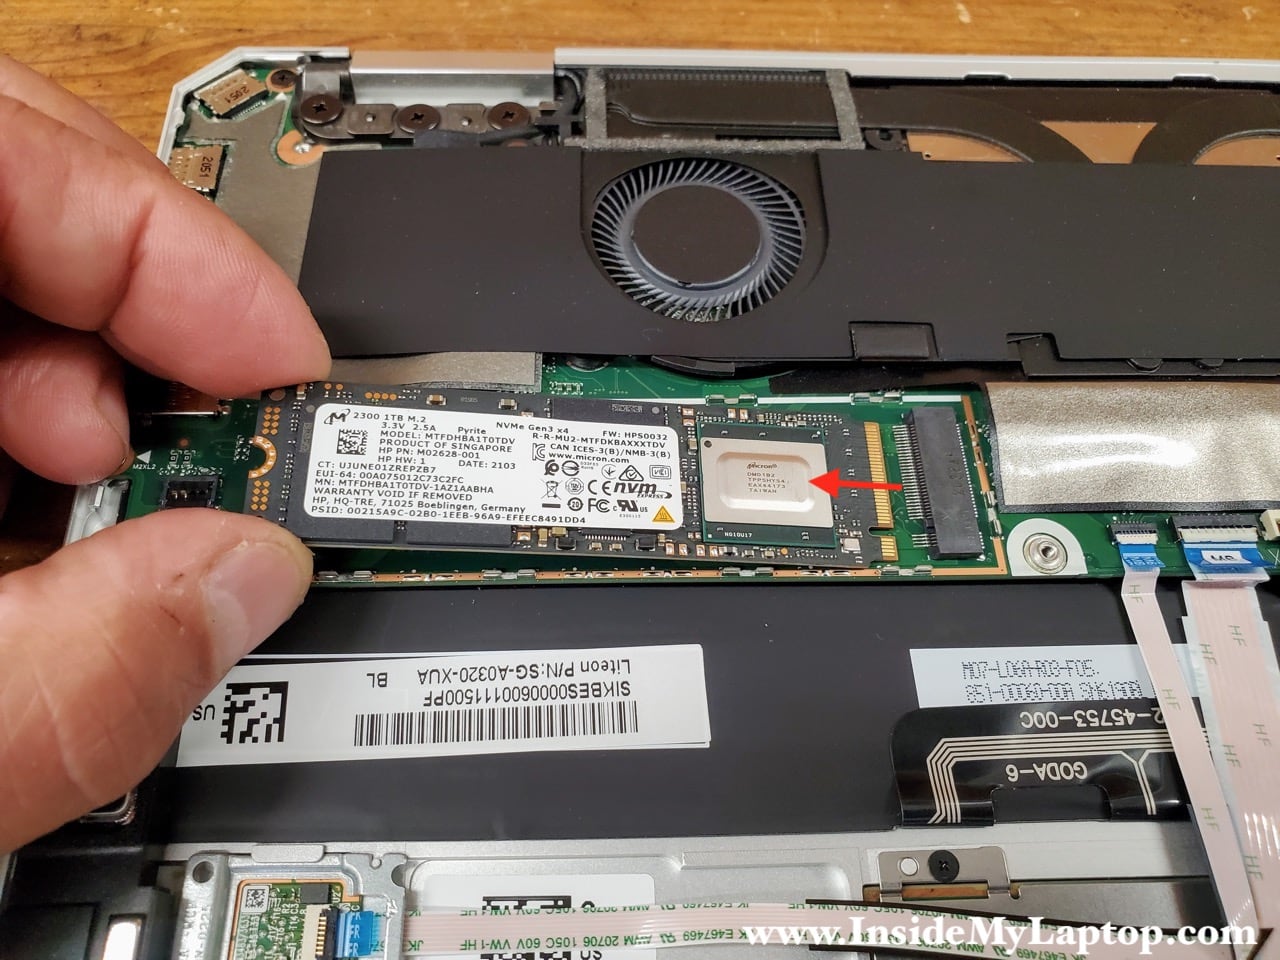
SSD removal and replacement
In this laptop the solid state drive (SSD) is hidden under the metal cover.
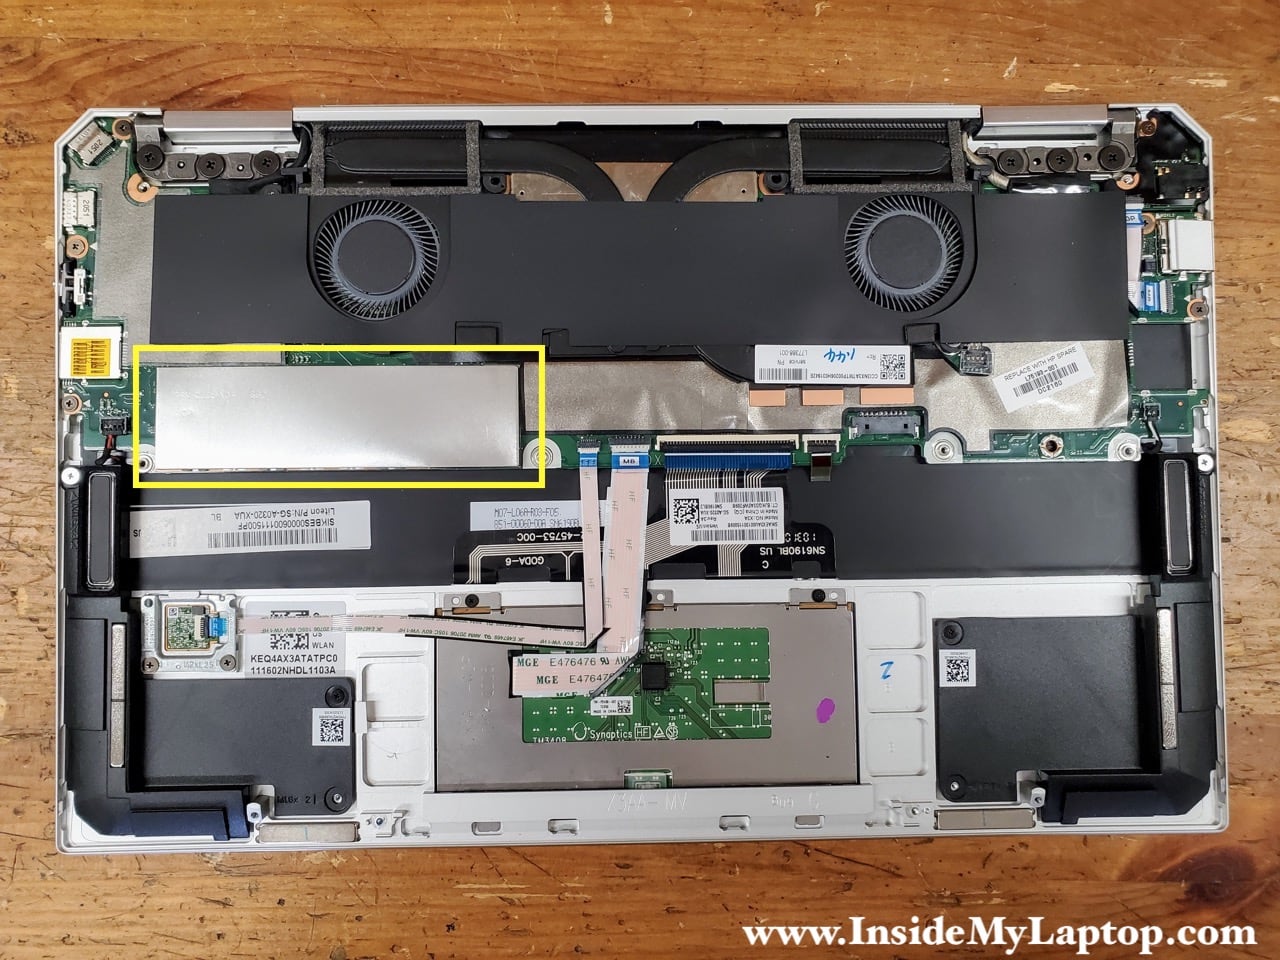
Lift up and remove the SSD cover.

Remove one screw securing the SSD.

Pull SSD out of the slot to remove it.
HP Spectre x360 13t-aw000 supports M.2 PCIe NVMe Gen3 SSD type 2280.
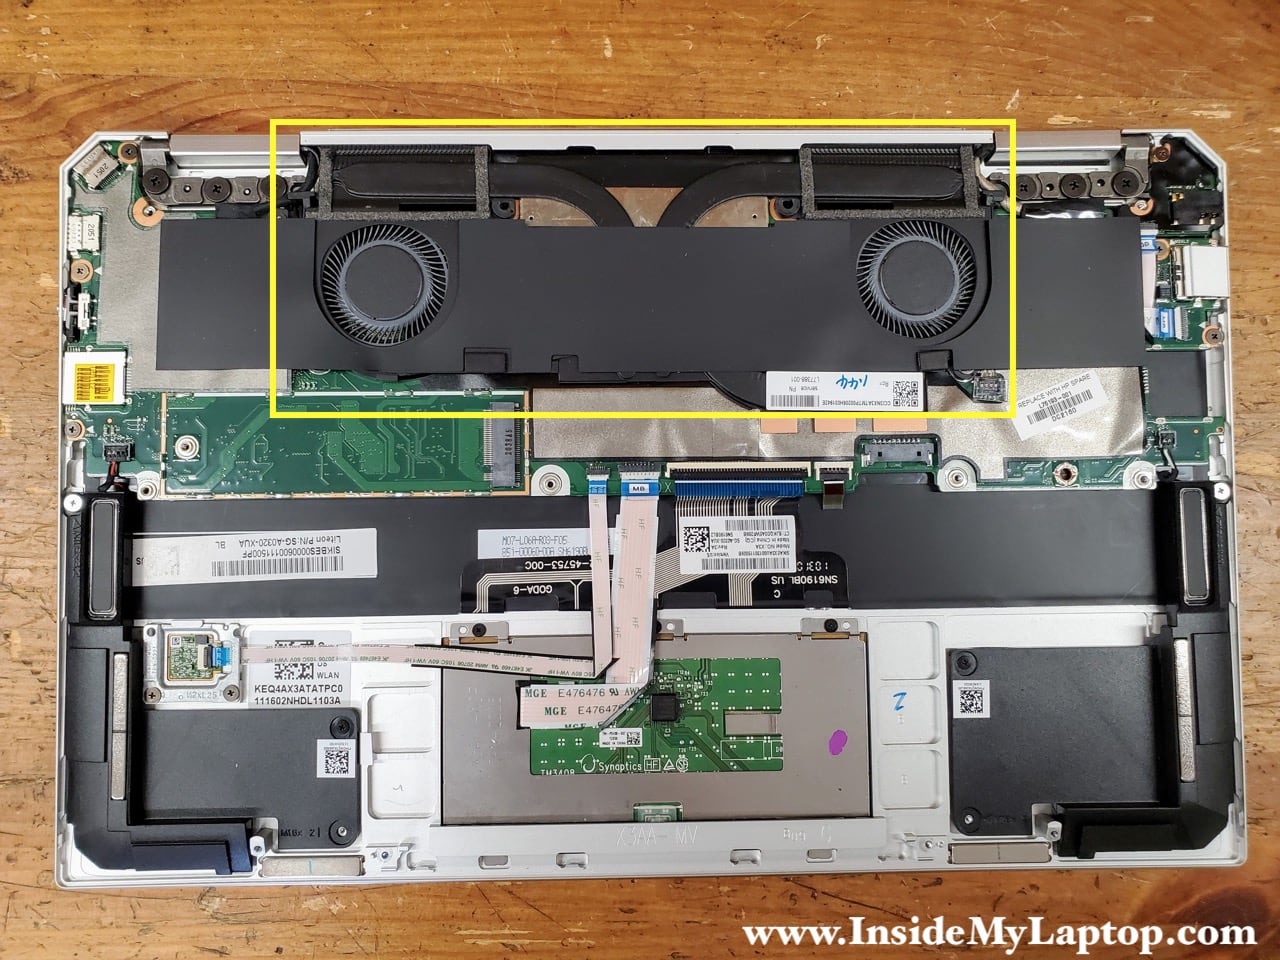
Cooling fans removal and replacement
In this laptop both cooling fans are permanently attached to the heatsink. If one of the fans failed, it’s necessary to replace the entire heatsink assembly.
Peel off the black mylar cover.
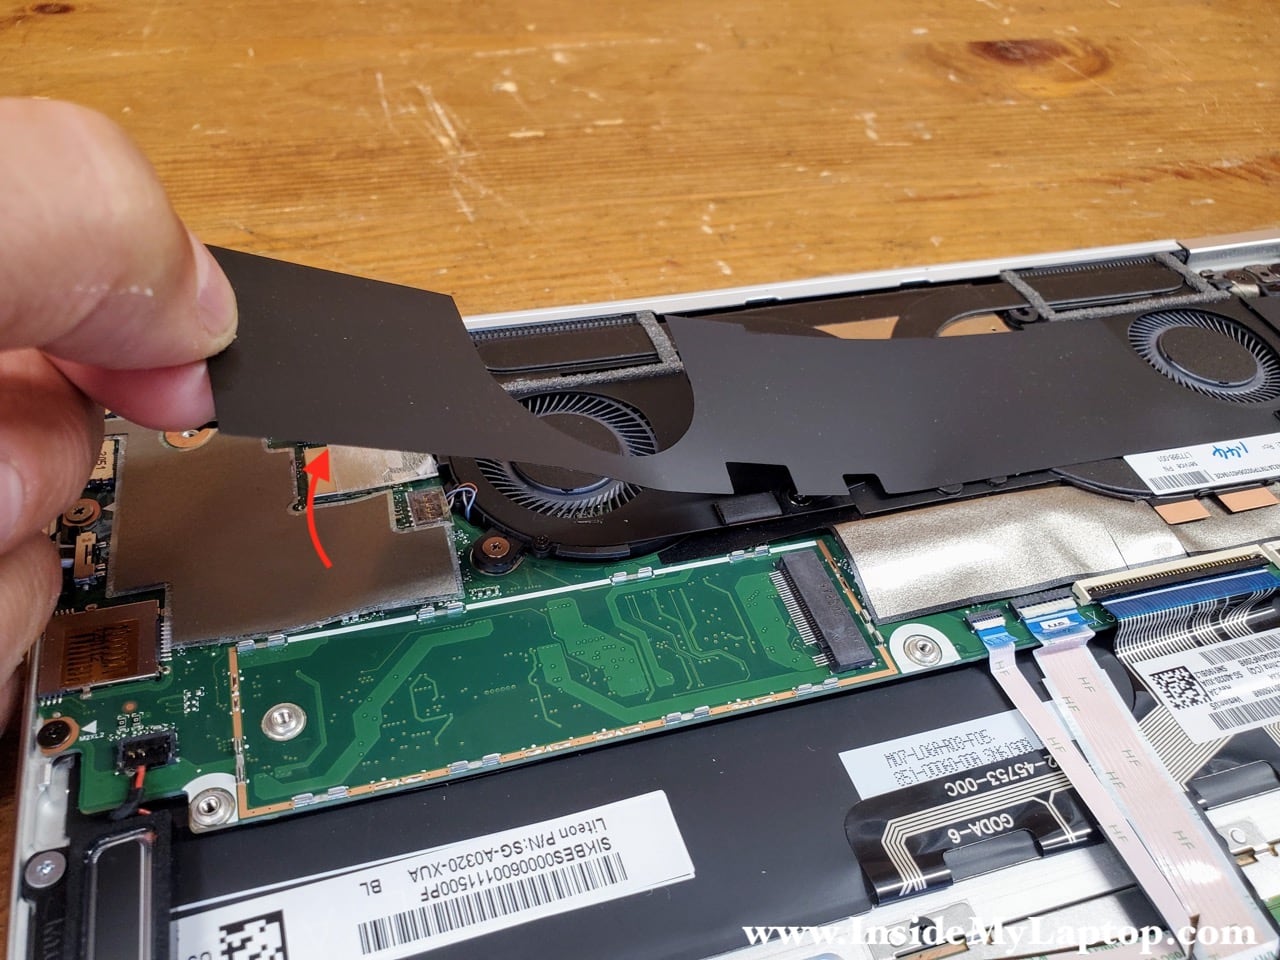
Both fan cable connectors are secured by clear plexiglass covers.

Peel off plexiglass covers from both connectors. There is adhesive tape holding it in place.

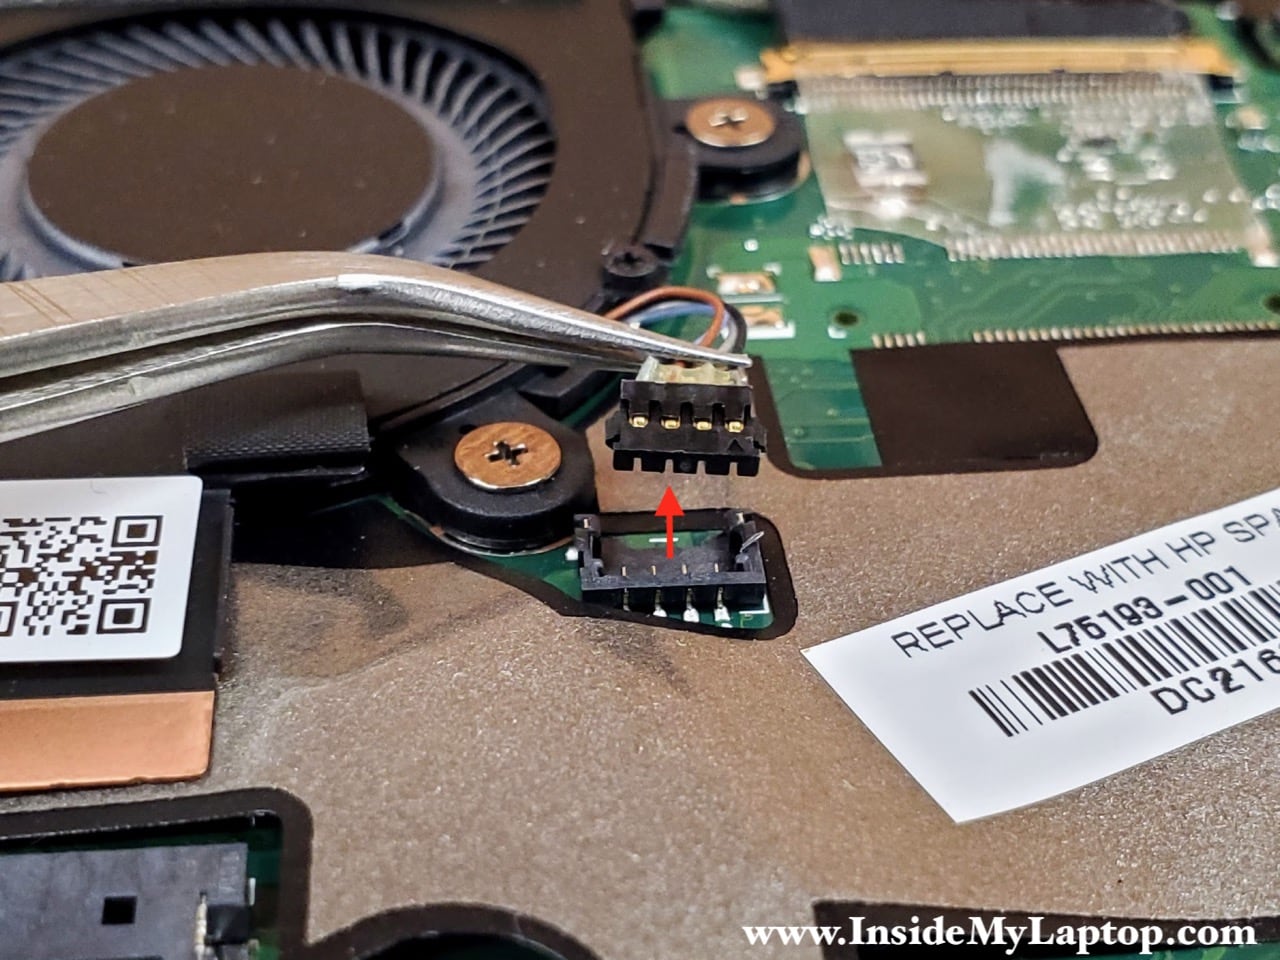
In order to disconnect the fan cable from the motherboard carefully lift up the connector.

Disconnect the second fan cable.
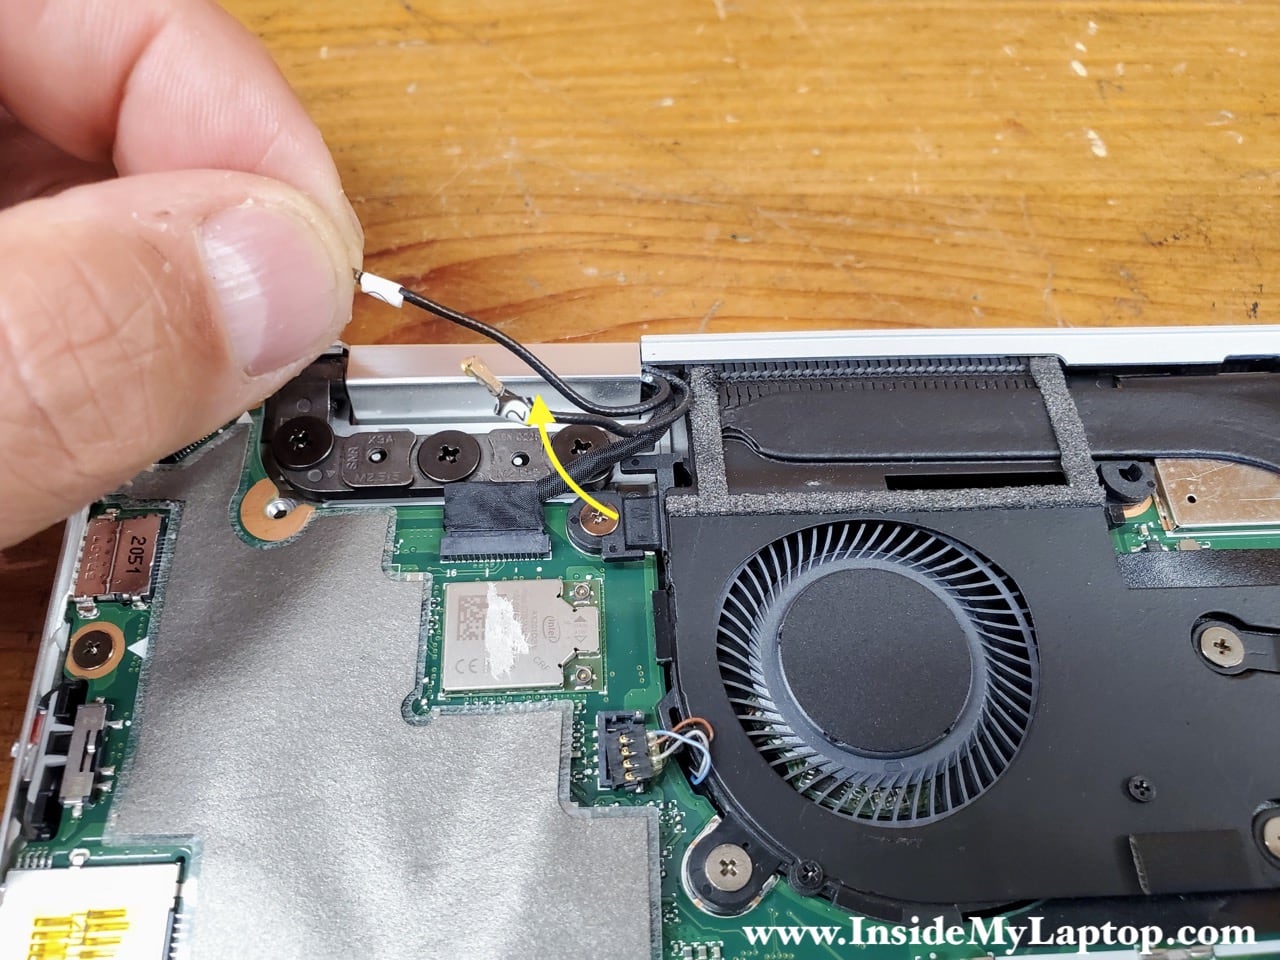
Peel off clear plexiglass cover securing the wireless card antenna cables.

Disconnect both antenna cables from the wireless card. Gently lift up each connector to unsnap it from the wireless card.
Be very careful. In this laptop the wireless card is permanently attached to the motherboard and cannot be replaced if damaged.

Separate both antenna cables from the guided path on the side of the fan.
Remove eight screws attaching the cooling fan assembly to the motherboard.

Remove the fan/heatsink assembly.

You can find a new cooling fan assembly using this HP part number: L77388-001.

Here’s the other side of the assembly.
Don’t forget to clean up the processor and apply new thermal grease before installing the fan/heatsink assembly back in place.

Now you can access all other internal laptop components.

Tori
I live in a shelter and came back to my room where i noticed tool markings on the diagonal perimeters of my brand new laptop. What is the reason a laptop would be opened that way? Its a brand new HP that I feel now has malware and or keylogger hard or software inside of. If not that, perhaps a defective driver of some kind? Its always something I am constantly worried about and on a wild goose chase trying to figure out.
Any help is greatly appreciated. Thank you
IML Tech
1. “tool markings on the diagonal perimeters of my brand new laptop” – I have no idea what you are talking about.
2. ” I feel now has malware and or keylogger hard or software inside of” – install and run Malwarebytes, it’s a good adware/malware removal tool.