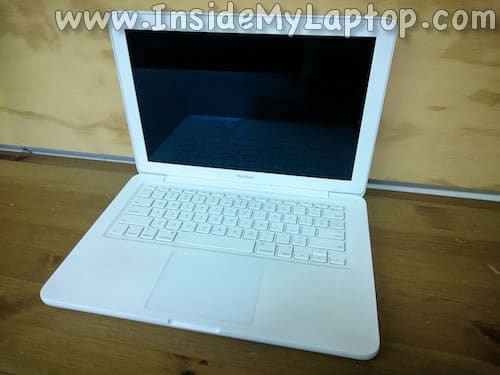
In this guide I explain how to replace the LCD screen on a MacBook 13-inch white unibody laptop.
You can use these instructions for MacBook Late-2009 and Mid-2010 models.
STEP 1.
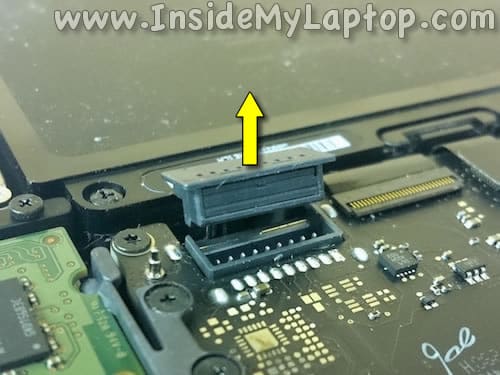
I strongly suggest disconnecting the battery before proceeding with the laptop disassembly.
STEP 2.
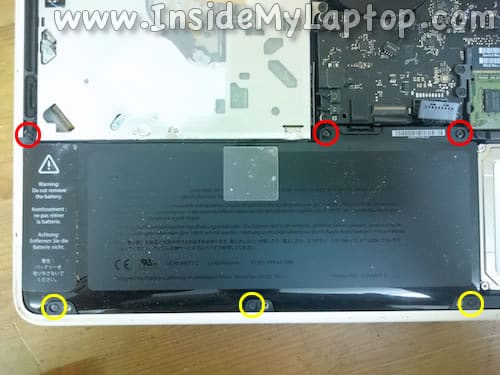
Also, I not just disconnected the battery but removed it completely.
It’s secured by six screws: three regular Phillips screws (yellow circles) and three tri-wing screws (red circles).
If you don’t have a tri-wing screwdriver you can try using a small flathead screwdriver instead.
STEP 3.
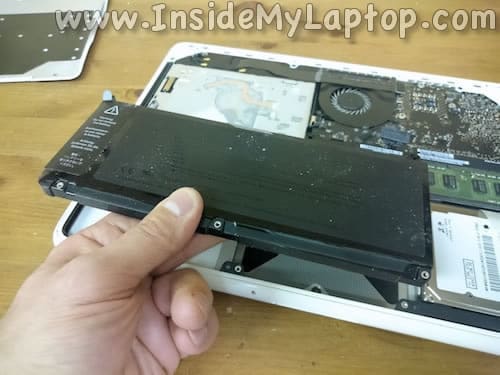
Remove the battery.
STEP 4.
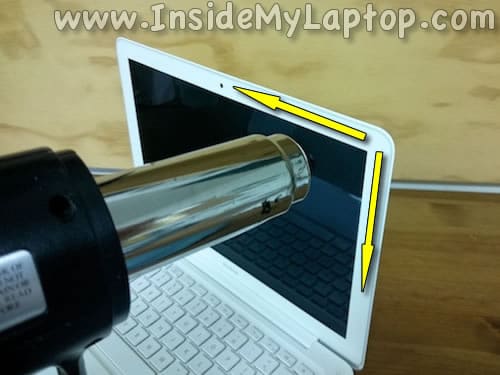
The screen bezel glued to the display cover by adhesive tape.
It’s much easier to separate the bezel from the cover if you heat it up first.
BE CAREFUL using a heat gun. You can overheat the bezel and permanently damage it.
Probably it’s safer to use a hair dryer. The bezel doesn’t have to be burning hot. It has to be warm enough to soften the adhesive tape.
STEP 5.
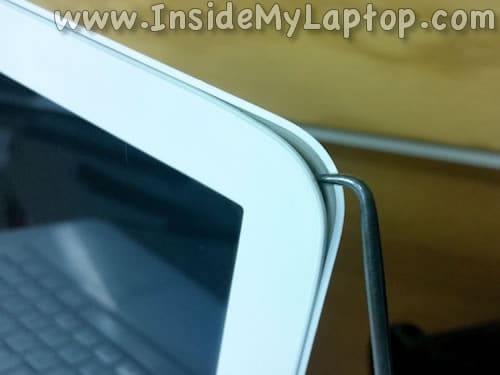
Start separating the bezel using a sharp object.
STEP 6.
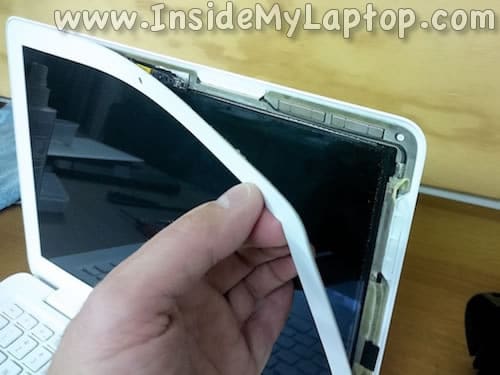
Continue removing the bezel with your fingers.
Try not to touch the adhesive tape so it can be re-used.
While removing the bezel keep warming it up with a heat gun or hair dryer.
STEP 7.
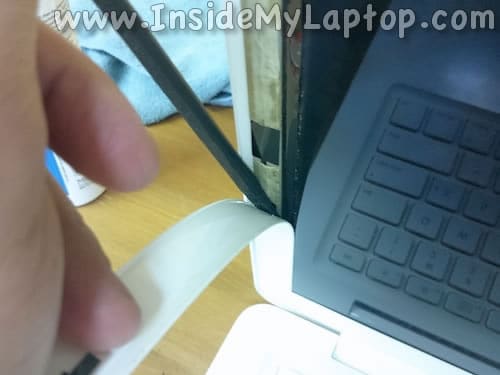
When you move to the lower part of the display assembly, it’s easier to use a plastic stick for separating the bezel.
As you see the bezel is very flexible.
STEP 8.
Continue separating the bezel on the bottom of the display.
This is probably the hardest part.
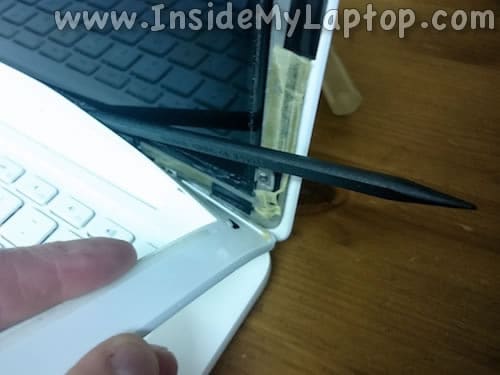
STEP 9.
Remove six screws securing the LCD screen.
You’ll have to use a small flathead Phillips screwdriver.
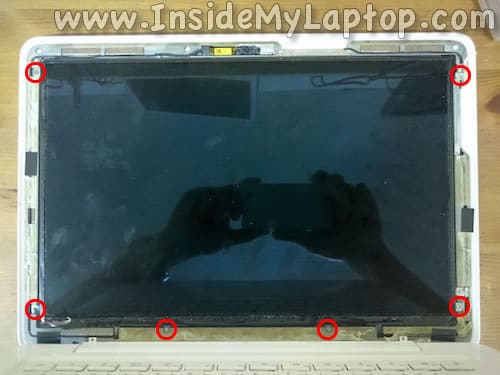
STEP 10.
Separate the screen from the back cover.
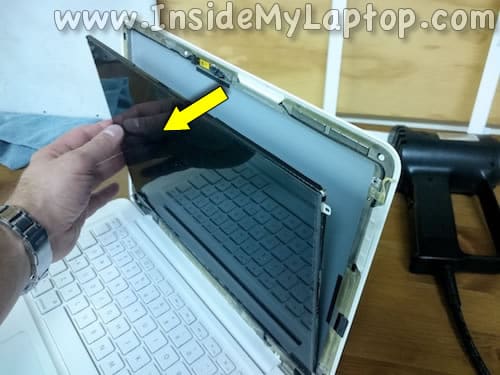
STEP 11.
Lift up the screen so you can access the cable connector on the bottom.
You will have some limited access to the connector.
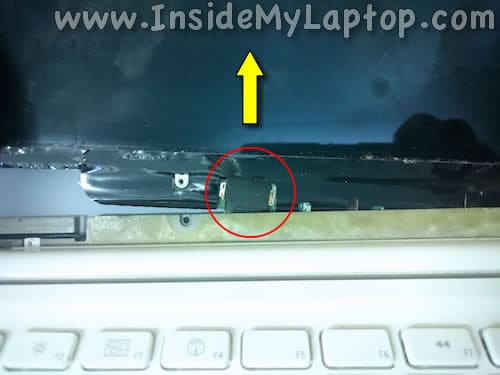
STEP 12.
Remove black mylar tape securing the connection.
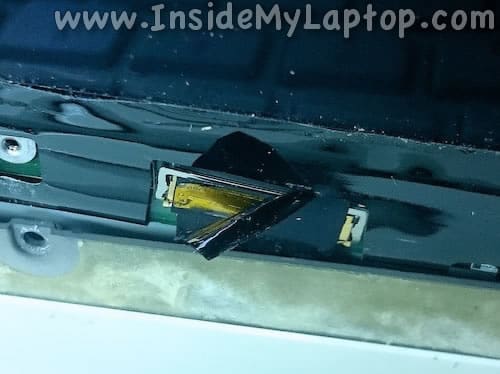
STEP 13.
Carefully unlock the connector.
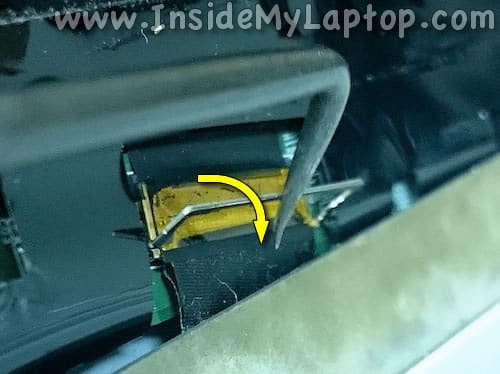
STEP 14.
Now you can pull the video cable from the connector.
Remove the failed/damaged LCD screen and get ready to install a new one.
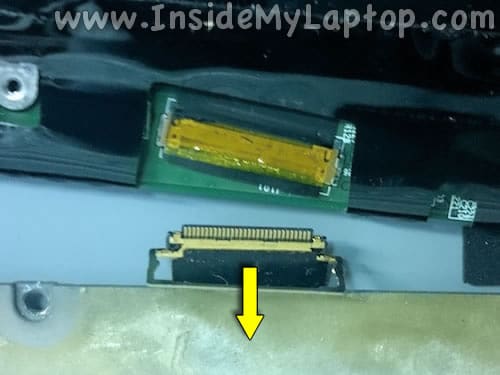
STEP 15.
Position the new screen so you can plug the video cable back in place.
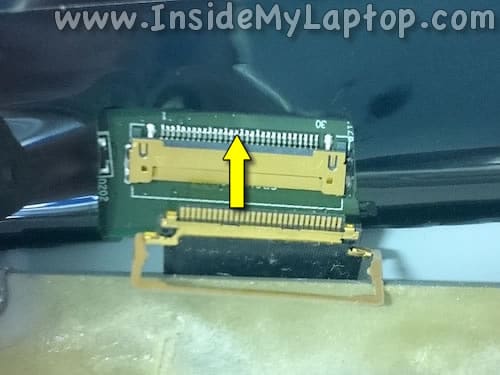
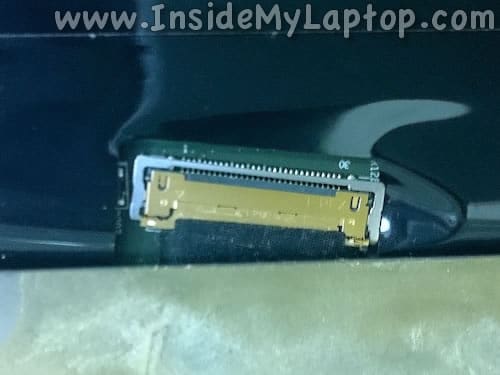
STEP 16.
Lock the metal retainer.
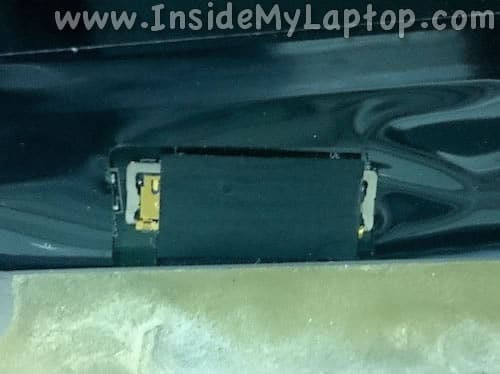
STEP 17.
Glue the mylar tape back on the connector.
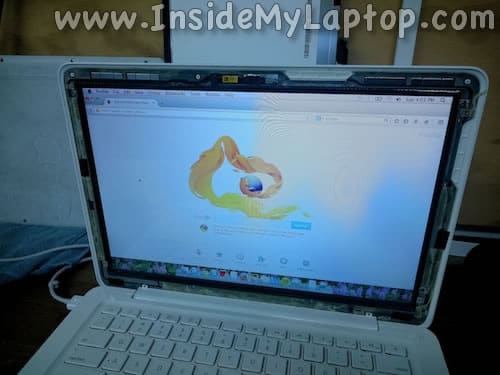
STEP 18.
Secure the screen inside the display using six screws.
Before you install the bezel, it’s a good idea to test the screen.
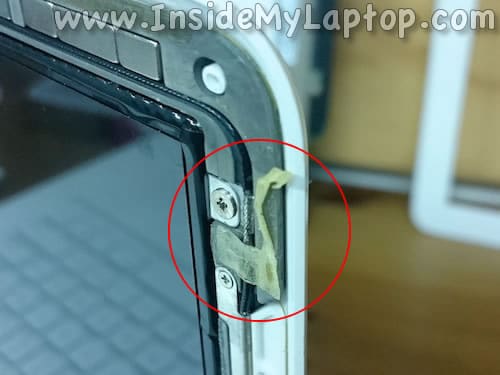
STEP 19.
Take a closer look at the adhesive tape on the display and back side of the bezel.
If the adhesive tape sticking out it’s better to cut it off or straighten.
The bezel has to seat on the display as flat as possible.
STEP 20.
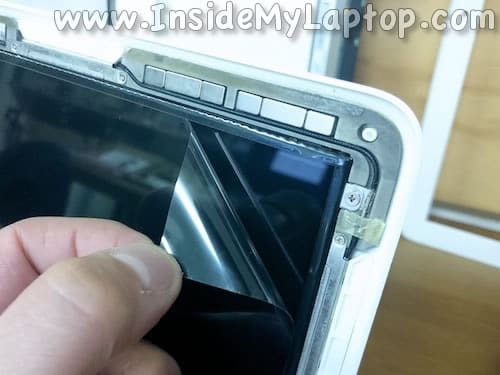
Remove the protective film from the new screen.
STEP 21.
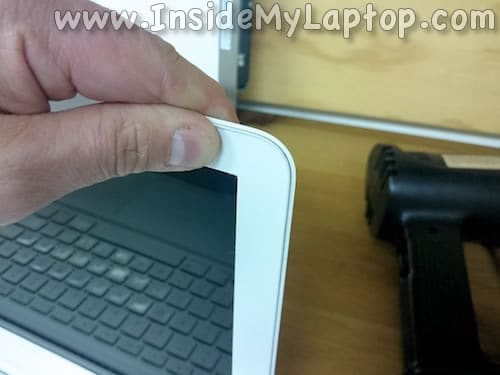
Finally, install the bezel back in place and glue it back to the display.
Klex
Good job well done
Philip
Hi,I have a samsung galaxy note 2 whose sim tool kit app is not active.. How can i activate it?
afrobeat
nice post thanks for the sharing ………..