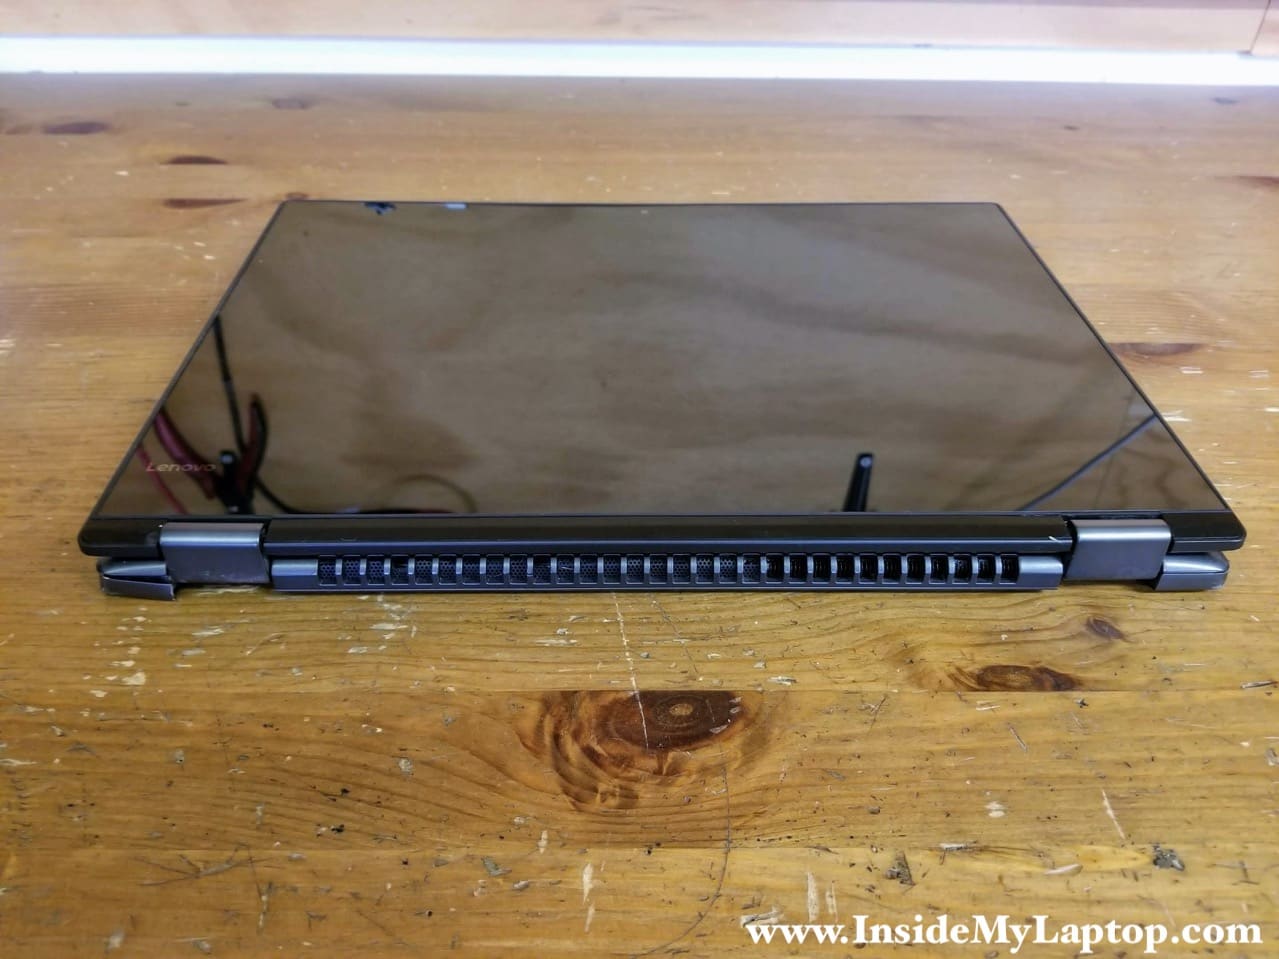
Today I’m replacing a failed screen on a Lenovo Ideapad Flex 5-1470 2-in-1 laptop (models 81C9, 80XA). Also, this guide works for a Lenovo ideapad Flex 5-1570 (models 80XB, 81CA) which is almost identical, just has a bigger screen. It is not easy to open up the display panel on this model. If you are a new to laptop disassembly, probably you should seek professional help.
This laptop was dropped and the screen backlight stopped working. I hope replacing the screen will fix this issue. I don’t have another screen for testing so I’m just guessing.
This is my second disassembly guide for Lenovo Ideapad Flex 5-1470 and 5-1570 laptops. In the first guide I explained how to take apart the laptop base which is a simpler procedure.
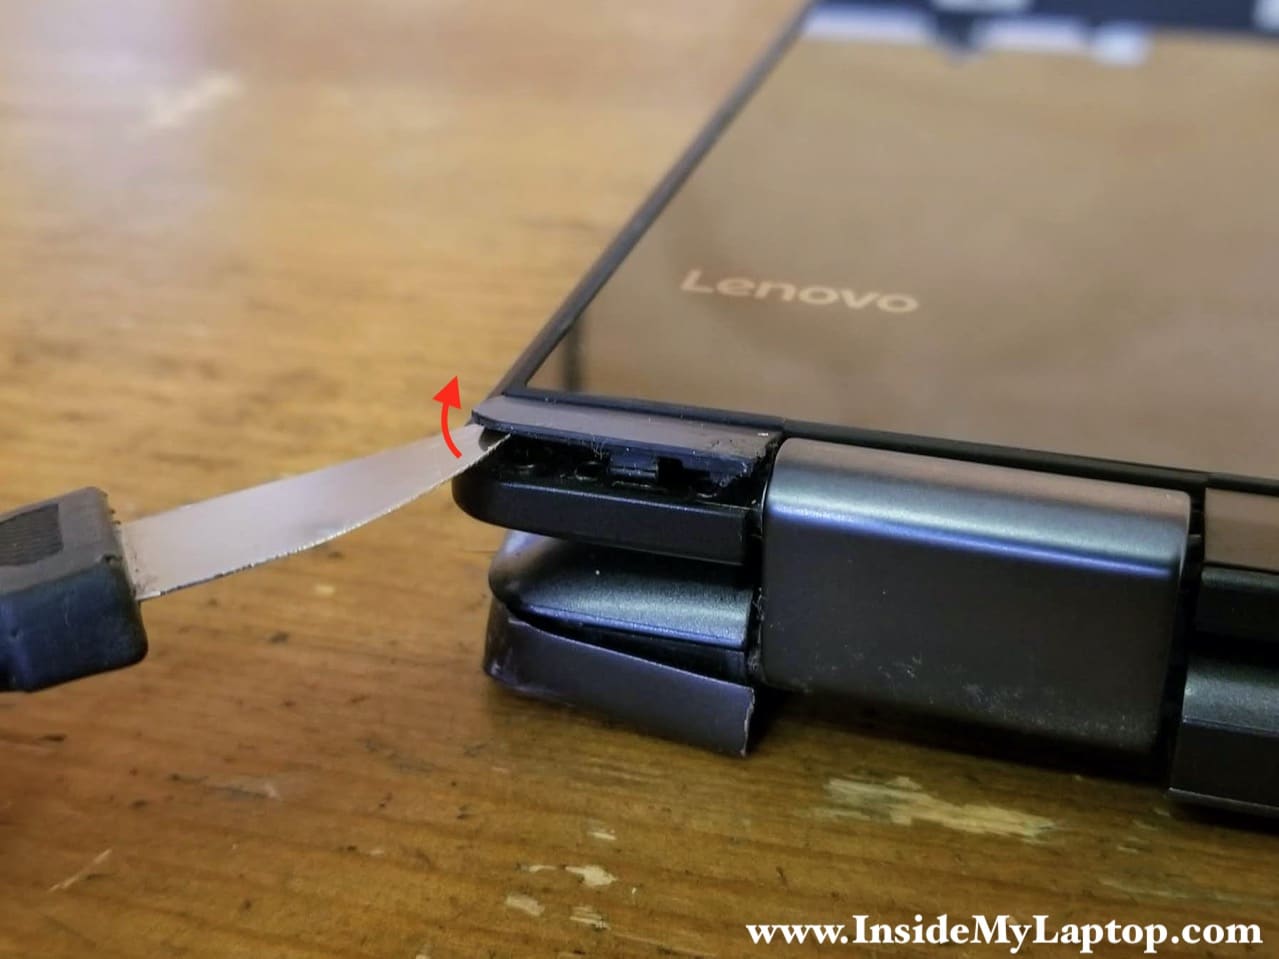
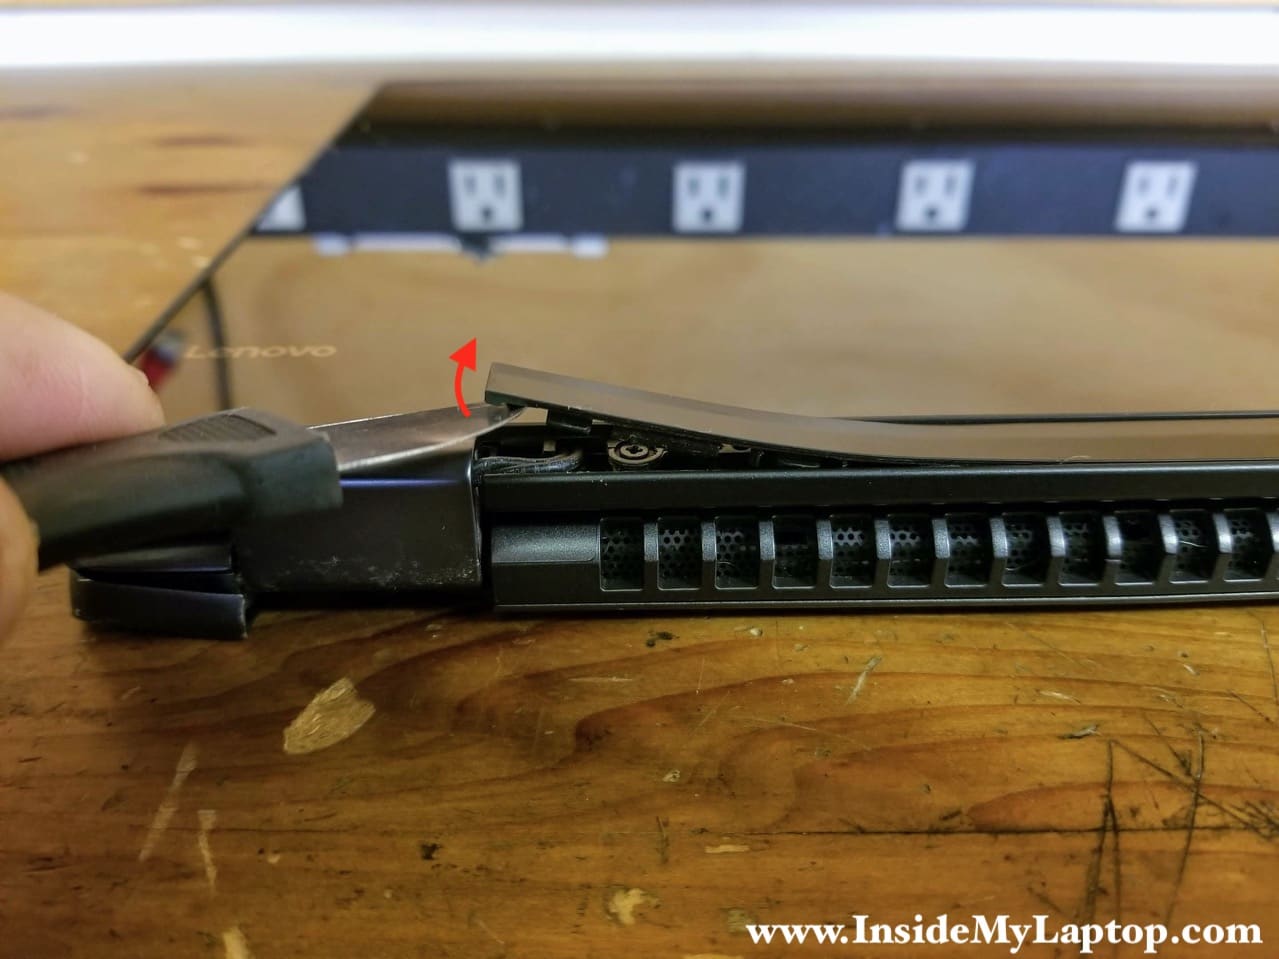
STEP 1.
Start the disassembly process with removing hinge covers on both sides of the display assembly. Using a thin case opener tool pry up the hinge cover. There are hidden latches securing the cover to the display back cover.
STEP 2.
Remove the left hinge cover.
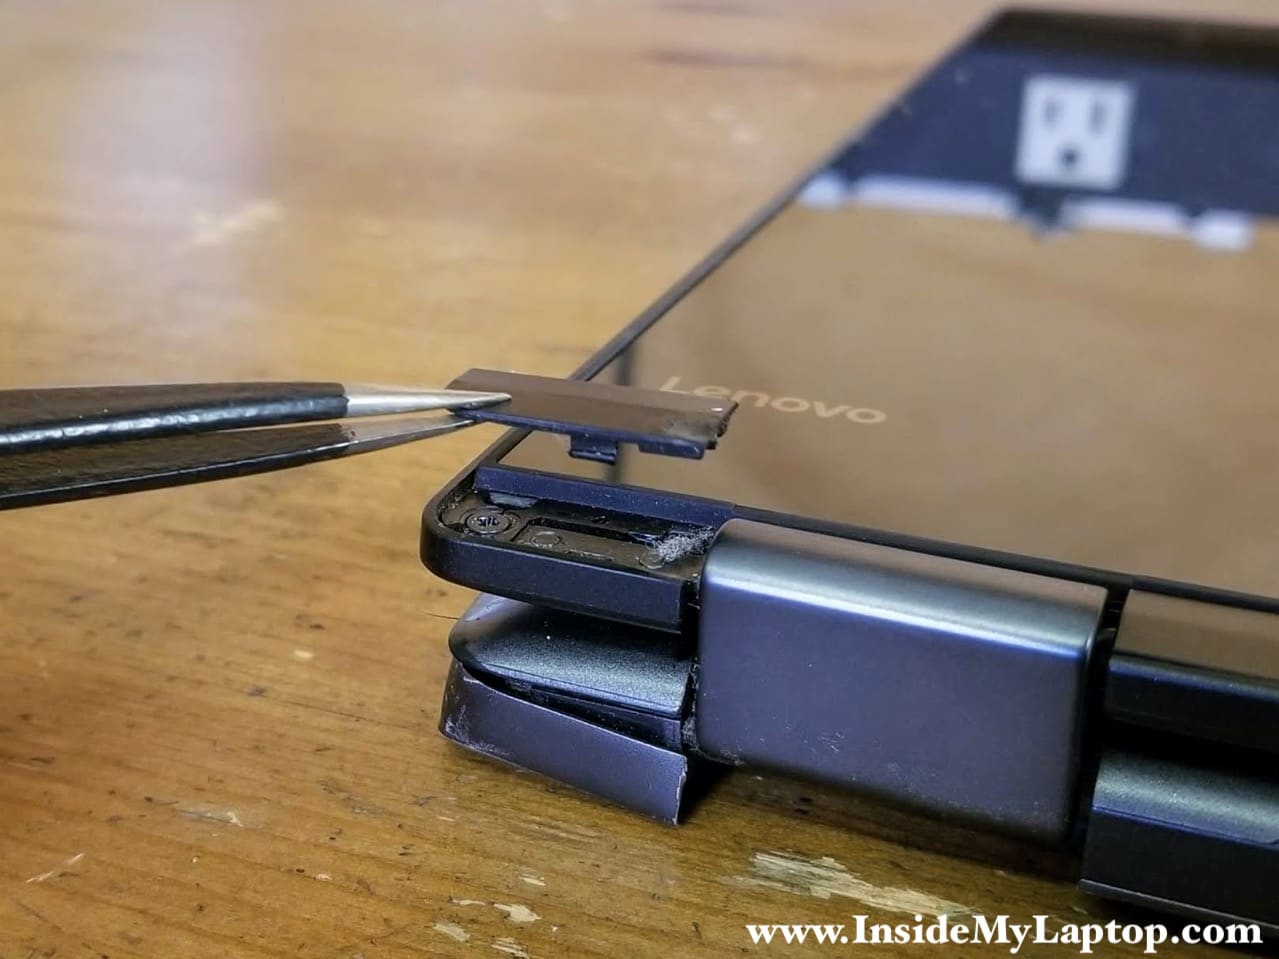
STEP 3.
Remove the right hinge cover.
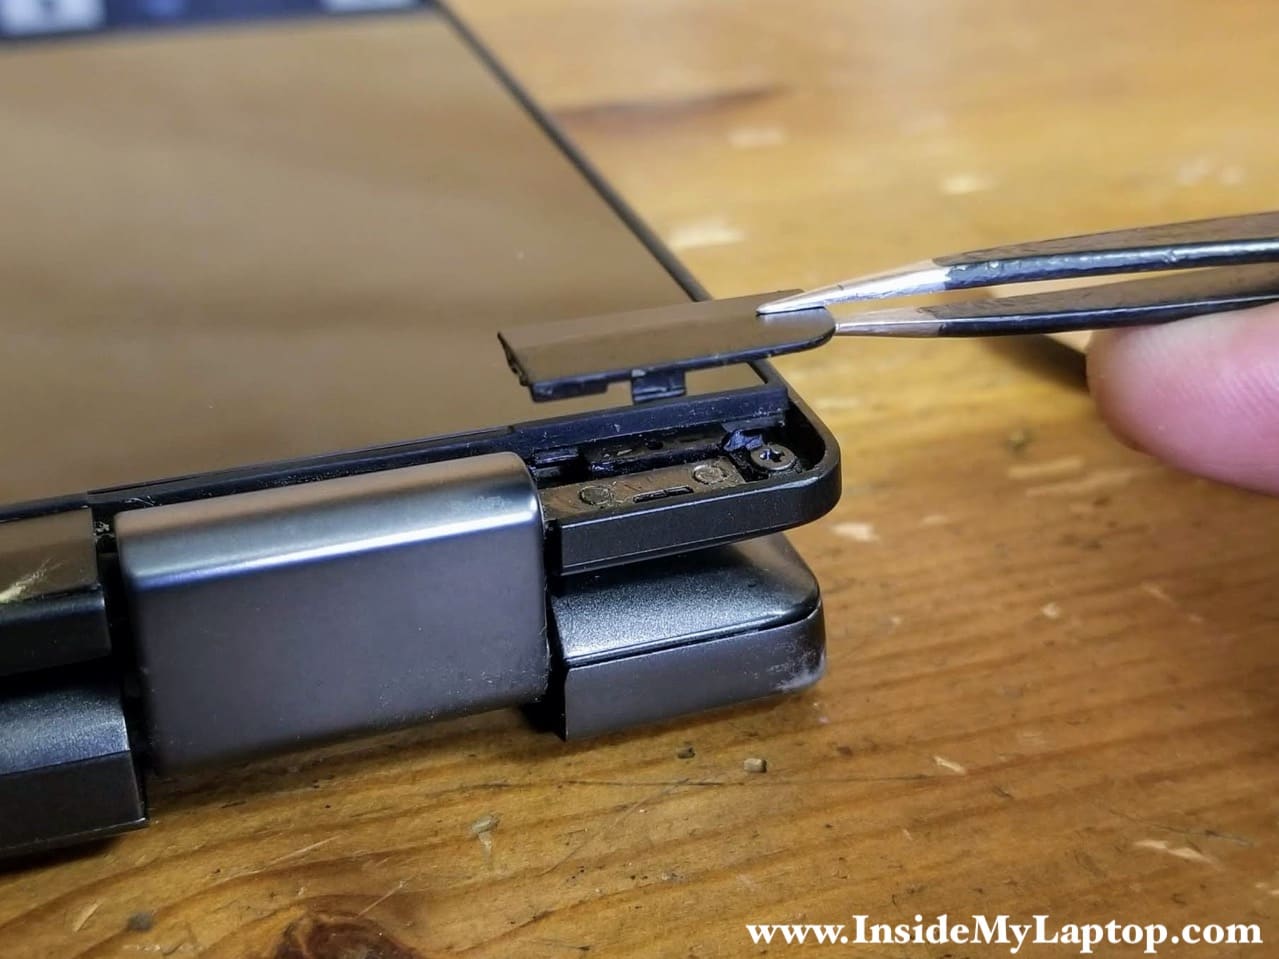
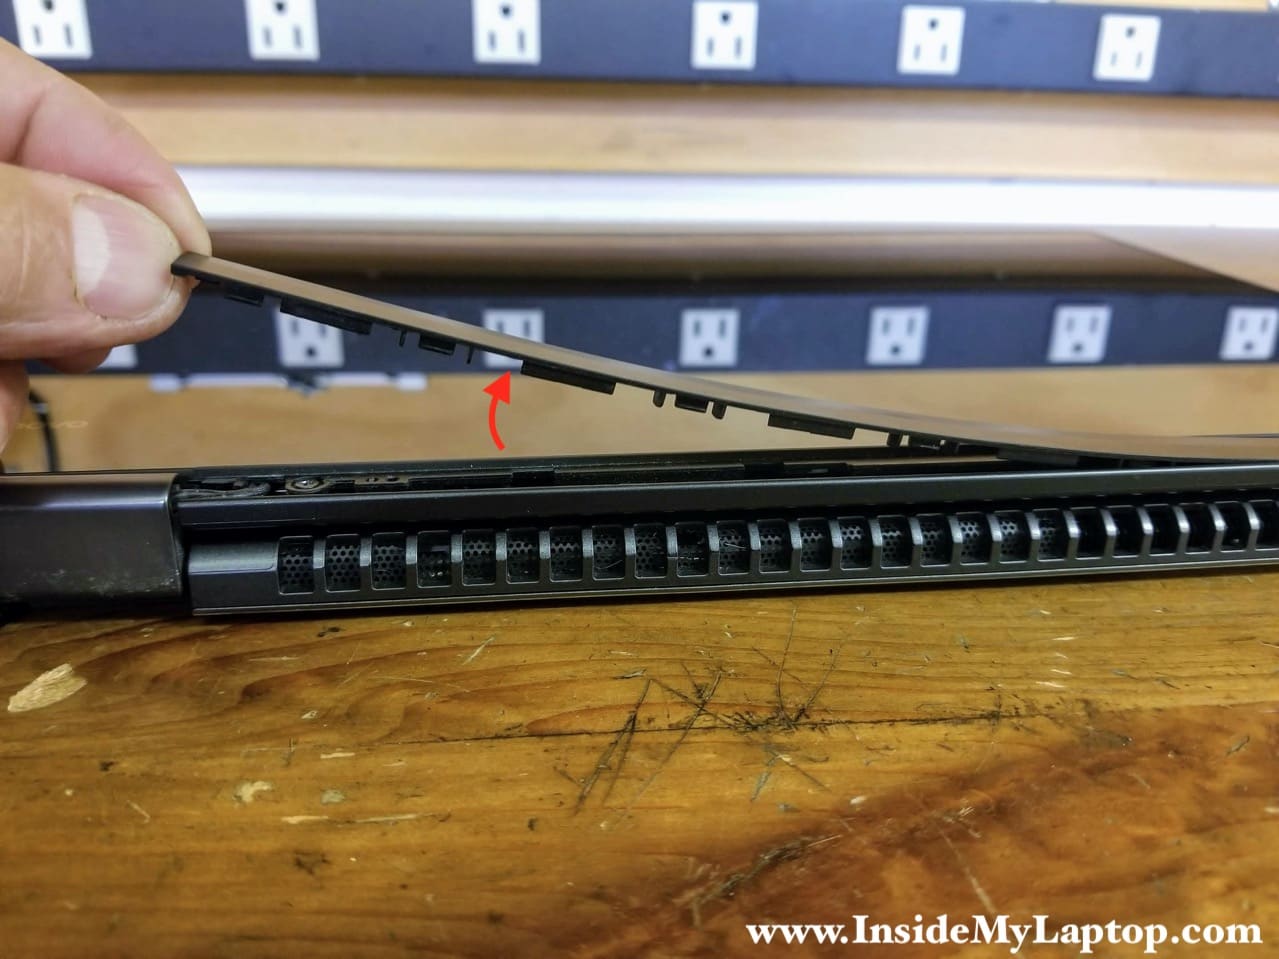
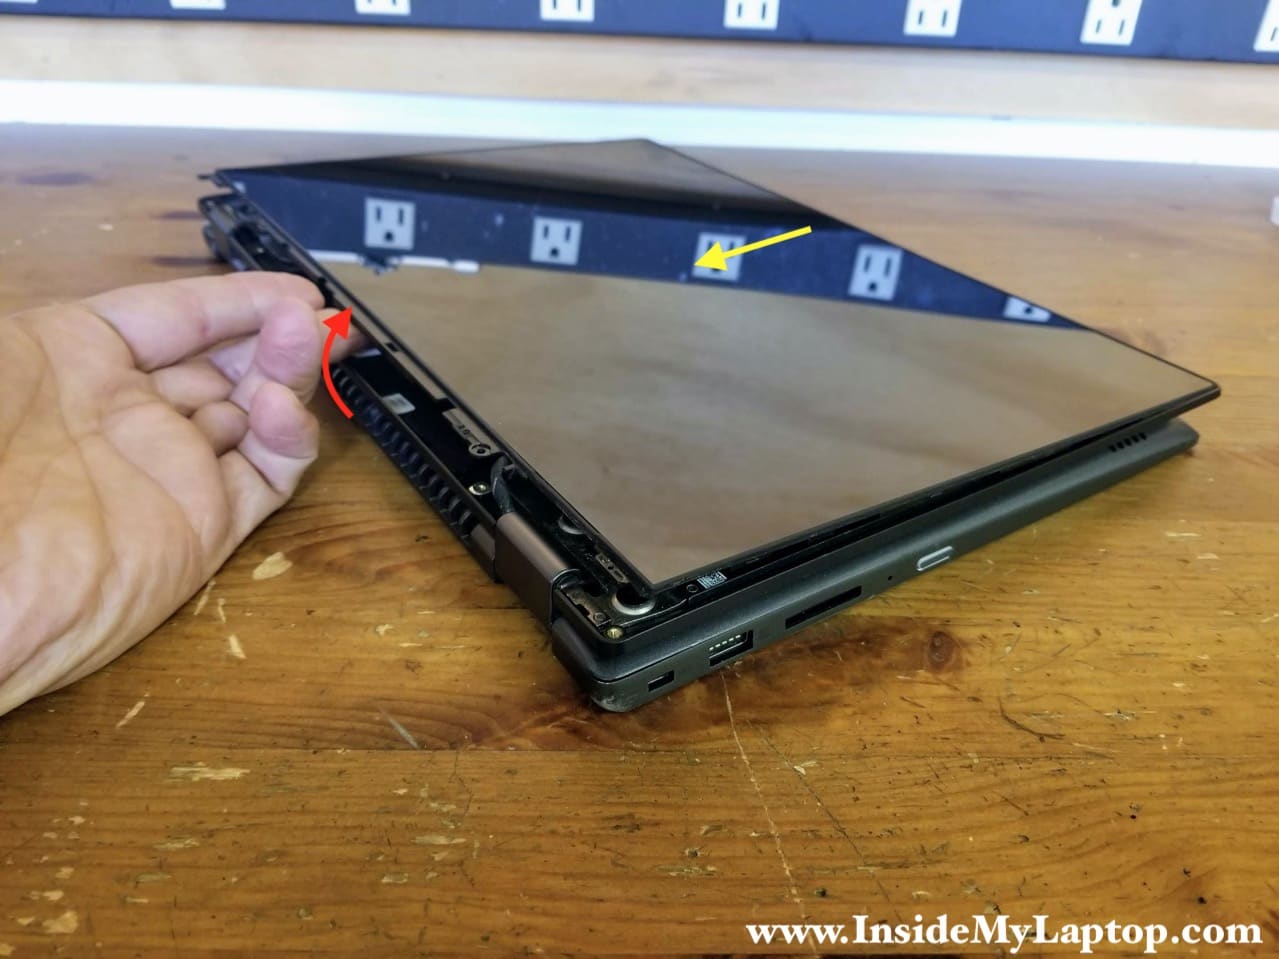
STEP 4.
Pry up the cover located between the display hinges.
STEP 5.
Continue removing the cover with your fingers. Wiggle the cover to release heading latches underneath.
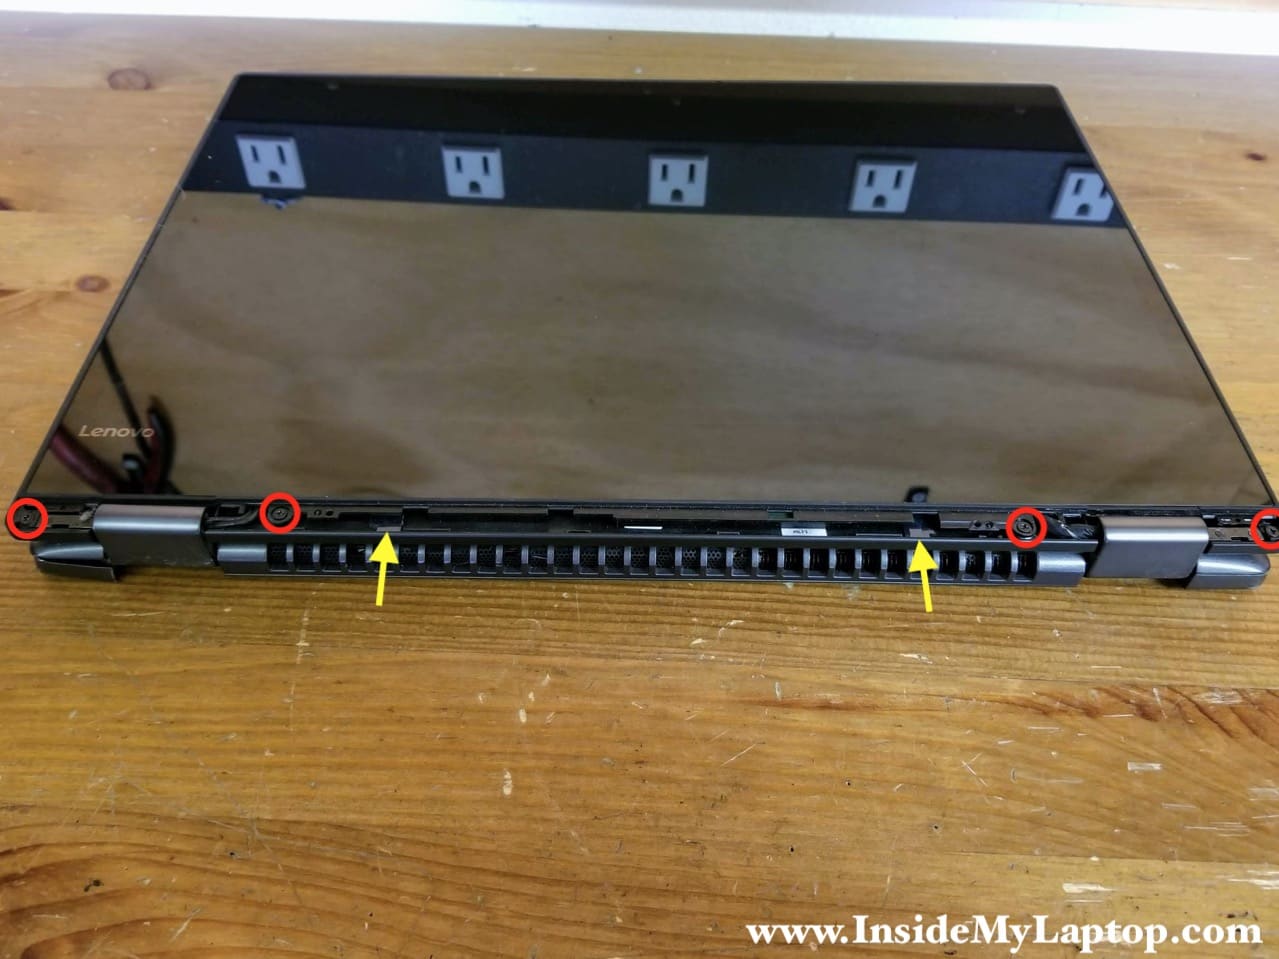
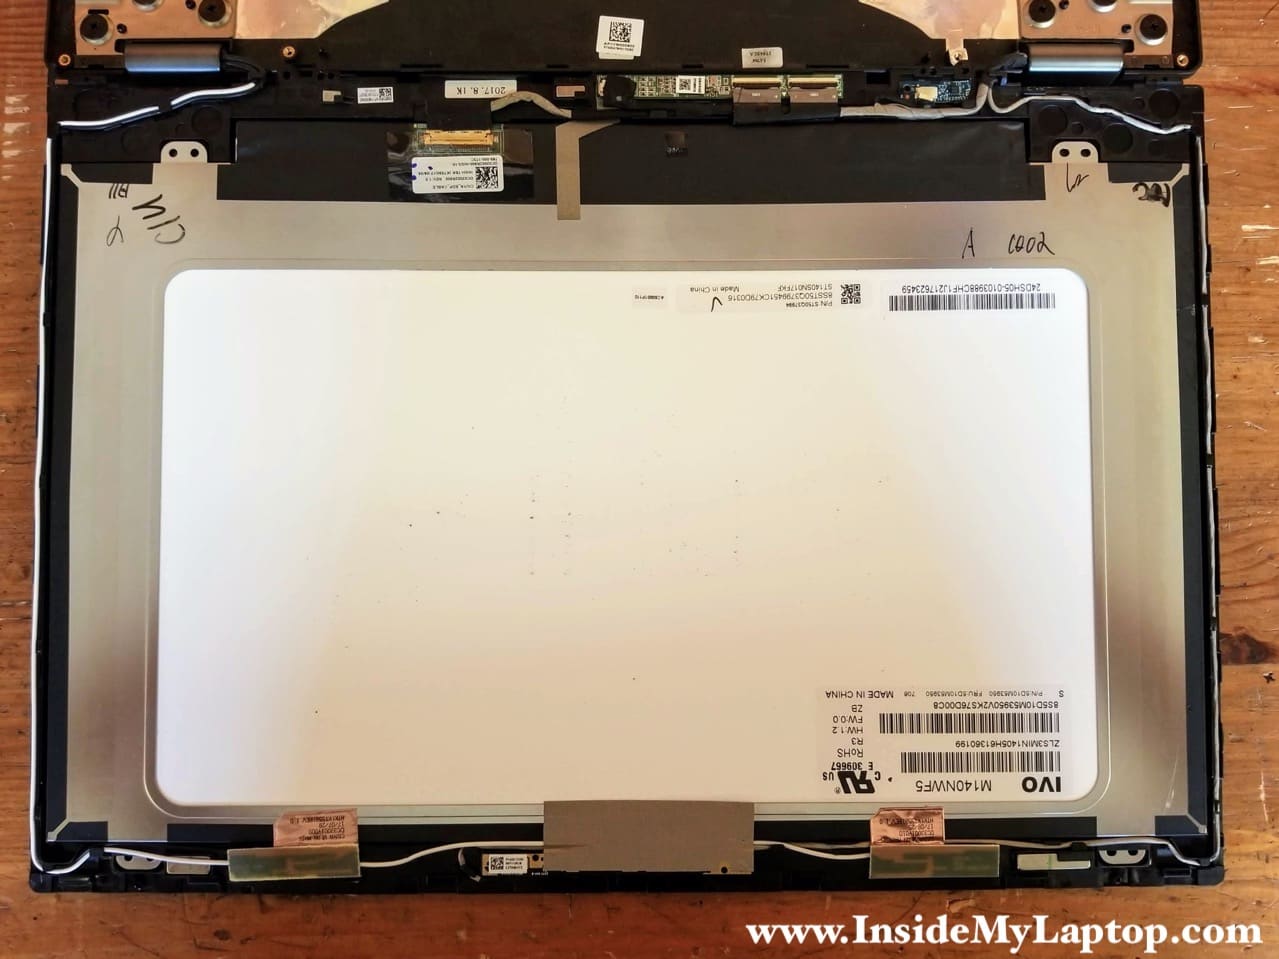
STEP 6.
Remove four screws securing the bottom side of the touchscreen assembly.
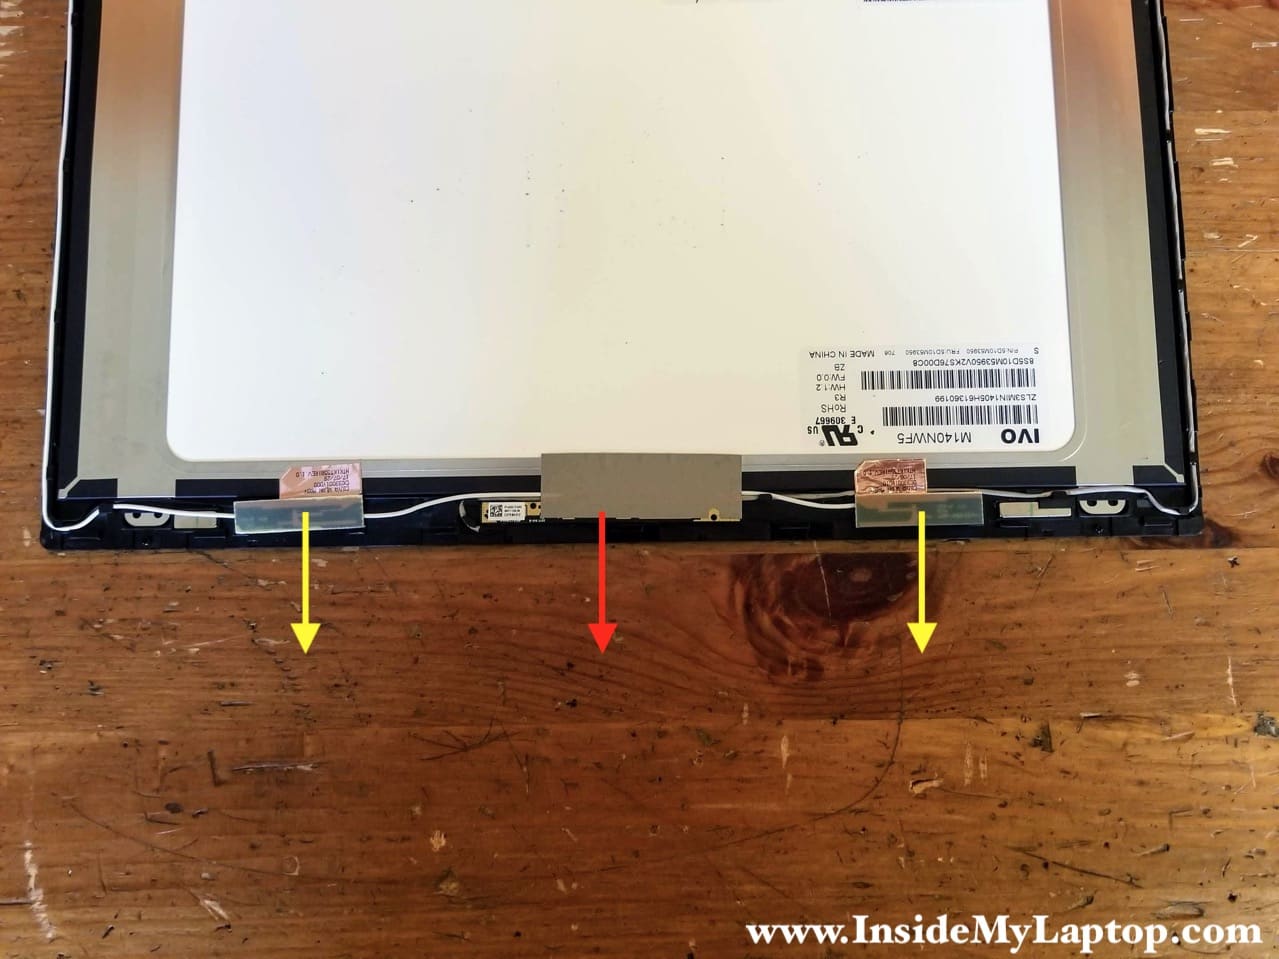
Here’s the tricky part: The touchscreen is glued to the display back cover with two adhesive strips. You will not be able to separate the touchscreen from the back cover until the adhesive is completely removed.
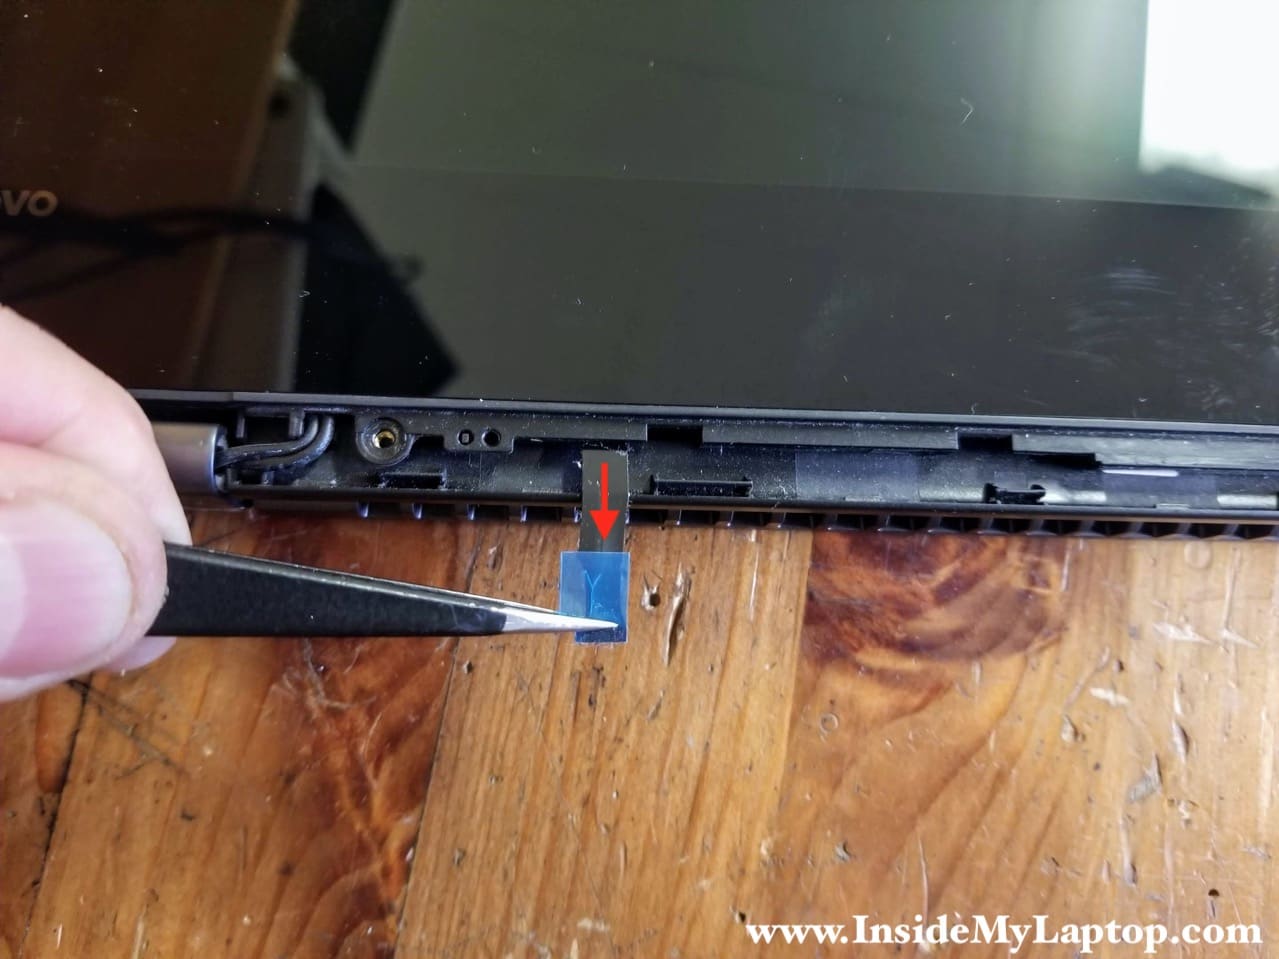
You can see two ends of the adhesive strips on the bottom of the display assembly. I pointed to them with two yellow arrows.
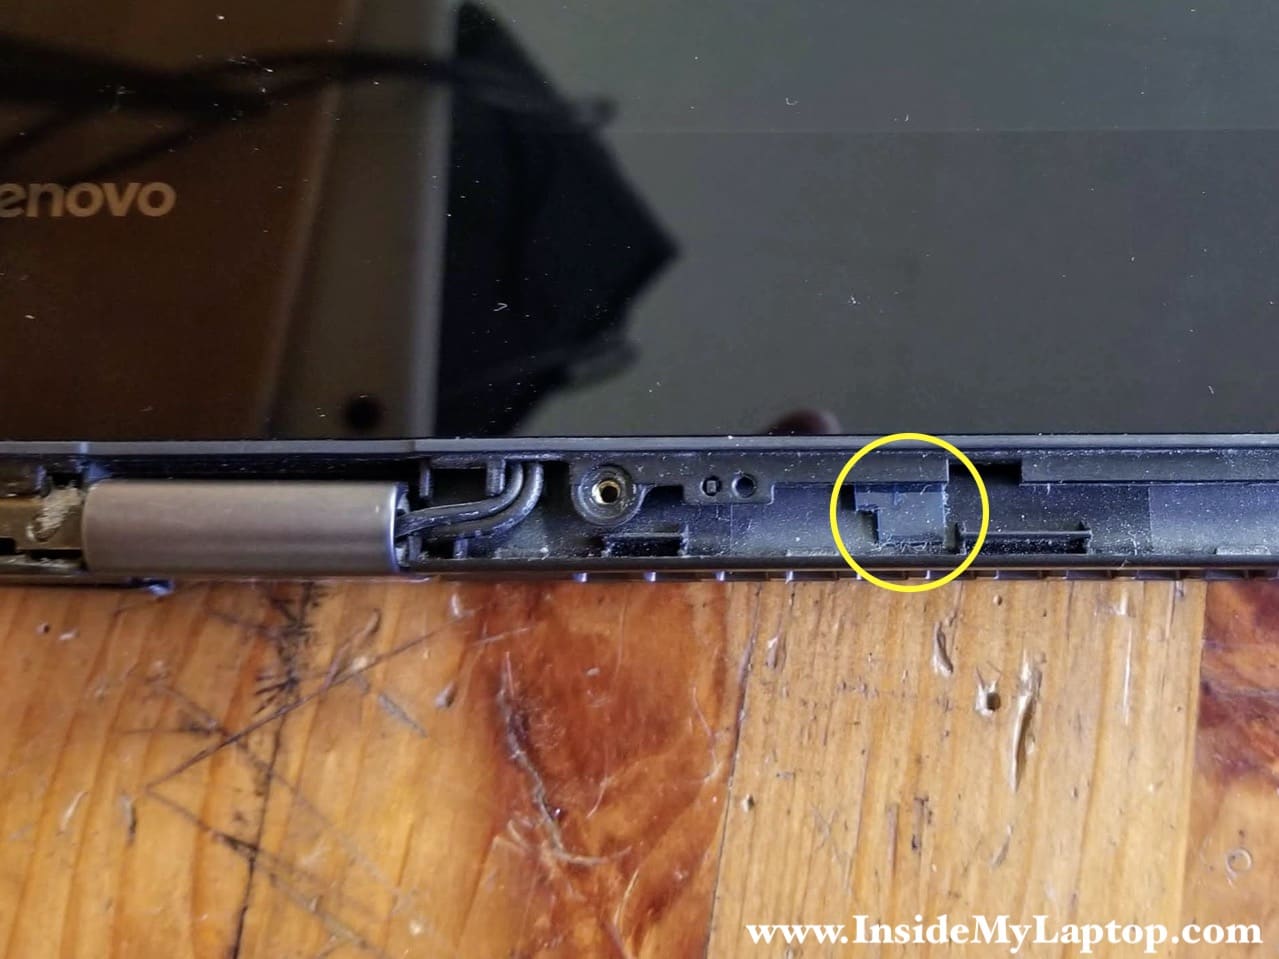
Here’s a closer look at the adhesive strip on the left side.
STEP 7.
Grab the end of the adhesive tape with tweezers and pull it out.
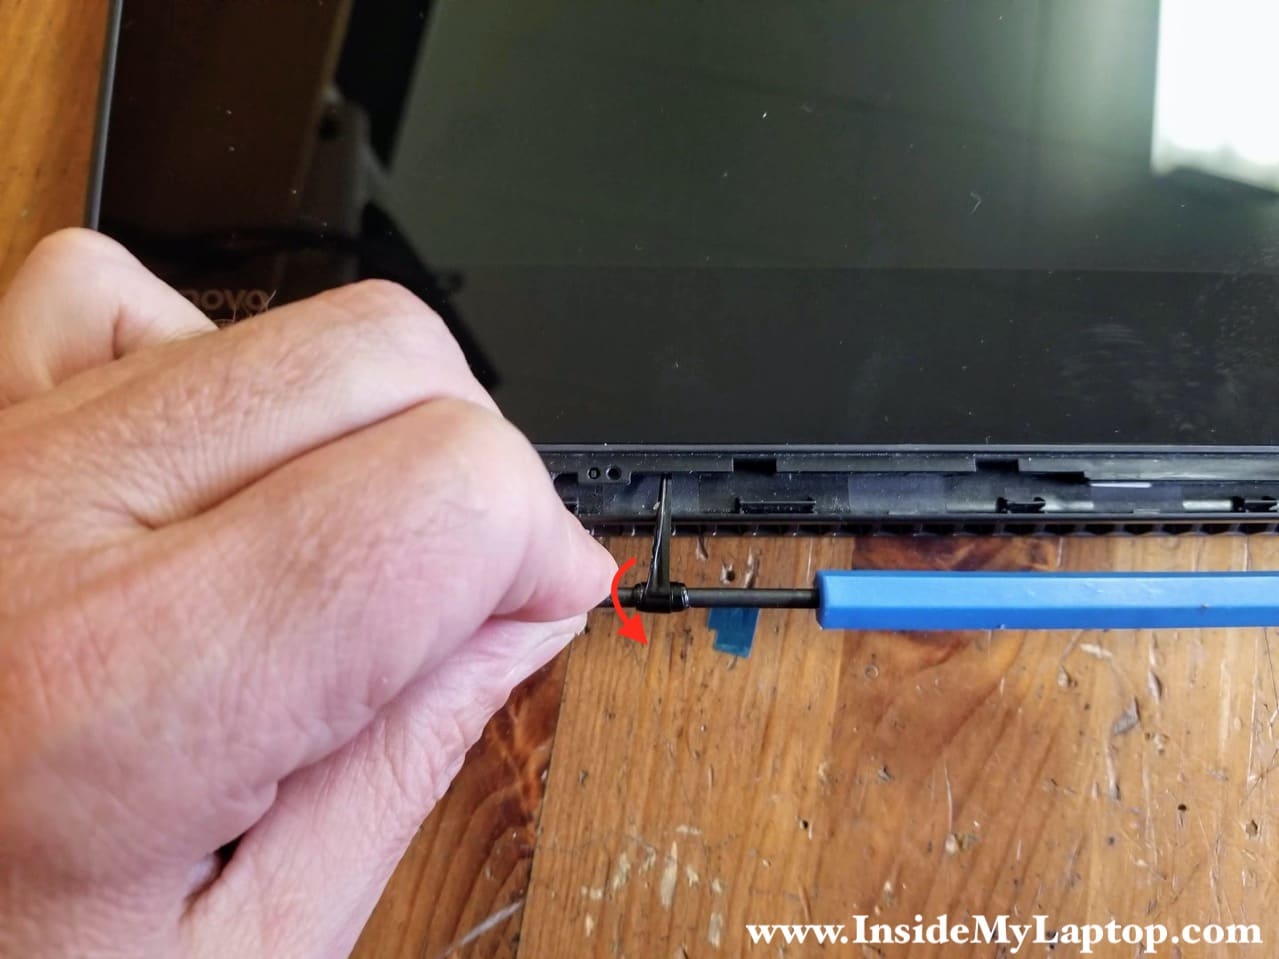
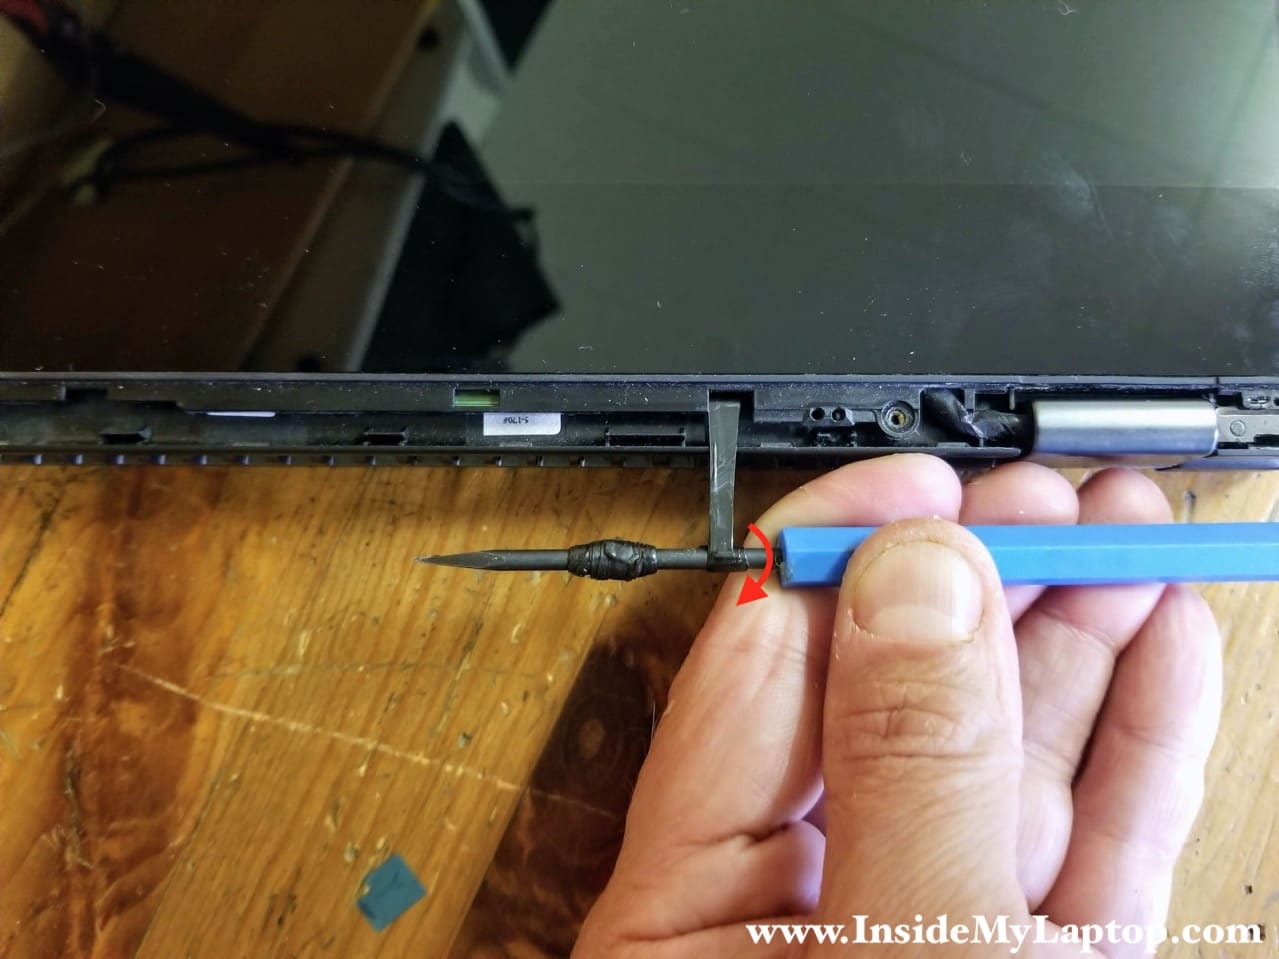
STEP 8.
Start winding the adhesive tape onto a screwdriver. Pull the tape very slowly. It’s a relatively strong adhesive tape and you can feel how it slides between the screen and back cover. You must remove all the tape from under the screen.
If the tape breaks (like it did in my case) then it will be very difficult to catch the loose end from under the screen and continue removing the tape.
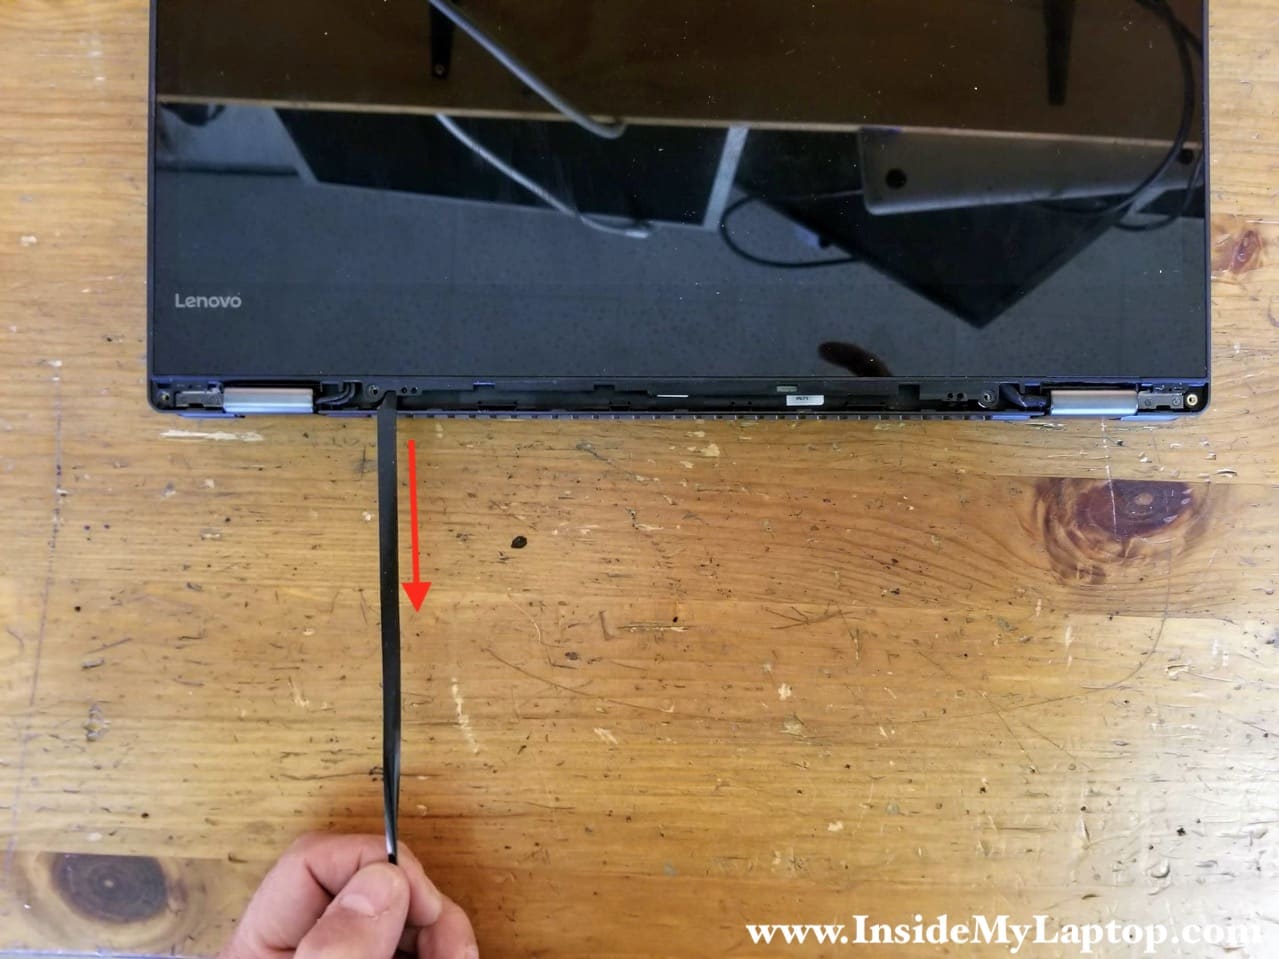
STEP 9.
Remove the tape from the other side of the display.
Alternatively, you can pull the tape out with your fingers. It’s not reusable anyway.
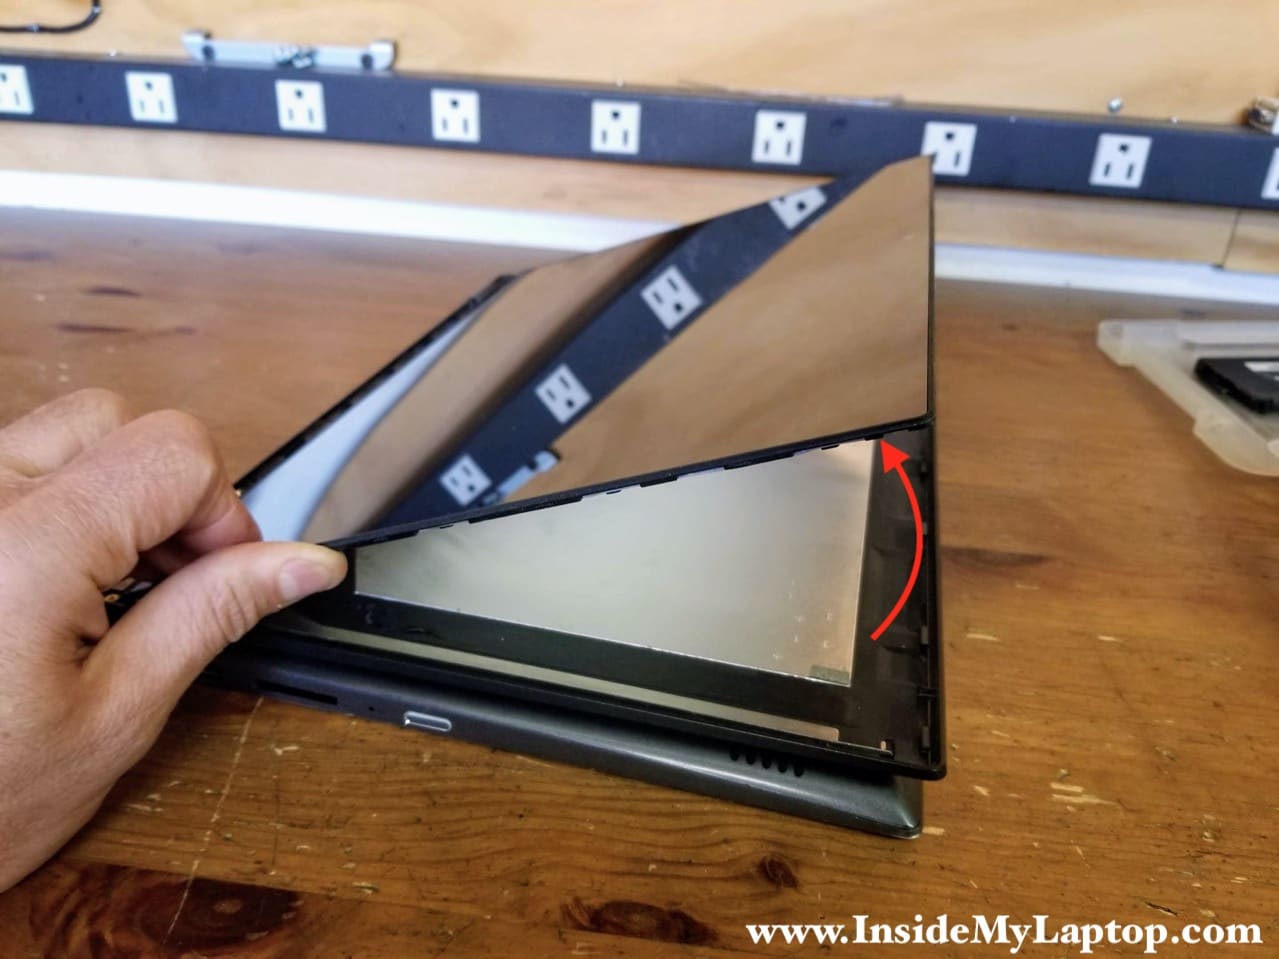
STEP 10.
After all the adhesive tape removed completely you can easily separate the touchscreen assembly from the display cover.
Lift up the lower side of the touchscreen and slide it to the shown direction about 1/4 of an inch until the top side disengages from the back cover.
If the screen doesn’t separate easily, most likely you still have some adhesive tape left underneath.
STEP 12.
Now start separating the touchscreen from the back cover on the uppers side of the display assembly.

STEP 13.
Continue separating the touchscreen.
STEP 14.
Flit the touchscreen 180 degrees.
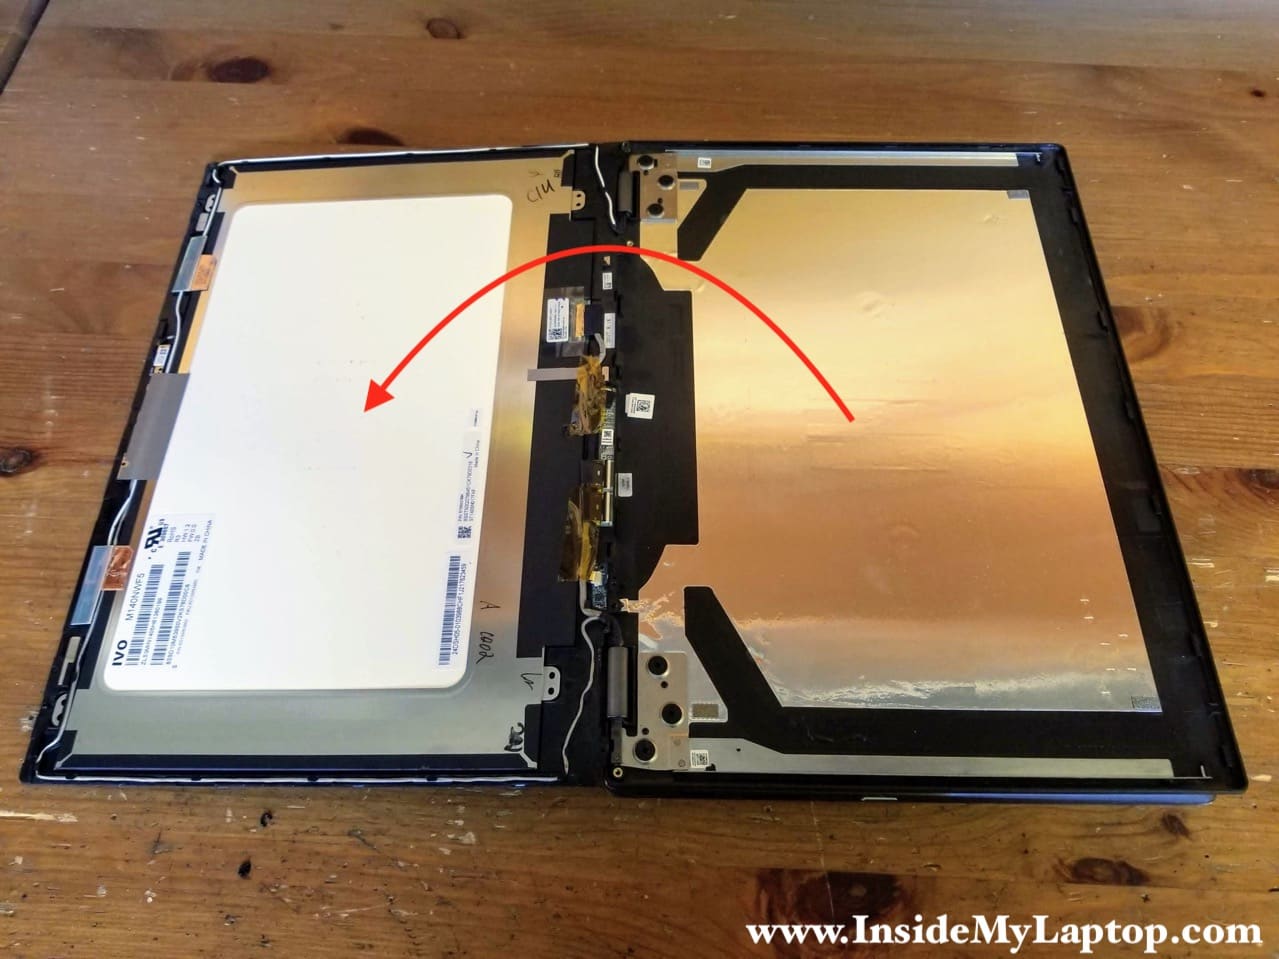
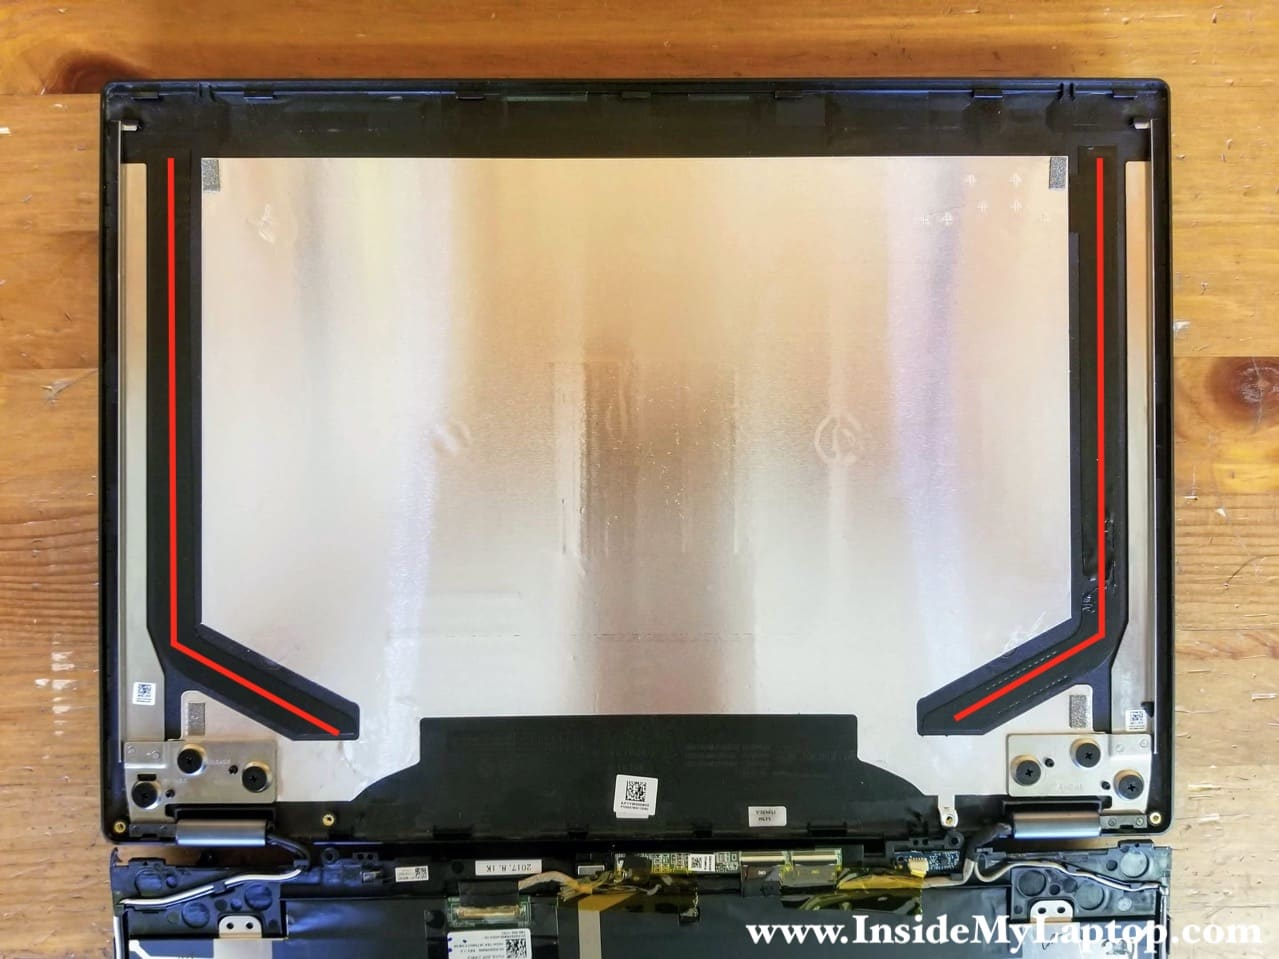
Take a look at the back cover. Two red lines show how the adhesive tape is routed under the screen.
The LCD screen is permanently attached to the front glass bezel. The entire touchscreen assembly (LCD screen and glass bezel) has to be removed and replaced as one unit. You cannot separate the LCD screen from the glass bezel.
Take a closer look how all the cables are routed. Memorize it or take detailed pictures. You will have to route all the cables exactly the same way on the new touchscreen assembly.
STEP 15.
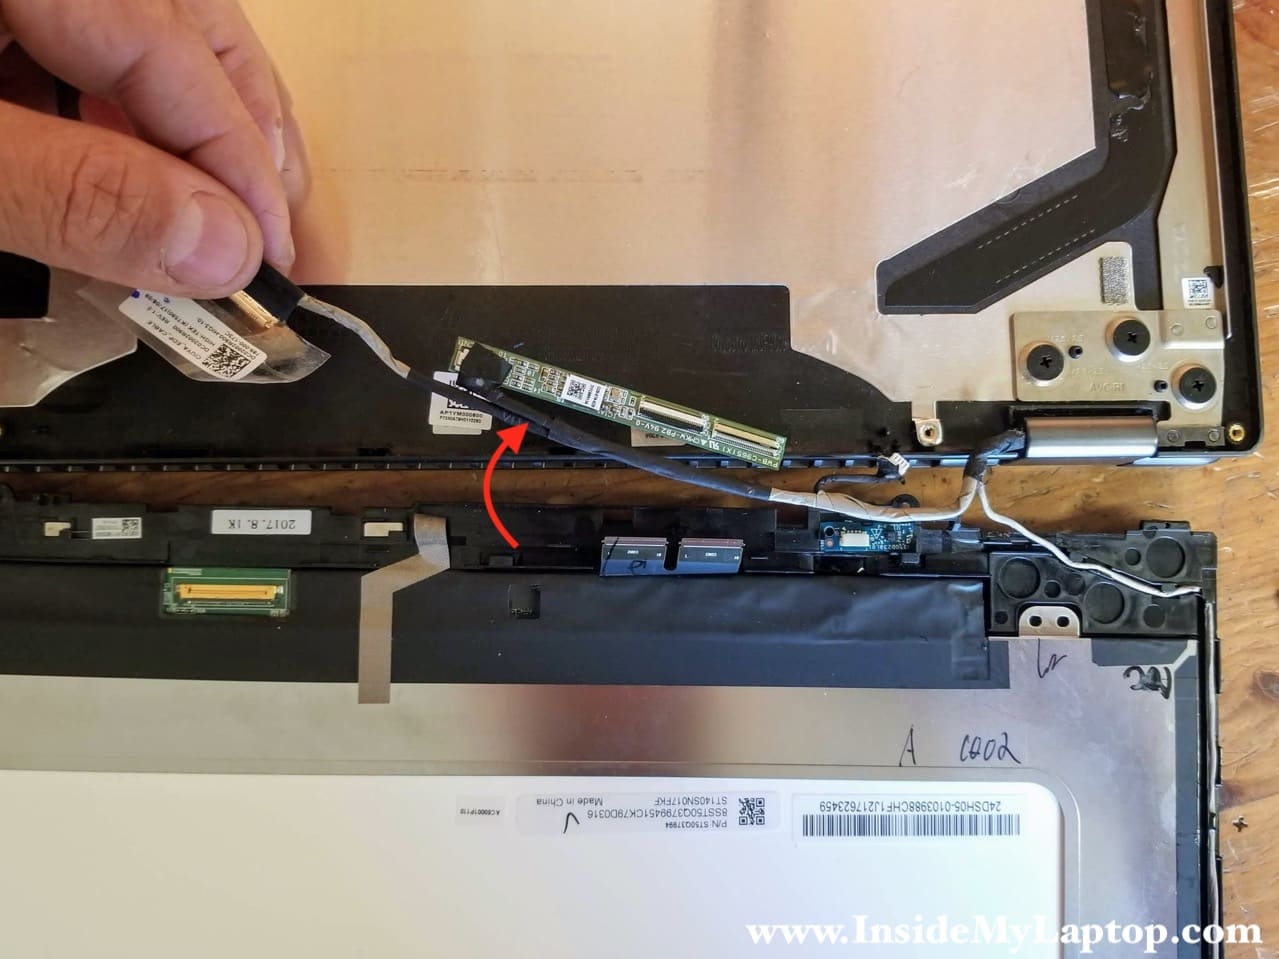
Separate two Wi-Fi antennas (two yellow arrows) and the web camera board (red arrow) from the the bezel. They are glued by adhesive tape.
Un-route all cables from the guided paths on the left and right sides of the bezel.
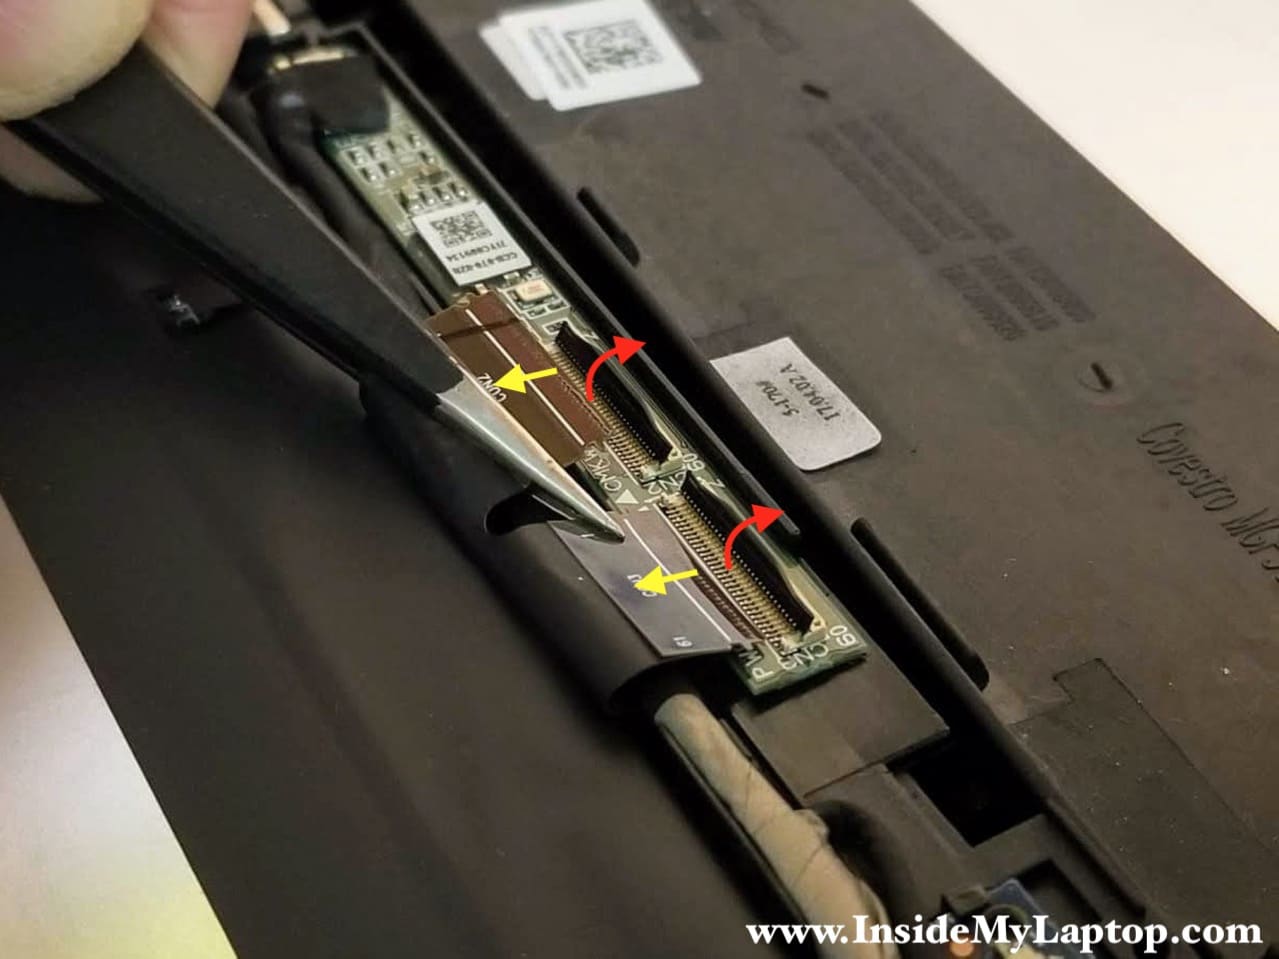
STEP 16.
Disconnect the display cable (green) from the LCD screen.
Disconnect three more cables (orange and blue) from the digitizer board.
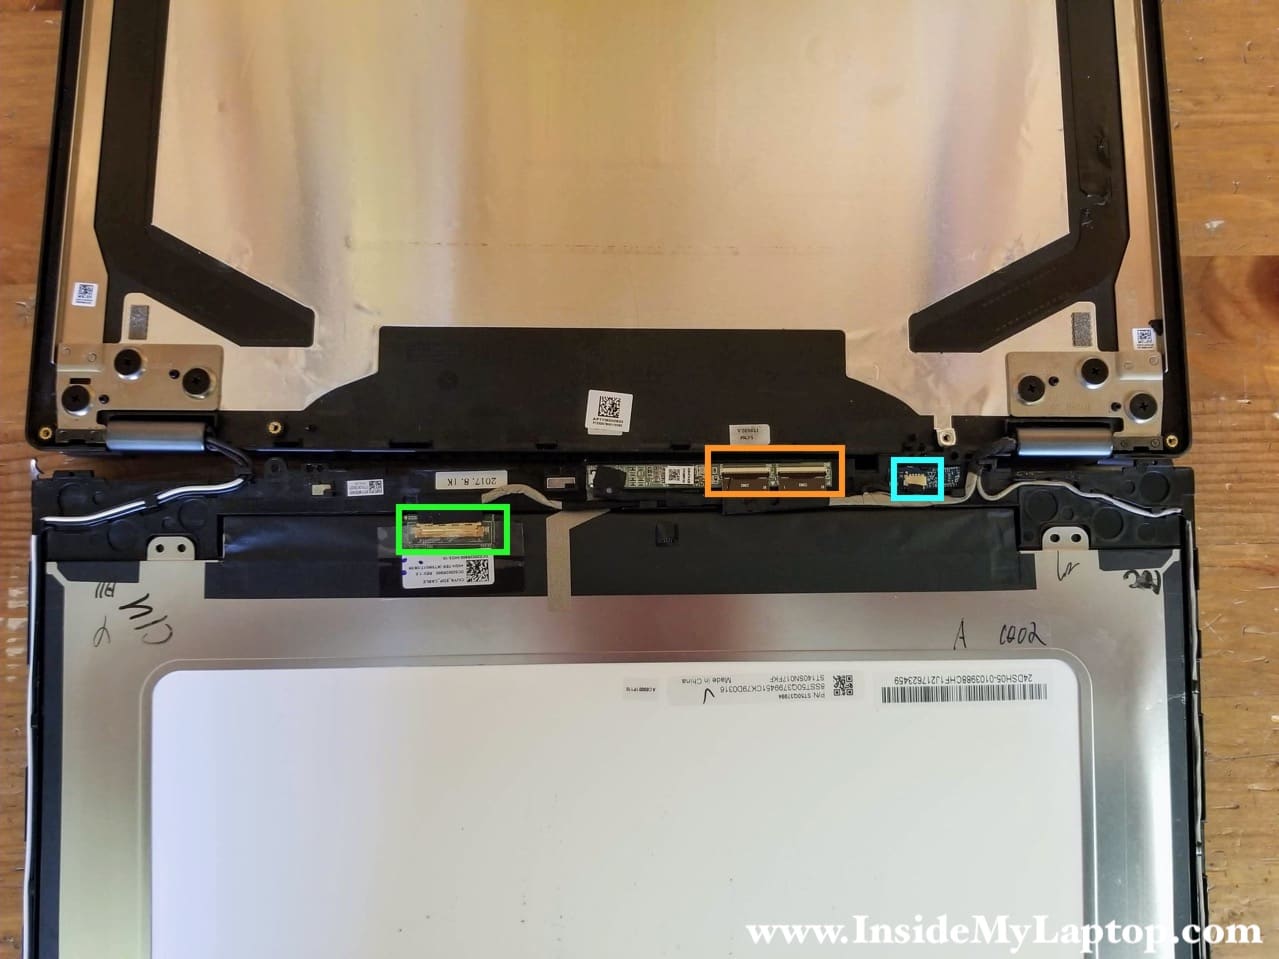
Here’s how to disconnect the display cable. Peel off clear tape securing the connection and pull the cable out.
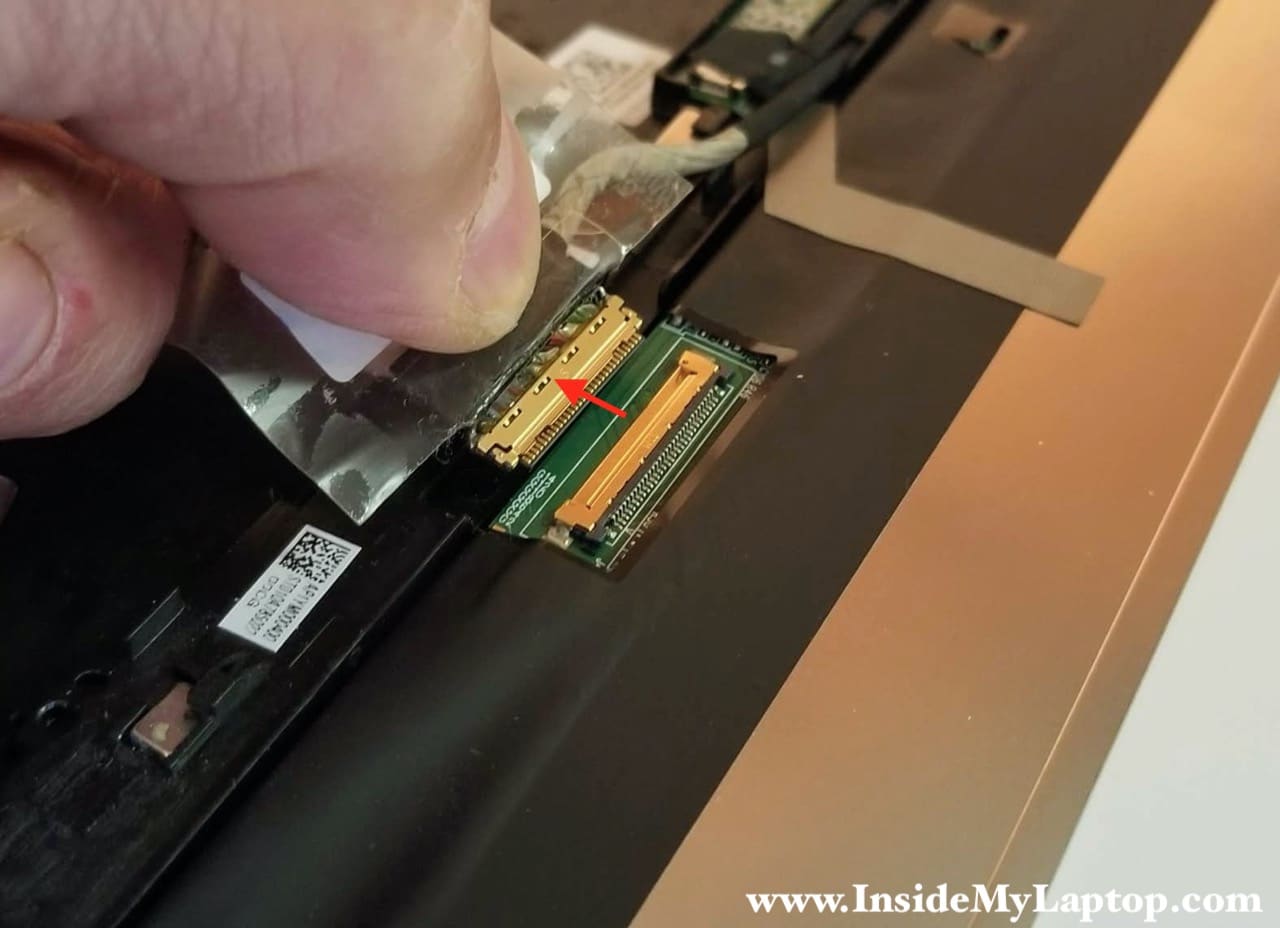
Two connectors on the digitizer board must be unlocked first (red arrows). Only after that you can pull the cables out (yellow arrows).
STEP 17.
Separate the digitizer board and all the cables from the lower side of the touchscreen assembly.
With all boards and cables removed, you can replace the touchscreen and re-assemble it back together. You’ll have to use some double sided adhesive tape to secure the new touchscreen to the back cover. I wouldn’t recommend using too much adhesive just in case if the display panel has to be disassembled again in the future.
Ganesh
Nice blog on the disassembly of the laptop. Any thoughts on replacement of the base enclosure? My hinge pulled off the housing for the screws and now I cannot close the laptop properly. Replacing the hinge is not going to solve the issue as the screws are not amenable to be fixed to the base. I need to replace the base but I have not been able to source it.
Thanks!
IML Tech
Ganesh, in my previous guide you will find instructions for the base disassembly. Here’s the link:
https://www.insidemylaptop.com/how-to-disassemble-lenovo-ideapad-flex-5-1470-model-81c9/
You need to replace the top case (keyboard) assembly. That’s where the screw anchors are located. Search on eBay or google the part number: AM1YM000200.
This is top case for a Lenovo IdeaPad 5-1470. I hope it helps.
I found new top case available here: https://amzn.to/2stqgLE
Jim
Very nice guide – thanks!!
From your photos I am guessing it is not possible to replace the display cable without separating the touchscreen assembly from the display cover?
IML Tech
Yeah, it’s necessary to separate the display panel from the top case first. Otherwise you will not be able to remove the video cable.
The display removal instructions are published in another guide. I linked to it at the beginning.