
This guide will help you to replace the touch screen assembly on a Lenovo ThinkPad Yoga 14 laptop. It’s not necessary separate the display assembly from the base in order to replace the screen.
This is my second disassembly guide for this model. In the first guide I explained how to take apart the base assembly. Before taking apart the display panel I recommend disconnecting the battery.
This guide will work for the following models:
– Lenovo ThinkPad Yoga 14.
– Lenovo ThinkPad P40 Yoga.
– Lenovo ThinkPad S3.
– Lenovo ThinkPad Yoga 460.
Removing ThinkPad Yoga 14 touch screen
STEP 1.
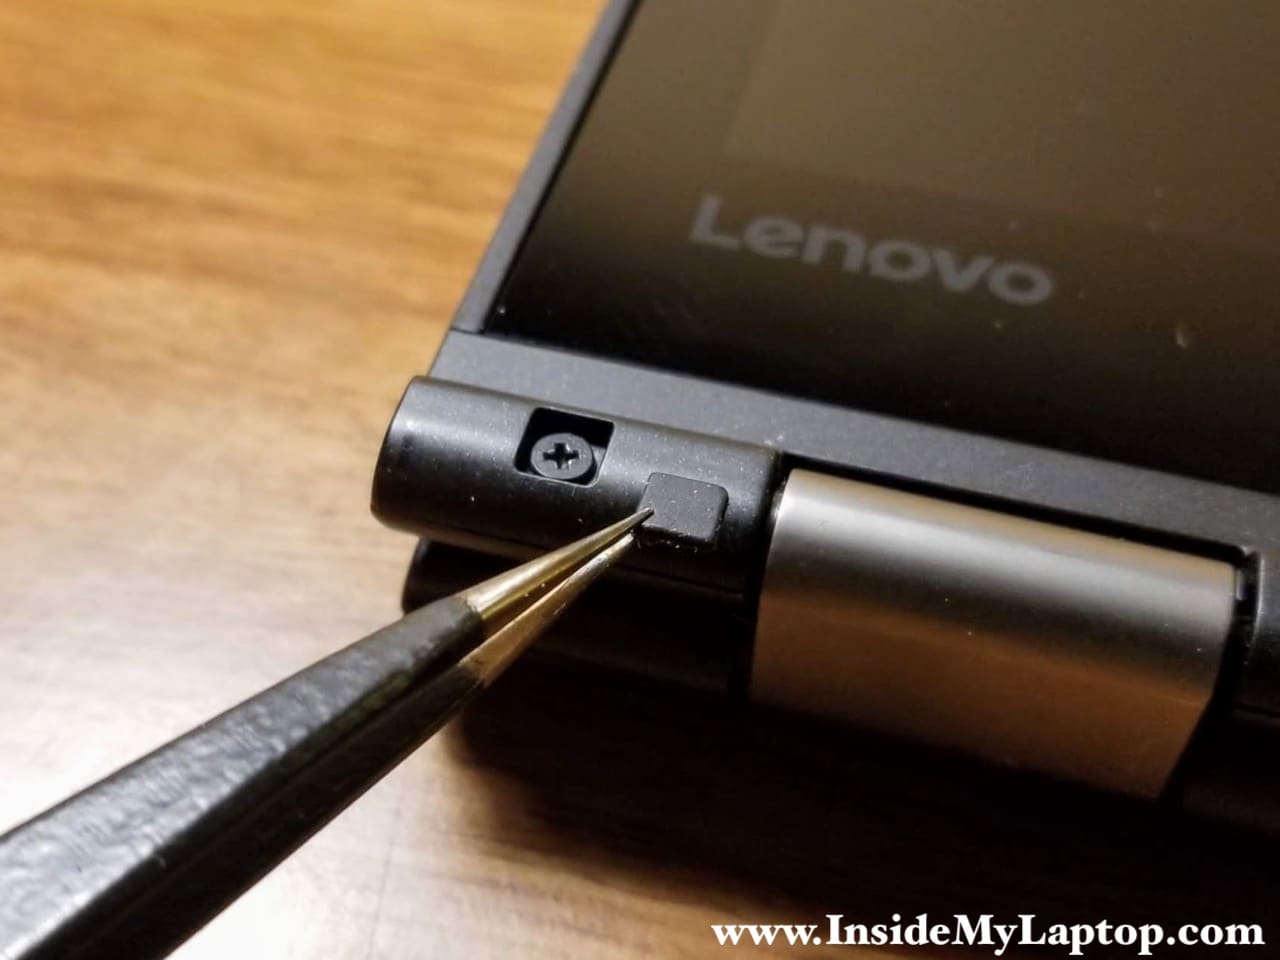
I found it’s easier to work when the laptop is in tablet mode. In the lower left and right corners of the display you will find two square screw covers.
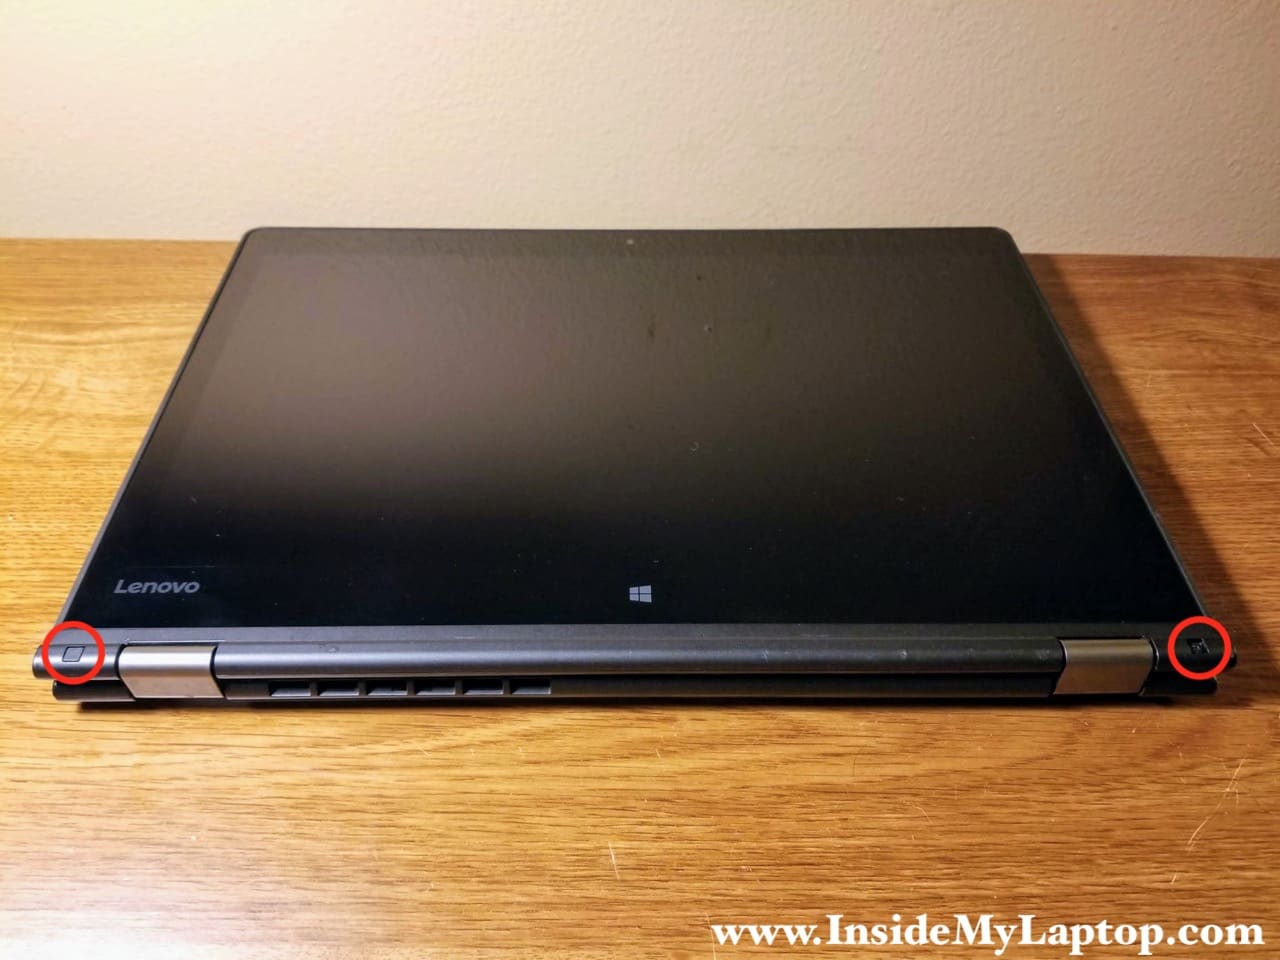
Remove both screw covers. After that remove both screws found under the covers.
STEP 2.
Start separating the hinge cover from the display.
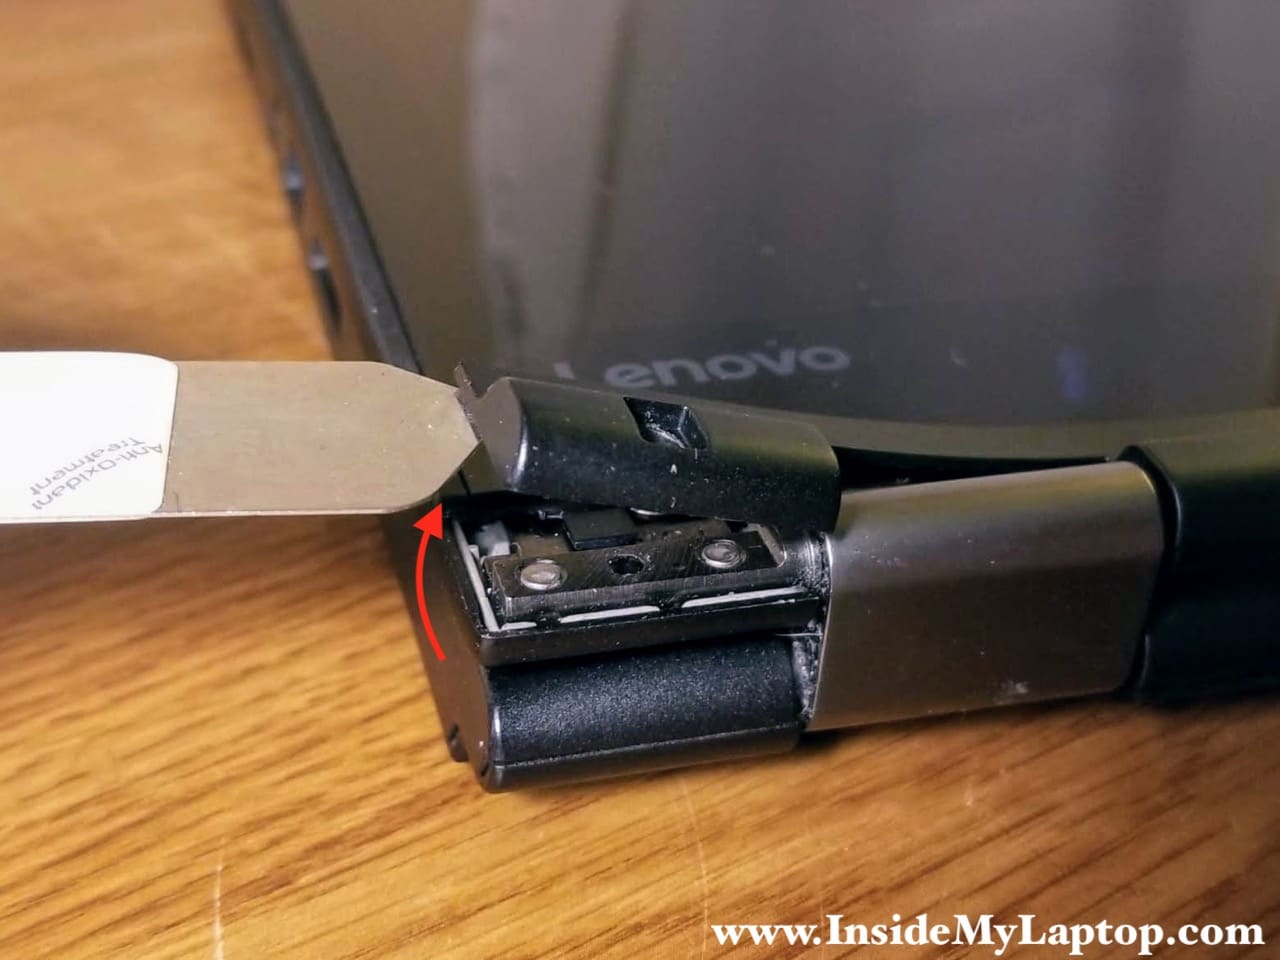
STEP 3.
Continue removing the hinge cover. There are many hidden latches securing the cover to the display. Wiggle the cover to disengage the latches.

STEP 4.
Remove two screws securing the lower side of the touch screen assembly. Disconnect two cables from the touch screen control board.
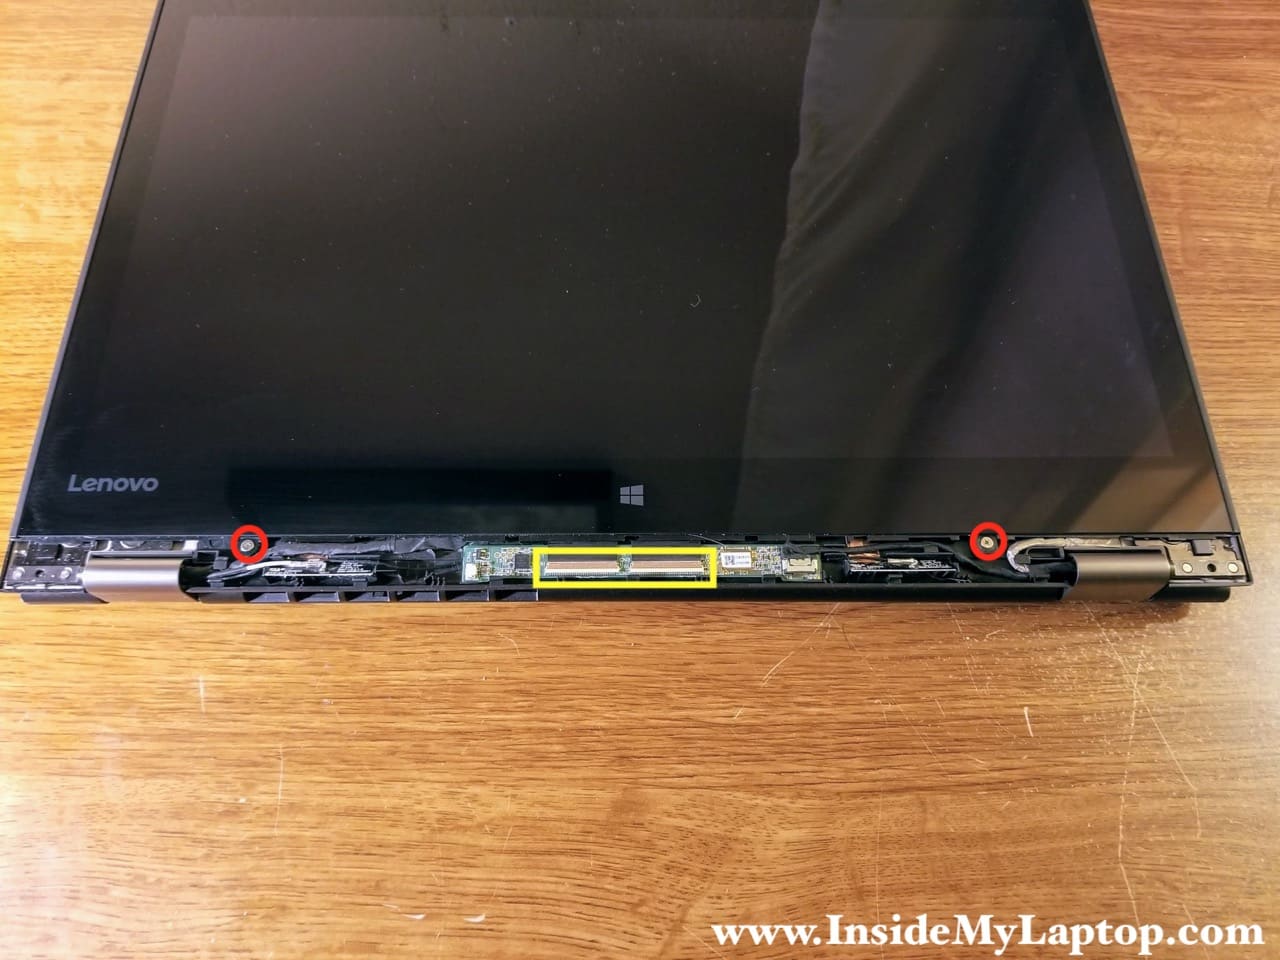
Both connectors on the touch screen control board must be unlocked first. Lift up the brown locking tab to unlock the connector (red arrow).
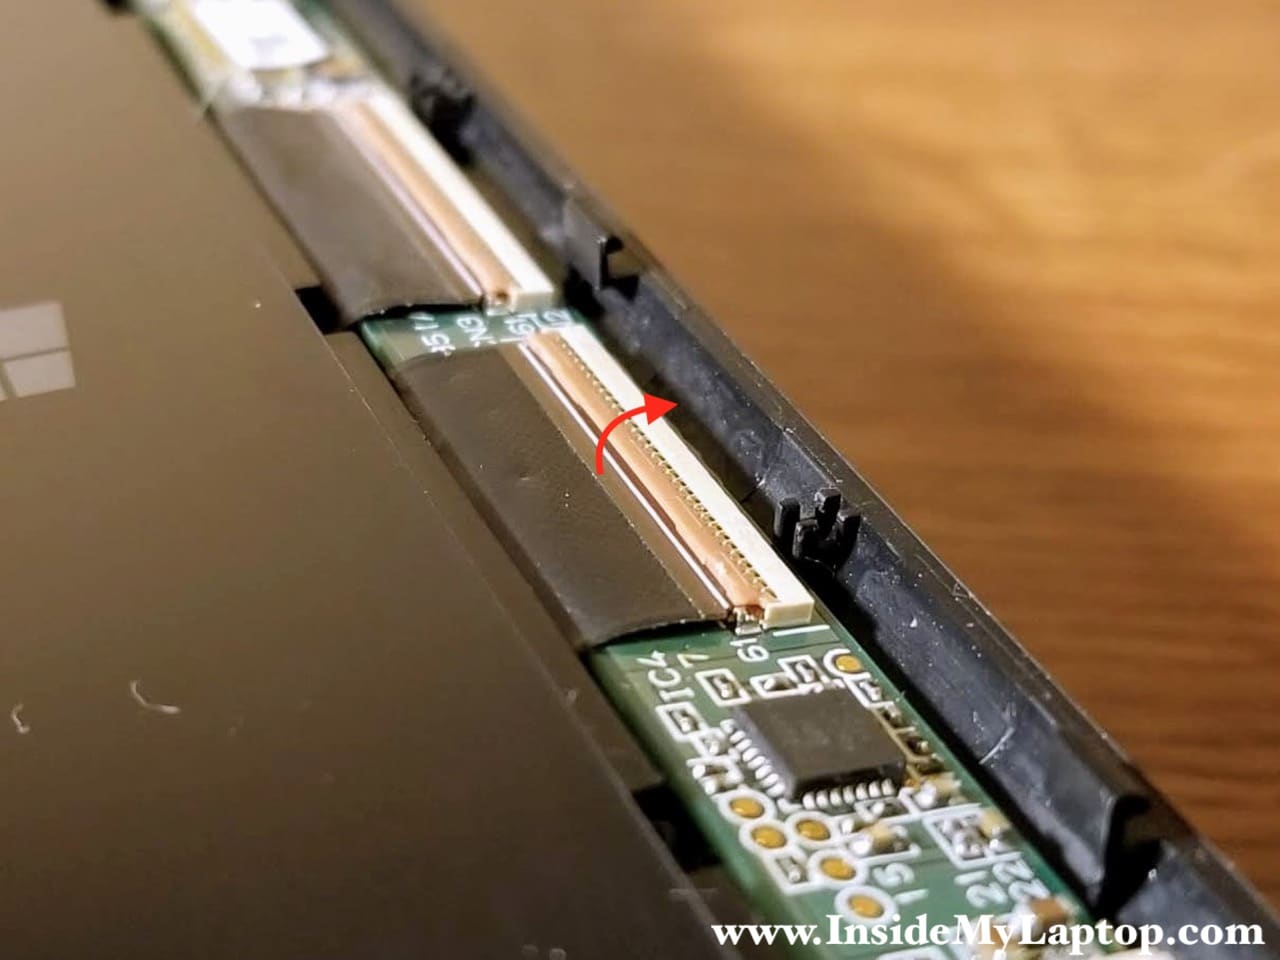
After the connector is unlocked, you can lift up the cable and remove it from the connector.

After disconnecting the first cable, move to the second one.

STEP 5.
Lift up the display cable from the guided path. In the following step we will be moving the touch screen assembly and this cable stays on the way.
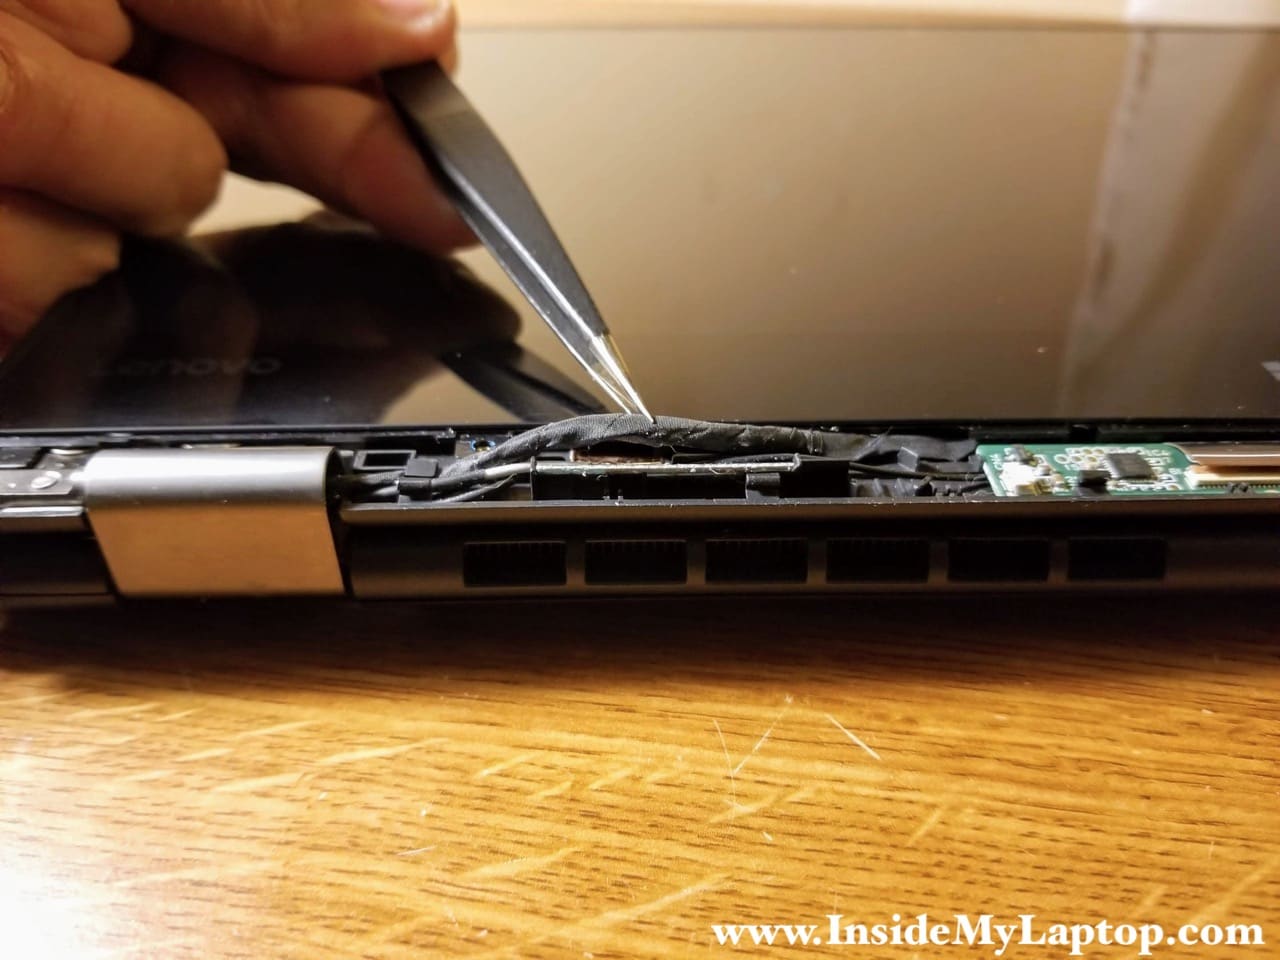
STEP 6.
With all screws removed and cables disconnected, shift the touch screen assembly down about 1/8 of an inch. By doing that you will disengage hidden latches securing the screen to the display cover.

When the touch screen is seated in place (before shifting it down), there is no gap on the top of the display.

After shifting it down, a gap will appear.

STEP 7.
Separate the touch screen from the back cover.

STEP 8.
Continue removing the screen and placed it the front side down on the desk.
STEP 9.
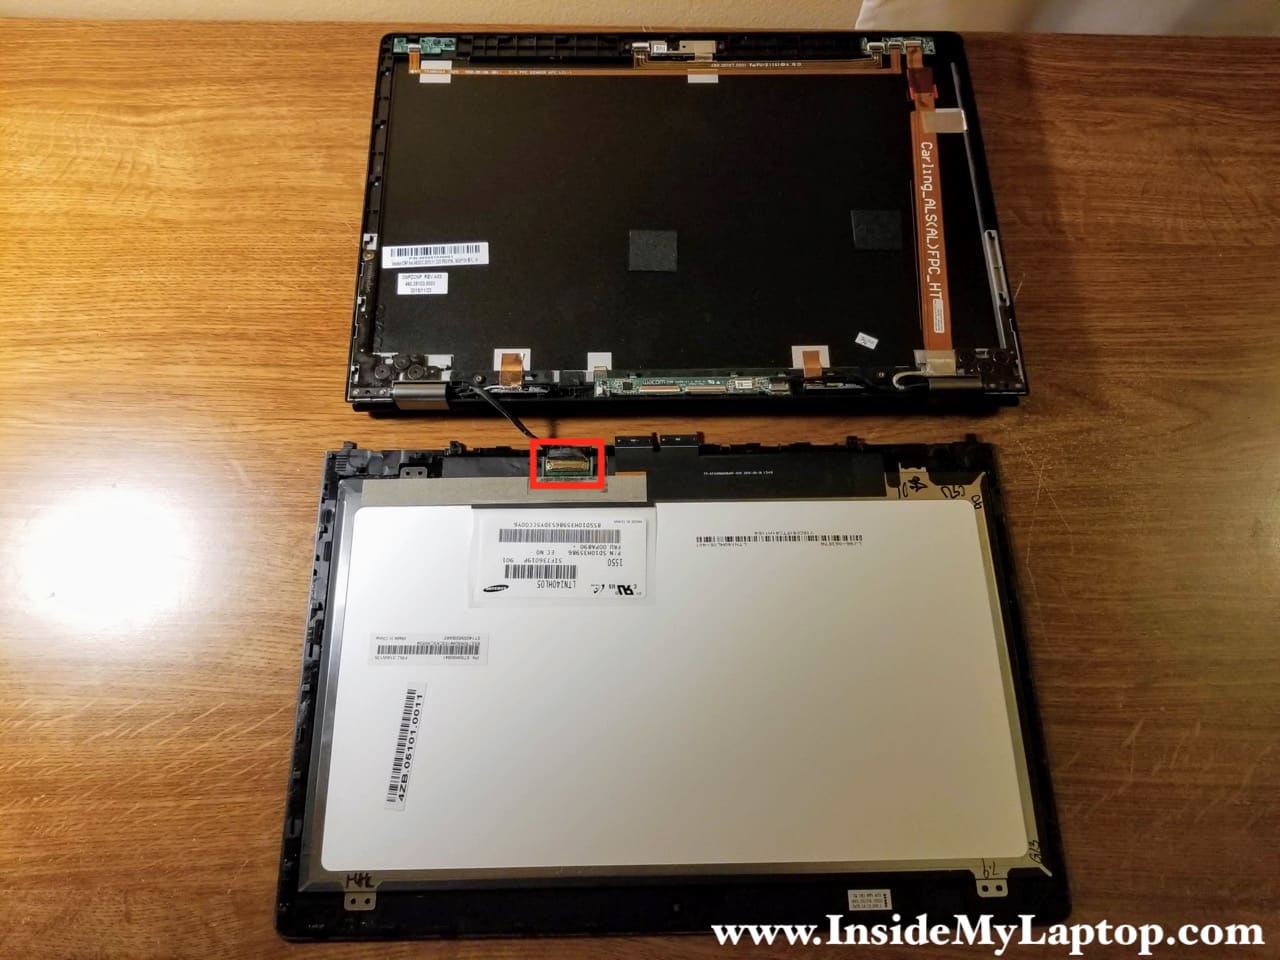
Now you can access and disconnect the display cable from the back of the LCD screen.
The display cable is secured by sticky tape and locked. Peel off sticky tape and lift up the metal bracket to unlock the connector.
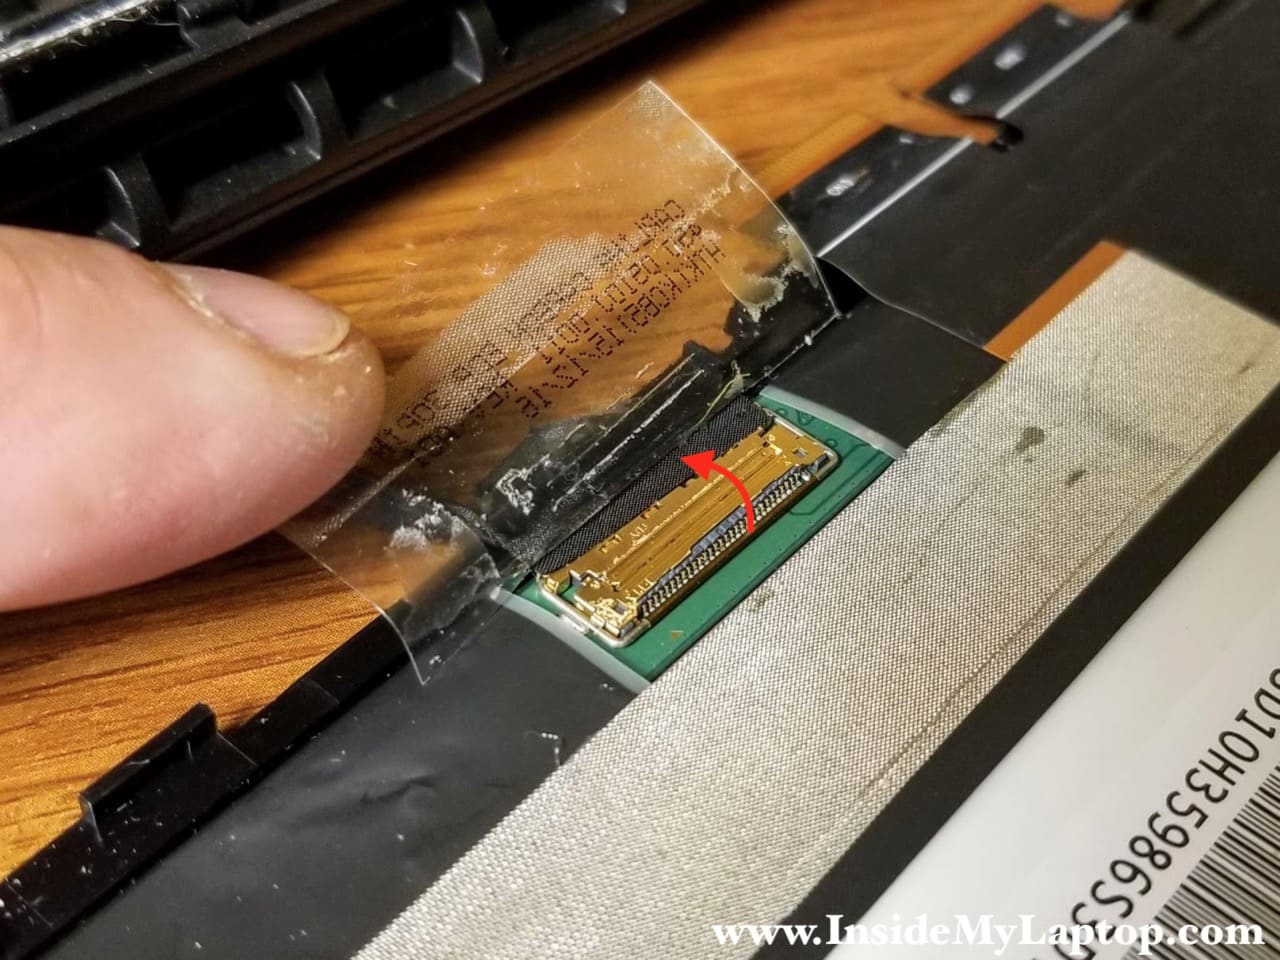
Pull the display cable out.

Now you can remove the touch screen assembly and replace it with a new one. The LCD screen is permanently glued to the front glass. You can find a new touch screen assembly if you search by the FRU part number printed on the original part. In my case the FRU is 01AW135.
Is it possible to replace just the LCD screen without replacing the front glass? Probably it is but I doubt you can make it look factory perfect after the replacement. As I said, the LCD is glued to the front glass and removing it might turn into a nightmare.

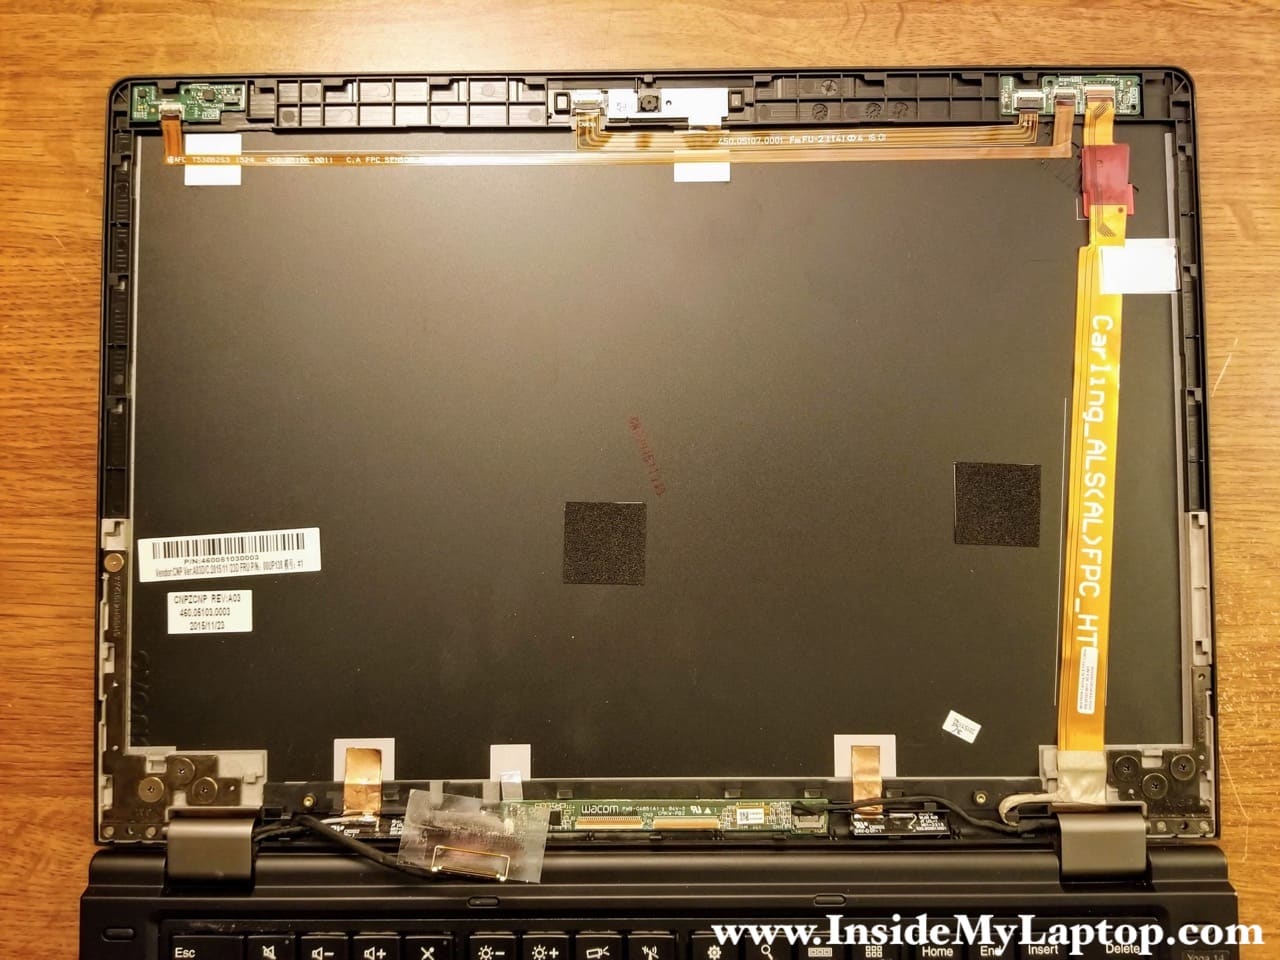
Here’s a photo of the display with the touch screen assembly removed.
Assemble the laptop following all disassembly steps in reverse order.