Removing and replacing the LCD screen on an Acer Aspire E 15 (E5-574G-54Y2) laptop is a relatively easy procedure.
All disassembly steps should be the same or very similar for all other models in the Acer Aspire E 15 family.
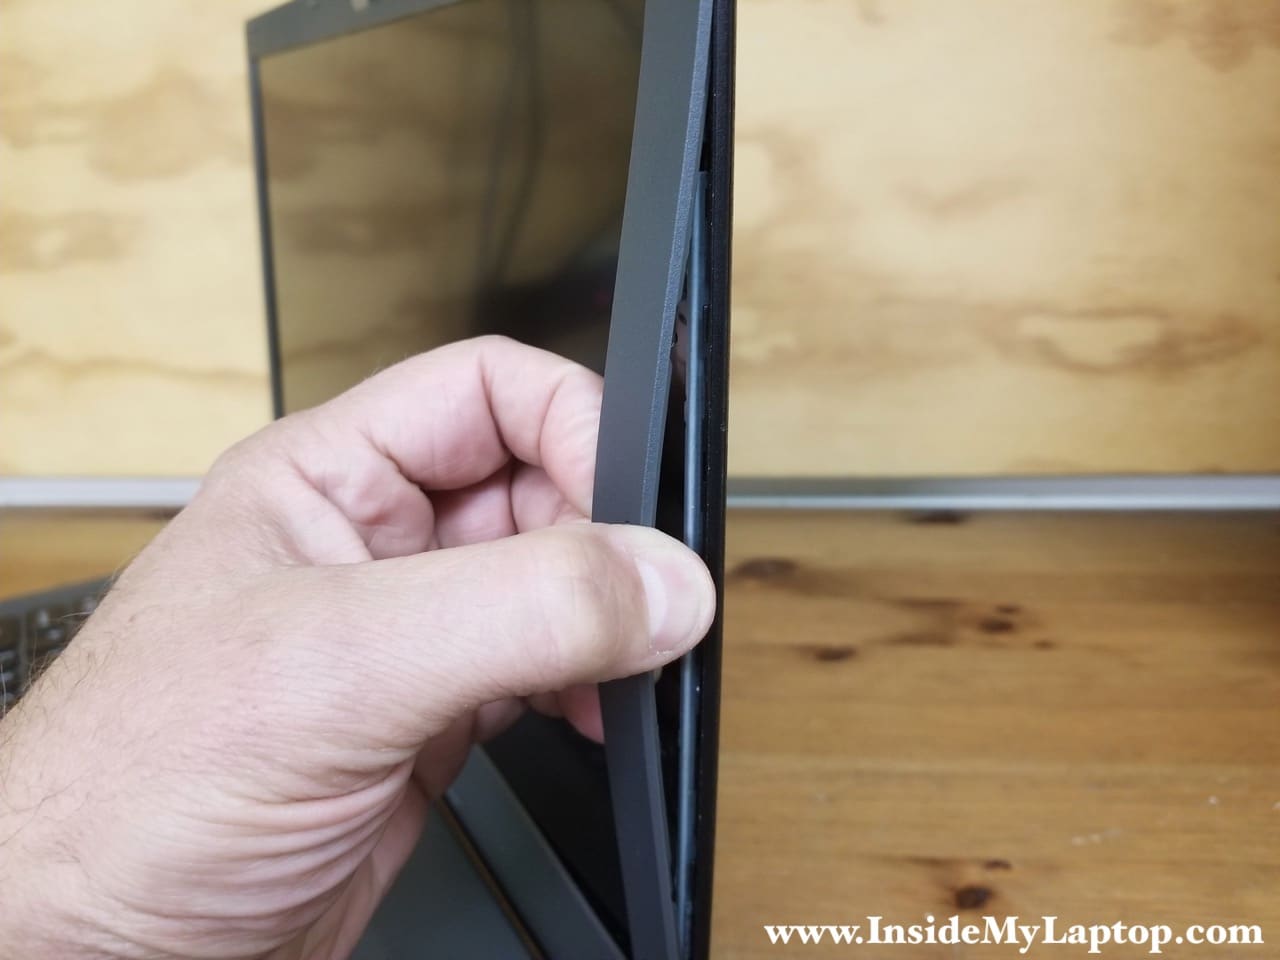
The screen is mounted under the display bezel which is attached to the display back cover. It’s easier to remove the bezel if you start from the side.
STEP 1.
Insert your fingers between the bezel and the screen. Wiggle the bezel to unfasten it from the cover.
STEP 2.
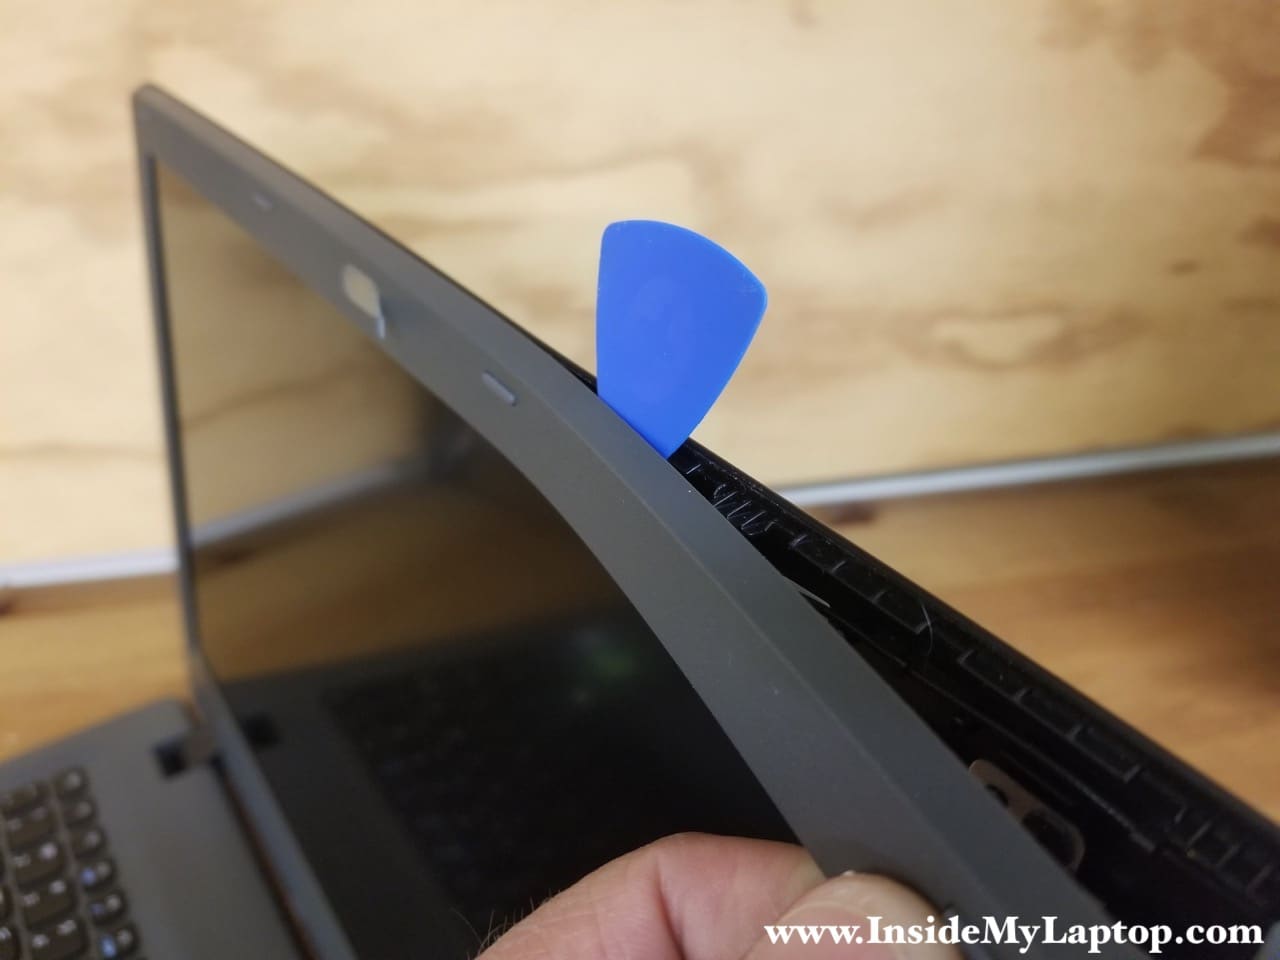
Continue removing the bezel on the top of the display assembly. You can use a plastic case opener to release hidden latches.
STEP 3.
After the top side of the bezel is unfastened, move the hinge area.
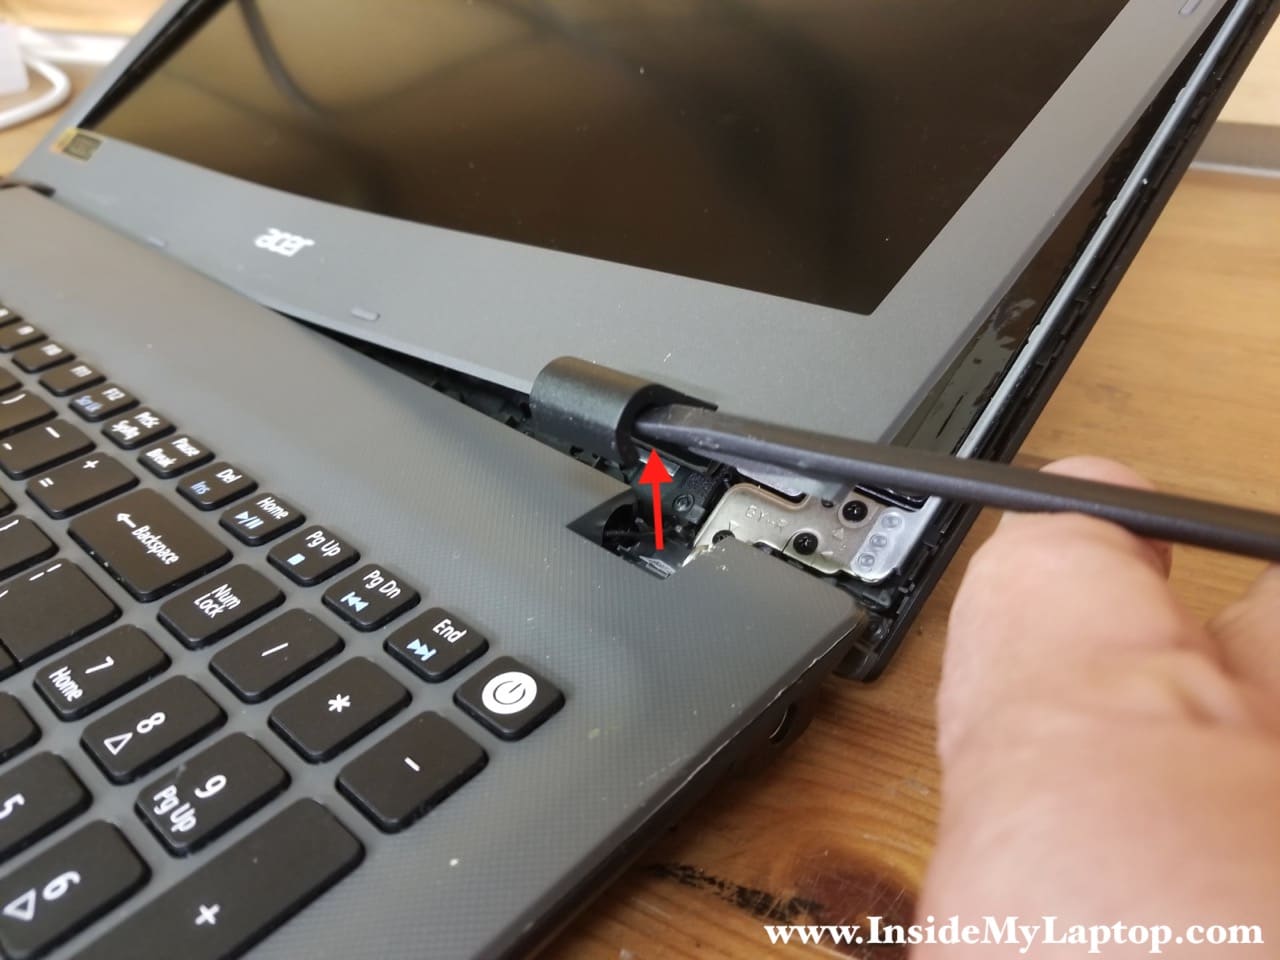
STEP 4.
Make sure the display is opened all the way back. Continue removing the bezel with our fingers on the bottom of the display.
I use a plastic stick to separate the hinge cover.
STEP 5.
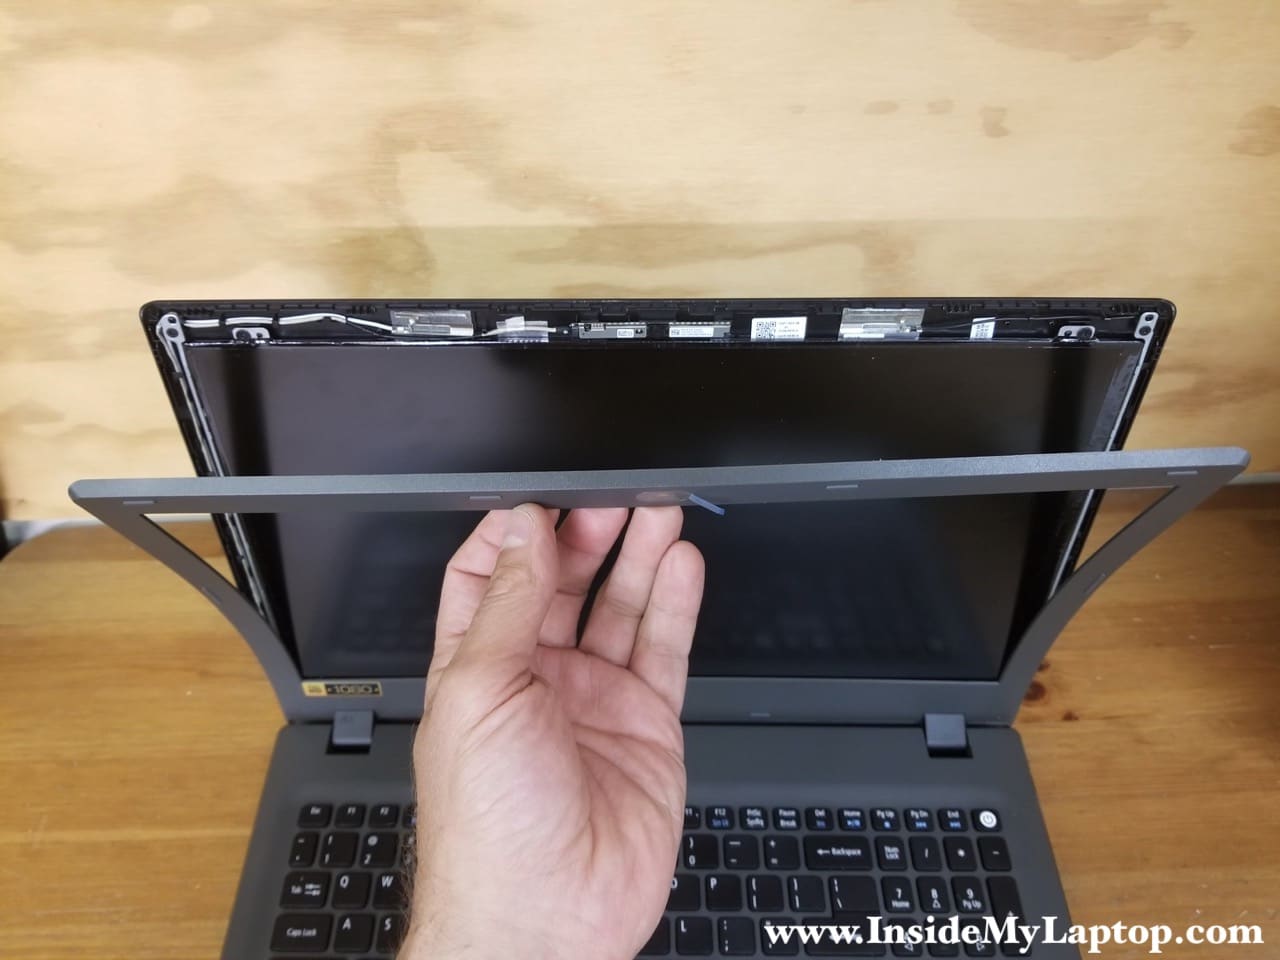
Removing the bezel is the hardest part in this guide.
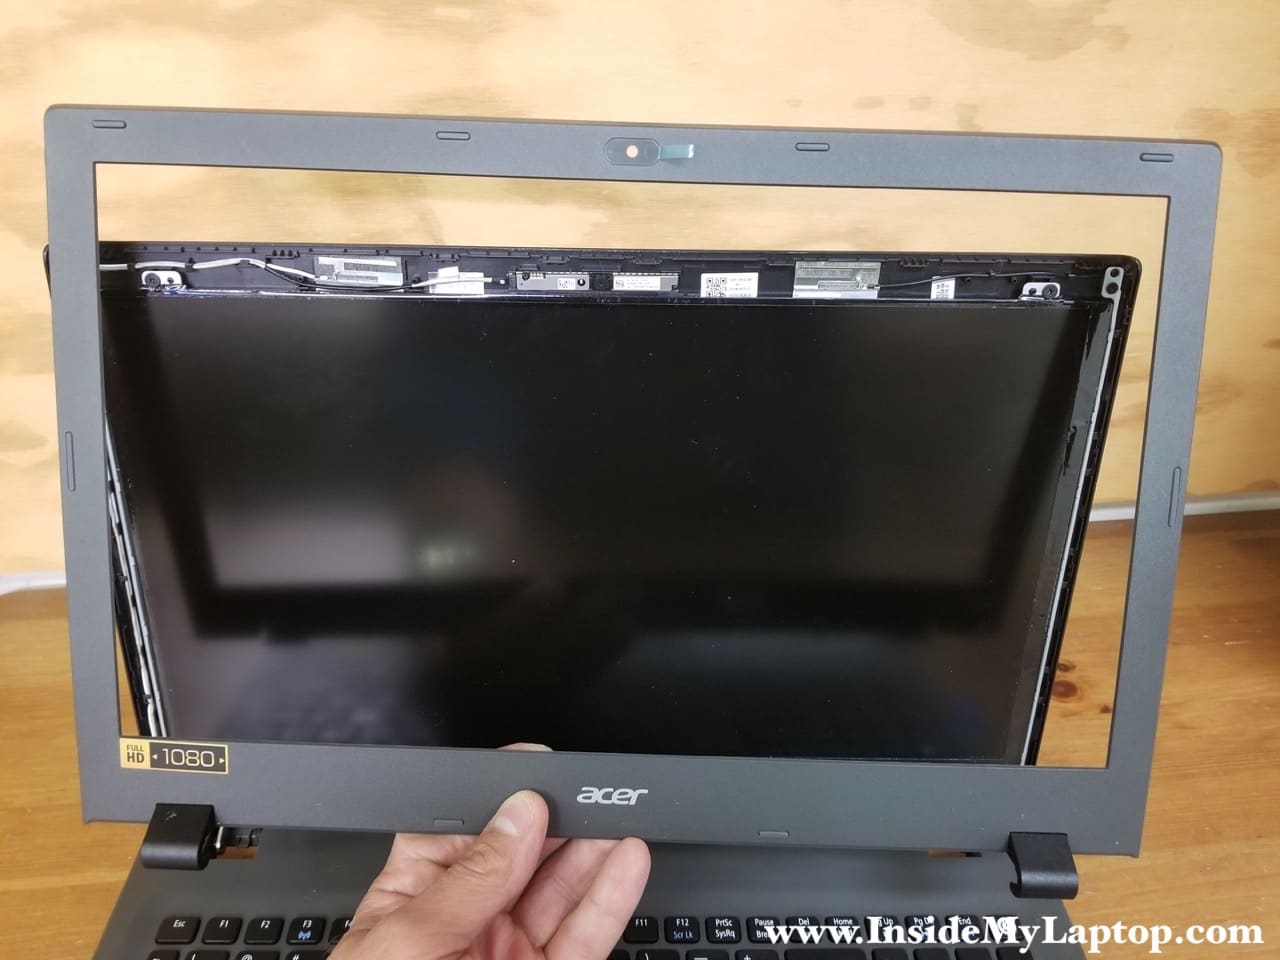
STEP 7.
Now you can remove four screws securing the LCD screen.

STEP 8.
Separate the screen from the back cover and place it on the palmrest.
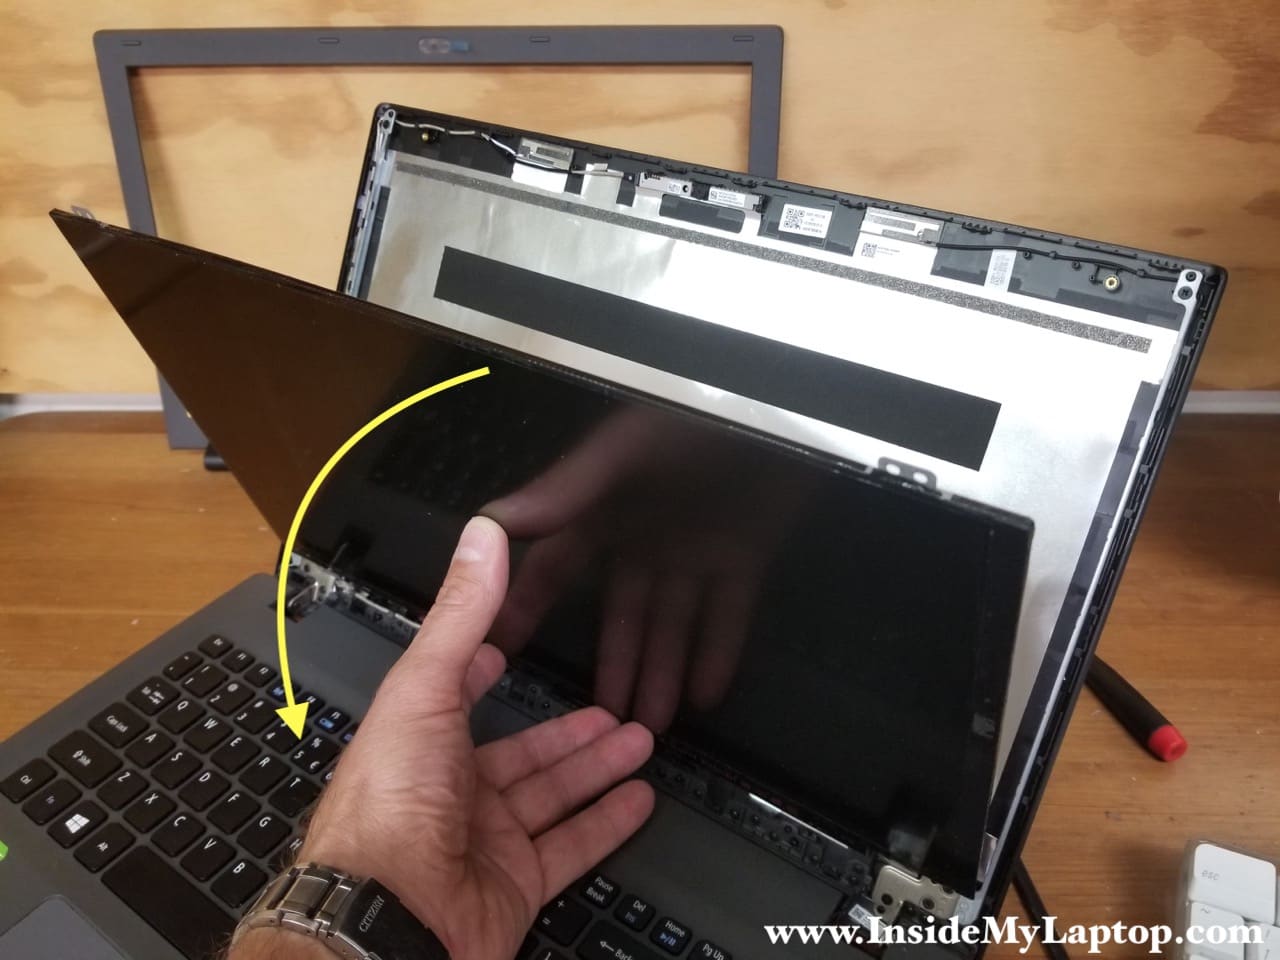
STEP 9.
The video cable plugged in the the 30-pin connector on the bottom of the screen.

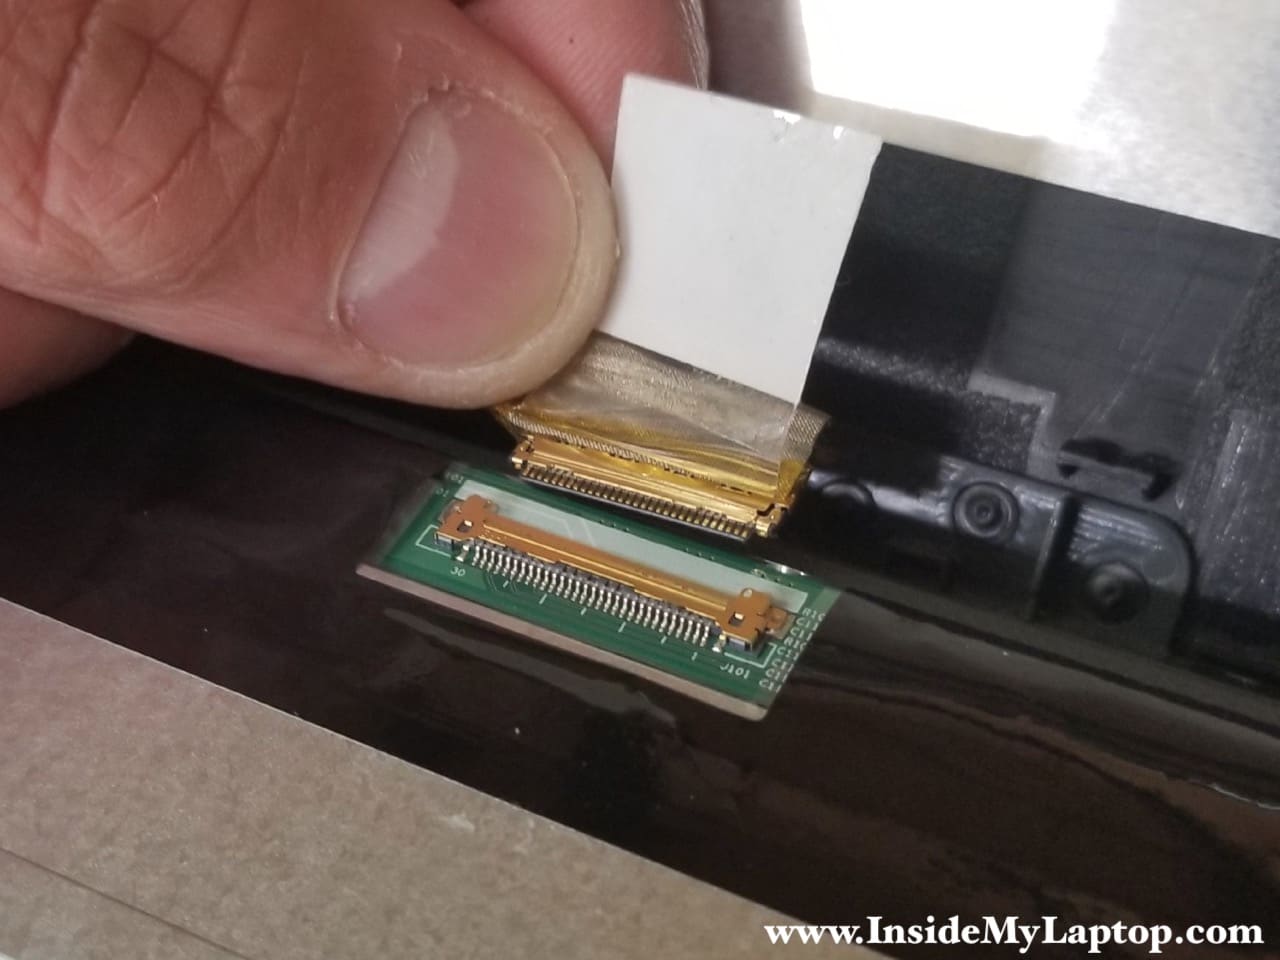
STEP 10.
Peel of the clear tape securing the connection.

STPE 11.
Disconnect the video cable.
STEP 12.
Now you can remove the LCD screen completely and replace it with a new one.

The model number is printed on the back of the screen. The LCD screen model:Â B156HTN03.8.

Check out this Acer Aspire E 15 teardown guide for removing other internal components.
kenny
i have an issue with my acer 573G , the scren keeps flickering (totally black) . i checkedthe acer support site. they said its an issue with the ribbon connectors amd it needs to be reseated . where exactlyis the ribbon connectorsand how do i fix it ?
Dan
The ribbon cable connects the display panel to the motherboard. One side of the ribbon cable shown in this guide step 9. The other side of the ribbon cable located inside the laptop base. Check out the other guide for the complete disassembly.
Try reconnecting the ribbon cable on both ends. If it doesn’t help, try replacing the ribbon cable.
jose travieso
hello dan one of my hinges on my acer e15 broke and i glued it together but the wires the white and black one broke i tried to solder them together but it doesnt work i connected my laptop to an external tv but i am losing wifi strength. i have tried removing those cables but have had no luck. and with the epoxy glue covering the wires, now i dont know what to do
IML Tech
Jose, you’ll have to purchase new antenna cables and replace them. Wi-Fi antenna cables running inside the display panel. You’ll have to remove the display and take it apart in order to replace the cables.